« October 2010 »
S M T W T F S
1 2
3 4 5 6 7 8 9
10 11 12 13 14 15 16
17 18 19 20 21 22 23
24 25 26 27 28 29 30
31
You are not logged in. Log in
Entries by Topic
All topics  «
3D paperwork
A - Z challenge 5
A - Z challenge 7
A - Z challenge round 4
A to Z challenge round 3
A to Z round 2
A to Z round 6
A-Z round 1
Around the House
Art Challenges
Artist Trading Cards
Backgrounds
Beads
Bible Journaling
Books
Boxes
Collage
Color Challenge
Coloring
cookbook
Die Cuts
Digital Projects
Digital Stamps
Drawing
Dry Embossing
Fabric Stuff
Fantastic Folds
Field Trip
Home Decor
How Does Your Garden Grow?
Hymnal Art
In The Kitchen
In the studio
Jewelry
Lettering
Links
Multi-Technique
Music to Work By
Musings
Nail Art
New Work
Online Class
Other Hobbies
Other Projects
Painting
Paper Embroidery
Paper Piecing
Photo
Pretty Paper
Quilting
Random
reading
Scrap Recovery
scrapbooking
Sewing
Sketch Challenge
Some Backlog
Stamping
Stencils
Stickers
Supplies
Teabag Folding
Techniques
Testing
tips and tricks
Tutorial
Web resources
Welcome to my Blog
Work By My Friends
workflow
Writing
Blog Tools
Edit your Blog
Build a Blog
RSS Feed
View Profile
Group One
In & Out of Studio 3D
Saturday, 9 October 2010
Assembly Line
Topic: Stamping

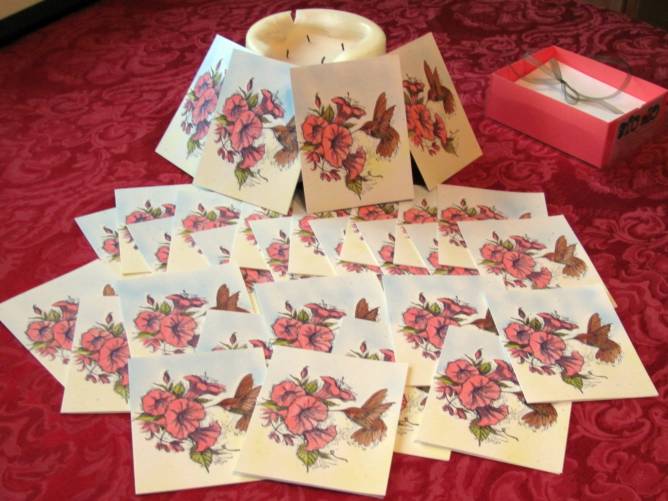
I recently had a commission to make 30 invitations and decided the fastest and easiest way to do them was with rubber stamping. The client likes hummingbirds so I pulled out my favorite stamp and used it on a speckled, folded cardstock with archival black ink.

They were then 'watercolored' using stamp inks on a non-stick craft sheet. Some were stamp pads pressed onto the surface and some were re-inkers with a few drops on the sheet. These were picked up with an aquabrush and applied to the stamped image. I did the shadows first then the highlights over the top.

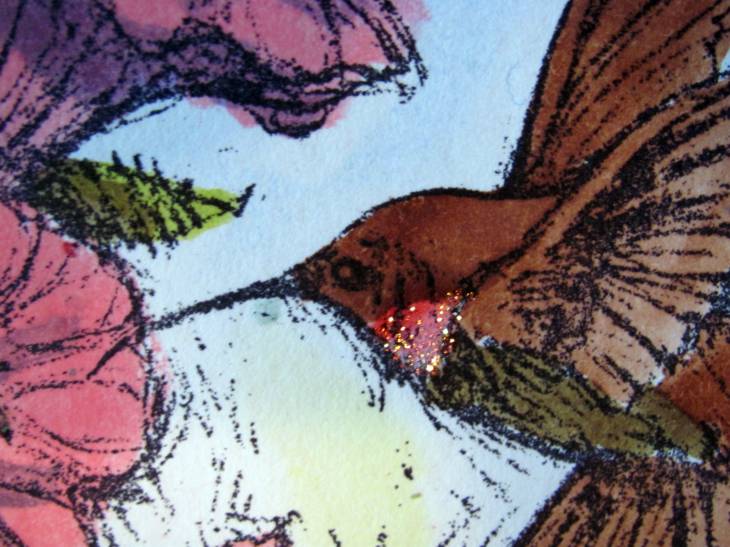
The next step was to apply Stickles to the throat of the hummingbird and the ends of the stamens.

Here is the whole set:

Here you can see the shading close up as well as the glittered bird:

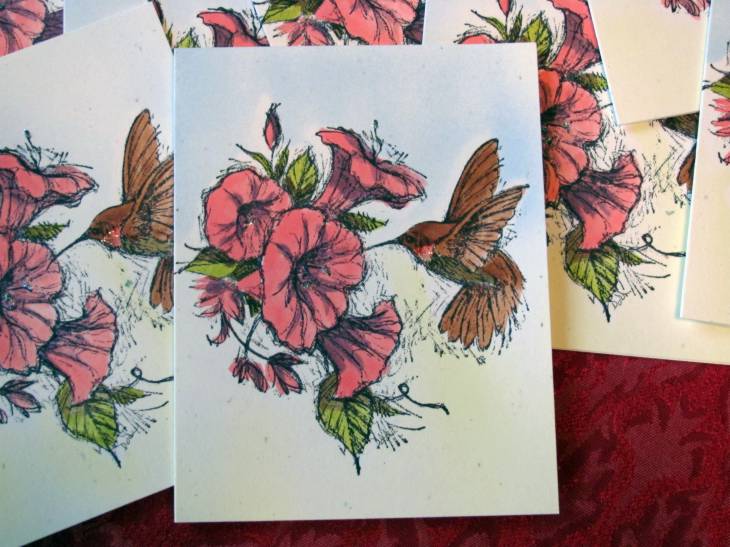
As a final step I tore a mask for the image and used my new airbrush system to spray the blue and yellow background.

Here is a closeup of the card:

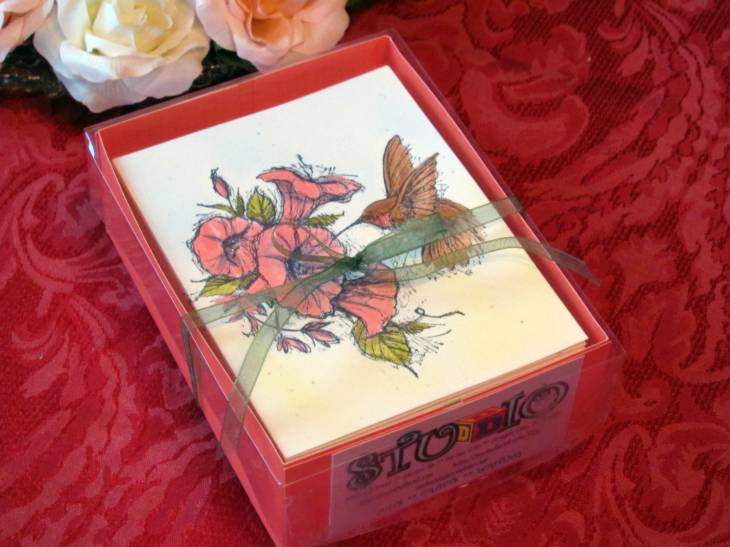
I created a clear-lidded box to present the cards and envelopes:

Ddd


Posted by studio3d@ccgmail.net at 6:00 AM PDT

View Latest Entries