Topic: Scrap Recovery
Old calendars can provide some awesome backgrounds for use on cards. Combined with great table scraps, embellishments, stickers, and stamps, I created several cards to share today.
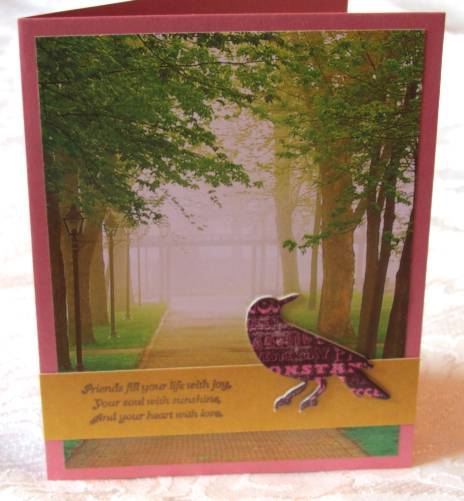
First up is a scene down a brightly lit wooded path. Not very many wooded paths area a yellow brick road, but I love this one. I added a golden strip of card for the greeting stamp and for the chipboard bird. The color of the bird is repeated in the rose card base.
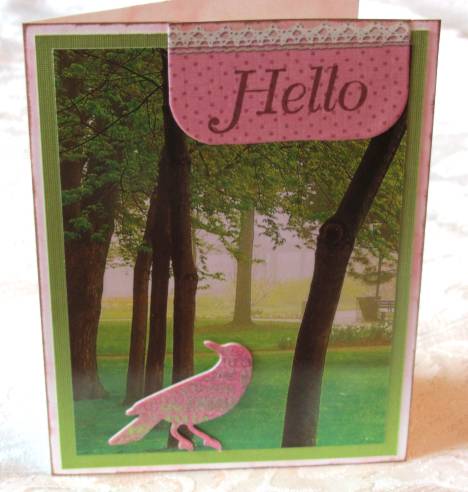
Another portion of the same calendar page yielded this photo. I added the bird directly over the photo and used the bottom of one of those tags (featured yesterday) to stamp the greeting and mount at the top. This bird is one that came glittered so I wanted the feel of the card to be 'lighter'. A green panel and a pink card base keep it casual.
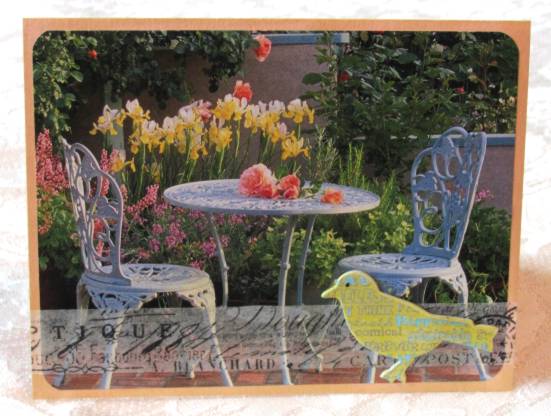
Love this casual garden seating group - especially with the flowers dropped on the table. I rounded the corners to lower the formality and added a strip of tissue tape (Tim Holtz) that I just got on sale. The little yellow chipboard bird and the apricot card base pick up colors from the garden. There is no greeting on this card.
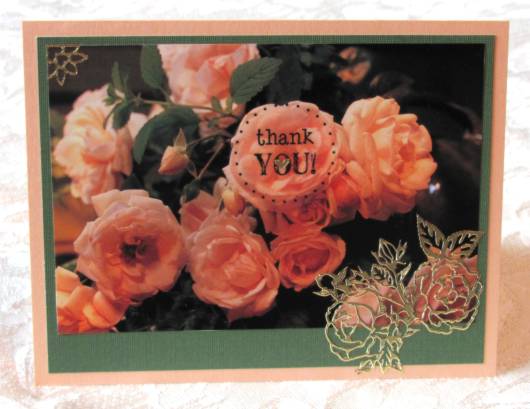
I kept the focus on the roses in this calendar photo by using color echoing in the layering. I reinforced the two lower blooms by layering roses in gold peel-off stickers over them. This gold is echoed in the upper left corner element and the single heart inside the greeting. The greeting is a clear sticker. Love how it fits inside that one bloom.
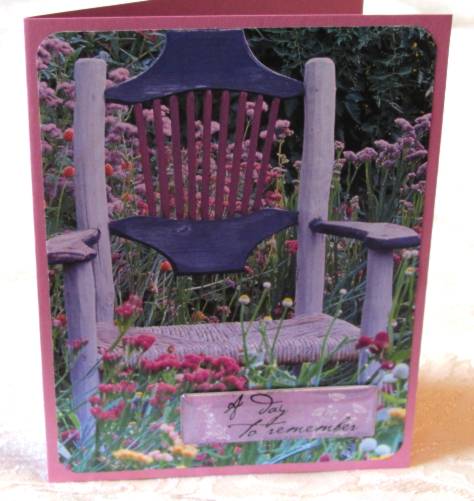
I was knocked out by the colors in this garden chair! Nothing to do but trim it close, layer on a purple card base and add a clear acrylic greeting sticker. I backed the greeting withcard matching the card base. Simple - beautiful - simply beautiful!
A field of poppies is eye-popping! I used a bright-colored glossy print to back it and separated the two with a fine gold border sticker. The poppy corner sticker at the lower right offsets the gold sticker greeting on the upper left. I used a bright yellow card base in keeping with the overall color pallette.

Lesson: save your calendars!
Ddd
