Topic: Stamping

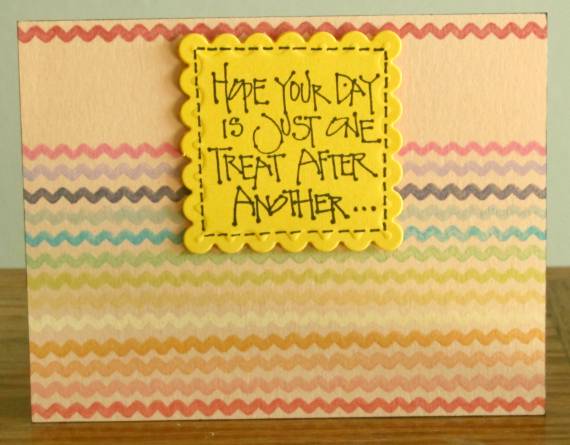
For day 10 we made use of border stamps. For the first card I used a zig-zag border and inked it up with a series of chalk inks and stamped myself a little rainbow. I did this directly on a colored card front and added one border at the top as well. I stamped a sentiment on a bright yellow square and diecut it with a scalloped nestability. I popped it up on foam tape and then added a dashed black line around it.
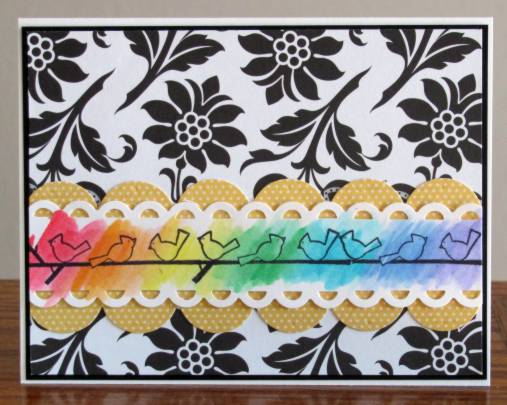
Another lesson was on stamping a border with an open image and doing a loose watercolor wash over it. I stamped a short border three times to stretch across a white card. I used marker inks for the 'paint' in the watercolor. When it was dry I trimmed it down and used a scalloped border punch on each edge. I used a larger scallop border punch on some yellow dotted paper and layered them. I placed them on a black and white designer paper and trimmed the whole thing. Then I bordered it with black and mounted on a white card base.
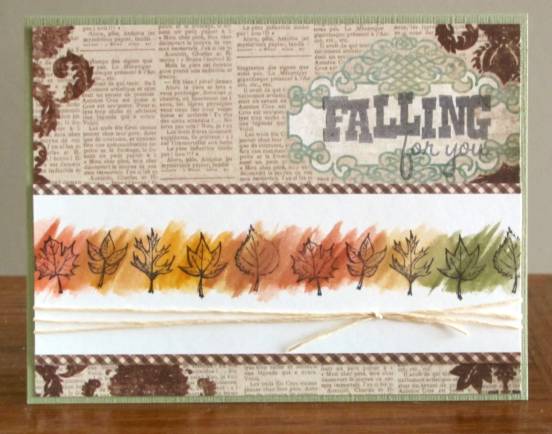
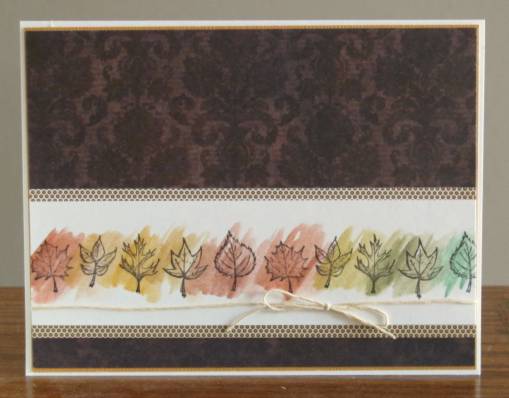
I did this a couple of times again with a leaf border stamp. In both cases I bordered the piece and placed on a printed paper background. I also tied scrappers floss around both. On the first one I also stamped a sentiment on an open area of the background paper.
Then I did one with a solid background paper and no sentiment.
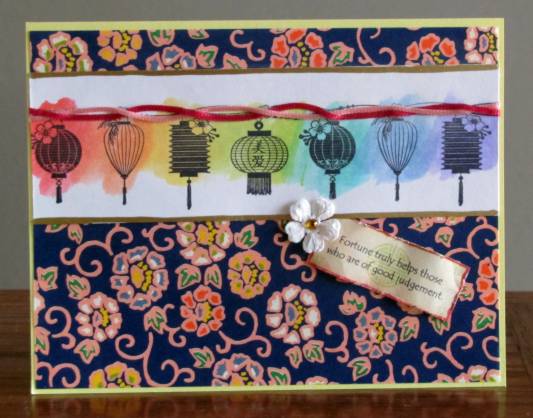
Finally, I stamped a border of Japanese lanterns. I twisted two satin cords and attached then along the top of the lanterns. I used Krylon gold paint pen to border the top and bottom and added it to a background of origami paper. I added a faux cookie fortune and a white paper flower with a rhinestone center before placing on a yellow folded card base.
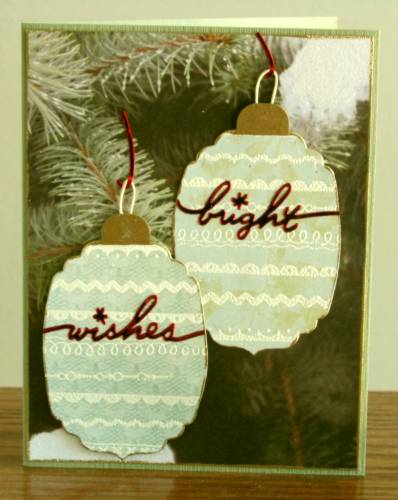
The next idea for us to try was using several borders together and embossing them with white on patterned papers. These are die cut into shapes for card embellishments. For this first one I cut two embossed pieces into ornaments. I used a Krylon gold paint pen to border both of them as well as the background paper. I cut caps out of gold paper and attached them. Then I created loops from scrappers floss and attached them. The upper ornament is glued directly to the background and the lower one is popped up on foam tape. I added sticker sentiments to both ornaments and sticker waste as hangers. This is mounted to a green card base.
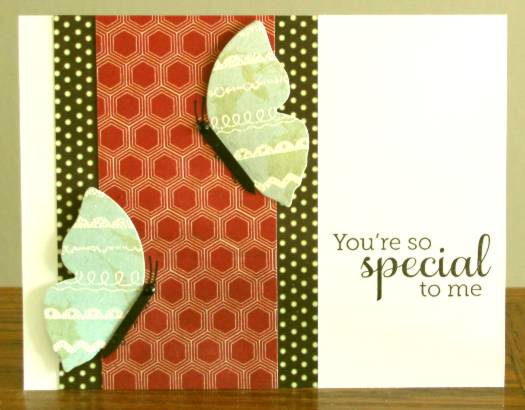
Then I turned the rest of the embossed border peices into butterflies and butterfly halves. This one is different from the rest of them in that I used only a partial covering of designer papers over a white card base. I gave both of the butterfly halves black bodies of card scrap, drew in antenna and feet and added black rhinestones for heads. I stamped the sentiment directly on the card base.
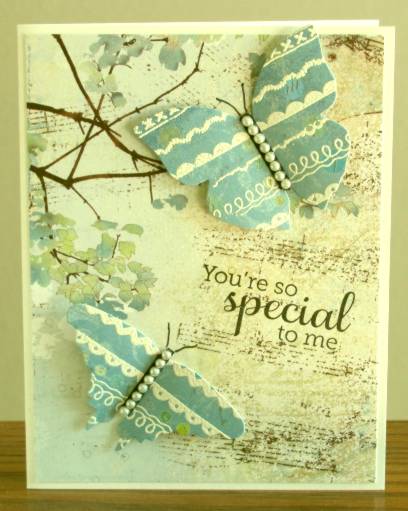
I have two butterfly diecuts and I used both for this card. On top of the black bodies I added pearl strips. Love this background paper.
I used striped paper for these butterflies and really like how they came out! For these bodies I wrapped scrappers floss around twice and tied at the head for antenna.
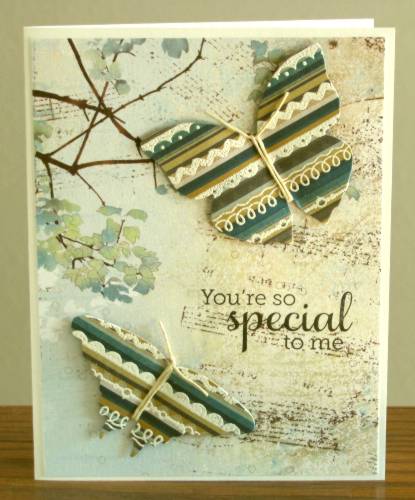
These butterflies, also striped, are treated in the same way as the last. I also forgot to say that all the butterflies are glued to the background at the body and the wings are popped up on foam dots.
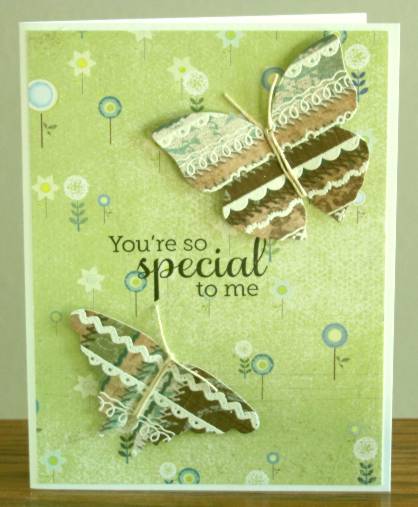
More bodies tied with string. The upper butterfly is actually two layers. All of these butterfly parts are banded with gold Krylon paint marker as is the border of the background paper.
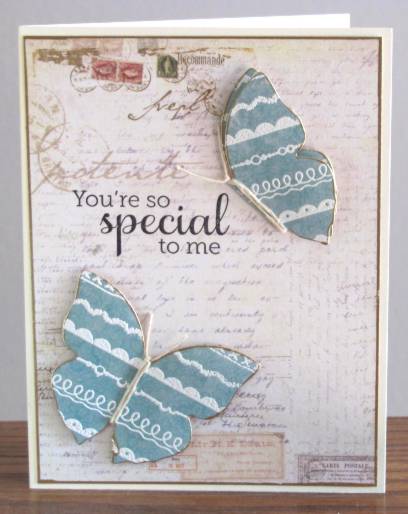
Love the background paper on this one, love the dotted butterflies, love the gold paint borders.
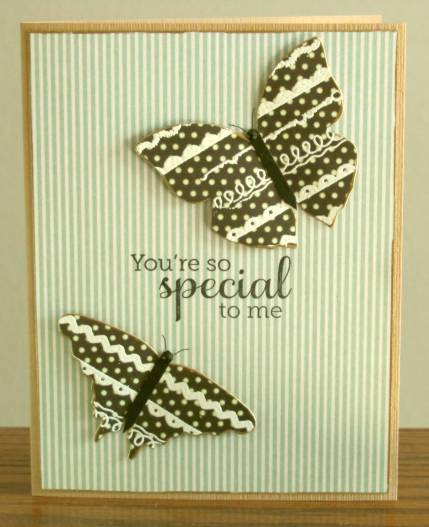
For this one I used two half butterflies and gave them pearl bodies.They looked too random hanging out there so I drew in branches for them to sit on. Those were too stark so I stamped blossoms on them. This one got a green card base to go with the butterflies.
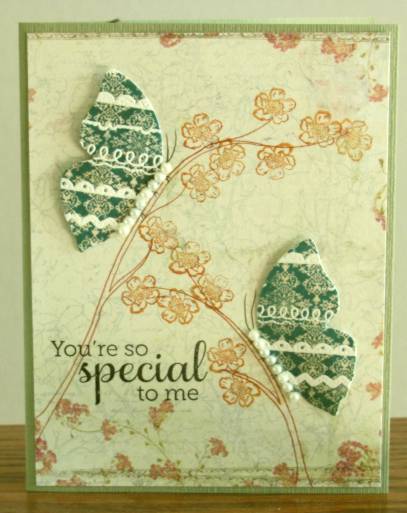
I picked the sentiment when I started the series and saw no reason to skip to something else.
Ready for day 11? I am!
Ddd
