Topic: Multi-Technique
I was inspired by the OWH blog to try using up a lot of my 6x6 papers at once by doing marathon cutting/matching sessions. Here is my process:
-- take a stack of 6x6 scrapbook cardstock
-- cut off a 3 3/4" chunk from one side (my cards are 1/4" smaller than an A2)
-- trim strip off bottom to leave 5 1/8" on the big chunk
-- separate into piles by size
-- when whole stack is cut up, pull one from each stack to create a harmonious grouping
-- do this to the whole pile of cutups
-- for each grouping select a sheet of plain color cardstock for bordering
-- cut a backing piece 5 1/4" x 4", mount largest piece of printed cardstock on it.
-- shuffle around other two pieces to get a pleasing arrangement, trimming as desired.
-- cut and adhere backing pieces for each of these
-- lay out card parts like they might be on finished card and spread on a large surface (do the whole stack)
-- pull out stickers, embellishments, stamps, trims, etc. and select something to use as decoration for each card front.
-- adhere smaller pieces to main piece using strong adhesive or foam tape
-- attach embellishments
-- adhere to a folded card base
So... having done that whole process over the course of 3 days I ended up with 42 finished cards! I grouped them by the style of embellishment used and photographed them by these groups for sharing.
Today's share is those decorated by a stamped sentiment:
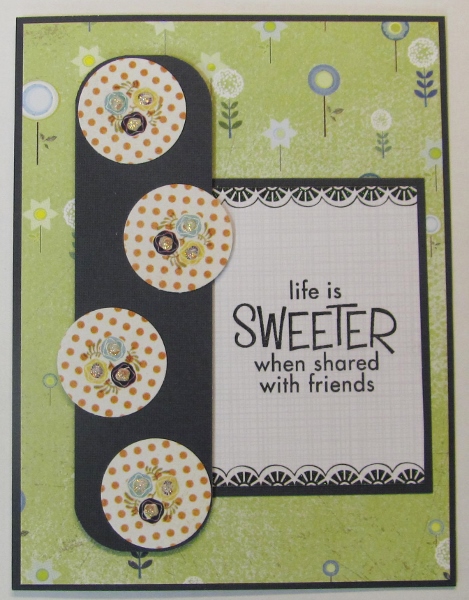
This one actually got the third piece of patterned paper dropped. I did a little creative cutting on a backing piece and punched circles of the flower grouped paper. Each of the three flowers got a center of Stickles. The sentiment is stamped on a 'journaling' tag I was given in a swap.
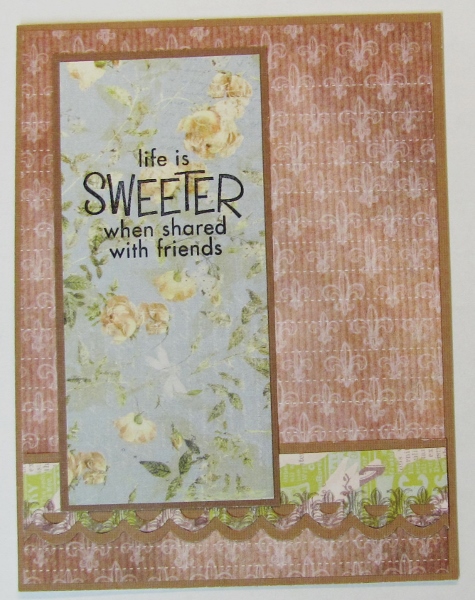
I used a border punch on one piece of the patterned paper as well as its backing color and offset them. The text is stamped directly onto the patterned paper.
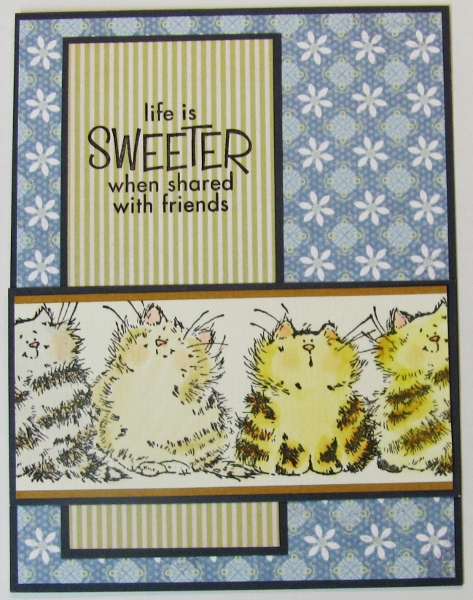
This piece also got one strip of patterned paper dropped in favor of a stamped and colored image of cats that I got in a swap.
So this is the way the project started. More to come!
Ddd
