Topic: Scrap Recovery
I ran across some 'kits' of card bits and pieces that I had put together about a year ago. WHAT? Unfinished projects? Can't have that!
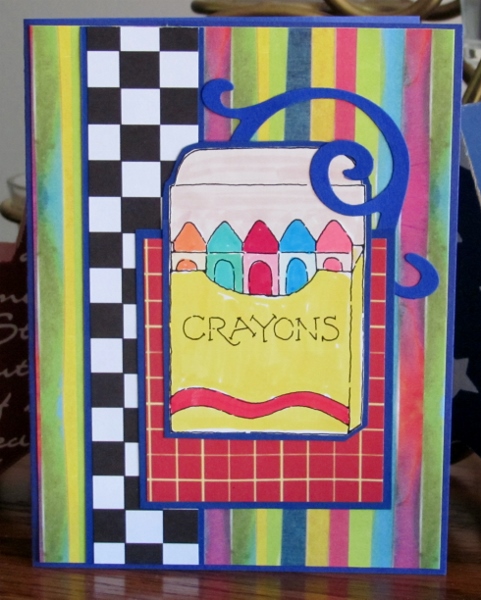
First, I had put together a striped background paper and a colored crayon box image out of a scrapbooking page-a-day calendar. I added a couple of strips of leftover patterned paper from other projects and a blue card base. I also had a blue diecut swirl.
I just brought them all together by using blue as a border to each piece and layering them in a pleasing arrangement.
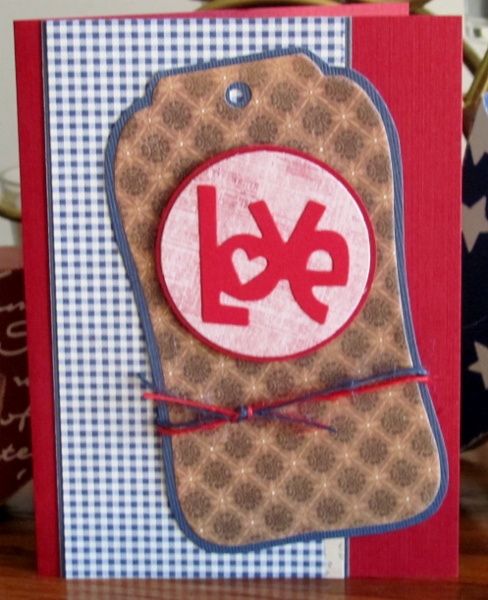
The next kit had a red card base, checked paper, a tag, a printed circle and a diecut word. Since so much of the red base was exposed I chose blue as the bordering color. I tied red and blue twine around the base of the tag and popped the word circle up on foam tape.
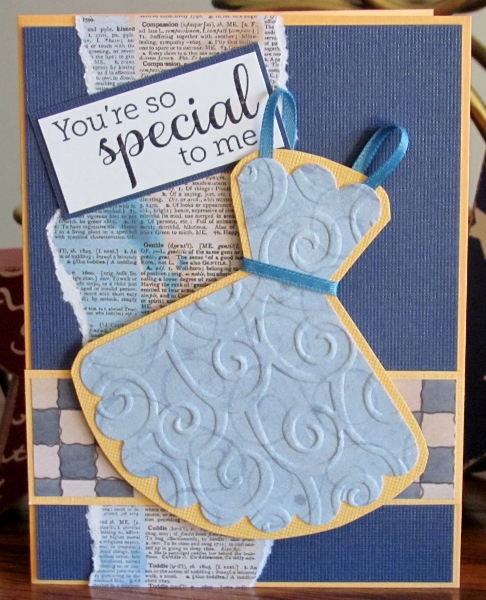
Next up was a dark yellow card base with a strip of text scrapbook paper, a checked strip from the scrapbooking page-a-day calendar and one of those sundresses made from a large scalloped circle. I had run the dress through a Cuttlebug folder for texture. bordered the dress and the checked strip on dark yellow and added ribbon to the dress for straps and a belt before mounting on foam tape. I pulled a stamped sentiment out of the file and bordered it with blue.
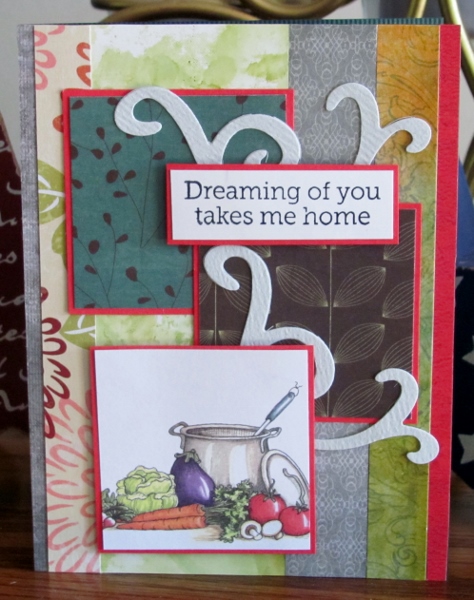
Last project was a mix of patterned strips and a couple of blocks. I also had an illustration from the scrapbooking page-a-day calendar and a couple of diecut swirls. When I mounted the strips to form a background I ended up with that bold red stripe down the right side. I used this as a color key to breate borders for the blocks. Then I cut my illustration to the same size as the blocks and bordered it too. I pulled a stamped sentiment from the file and bordered it with the red before arranging and mounting all the elements. The sentiment and illustration are popped up on foam tape.
Just a few more sessions like this and I will have all these old 'kits' used up. THEN what will I do?
Ddd
