Topic: Pretty Paper
I had a marathon session the other day with a lot of papers from a 6x6 patriotic pad. It was a challenge because all of the papers are very busy prints. I unified them and also defined them by using red, cream or blue bordering papers.
The overall theme element in these papers is the use of stars. I added even more stars on many of the designs and they all got a stamped sentiment.
I decided the easiest way to present these was to group them by the most prominent paper design. First up is a set of three with a large-scale circular pattern with a big center star. On the first of these I added blue star paper. I used a large punch to make three red stars and then scored them so they could become three dimensional. I roughed up the edges of the stars and used distress ink to darken the edges.
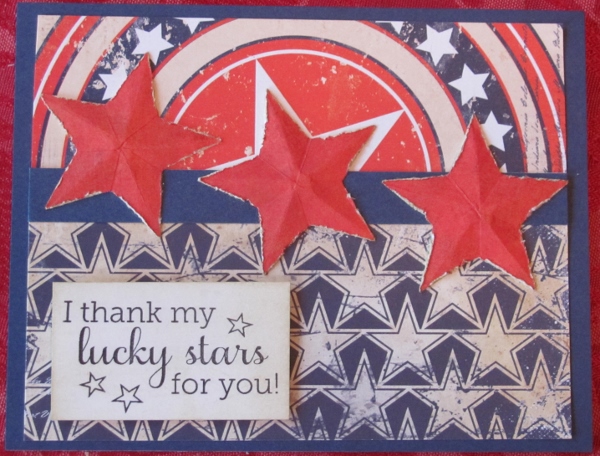
This one was combined with a paper with patriotic dots. I kept this one pretty simple by just letting the sentiment strip be the only horizontal element.
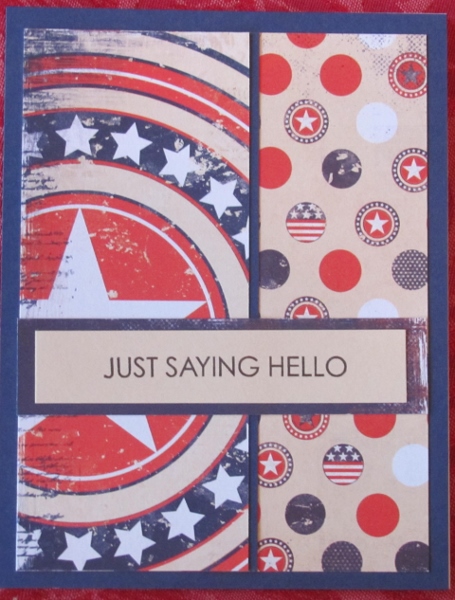
The combination of papers on this one was just too overwhelmingly busy so I used a whitewash of Picket Fence Distress Stain over the entire surface to mute it. I also used the large star punch to open up the central star and back it with a dot paper that was not part of this set of papers.
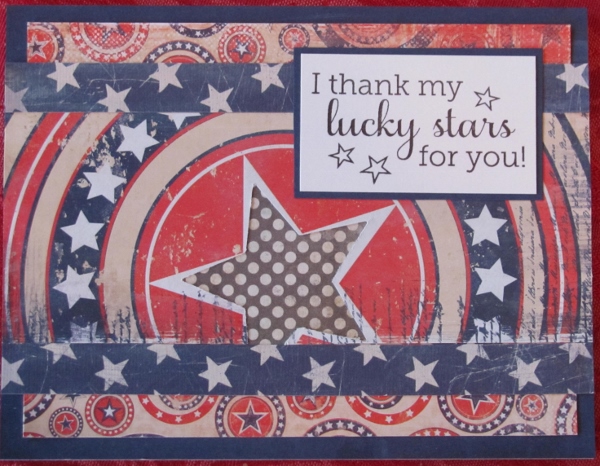
The next grouping uses similar papers of multi-sized circles. Some are on a red background and some on the beige.
The first card got a couple of strips of repeated star papers and I alighed the stars on them so the color changes but the pattern repeat does not.
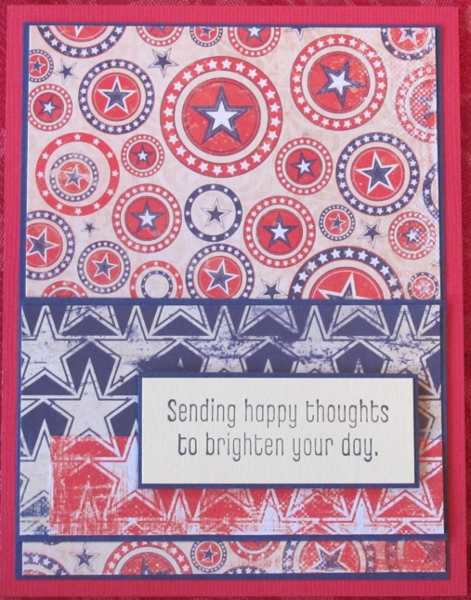
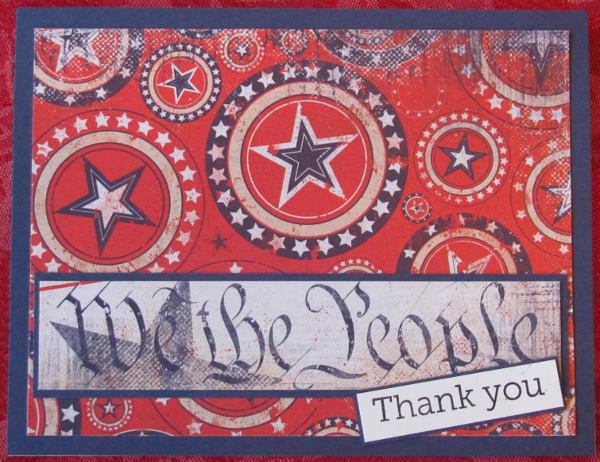
The paper with the red background has larger circles on it. One of the other papers had the word graphic so I used it as a part of a humerous sentiment.
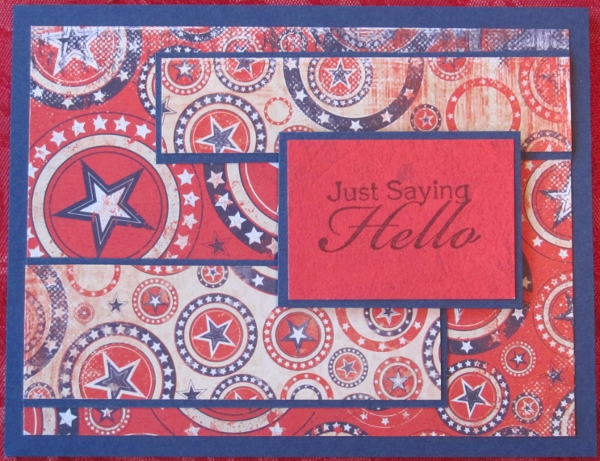
And for the thrid one I used both of the circle papers together. This one reminds me of a bandana. I used a red sentiment block to give the eye a place to rest without creating so much contrast that it would detract from the background design/layout.
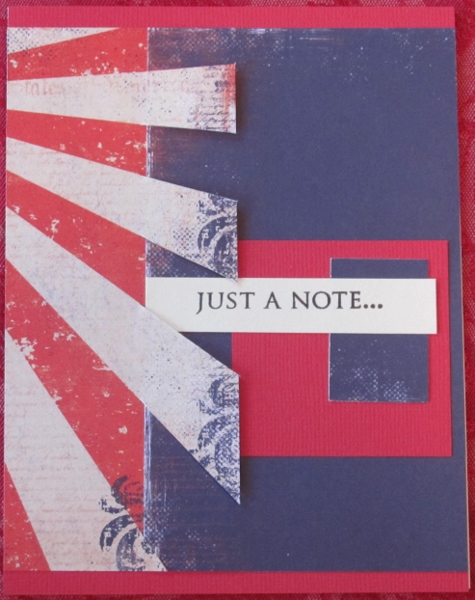
Then I did a group of cards featuring a red and white burst element. On the first card I kept it simple by adding a distressed blue paper from the pad. I sliced the burst paper along the stripes and wove the edge of the blue through it. The ends of the white strips are popped up on foam tape. I added a little graphic element to the right side for the sentiment to rest in.
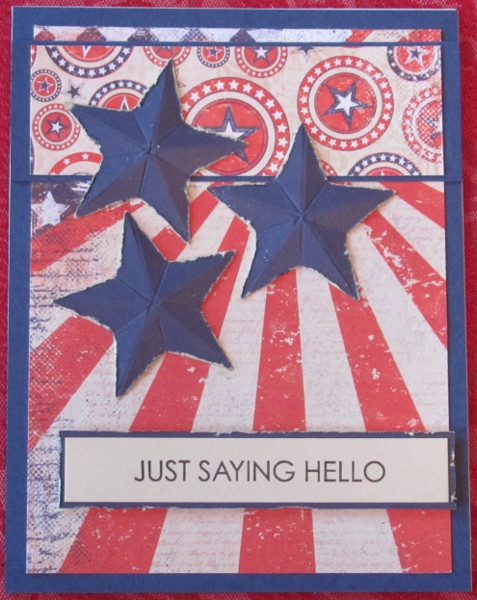
For the next one I gave the bursts some circle paper to emerge from. I needed more blue for balance so I punched and created more of those three-dimensional stars with distressed edges. To unify the sentiment with the stars I distressed the edges of the bordering strip and popped it up on foam, too.
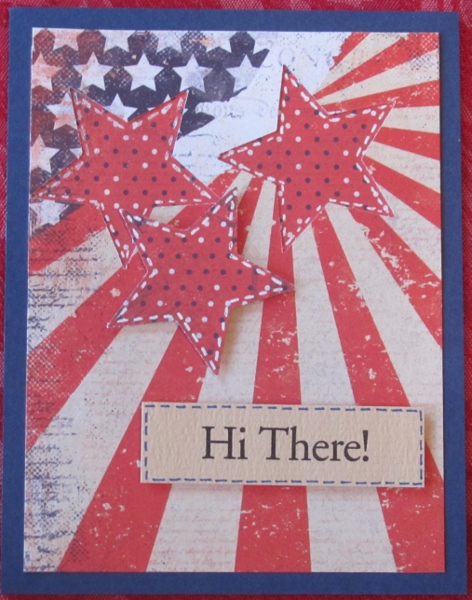
The burst on this paper emerges from the left corner. I used the large star punch on it twice and mounted red dot paper behind. A third red dot star was puched out and popped up on foam tape. All three of these stars are finished off with dashed lines in white gel pen.
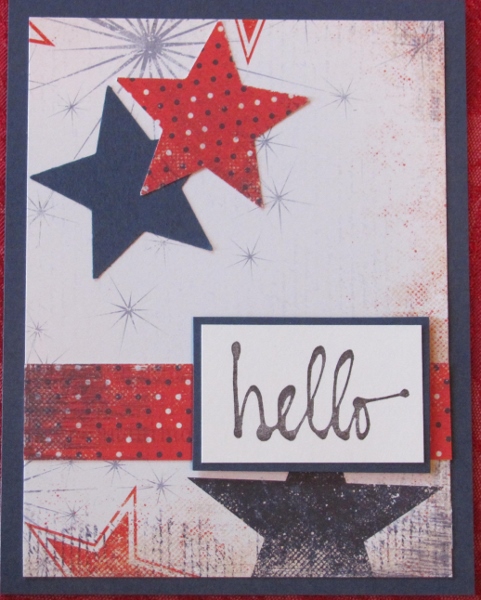
Compared to the rest of the cards today, these three are plain jane. The featured paper is a large open white space with some printed bursts and a couple of stars at the bottom. For the first card I punched out a star shape so the background blue could show through and then added ared dot star popped up on foam. These are the echoes of the printed stars at the bottom. The strip of red dot unifies the elements and is the base for the sentiment block.
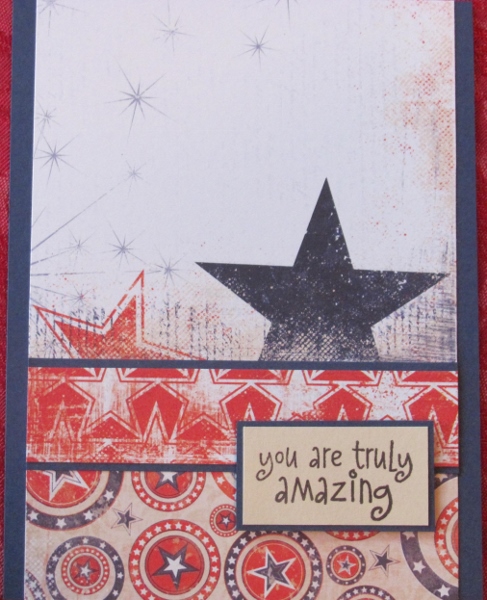
For this one I added some patterned papers at the bottom of the card and then raised the feature paper upward to keep the printed stars intact.
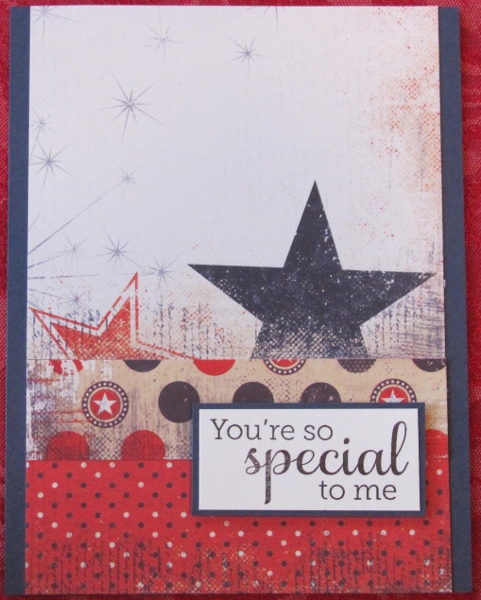
The last one is designed exactly the same way with a different mix of papers.
I next have a couple that feature blue star paper. Technically, the first of these could have been included with the burst cards but I like it here. The blue stars with the red and white burst is a clever representation of a flag. I included blue pen stitching along the top, bottom and center as an added nod to the flag construction.
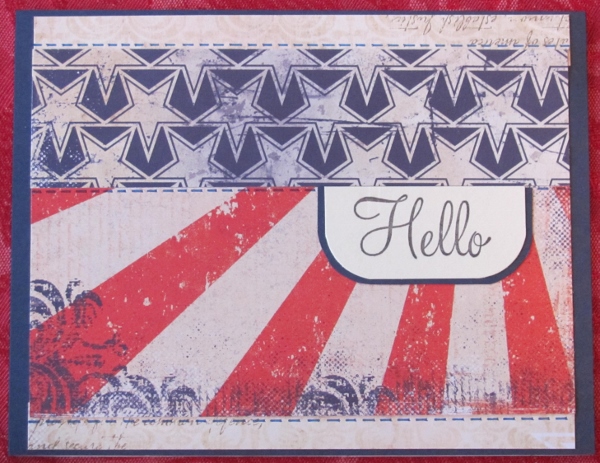
The luck of the draw and the quirk of cutting left this card with no red. Interesting!
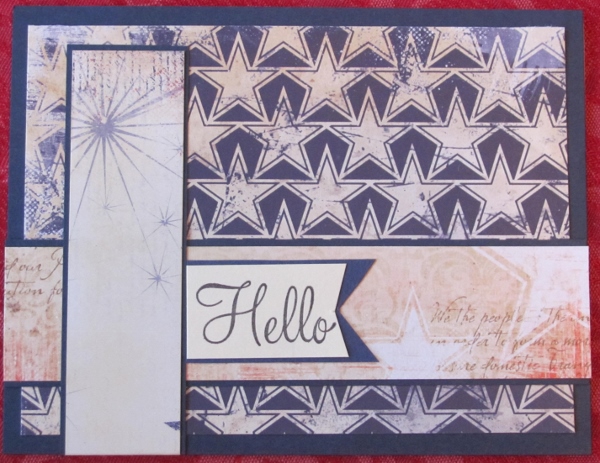
Lotsa Dots. This paper is covered with them and they look to me like little military buttons. I used a solid distressed blue from the pad and this is also one of the few that I used red for the bordering color.
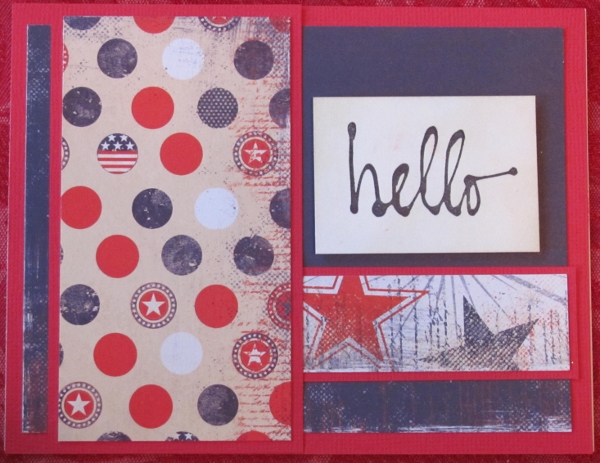
For the next one I used supporting papers with a lot of red in them. I wanted an element for where the strips cross so I used the staar punch on some of the burst paper, bordered it and popped it up on foam tape. A single star from the blue star paper was cut out and added to the middle.

Strips of simple patterns were added to cover a lot of thefeature paper. this takes away a lot of the busy-ness.
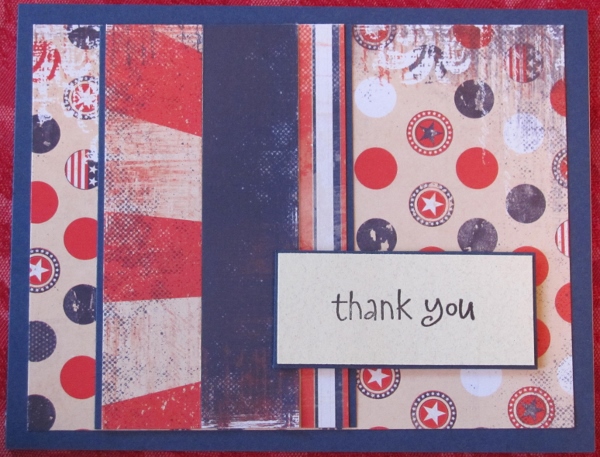
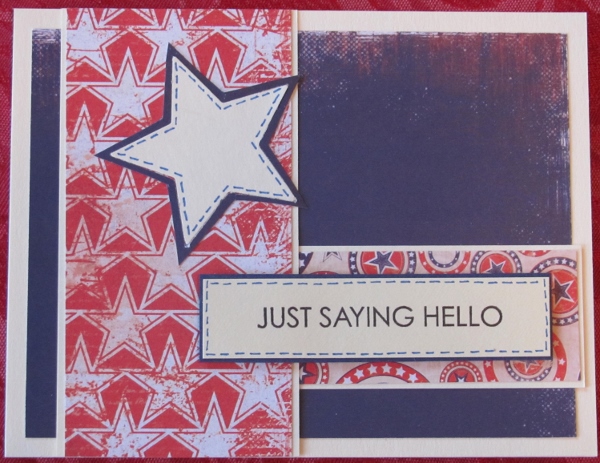
The last three are not really a group as they each feature a different paper. The first uses the solid blue distressed paper as the feature paper. A swath of red star paper adds a little zip and then the use of a cream punched star with faux stitching echoes the treatment of the sentiment. This is the only card that uses cream as the bordering color.
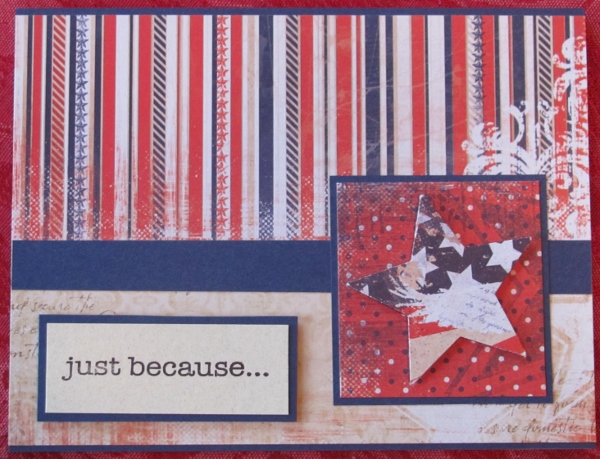
I really like this striped paper in the set. The way it is used here mimics wallpaper so I added a 'chair rail' and a little 'flooring'. I guess that makes the framed star element the chair and the sentiment gets to play the part of a little rug!
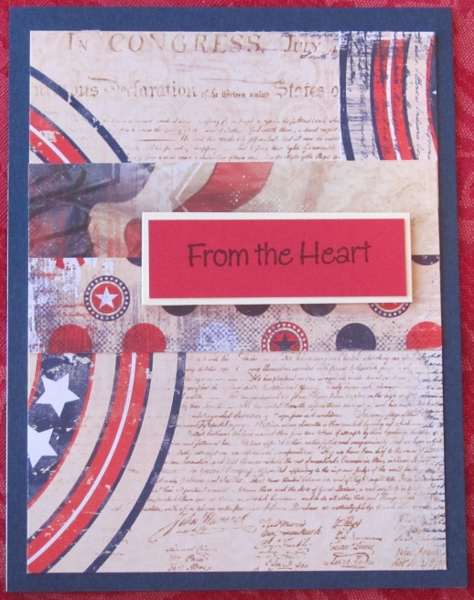
And last, I used a paper that included a text background of the Constitution and a large circle element on the left. I had a scrap of circle element that I had trimmed off when making a different card and added it to the upper right for this one. A couple of strips with designs across the center blend in nicely without bordering them. this allows the red sentiment to stand out when bordered with cream.
And that is all. Yes I really did create all these cards in one session. I had already matched up which papers would be combined on each card and selected the bordering paper. That final session was spent in actual design, assembly and finishing of all 20 of them.
I do still have a lot of this paper pad cut into elements and matched with bordering papers. So another session is being planned.
Ddd
