« September 2013 »
S M T W T F S
1 2 3 4 5 6 7
8 9 10 11 12 13 14
15 16 17 18 19 20 21
22 23 24 25 26 27 28
29 30
You are not logged in. Log in
Entries by Topic
All topics  «
3D paperwork
A - Z challenge 5
A - Z challenge 7
A - Z challenge round 4
A to Z challenge round 3
A to Z round 2
A to Z round 6
A-Z round 1
Around the House
Art Challenges
Artist Trading Cards
Backgrounds
Beads
Bible Journaling
Books
Boxes
Collage
Color Challenge
Coloring
cookbook
Die Cuts
Digital Projects
Digital Stamps
Drawing
Dry Embossing
Fabric Stuff
Fantastic Folds
Field Trip
Home Decor
How Does Your Garden Grow?
Hymnal Art
In The Kitchen
In the studio
Jewelry
Lettering
Links
Multi-Technique
Music to Work By
Musings
Nail Art
New Work
Online Class
Other Hobbies
Other Projects
Painting
Paper Embroidery
Paper Piecing
Photo
Pretty Paper
Quilting
Random
reading
Scrap Recovery
scrapbooking
Sewing
Sketch Challenge
Some Backlog
Stamping
Stencils
Stickers
Supplies
Teabag Folding
Techniques
Testing
tips and tricks
Tutorial
Web resources
Welcome to my Blog
Work By My Friends
workflow
Writing
Blog Tools
Edit your Blog
Build a Blog
RSS Feed
View Profile
Group One
In & Out of Studio 3D
Tuesday, 3 September 2013
Spellbinders Cut and Tuck
Topic: Die Cuts

I recently got a new set of Spellbinders dies that has three sizes and patterns of cut and tuck medallions. The die cuts out the item as well as all the inner slices that allow you to fold back a 'V' shape and tuck it under the vacated 'V' from the neighboring cut.

I picked out the two smaller dies to play with. I used all shimmer materials - a duo tone paper for the medallions and cardstock for the embossed background as well as diecut scallops to frame the medallions.

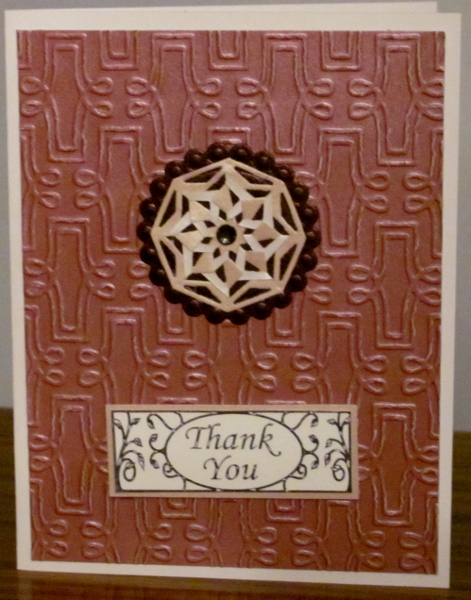
The smaller medallion has additional cut out areas so has a more lacy feel. For the card with two pink shimmers I used an asian embossing folder.


For a green and blue combo I used the folder called Ornamental Iron. I added a scalloped border at the bottom to balance out the sentiment. (the camera has some issues will all this shine and texture)


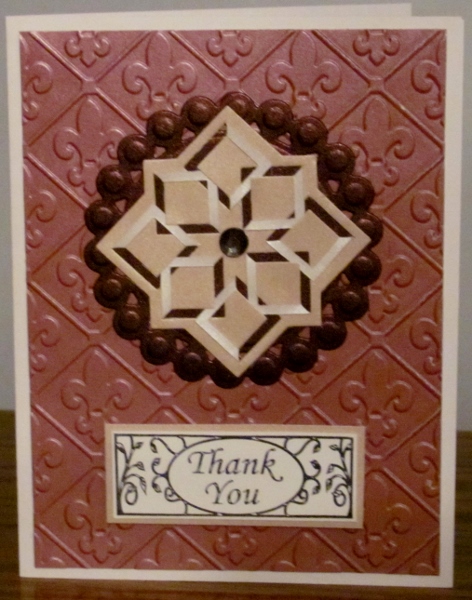
Then I used the same sets of papers with the large medallion. The pink version got a fleur-de-lis embossed background.


And the blue/green version got embossing of bamboo.


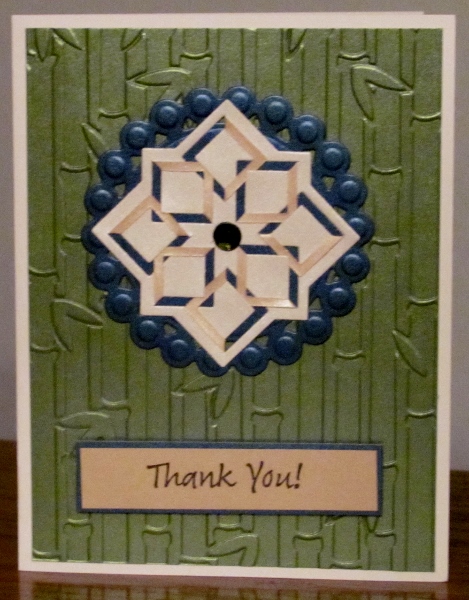
I turned all of these into Thank You cards with the sentiments popped up on foam tape. Also, in each case the medallion got a rhinestone as a centerpiece.

Ddd 


Posted by studio3d@ccgmail.net at 12:01 AM PDT

View Latest Entries