Topic: Coloring
You've probably noticed by now that the cards you saw earlier in watercolor painting are now appearing in alcohol marker coloring. I have a limited number of Christmas stamps so I did a little marathon stamping session and made multiple impressions of each on a watercolor pad with Archival black ink and then on plain cardstock with Momento Tuxedo Black. The two inks are each designed to work with a specific coloring medium with out smearing or bleeding.
I colored up most of the watercolor images first and now I'm working on the multiple images in alcohol inks. As usual, I am using a combination of Copic, Bic Mark-It, Spectrum Noir and PrismaColor.
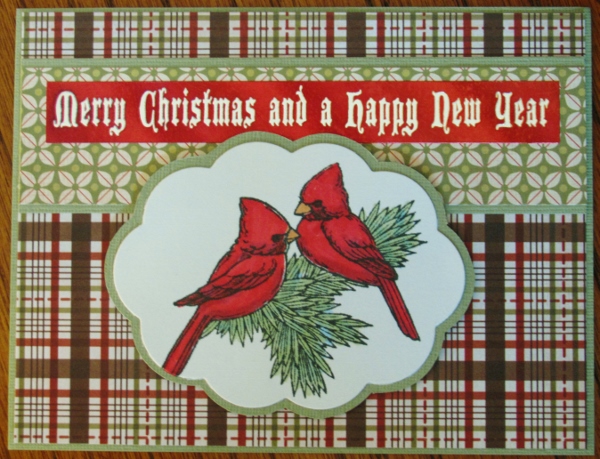
For the shading on this first set of cardinals I tried a method I had used before hoping to control bleeding with the reds. To do this type of shading you use a pale blue first to color the shaded areas. Then you color over the whole image with the feature color and get automatic shading. I used the same method in the pines but I should have used a color from the opposite side of the color wheel like a light orange.
I used a diecut for the image and this one got plaid paper and a foil red greeting.

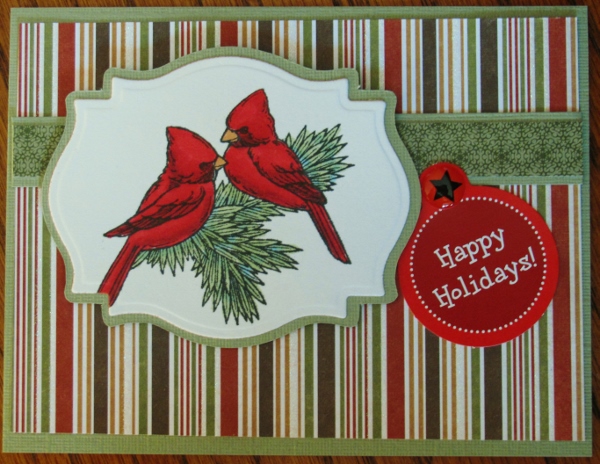
Back to the regular coloring method for the birds, using three reds. I used a different die cut shape and a striped background with glitter. The sentiment is a cardstock tag from who-knows-where and I covered the hole with a puffy acrylic sticker.

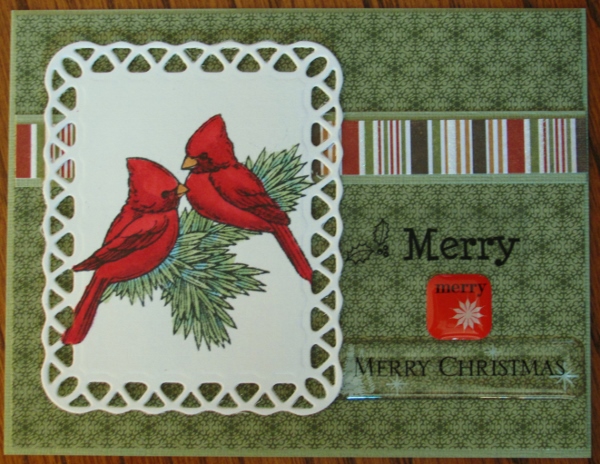
The coloring on this one is the same as the last. I fancied it up with a different diecut and a more solid background. A single strip of the glittered stripe and three sentiment pieces ( clear sticker, puffy acrylic, and clear thick acrylic sticker) finish it off.

The borderin on all of these is sage to match the coloring of the pines.
Ddd
