« September 2014 »
S M T W T F S
1 2 3 4 5 6
7 8 9 10 11 12 13
14 15 16 17 18 19 20
21 22 23 24 25 26 27
28 29 30
You are not logged in. Log in
Entries by Topic
All topics  «
3D paperwork
A - Z challenge 5
A - Z challenge 7
A - Z challenge round 4
A to Z challenge round 3
A to Z round 2
A to Z round 6
A-Z round 1
Around the House
Art Challenges
Artist Trading Cards
Backgrounds
Beads
Bible Journaling
Books
Boxes
Collage
Color Challenge
Coloring
cookbook
Die Cuts
Digital Projects
Digital Stamps
Drawing
Dry Embossing
Fabric Stuff
Fantastic Folds
Field Trip
Home Decor
How Does Your Garden Grow?
Hymnal Art
In The Kitchen
In the studio
Jewelry
Lettering
Links
Multi-Technique
Music to Work By
Musings
Nail Art
New Work
Online Class
Other Hobbies
Other Projects
Painting
Paper Embroidery
Paper Piecing
Photo
Pretty Paper
Quilting
Random
reading
Scrap Recovery
scrapbooking
Sewing
Sketch Challenge
Some Backlog
Stamping
Stencils
Stickers
Supplies
Teabag Folding
Techniques
Testing
tips and tricks
Tutorial
Web resources
Welcome to my Blog
Work By My Friends
workflow
Writing
Blog Tools
Edit your Blog
Build a Blog
RSS Feed
View Profile
Group One
In & Out of Studio 3D
Tuesday, 16 September 2014
Stretch Your Stamps 2 - Day 2 - Backgrounds - Brocade and Lace
Topic: Online Class

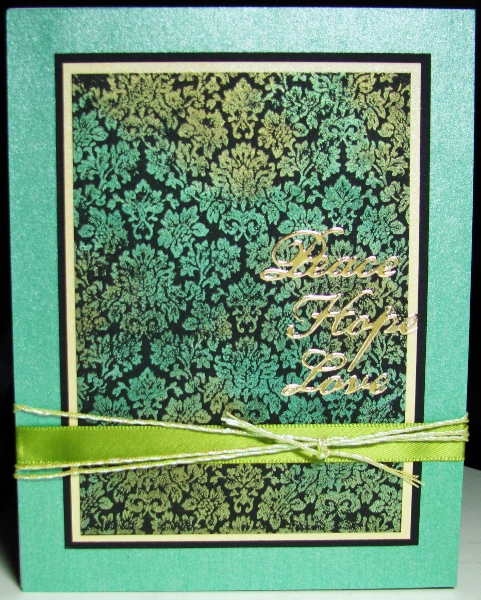
The technique taught next was SO elegant looking. The stamp is inked with Versamark on black cardstock. In the class they used Perfect Pearls but I only had Pearl-Ex powders. I applied them like instructed by pounding them on with a soft brush and then using the brush to dust away the excess. Clear detail embossing powder still sticks over this and it is heated to melt it.

For the first card I used the brocade stamp and selected Pearl-Ex in interference blue/green and interference green/yellow. I layered with yellow and green shimmer cardstock and black. These were wrapped with ribbon and cord. three gold Dazzles words were added on the right.

For my second attempt I stamped with four doilies and used duo-gold Pearl-Ex. A doodle-bordered strip and stamped diecut circle break up the mass of laciness. I had already watercolored a scrolled butterfly and fussy cut it with a thin white border. Then I covered it with Versamark ink and embossed it with clear powder. This was repeated for a thicker glassy surface.

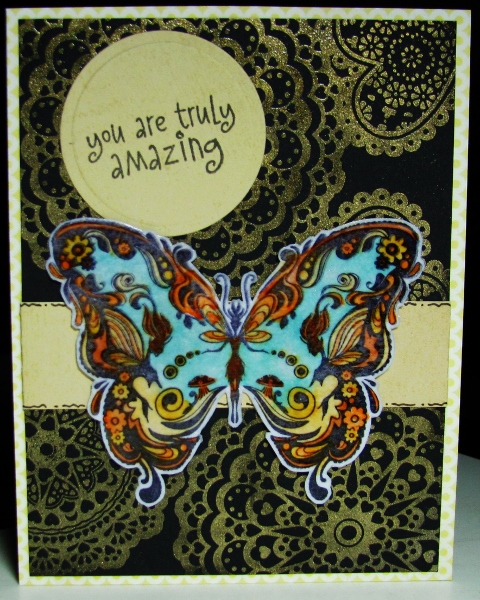
I used a yellow tone-on-tone background for a subtle border.

Ddd


Posted by studio3d@ccgmail.net at 12:01 AM PDT

View Latest Entries