« October 2014 »
S M T W T F S
1 2 3 4
5 6 7 8 9 10 11
12 13 14 15 16 17 18
19 20 21 22 23 24 25
26 27 28 29 30 31
You are not logged in. Log in
Entries by Topic
All topics  «
3D paperwork
A - Z challenge 5
A - Z challenge 7
A - Z challenge round 4
A to Z challenge round 3
A to Z round 2
A to Z round 6
A-Z round 1
Around the House
Art Challenges
Artist Trading Cards
Backgrounds
Beads
Bible Journaling
Books
Boxes
Collage
Color Challenge
Coloring
cookbook
Die Cuts
Digital Projects
Digital Stamps
Drawing
Dry Embossing
Fabric Stuff
Fantastic Folds
Field Trip
Home Decor
How Does Your Garden Grow?
Hymnal Art
In The Kitchen
In the studio
Jewelry
Lettering
Links
Multi-Technique
Music to Work By
Musings
Nail Art
New Work
Online Class
Other Hobbies
Other Projects
Painting
Paper Embroidery
Paper Piecing
Photo
Pretty Paper
Quilting
Random
reading
Scrap Recovery
scrapbooking
Sewing
Sketch Challenge
Some Backlog
Stamping
Stencils
Stickers
Supplies
Teabag Folding
Techniques
Testing
tips and tricks
Tutorial
Web resources
Welcome to my Blog
Work By My Friends
workflow
Writing
Blog Tools
Edit your Blog
Build a Blog
RSS Feed
View Profile
Group One
In & Out of Studio 3D
Monday, 27 October 2014
Stencil Tutorial - Scrolled Background
Topic: Stencils

I’m back with another stencil tutorial from the My Favorite Things order.

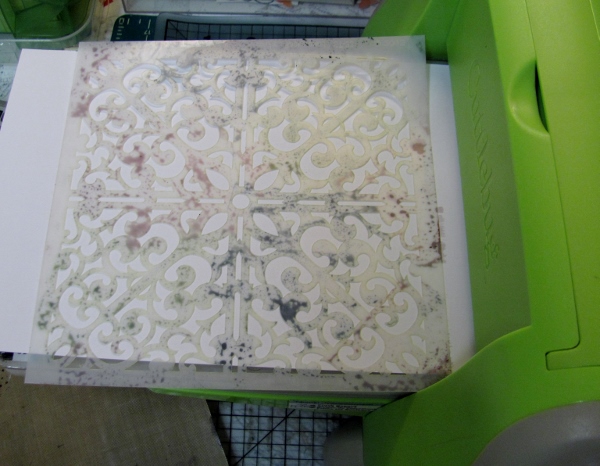
The stencil I am using today is the Scrolled Background . It really reminds me of wrought iron.

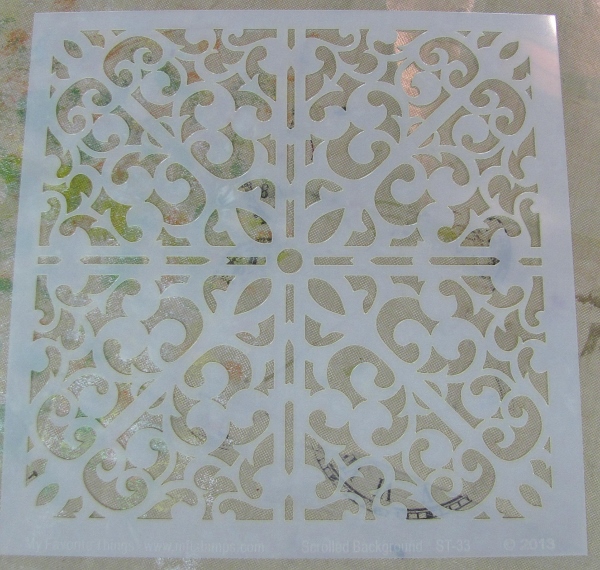
I've been able to use other stencils in the Cuttlebug to make raised impressions and I've used ink on embossing folders to make a 'letterpress' effect. I wanted to try to combine these techniques using this stencil.

I started with three light colors of Distress Ink pads.

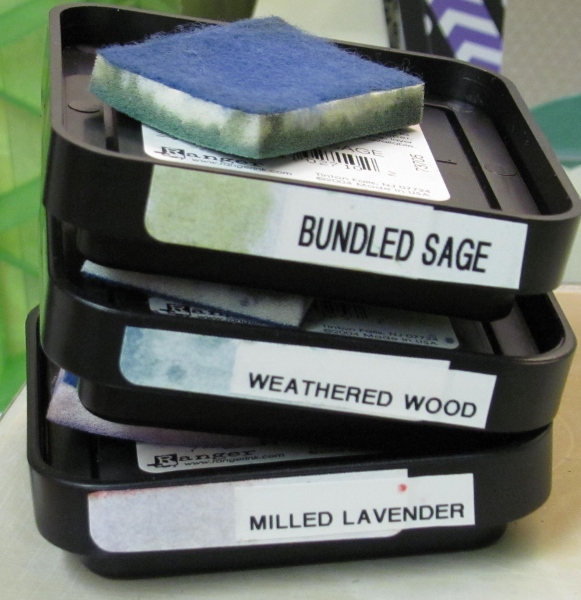
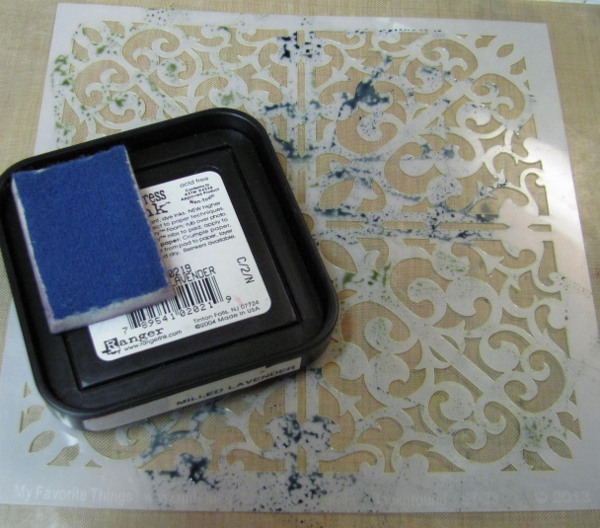
These were pressed onto the surface of the stencil, overlapping some intersections for good coverage.

I loaded the Cuttlebug with the A plate, the B plate, a rubber mat, and the plain white paper.

Over this went the wet inked stencil, face down over the paper.


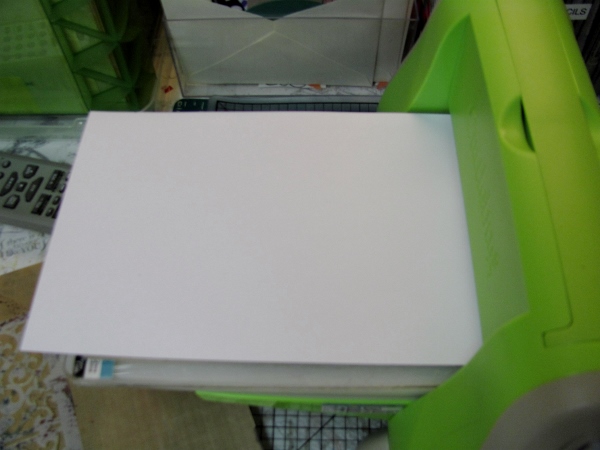
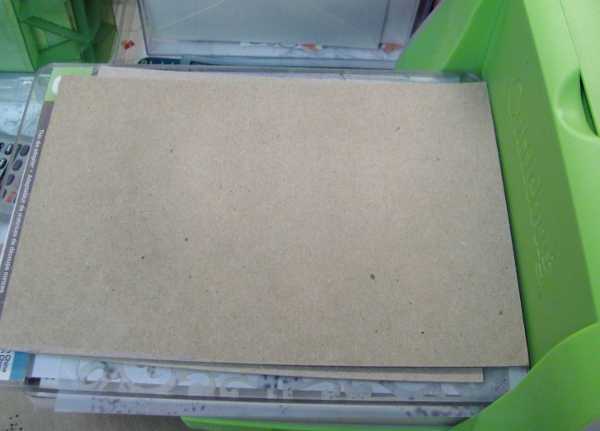
Then came the B plate along with a shim of chipboard.


NOTE: this would be easier with a larger machine like the Big Shot as the stencil is really tight in the opening of the Cuttlebug. If I were going to do this again I might trim off 1/8 inch from the edge of the stencil.

And look what you get after cranking it through!
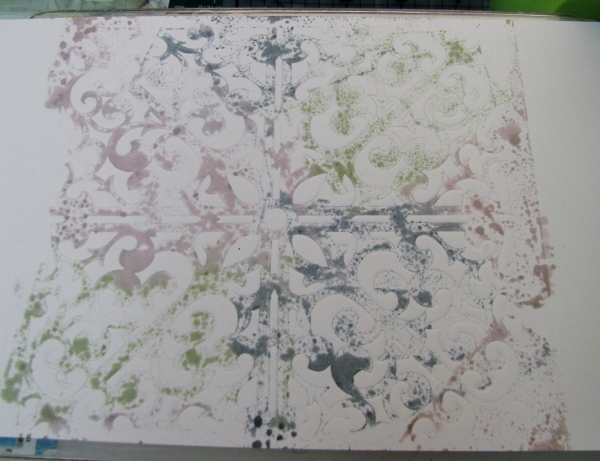
Yummy, yes?

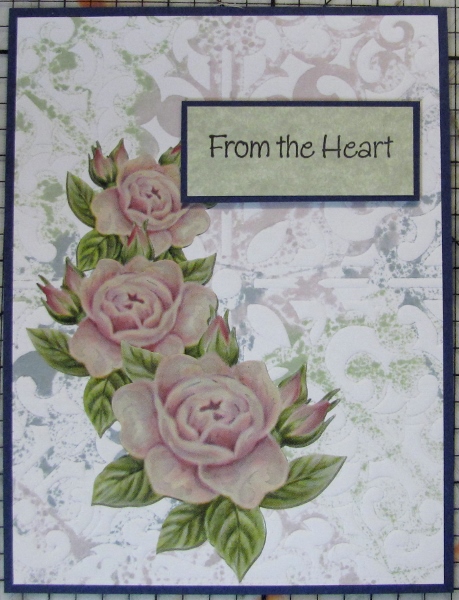
I trimmed it down and combined it with some floral stickers and a popped up stamped greeting to create this card:


Ddd

Posted by studio3d@ccgmail.net at 12:01 AM PDT

View Latest Entries