Topic: Techniques
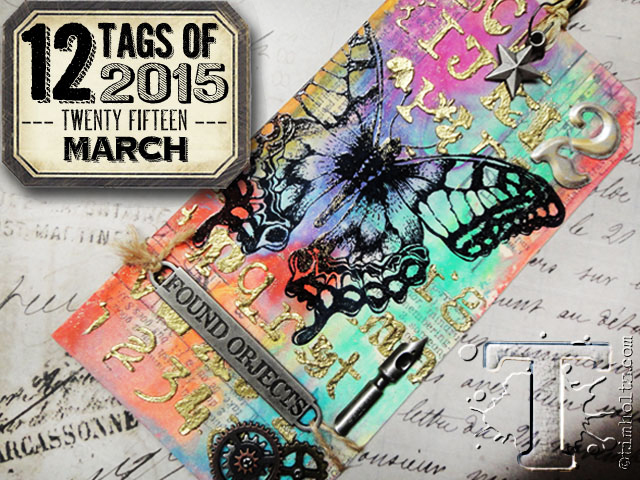
Another month, another 'Tim Tag'. I am continuing on my plan to complete all 12 of Tim Holtz's 12 Tags of 2015. We are now up to March and here is the tag that Tim made and posted instructions for:

So here are the steps I followed - with different products and/or processes while aiming to get a similar result.
--cut a heavy piece of patterned cardstock, printed with a lace design
--create a collage of tissue tapes while leaving some areas of the background exposed
--on a non-stick craft sheet, squirt some acrylic paint in various colors. I used 'one-stroke' paints in lavender, pink, red, blue and yellow
--mist with water and mix it into each color to make them thinner
--swish the collage through the paint
--mist the paint with water to allow it to blend
--use heat tool to dry completely
--use archival ink in jet black to stamp butterfly - I used my hand carved stamp
--while still wet, apply clear detail embossing powder
--hit with a heat gun to complete embossing the butterfly
--stamp and cut a mask for the butterfly
--put on the mask then place a stencil over the top
--use a stiff card to squeege texture paste through the stencil
--remove the stencil and the mask
--sprinkle with gold detail embossing powder
--LEAVE TO DRY FULLY WITHOUT HEATING
--after completely dry, use heat gun to melt the gold embossing powder
--cut into tag shape of desired size
--apply adhesive to the entire back using the Xyron machine
--stick the tag to heavy black cardstock
--trim the black down to a thin outline
--use hole punch at the top of the tag
--use punches to create a black 'hole reinforcement' and glue it on
--press two Distress Ink pads to the non-stick craft sheet
--mist with water
--wad up a length of seam binding and press it into the color. mist it with water to spread the color
--crinkle the binding and dry with heat tool
--thread binding through the hole in the tag and knot it
--connect a charm to the ribbon with a pin
--attach a key charm with the ribbon
--glue other metallic charms to the surface
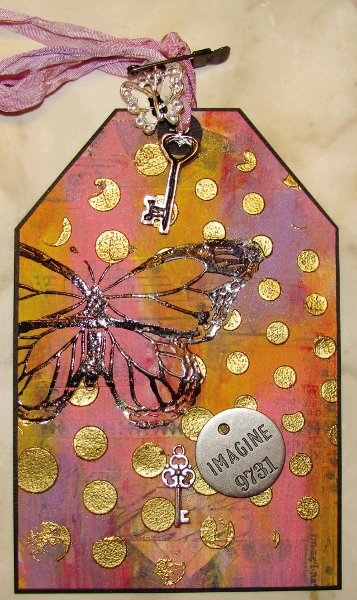
Here is the result of my effort:

For the last two months I have made display pieces instead of tags. I did make a tag this month but I have no idea how I might use it.
Ddd
