Topic: Sewing
Back in March I was in Puyallup Washington for the Sewing and Stitchery Expo. I bought a pattern and special batting for making a duffel bag.
Six months later, I finally decided what fabric I wanted to use (from my stash) and bought the D-rings, sliders and swivel clips as well as two zippers. And I was ready to go.
First off you have to take your lining fabric and your main fabric, sandwich the batting between them, and quilt top to bottom at 3/4-inch intervals across the entire width. The construction pieces are then cut from this quilted 'fabric'.
For my main fabric I chose a black background with pink and teal flowers. For the trim I chose a two-tone pink. And for the lining I chose a teal with white polka-dots.
Here is a view of the overall bag:
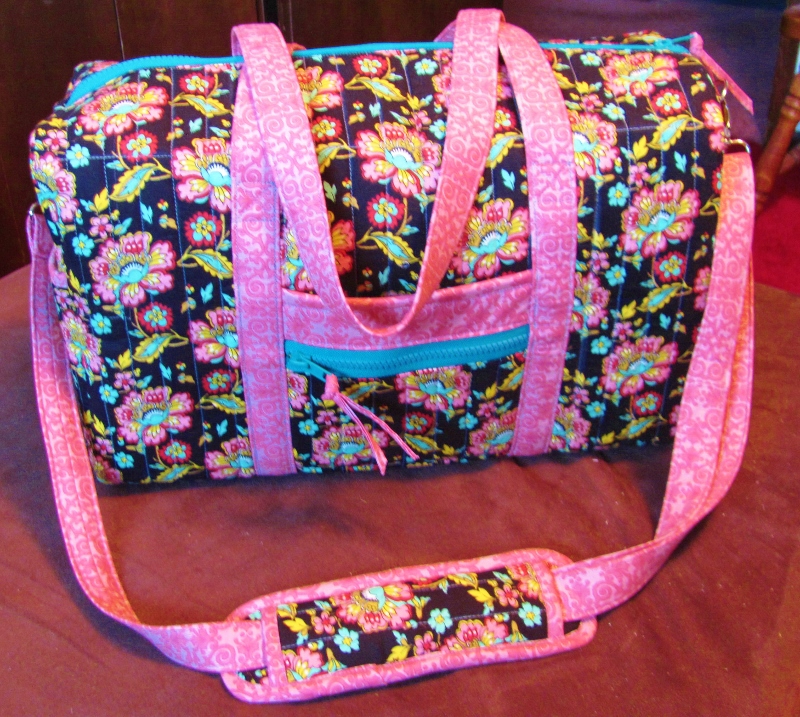
The exterior features a slip-on pocket on each side and each end. There is also a zippered pocket on the front. Teal zippers were a lot of fun.
The back:
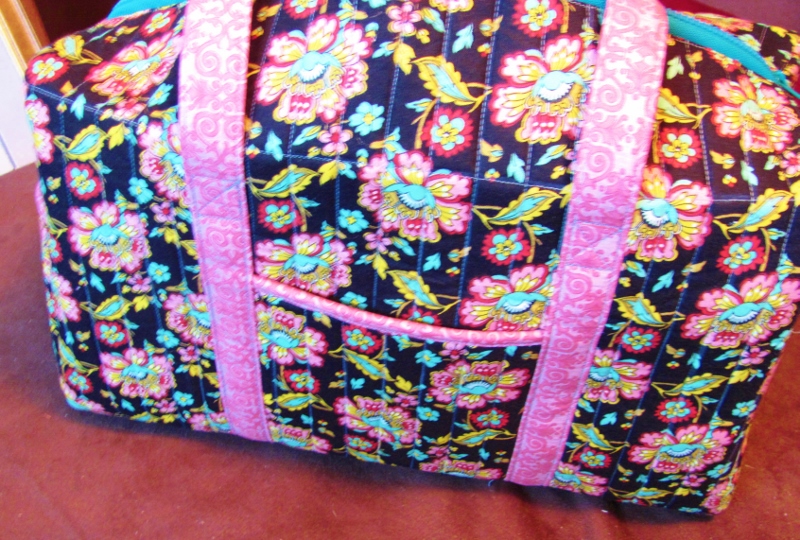
On the ends you can see where the padded, adjustable shoulder strap clips on:

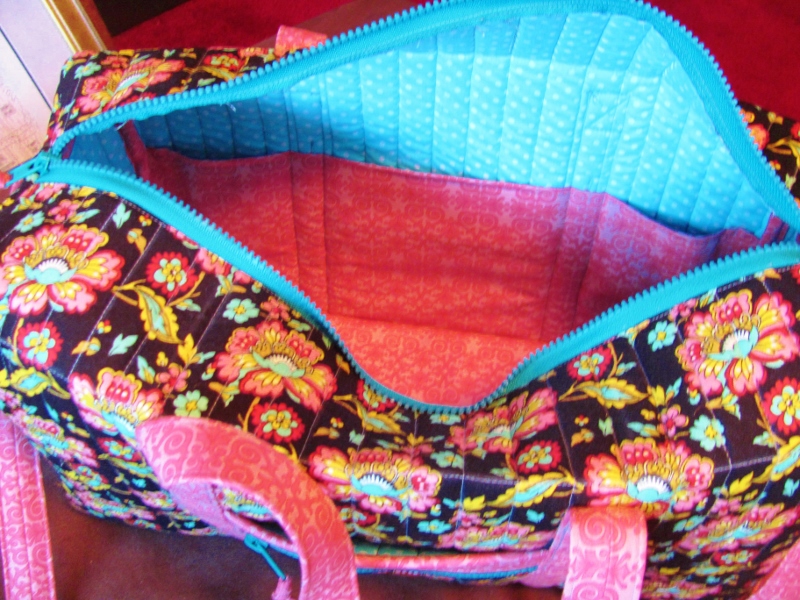
Here's a look at the adorable polka-dot interior and the three-section pocket:
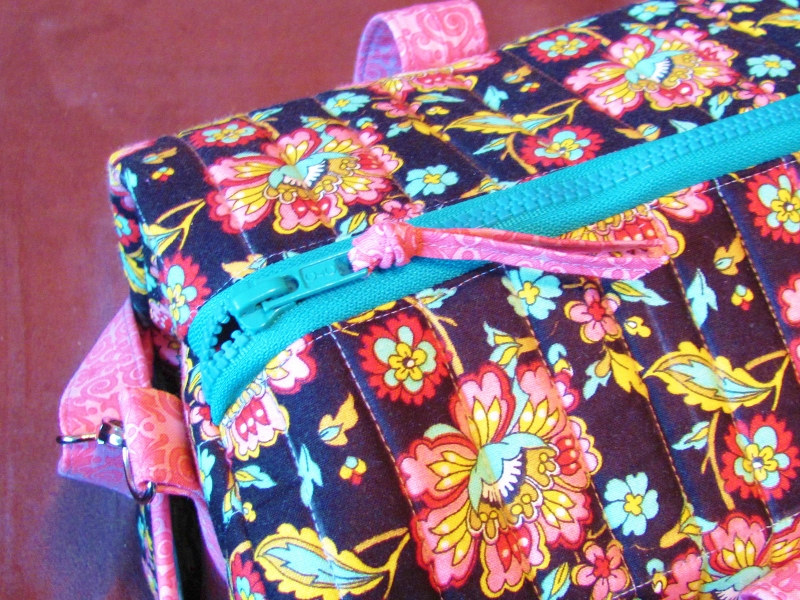
The instructions even include little zipper pulls in the trim fabric:
This a generous size and turned out SO CUTE!
It was a two-day project for me, including time to tear out a few times when I didn't catch on to the directions the first time around.
Ddd
