Topic: Field Trip
On previous cruises I have played with the blank book craft that they make available.
The kit includes a blank book, a sheet of stickers, a sheet of die cuts, two ribbons, a crocheted lace, a bottlecap, some paper clips, photo corners, brads and three sheets of printed cardstock.
Let's see if I can find pictures of the previous books I made:
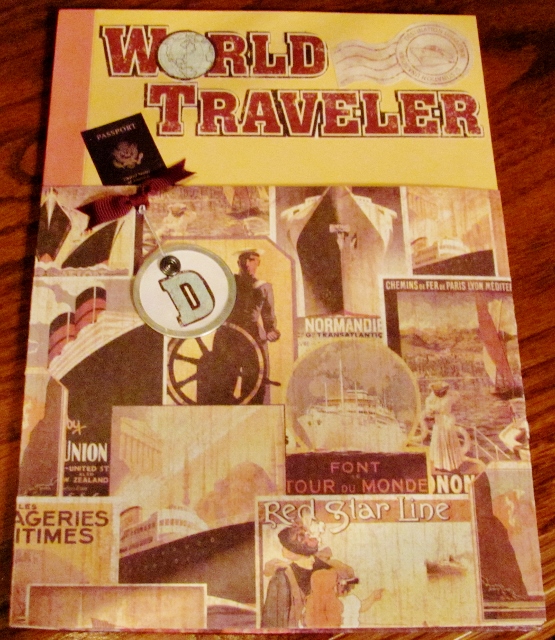
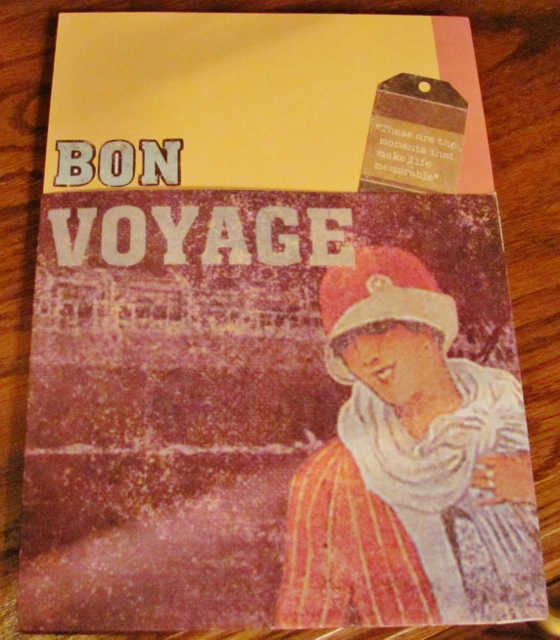
For this one I used the printed cardstock to create pockets for the front and back covers before decorating with stickers and a tag. FRONT:
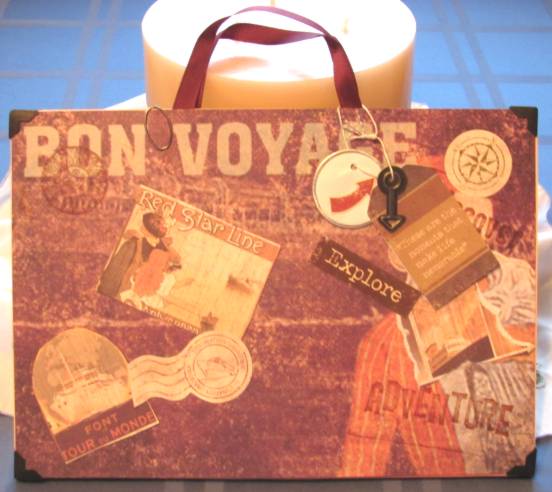
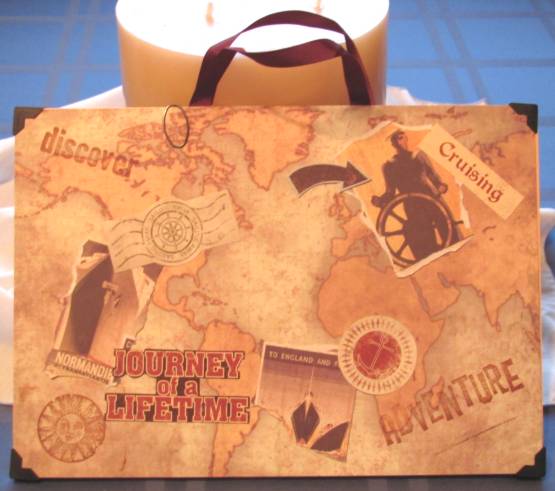
For the next one I used the photo corners and the ribbon (to make handles) so I could make it look like a suitcase. Both sides are covered with the printed cardstock. FRONT:
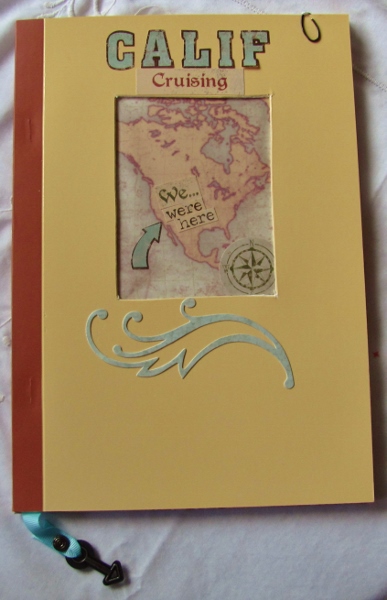
So, I wanted to do something a little different this time, with the same supplies.
I cut an aperture in the front cover, backed it with clear cellophane from the original packaging and added a piece of map paper with stickers behind that.
The rest of the front got other decorations to further the theme:

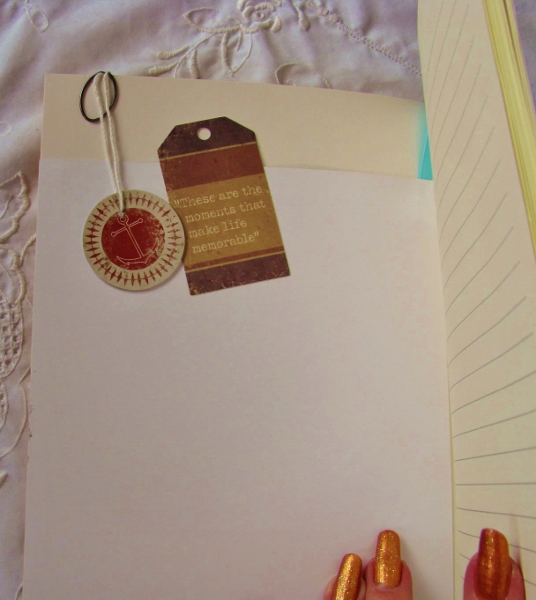
I used one of the ribbons to create a permanent bookmark and added an arrow charm to it. Then on the inside of the front cover I backed the aperture decor with blank paper and added a couple of tags and a clip:
The back cover got a couple of printed cardstock attached to create a pocket:

The envelope is just there to show the pocket layers.
SO, that is the end of the Field Trip review. Something different coming tomorrow.
Ddd
