Topic: Multi-Technique
I am WAY behind on creating tags from Tim Holtz's 12 Tags of 2016. I finally created the project for February - in MAY!
This year he reprises two old tag techniques he has done in past years and combines them into one tag.
Here are the two tags Tim combined for February:
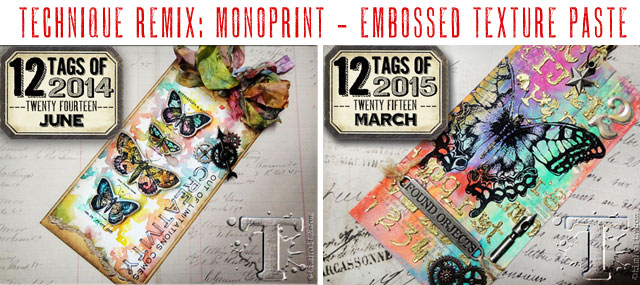
And the tag he made combining techniques from these:

I will warn you that my project looks nothing like his!
Here are the steps I used to create my version:
- Cut down a piece of watercolor paper to card-front size
- Apply Distress Stains over entire surface (I used a teal, a green and a brown)
- Spritz with water
- Dry with heat tool
- Ink BACK of a stencil with three Distress Ink Pads (I used a stencil of birch trees)
- Spritz stencil with water
- Place on the stained watercolor paper
- Cover with paper towel and press to soak up extra moisture.
- Lift stencil
- Dry waterolor paper with heat tool
- Ink edges with walnut stain Distress Ink
- DRY with heat tool (I forgot this step and had some problems later down the line)
- Place another stencil on the surface and squeegee modeling paste through selected areas (I used a stencil of birdcages hanging from branches)
- Remove (and clean) stencil
- Sprinkle with gold embossing powder
- Let dry completely
- Heat emboss powder
- Add stamping to embellish (I used one large and many tiny birds)
- Add word stickers (I used some of Tim's Kraft stickers)
- Use Distress marker to create drop shadows on all elements
- Apply a metal charm using Glossy Accents as adhesive
- Add green Stickles to charm
- Trim if desired and add to a folded card base.
Here is the card I created:

I really like my version a LOT!
Ddd
