« June 2016 »
S M T W T F S
1 2 3 4
5 6 7 8 9 10 11
12 13 14 15 16 17 18
19 20 21 22 23 24 25
26 27 28 29 30
You are not logged in. Log in
Entries by Topic
All topics  «
3D paperwork
A - Z challenge 5
A - Z challenge 7
A - Z challenge round 4
A to Z challenge round 3
A to Z round 2
A to Z round 6
A-Z round 1
Around the House
Art Challenges
Artist Trading Cards
Backgrounds
Beads
Bible Journaling
Books
Boxes
Collage
Color Challenge
Coloring
cookbook
Die Cuts
Digital Projects
Digital Stamps
Drawing
Dry Embossing
Fabric Stuff
Fantastic Folds
Field Trip
Home Decor
How Does Your Garden Grow?
Hymnal Art
In The Kitchen
In the studio
Jewelry
Lettering
Links
Multi-Technique
Music to Work By
Musings
Nail Art
New Work
Online Class
Other Hobbies
Other Projects
Painting
Paper Embroidery
Paper Piecing
Photo
Pretty Paper
Quilting
Random
reading
Scrap Recovery
scrapbooking
Sewing
Sketch Challenge
Some Backlog
Stamping
Stencils
Stickers
Supplies
Teabag Folding
Techniques
Testing
tips and tricks
Tutorial
Web resources
Welcome to my Blog
Work By My Friends
workflow
Writing
Blog Tools
Edit your Blog
Build a Blog
RSS Feed
View Profile
Group One
In & Out of Studio 3D
Saturday, 11 June 2016
Guess the Medium
Topic: Nail Art

I don't know if this is a new idea for you but it sure was for me. 

I had a wild thought the other day when contemplating what to put on my nails next. I wanted some kind of artwork look and decided to see if I had any tissue paper in the studio that had small motifs on it.

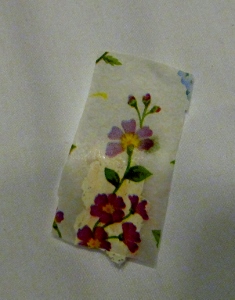
Sure enough I found this piece:


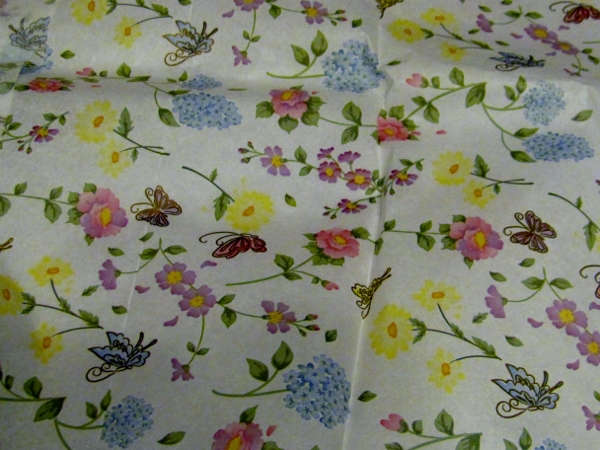
I had the idea to try a tissue wrap on my nails much like the ones I used recently on the Tim-tags.

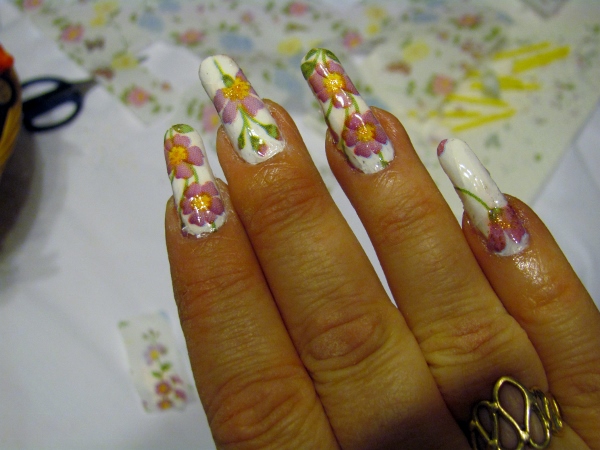
So, I started out by cutting out small purple flowers and then I cut slits into the paper all around right up to the flowers (this was so the tissue would mold to the shape of the nail.


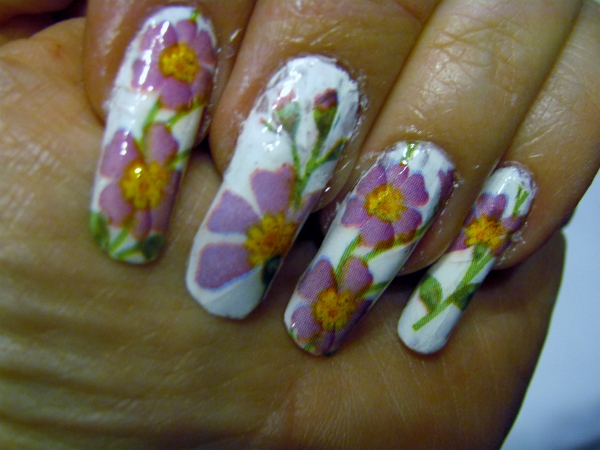
I used clear base coat and two coats of white polish on each nail. When they were completely dry I worked one-by-one. I applied a coat of clear topcoat, placed and burnished a tissue and trimmed around all the edges and tip wiith small scissors.

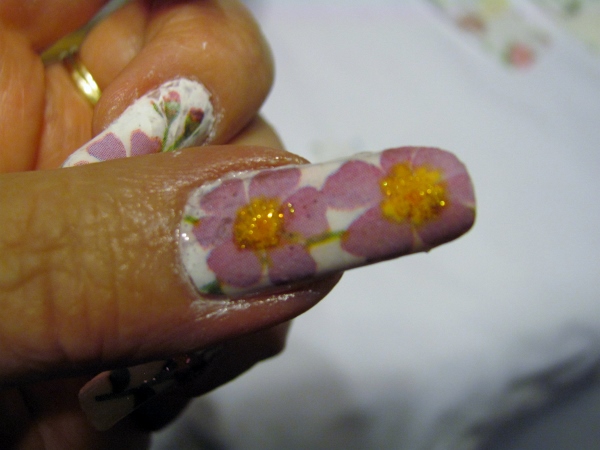
Then I put a small dot of gold glitter on the yellow flower centers.

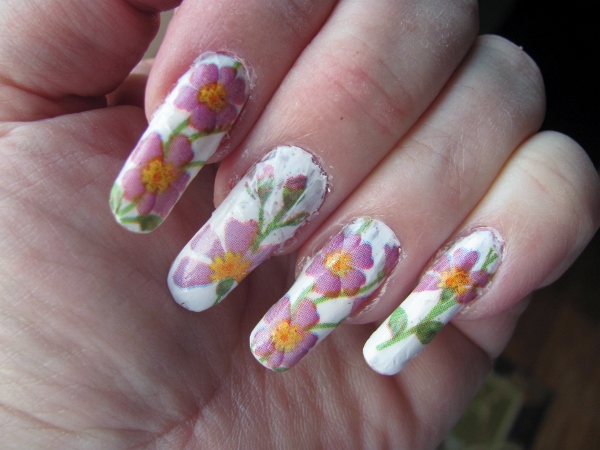
After all was dry I filed the edged smooth and then used two coats of topcoat to seal them.

They ended up looking like painted porcelain and I love them.


I have no idea how long something like this will last. It's all an experiment at this point.

Also, this was a LOT of work, so I probably won't do it again.

Ddd


Posted by studio3d@ccgmail.net at 7:31 AM PDT

View Latest Entries