Topic: Nail Art
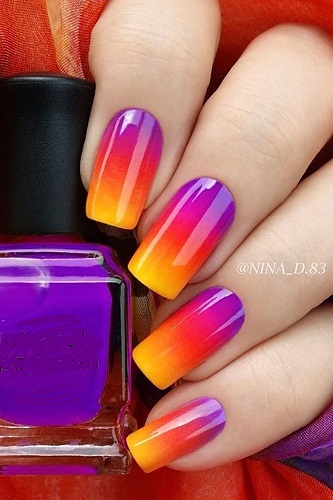
To decide on a look for a new manicure, I took to Pinterest and did a search for "Summer Nail Art". The one I was ezpecially taken with was this:
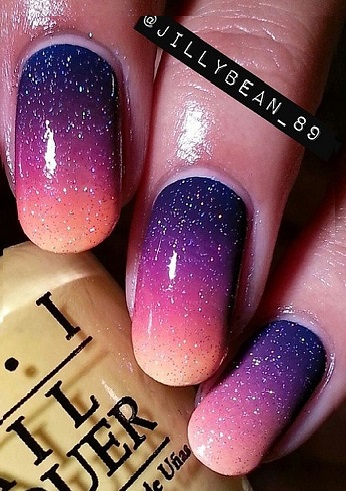
Unfortunately, those particular colors were not in my selection of polish so I selected some from the same color families but more subdued and came closer to this:
I first did a sample chart combining various purples, reds and copper. Then I overlaid these with a variety of clear polishes with glitters.
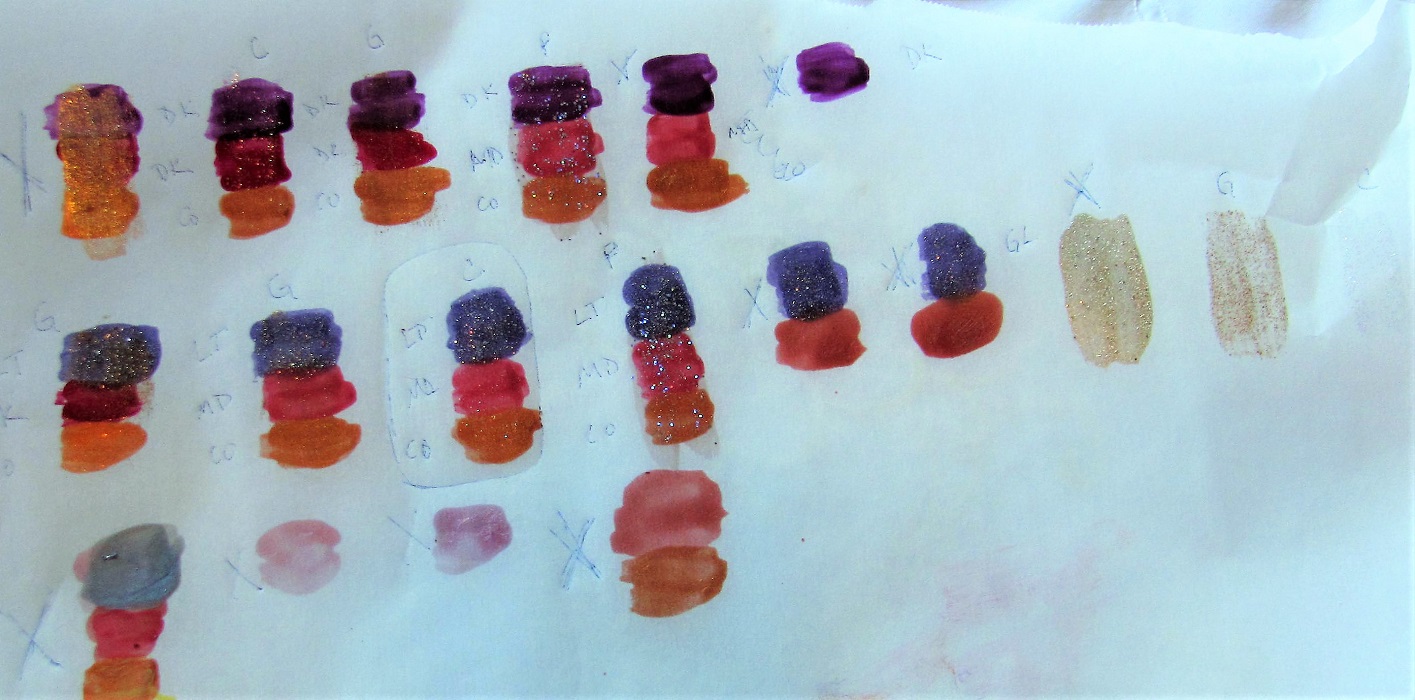
You can see the set of polishes I selected as the one that is circled on the chart.
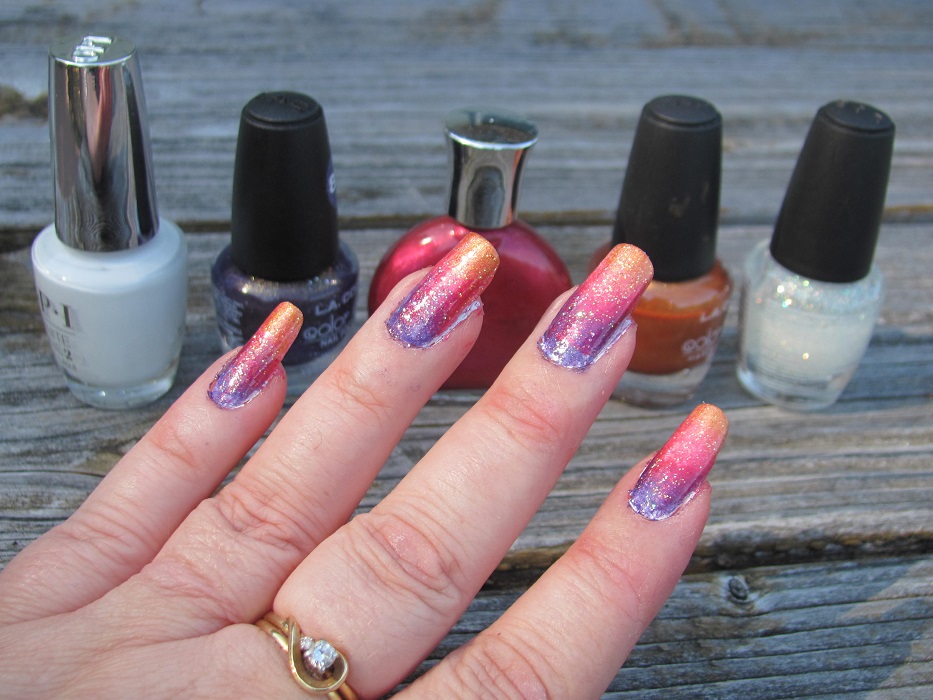
This was the selection of polishes I used: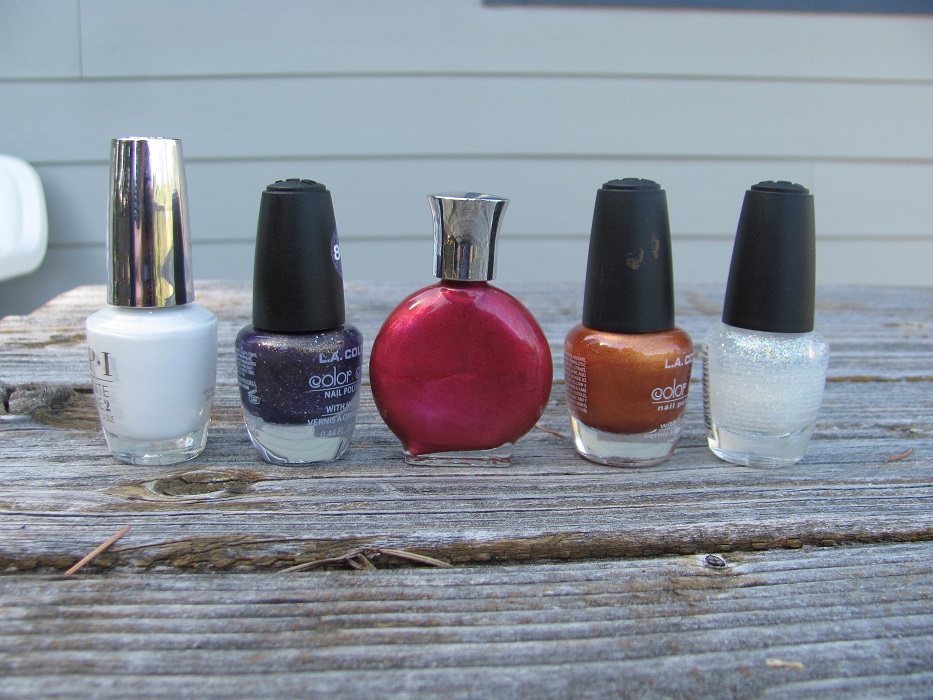
I started out with liquid latex surrounding the nail to keep sponged colors off my fingers. Then I gave the nails a clear base coat and a single layer of white polish. The white gives the colors life as it is brighter than the plain nail color and allows sheer sponging to show up in true color. (Think of the difference you get when using a marker on a brown paper bag as opposed to a white paper.)
For the application of color, I painted stripes of each polish, in order, onto a plastic sandwich bag.
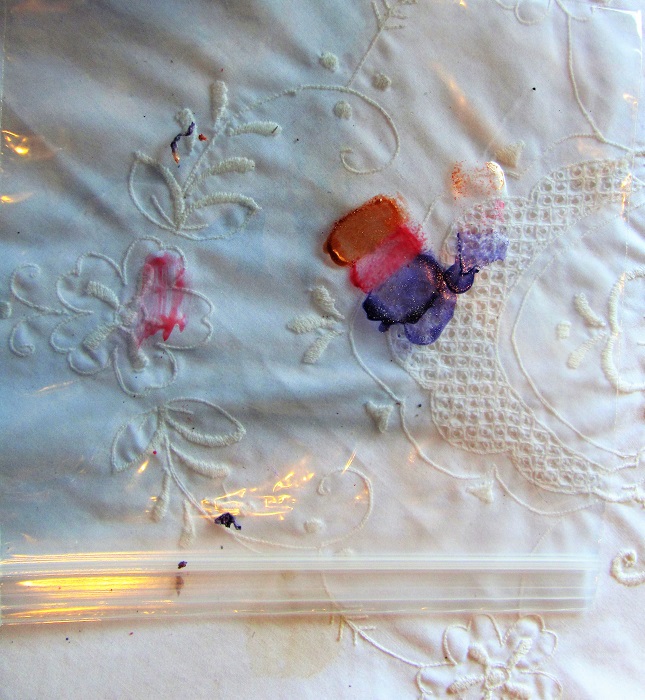
This was picked up onto a makeup sponge by dabbing onto the bag.
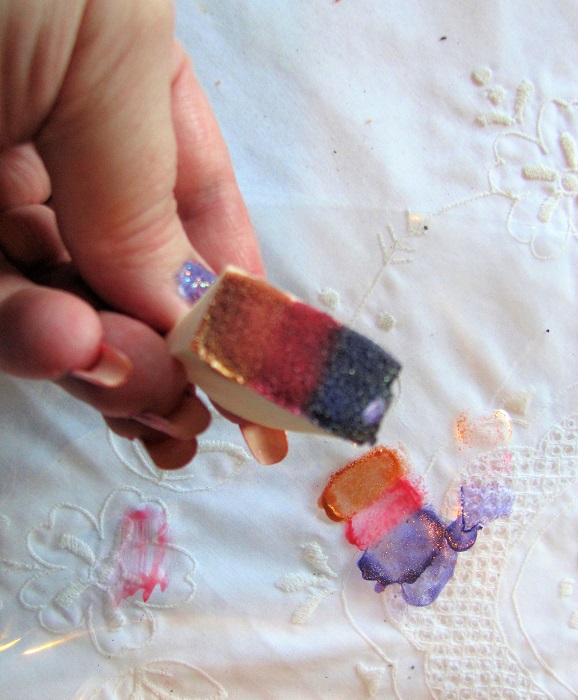
The sponge was then tapped onto the nail moving to and fro to blend where the colors meet. I did two coats on each nail. After this I tapped a little more red over part of the purple for a smoother transition.
A clear coat with fine irridescent glitter was the next step, followed by clear top coat.
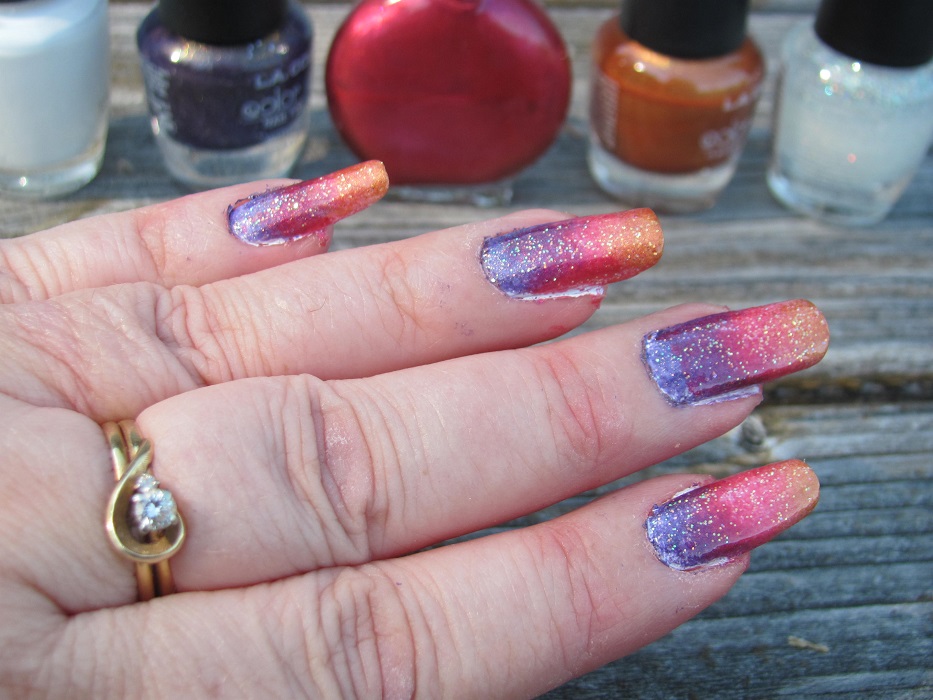
The latex peels off easily leaving little cleanup required.
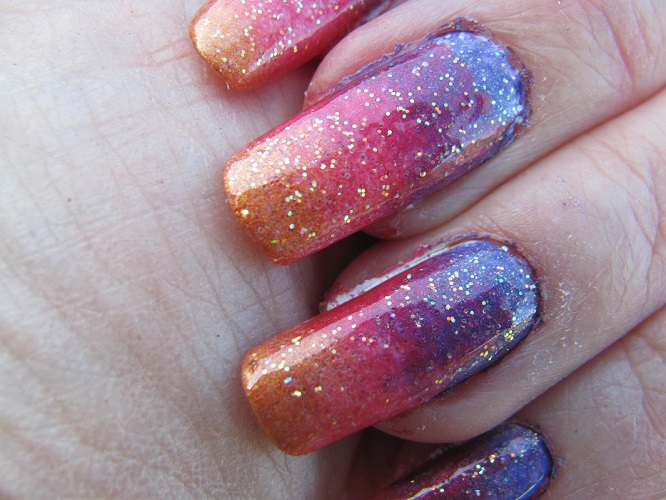
I find that complete drying overnight will allow the little bits in the cracks of the cuticles to be removed with soap and water when scraped with the point of my nail file.
Yep, I like these just fine.
Ddd
