Topic: Online Class
I started an online class yesterday at the Online Card Classes site. This one has a focus on using rainbow coloring.
The lessons for the first day (three instructors) taught how to do TWELVE different blending styles and then turned several into finished cards.
Mine may use different supplies, a change in style, other finishing and most certainly stamps unlike theirs.
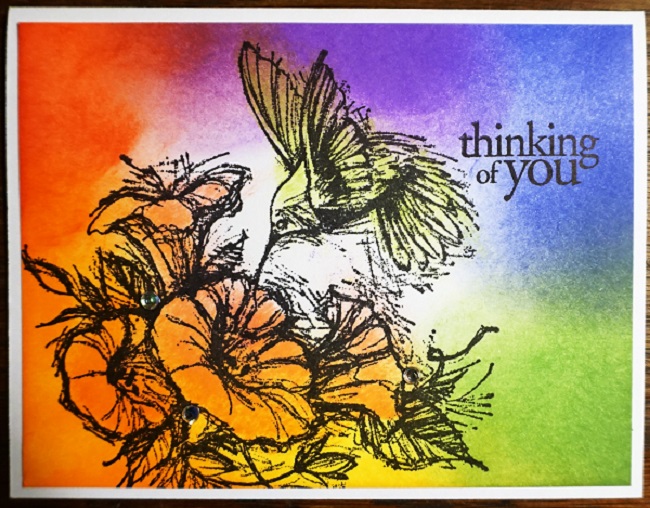
This one uses blending around the edge and is then overstamped with black ink. I finished by blending some spot coloring into the flowers and bird, added a sentiment and tiny rhinestones:
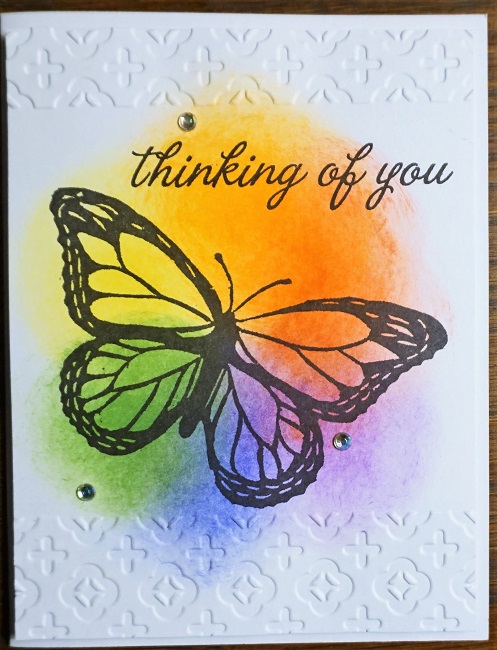
The next is center blending with black overstamping. The front panel has been run through the Cuttlebug with a texture folder at the top and bottom. Finishing includes popped-up mounting and rhinestones:
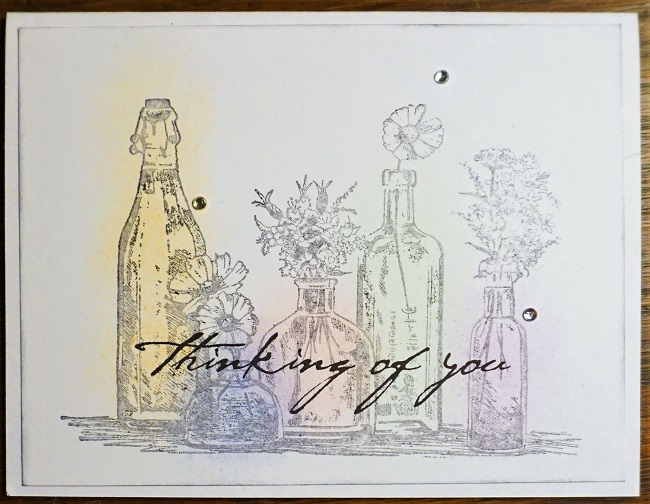
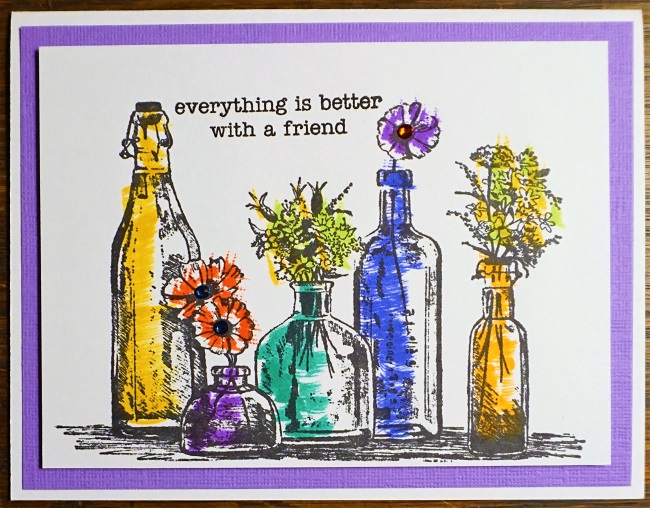
We switched from blending tools to stencil brushes for the next one. The color is applied from one edge in rainbow bands. Then a stencil was laid on top and more of the same colors were brushed on. I turned mine so the color was at the bottom and stamped the bottles over it.

When stamping the card above I stamped the image again onto a blank card to clean off the stamp. Then I used the image to clean off my stencil brushes and it gave me this soft image. I stamped a black sentiment over the top and finished with rhinestones.
On this, rather than using a whole rainbow of colors, it uses only red yellow and blue. All the secondary colors are from blending these. It has been flecked with water to create the mottled effect.
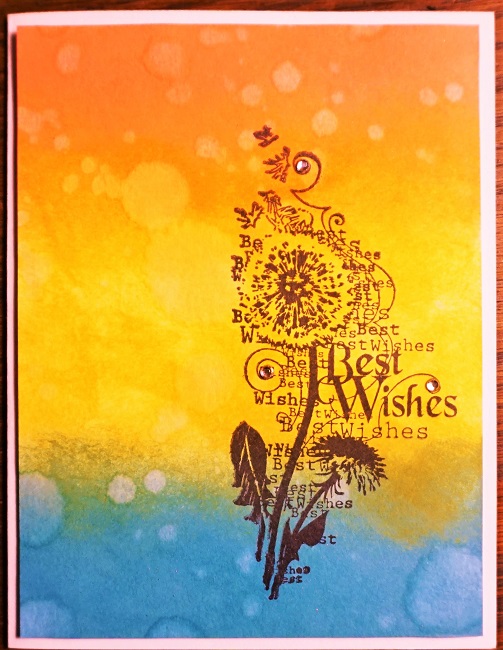
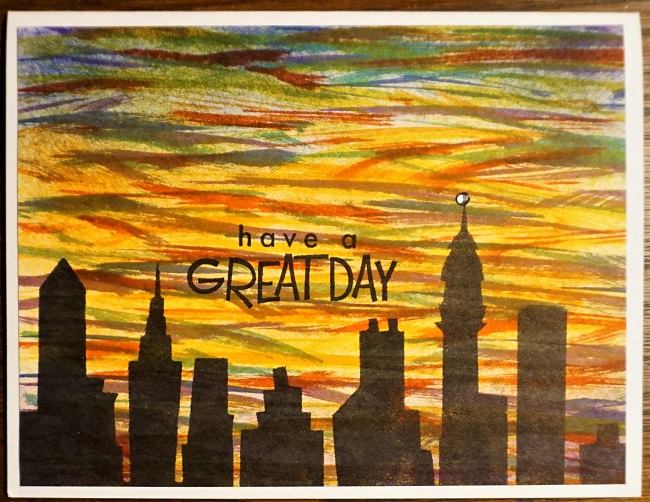
One of the lessons was creating a stripedy background using the edges of thepads of pigment inks. I, on the other hand, used my Distress Inks. As I added more color it was leaning toward the orange so I finished going in that direction and created a sunset sky instead of a rainbow. The skyline is a stencil that I inked with Archival black.
Finally, I stamped those bottles again and used the direct-to-paper technique to spot-color them.
...and that was day ONE!
Ddd
