Topic: Bible Journaling
Oh, how I wish my blog editor allowed more than one Topic tag! I fear I switch back and forth between Bible Journaling and Lettering for these posts and so they will never all appear together in one search. Grrrr!
In any case, this week I taught lettering again and include the script here for you.
Day #1 – Adding Weight – Intro
This week we’re going to explore options for adding weight to our italic fonts learned last week.
For the sample word, write it in pencil using a basic oval font OR an architect font in italics.
Add a second line along the left side of the letter then ink and erase the pencil.
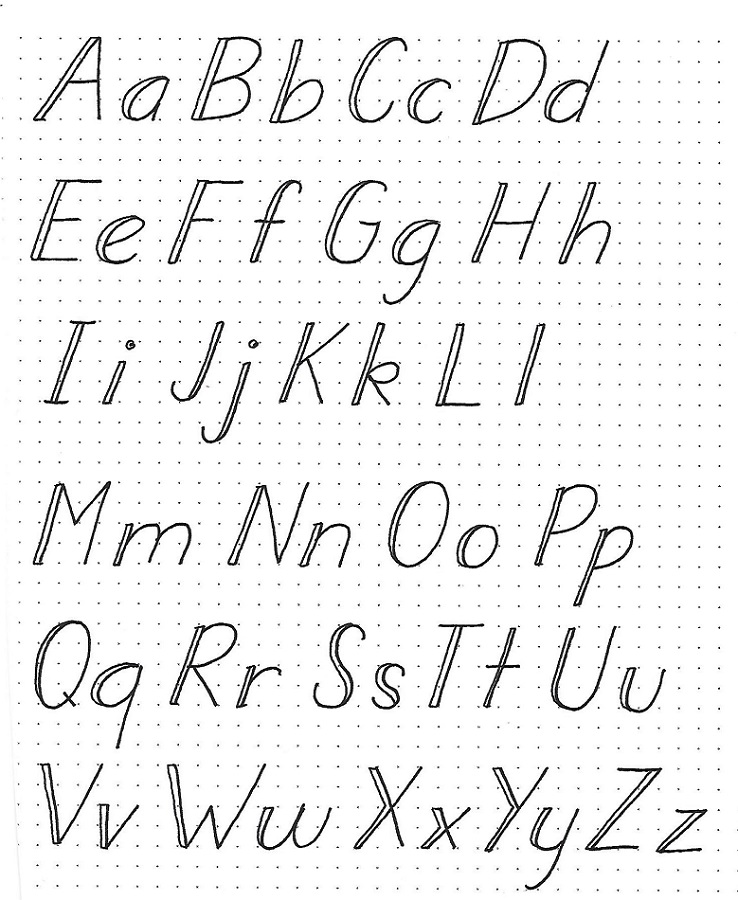
Day #2 – Double Line Italic – Alphabet
This entire alphabet is based on an italic of the basic oval letter. You can refer back to your own sample sheets from previous lessons to see if you had changed any letter forms into ones you would like to keep for this lesson.
Write out the whole italic alphabet in pencil. Add a second line to the left side of each letter. Ink and erase pencil.
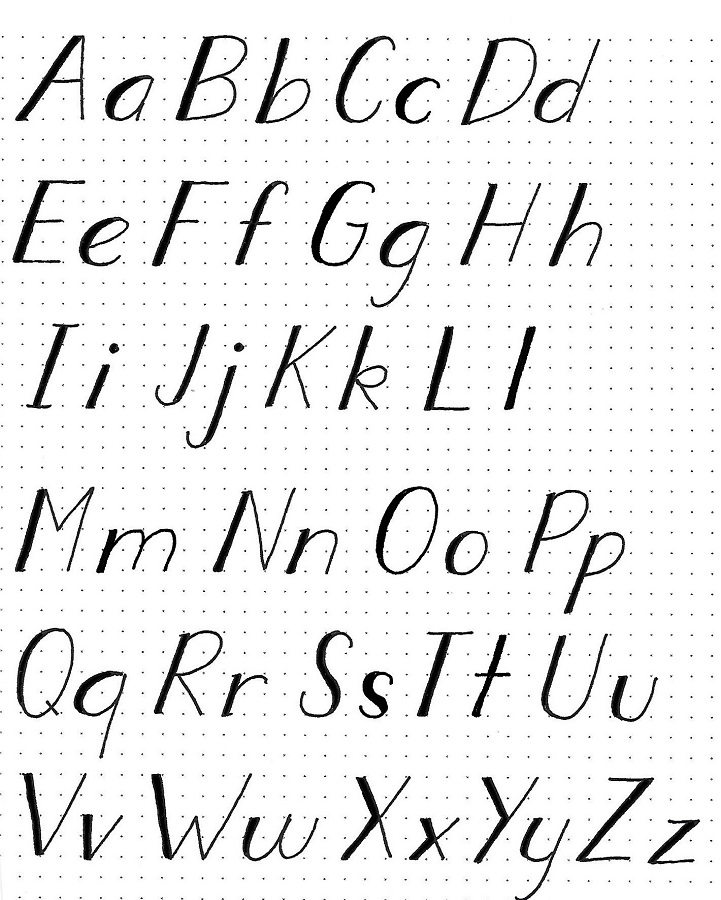
Day #3 – Filled Line Italic – Alphabet
You can use a COPY of yesterday’s lesson for this exercise. The only difference is that we will fill in the area between the double lines. You can use either black or color for the fill.
The reason I emphasize using a COPY is that you will then retain samples from every stage of the progression which can be used to decide what lettering you want to use on a future project.
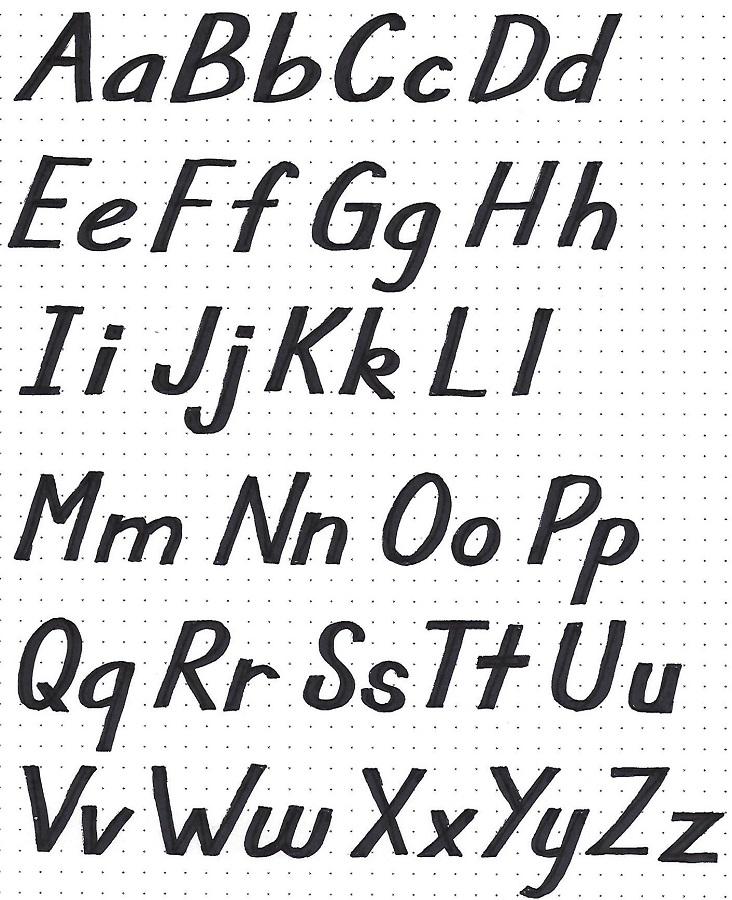
Day #4 – Wide Line Italics – Alphabet
This style adds weight by thickening ALL the lines on the letters.
Note that the verticals are slightly thicker than the horizontals and that all line ends are squared off.
We are keeping the general letter shapes of the basic oval lettering in their italic forms.
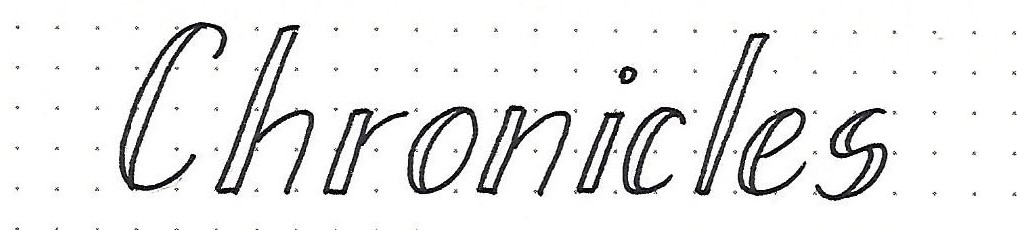
Day #5 – Weighted Italics – Bible Page
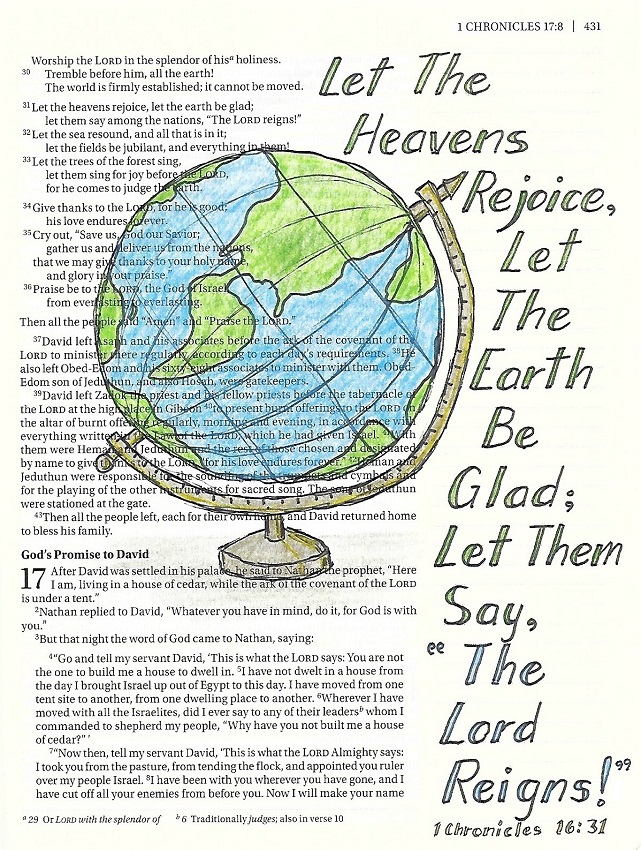
The final exercise of the week is to select one of the weighted italic forms learned this week and use it in your bible. I chose a scripture in 1 Chronicles and applied the filled double line style. I used color as my fill.
I added artwork using the Drawing Room lesson for this week ‘Globe’.
Is anyone out there USING these lettering lessons?
Ddd
