Topic: Bible Journaling
We’re in for a real adventure this week!
PHILIPPIANS: Day #1 – Funky Print – Introduction
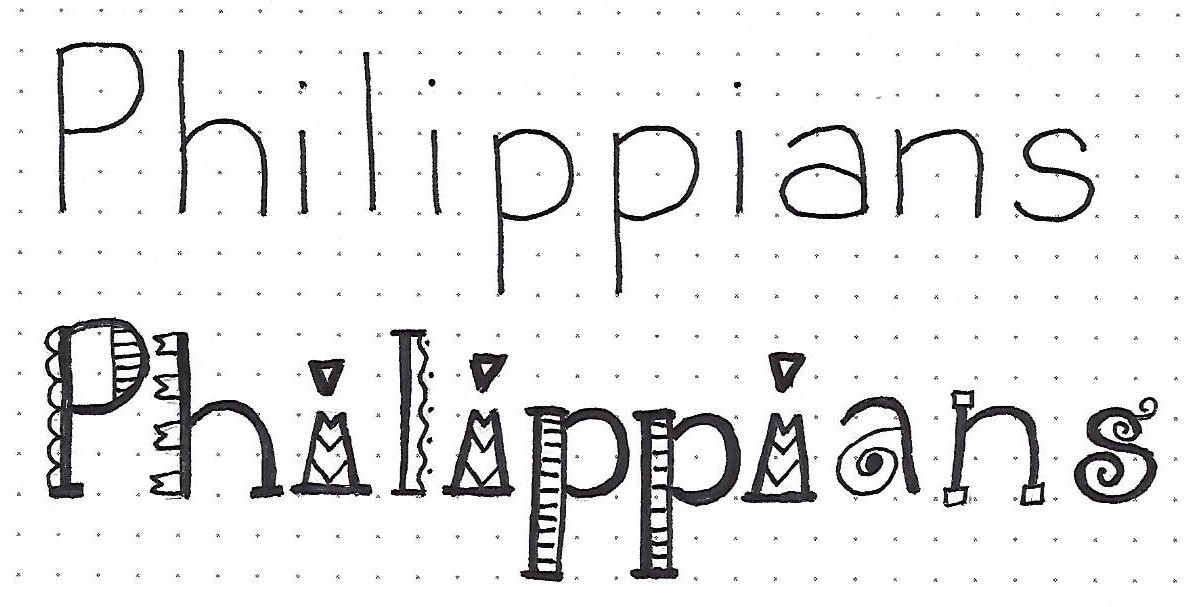
The alphabet we are creating to play with this week is based on the Basic Round Print. So you can easily see that relationship, I have written out the basic followed by the Funky Print with all the bells and whistles.
You can decorate your letters as you wish but do try to make changes from one letter to another to maintain the funky feeling.
PHILIPPIANS: Day #2 – Funky Print – Alphabet
Although this entire alphabet is based on the Basic Round Print, it is only a jumping off point. Many of the letter shapes have changed to suit the slightly whacky style. For instance, the ‘g’ and ‘q’ do not descend below the baseline and have severe curves in their stems. Both of the ‘j’s have a distinct back slant and the ‘u’s are almost closed at the top.
Begin by writing the Basic Round Print in pencil. Make changes to the letter shapes as you wish, then ink the NEW basic shapes with a very heavy pen. Finally, use a very fine tip pen to make funky decorations on your letters. To create some unity, I used some elements repeatedly (stripes, dots, triangles, flags, squiggles).
If you don’t like the way I have decorated a letter, just change it to suit yourself.

PHILIPPIANS: Day #3 – Funky Print – Going Digital
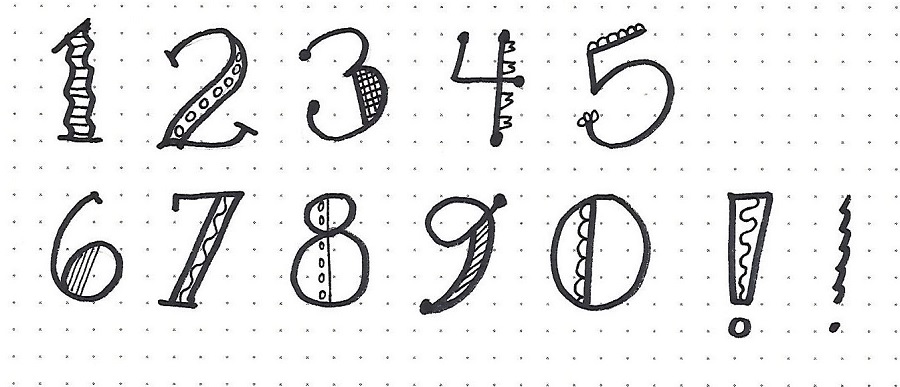
A crazy alphabet deserves an equally craze set of numbers. Note that these numerals use many of the same decorative elements as the alphabet.
PHILIPPIANS: Day #4 – Funky Print – Write It Out
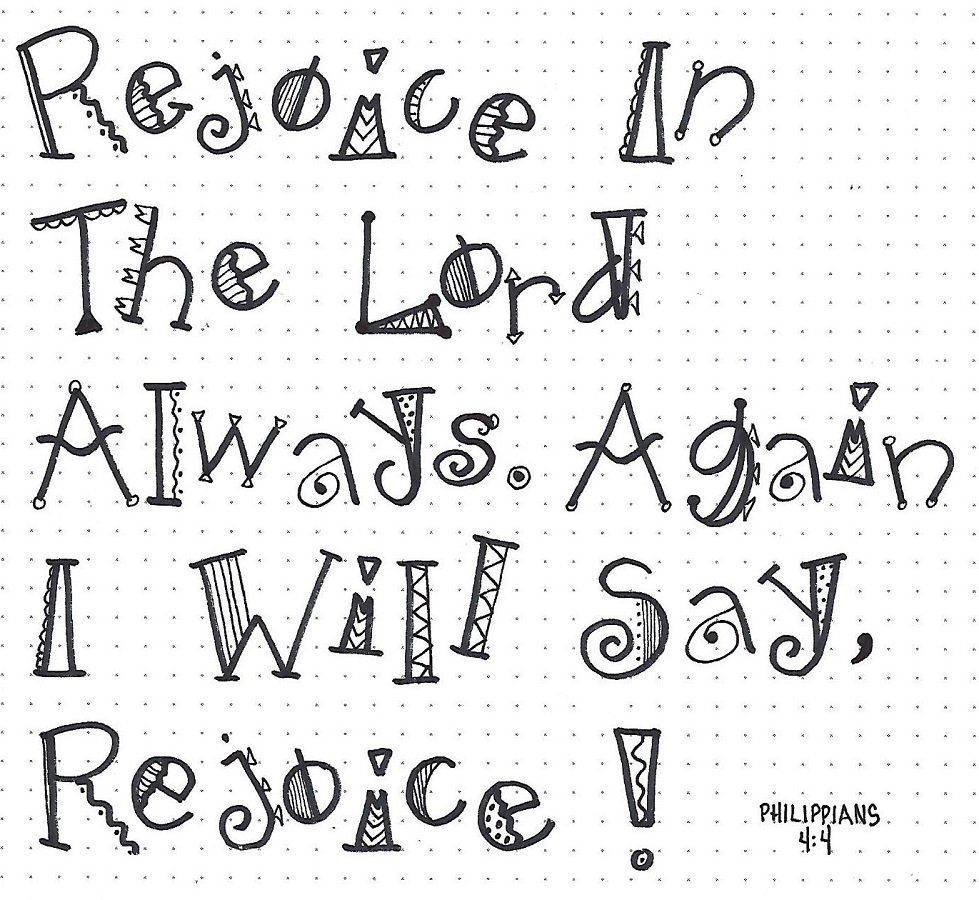
This is the perfect alphabet to bounce off the baseline. Because of all the wild decorations I wanted to find a way to have a little bit of control so it would not look sloppy. I found that raising every other letter one unit off the baseline worked very well. Capitals and full-height lower-case letters are not bounced. I also added a bit of slant here and there. You could also add color for even more fun.
Your assignment today is to use your funky letters to write a scripture from Philippians for practice.
PHILIPPIANS: Day #5 – Funky Print – Bible Page
The task for today is to use your new Funky Print to journal a scripture in your bible. I used Philippians 3:14 and combined it with the trophy cup from this week’s Drawing Room tutorial.
There is much less bounce used here than on yesterday’s journal page. Instead, I used slanted letters and occasionally made a few letters smaller to accommodate the long words in the narrow margin. The good news is that, with this font, it allows a lot of leeway while still looking good.

What a ride!
Ddd
