« December 2007 »
S M T W T F S
1
2 3 4 5 6 7 8
9 10 11 12 13 14 15
16 17 18 19 20 21 22
23 24 25 26 27 28 29
30 31
You are not logged in. Log in
Entries by Topic
All topics  «
3D paperwork
A - Z challenge 5
A - Z challenge 7
A - Z challenge round 4
A to Z challenge round 3
A to Z round 2
A to Z round 6
A-Z round 1
Around the House
Art Challenges
Artist Trading Cards
Backgrounds
Beads
Bible Journaling
Books
Boxes
Collage
Color Challenge
Coloring
cookbook
Die Cuts
Digital Projects
Digital Stamps
Drawing
Dry Embossing
Fabric Stuff
Fantastic Folds
Field Trip
Home Decor
How Does Your Garden Grow?
Hymnal Art
In The Kitchen
In the studio
Jewelry
Lettering
Links
Multi-Technique
Music to Work By
Musings
Nail Art
New Work
Online Class
Other Hobbies
Other Projects
Painting
Paper Embroidery
Paper Piecing
Photo
Pretty Paper
Quilting
Random
reading
Scrap Recovery
scrapbooking
Sewing
Sketch Challenge
Some Backlog
Stamping
Stencils
Stickers
Supplies
Teabag Folding
Techniques
Testing
tips and tricks
Tutorial
Web resources
Welcome to my Blog
Work By My Friends
workflow
Writing
Blog Tools
Edit your Blog
Build a Blog
RSS Feed
View Profile
Group One
In & Out of Studio 3D
Thursday, 20 December 2007
Odd Mix
Now Playing: aren't the 'wings' at Christmas usually on angels?
Topic: New Work

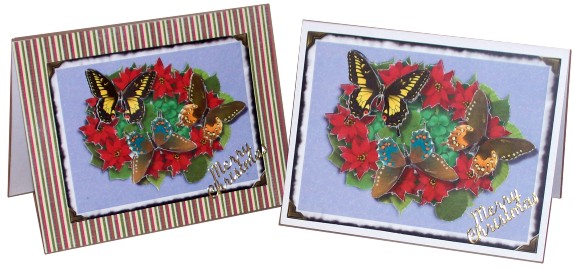
I don't remember butterflies ever being used as a Christmas card element before, but this 3D illustration features three of them on a poinsettia wreath. OK, I'll go with it.

I printed in two different sizes and used a backing of striped scrapbook paper for the smaller one.

Ddd studio3d@ccwebster.net


Posted by studio3d@ccgmail.net at 6:00 AM PST
Wednesday, 19 December 2007
Deck the Halls
Topic: Some Backlog

When we were first married (almost 34 years ago) there wasn't a lot of money for things like Christmas ornaments. So I strung popcorn and made cookies to hang on the tree and made some paper decorations. That first year I made the woven birds that I have instructions for on my website.

For several years I made an additional set of a different style of ornament every year. I stopped when my tree got too full! Over the years some have been lost to attrition (the blown eggs, for instance) and some just did not last at all (dough ornaments tend to MOLD in Oregon).

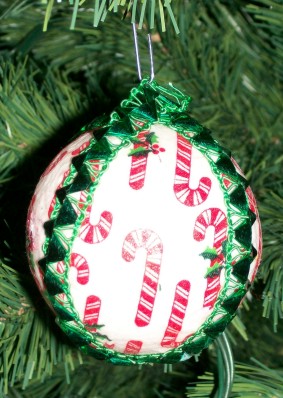
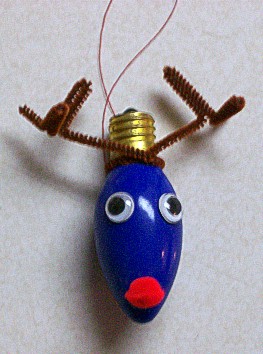
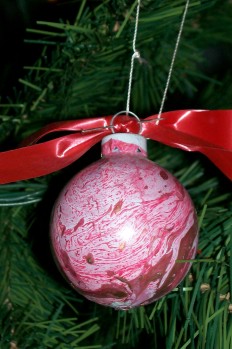
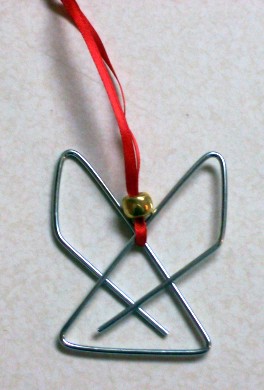
But I do still have most of them left. Here are some of the handmade ornaments off my Christmas tree:

These are styrofoam balls with 4 pieces of Christmas fabric attached using Mod-Podge. Fancy trim covers the seams and is held on with sewing pins. I made three different styles using different patterns of fabric.

Christmas light bulbs are given antlers with pipe cleaner, a nose of pom-pon and two google eyes. A thread is used for a hanger. All assembly is done with a heat gun.

For these I started with standard glass balls (red and green). On the surface of water in a plastic tub I sprayed acrylic paint, first white, then red, then gold. With a skewer I made patterns in the paint and then dipped the balls down into it and hung them to dry. I added ribbon bows to the top.

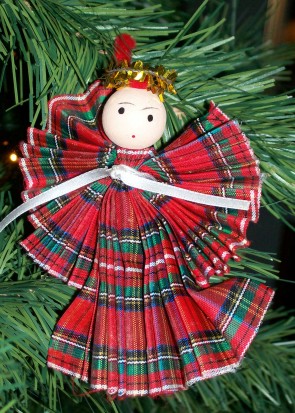
These very simple angels are made with a length of ribbon, a binder clip from the office supply store, and a pony bead. Easy-Peasy!

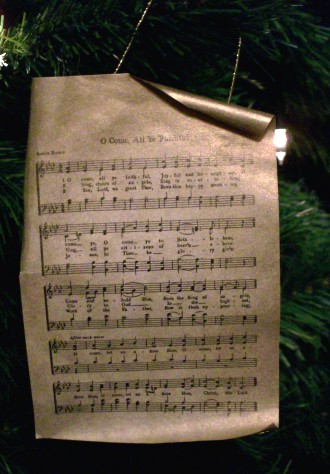
These musical scrolls are Christmas hymns reduced to fit on a 1/4 sheet of buff colored paper. Then I lightly sprayed with gold paint and curled the corners. Gold metallic cord is hot-glued to the back for hanging.

These are from the VERY early days! I don't have instructions for these anymore but they use 3 inch ribbon, pipe cleaner, a bead, tinsel and a bit of narrow ribbon.

This is probably the most recent set made. They are teabag folding using black and copper printed wrapping paper. I made the folds on both sides of the ornament so they are reversible. They hang with a loop of narrow black ribbon.

I seem have misplaced a box of ornaments as I cannot find my drums made from cut-down frozen juice cans, velvet ribbon, pony beads, toothpicks and gold spray paint. I can't remember what else is in that box besides the wreaths crocheted on milk jug rings that my mom made for me and some ornaments from swaps. Hmmmm.....

Ddd studio3d@ccwebster.net


Posted by studio3d@ccgmail.net at 6:00 AM PST
Updated: Wednesday, 19 December 2007 6:54 AM PST
Tuesday, 18 December 2007
More Mandallas
Now Playing: ...of a different color
Topic: New Work

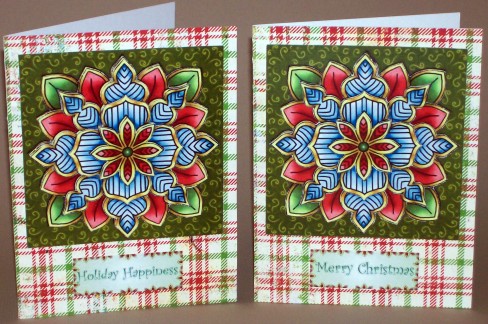
I had such fun putting these together. They are the same pattern as the blue and white from yesterday but look like a snowflake on top of a poinsettia!

The curly green background is part of the original design. I mounted on this tattered plaid paper and selected from the 4 provided coordinating greetings. 

Ddd studio3d@ccwebster.net


Posted by studio3d@ccgmail.net at 6:00 AM PST
Monday, 17 December 2007
3D Mandallas
Topic: New Work

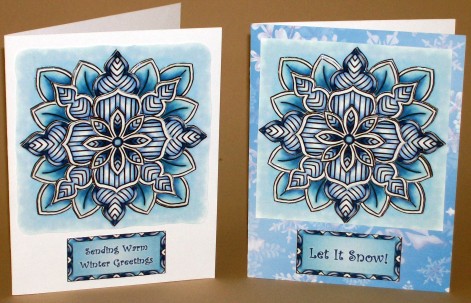
These mandallas were designed with  multiple layers and are cut and mounted using silicone. After this I went around the edge of each element with fine glitter glue.

 Don't they look smashing?

The cutting sheets come with a selection of four greetings in coordinating colors.

Ddd studio3d@ccwebster.net


Posted by studio3d@ccgmail.net at 6:00 AM PST
Sunday, 16 December 2007
Snowflakes Falling
Now Playing: a cadre of cards
Topic: New Work


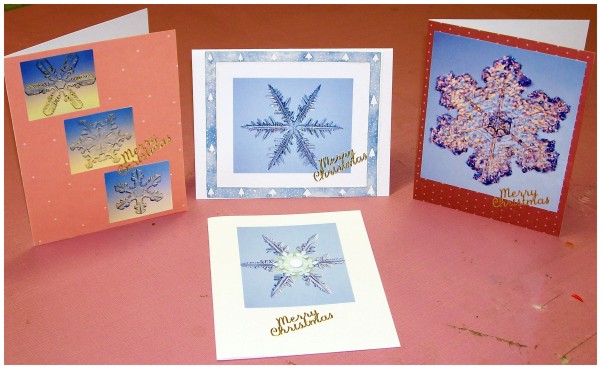
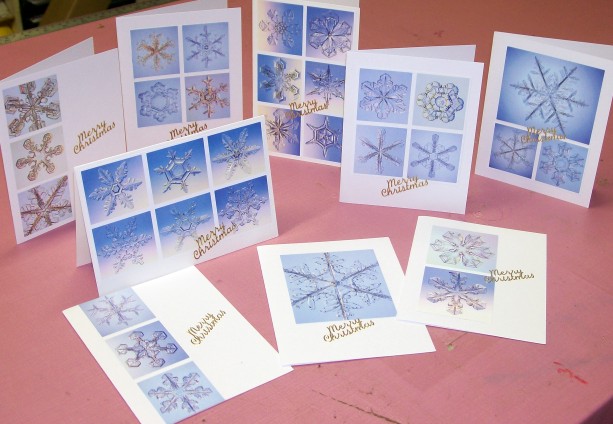
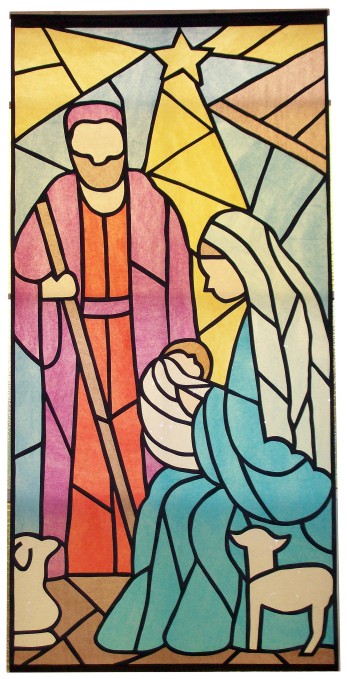
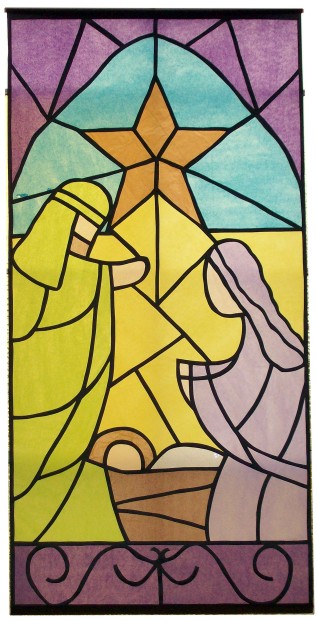
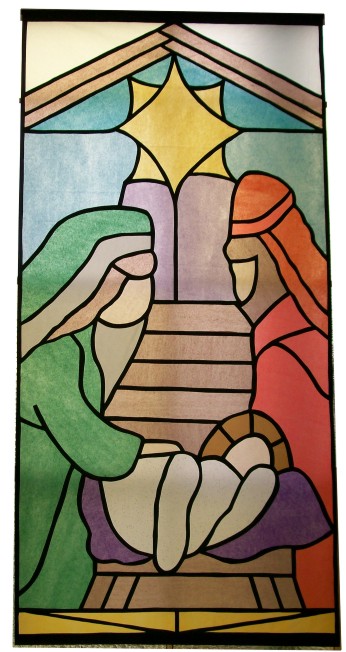
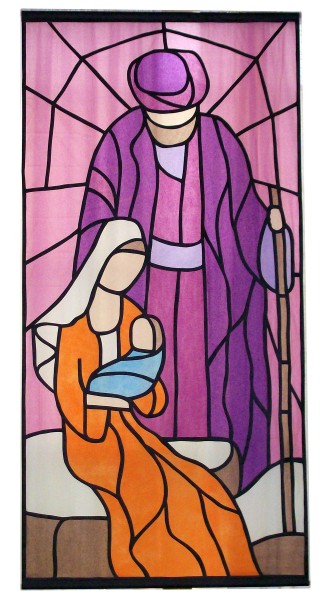
While you've all been watching a showing of the stained glass tissue windows, I've been making Christmas cards. The groupings today started as a book of photos of real snowflakes. Beautiful illustrations!

The first grouping are cards on which I used some sort of background paper. 

This next grouping are ones that use a single snowflake to fill the front of the card. 

The final group is cards where a grouping of 2, 3, or 4 illustrations are used in mosaic.

In each case I went over the snowflakes with 'Stikles' and finished each card with a gold peel-off greeting.

Ddd studio3d@ccwebster.net


Posted by studio3d@ccgmail.net at 6:00 AM PST
Saturday, 15 December 2007
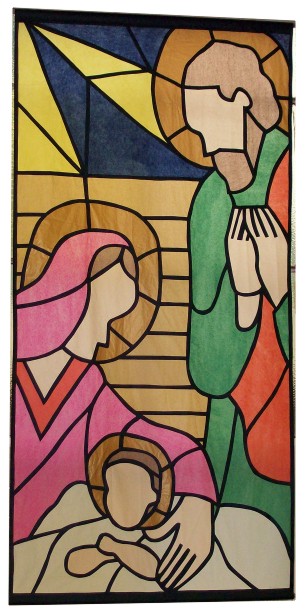
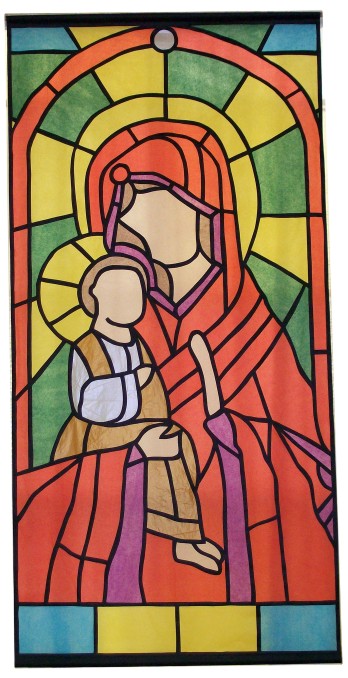
Final window panel #7
Now Playing: Yep, it's REALLY the last one!
Topic: New Work

Ddd studio3d@ccwebster.net


Posted by studio3d@ccgmail.net at 6:00 AM PST
Updated: Saturday, 15 December 2007 9:40 AM PST
Friday, 14 December 2007
Final window panel #6
Topic: New Work


Ddd studio3d@ccwebster.net


Posted by studio3d@ccgmail.net at 6:00 AM PST
Updated: Friday, 14 December 2007 7:13 AM PST
Thursday, 13 December 2007
Final window panel 5
Topic: New Work


Ddd studio3d@ccwebster.net


Posted by studio3d@ccgmail.net at 6:00 AM PST
Updated: Thursday, 13 December 2007 6:39 AM PST
Wednesday, 12 December 2007
Final window panel 4
Topic: New Work


Ddd studio3d@ccwebster.net


Posted by studio3d@ccgmail.net at 6:00 AM PST
Updated: Wednesday, 12 December 2007 7:16 AM PST
Tuesday, 11 December 2007
Final Window panel 3
Topic: New Work


Ddd studio3d@ccwebster.net

Posted by studio3d@ccgmail.net at 6:00 AM PST
Updated: Tuesday, 11 December 2007 6:46 AM PST
Monday, 10 December 2007
Final Window #2
Topic: New Work


Ddd studio3d@ccwebster.ent

Posted by studio3d@ccgmail.net at 6:00 AM PST
Updated: Monday, 10 December 2007 7:00 AM PST
Sunday, 9 December 2007
The Final Window Panels - Number 1
Topic: New Work


Ddd studio3d@ccwebster.net


Posted by studio3d@ccgmail.net at 6:00 AM PST
Updated: Saturday, 15 December 2007 1:17 PM PST
Saturday, 8 December 2007
Window Cartoon 7
Topic: In the studio

Tomorrow the photos of the actual panels will start going up.

Ddd studio3d@ccwebster.net


Posted by studio3d@ccgmail.net at 6:00 AM PST
Friday, 7 December 2007
Window Cartoon 6
Topic: In the studio


Ddd studio3d@ccwebster.net

Posted by studio3d@ccgmail.net at 6:00 AM PST
Thursday, 6 December 2007
Window Cartoon 5
Topic: In the studio


Ddd studio3d@ccwebster.net


Posted by studio3d@ccgmail.net at 6:00 AM PST
Wednesday, 5 December 2007
Window Cartoon 4
Topic: In the studio


Ddd studio3d@ccwebster.net

Posted by studio3d@ccgmail.net at 6:00 AM PST
Tuesday, 4 December 2007
Window Cartoon 3
Topic: In the studio


Ddd studio3d@ccwebster.net

Posted by studio3d@ccgmail.net at 6:00 AM PST
Monday, 3 December 2007
Window Cartoon 2
Topic: In the studio


Ddd studio3d@ccwebster.net

Posted by studio3d@ccgmail.net at 6:00 AM PST
Sunday, 2 December 2007
Window Cartoon 1
Topic: In the studio


Ddd studio3d@ccwebster.net

Posted by studio3d@ccgmail.net at 6:00 AM PST
Saturday, 1 December 2007
A Look at Windows
Now Playing: explaining the process
Topic: In the studio

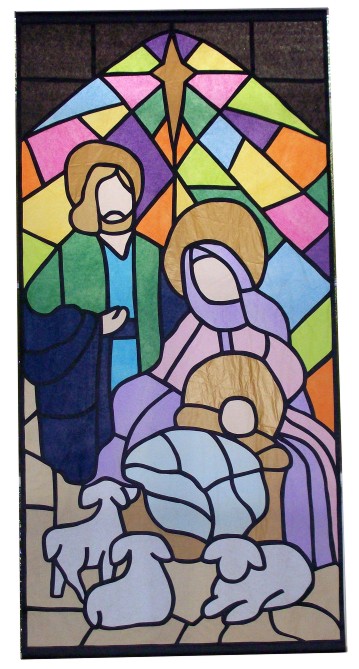
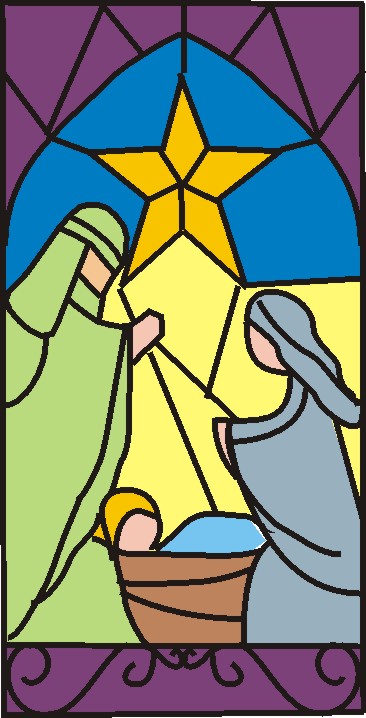
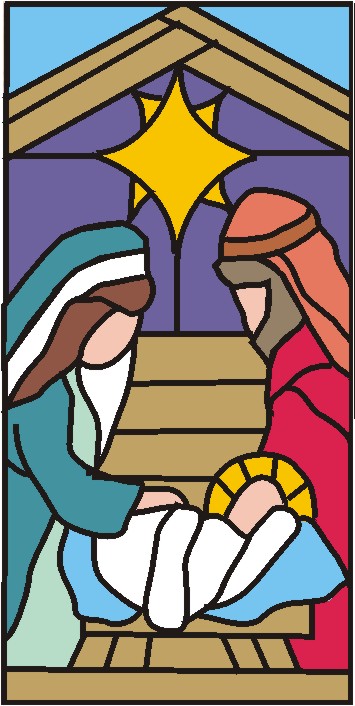
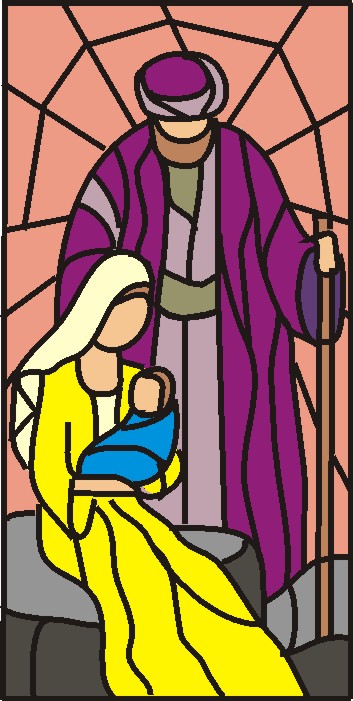
If you have a WILD IDEA about creating seven ‘stained glass’ windows for your church fellowship hall and you are CRAZY enough to TELL somebody about your idea and you get carried away and agree to ACTUALLY DO IT… let me tell you what you will be doing for the next three weeks of your life:


1.      Search Google Images for stained glass window nativities.

2.      Save to your PC.

3.      Import image into your graphics program and scale or crop to correct perspective (in my case they needed to be twice as tall as wide).

4.      Use graphics program to draw ‘leading’ lines over pieces of glass.

5.      Use fill feature to color individual sections.

6.      Draw a grid in fine white lines marking off four sections wide and 8 sections tall.

7.      Scale to full printing height of printer.

8.      Print.

9.      Mark the row numbers on the right side.

10.  Repeat with 6 more windows.

11.  Get a 200-foot roll of 4-foot wide black paper.

12.  Get a large package of tissue paper in assorted colors.

13.  Using the roll of black paper, measure off a 6-inch band at the end and mark with lead pencil.

14.  Measure off 1-foot grid and mark with lead pencil.

15.  Mark the row numbers on the right edge.

16.  Measure and cut a 6-inch band at the other end (after your grid is 8 feet long.)

17.  Make a leading tool by gluing two white-leaded pencils together, separated by a stack of 6 popsicle sticks.

18.  All drawing takes place with the new tool. Begin by making a leading band on each margin (ends and sides) of the paper.

19.  Use your printed cartoons as reference and draw out the design square by square on your grid-marked black paper (this is where those row numbers on both the cartoon and the black grid will come in handy.)

20.  Put a huge cutting mat on your table, under the black paper.

21.  Put a new blade in two craft knives. Use one to cut out a single section of the drawing. Remember to ONLY cut on white leading lines – your grid will be in regular pencil to distinguish it.

22.  Apply a thin line of white glue close to the edge of the opening.

23.  Carefully lay on the appropriate color of tissue paper.

24.  Use the second craft knife to lightly cut the tissue just outside the glue line. Remove the excess tissue.

25.  Proceed thus to the end of the 8-foot grid.

26.  At the bottom, turn up the 6-inch band to make a cuff. Glue across the width of the paper.

27.  Roll gently, being careful not to wrinkle or crease, till you are back at the top.

28.  Bind the other end.

29.  Set aside.

30.  Change the tissue blade to the grid blade and get a new tissue blade.

31.  Proceed thus until all 7 panels are completed, going to the store to buy more tissue paper in selected colors as needed.

32.  To display, insert 5-foot dowels in each cuff.

33.  Attach to wall over existing windows, using 3M removable hooks.

34.  When displayed you can be as impressed as everyone else because:

  1.  
    1. the most you’ve seen at one time is a 2 x 4 strip
    2. you’ve never seen the front of  it at all!
    3. every panel is reversed from the way you worked on it
    4. you spent about 8 hours on each panel PLUS the time to design them

35. Take pictures to prove you really did it!

36. Get some sleep!

37.  Prepare yourself for the let-down when the season is over and these are discarded because they are ‘just paper’.


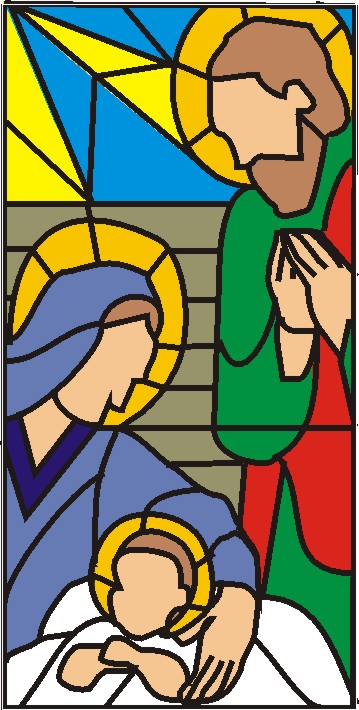
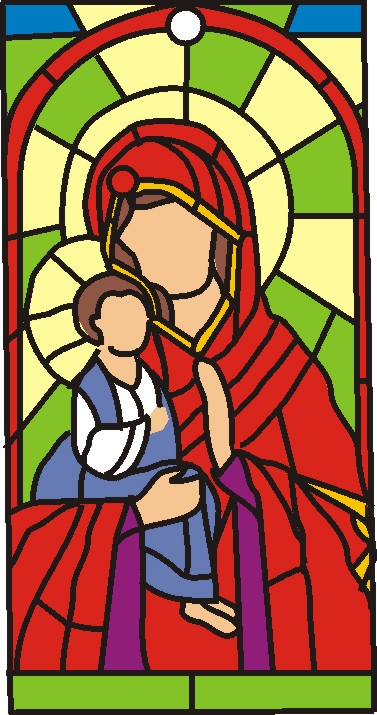
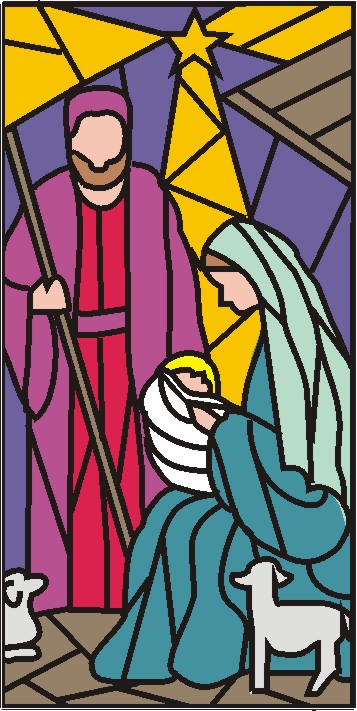
Over the next few days I’ll post the ‘cartoons’ of the windows I’ve completed. They go up on Tuesday the 4th and I WILL take pictures and start posting them soon after.


Ddd studio3d@ccwebster.net


Posted by studio3d@ccgmail.net at 6:00 AM PST
Newer | Latest | Older