New Daily Challenge
Now Playing: my new year
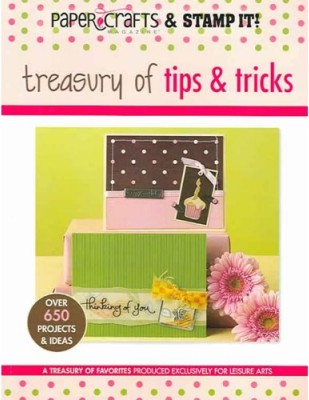
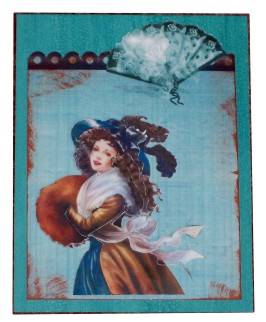
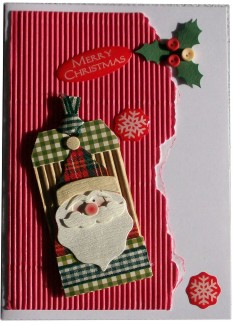
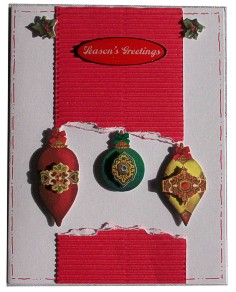
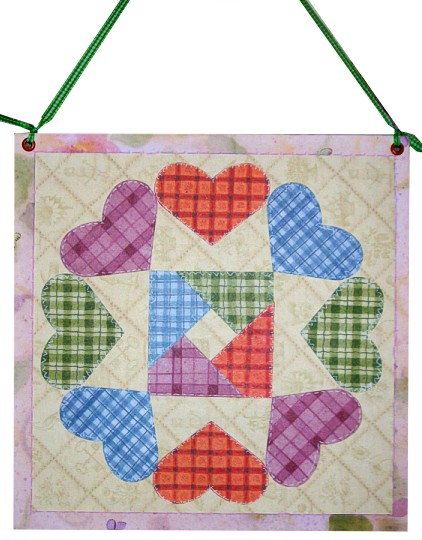
Topic: Techniques
I have a plan to challenge myself in the new year by working with assigned themes and techniques. I had my hubby help me brainstorm to come up with 7 words for each letter of the alphabet. I will work from these in letter order. On the first round I can select any of the words from letter A the first day, B the second, etc. In each successive round I will have fewer choices to work with (but more time to think about them!) It will take me to the middle of July (half-a-year) to finish my challenge.
Here is the list I will work from.
A
Antique, appliqué, aperture, adventure, acetate, alcohol ink, alphabet
B
Boxes, buckle, buttons, bones, bandana, bow, beedz
C
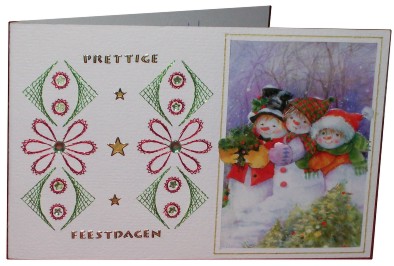
Crucifix, cornucopia, corrugated, camel, candy wrappers, caramel, crayon
D
Dragonflies, dangle, dogs, date, dawn, die cuts, distressing
E
Elegant, eagle, endearing, egg, envelope, ephemera, eyelet
F
Fabric, fabulous, fruit, fifties, fibers, foiling, frames
G
Gift-wrap, giant, gold, glitter, games, gel, grunge
H
Holes, holy, honey, hero, herbs, husking, hand
I
Iris folding, icon, indigo, illness, Irish, iron, icicle
J
Jewelry, juicy, joy, jump rings, junk, joker, jamboree
K
Kids, king, knight, kisses, knife, knit, kismet
L
Lace, lettering, love, lips, luscious, lumpy, luminescent
M
Mask, magnet, motor, mountain, minutes, mesh, metal tape
N
Notions, neon, natural, needle, night, napkins, nuts
O
Ornament, oil, onyx, opal, oval, origami, one-stroke painting
P
Pen & ink, pop-up, polymer clay, photos, papermaking, pockets, paste paper
Q
Quilt, quarter, queen, quick, quill, quirky, q-tips
R
Rubber stamps, ribbon, road, round, rainbow, re-inkers, redline tape
S
Shrink plastic, slit, stencils, serendipity, salvage, shaving cream, slide mount
T
Tins, tea, tags, transfer, texture, tiles, tuxedo
U
Underwear, used, uvula, upper, umbrella, underwater, UTEE
V
Valentines, values, vote, variegated, vellum, Versamark, volume
W
Window, white, wiggle, winding, walnut ink, watches, wire
X
Xylene, x-ray, xylophone, xqzmwa, XOXOX, xerographic, xylography
Y
Year, yellow, Yankee, yacht, yarn, yearbook, yeast
Z
Zipper, zebras, zone, zig-zag, zen, zoo, zenith
The challenge starts January 1.
Ddd studio3d@ccwebster.net
Posted by studio3d@ccgmail.net
at 6:00 AM PST
Updated: Sunday, 30 December 2007 9:05 AM PST


 Bev
Bev Claudette
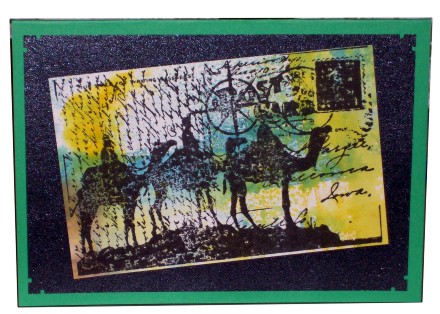 Dutch Girls
 Idabelle
 Leanne
 Lin
Lin Maggie
 Nancy
Nancy Sheena