Topic: A to Z round 2
Torncalendar pages, with inked edges, are the centerpiece of this 'missing you' card. The choice of paper for the backgrounds lends a feeling of nostalgia.
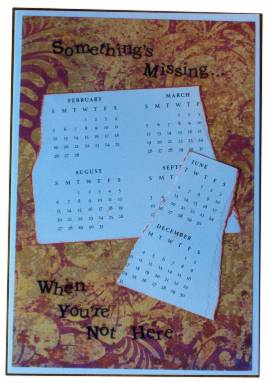
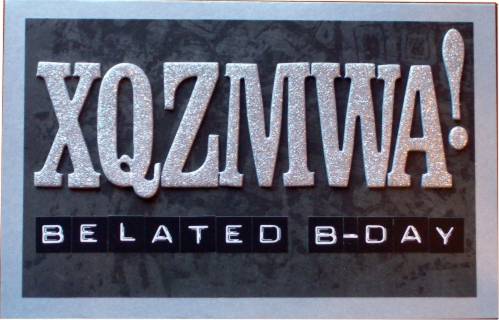
Lettering is individual clear letter stickers.
Posted by studio3d@ccgmail.net
at 6:00 AM PST