« August 2008 »
S M T W T F S
1 2
3 4 5 6 7 8 9
10 11 12 13 14 15 16
17 18 19 20 21 22 23
24 25 26 27 28 29 30
31
You are not logged in. Log in
Entries by Topic
All topics  «
3D paperwork
A - Z challenge 5
A - Z challenge 7
A - Z challenge round 4
A to Z challenge round 3
A to Z round 2
A to Z round 6
A-Z round 1
Around the House
Art Challenges
Artist Trading Cards
Backgrounds
Beads
Bible Journaling
Books
Boxes
Collage
Color Challenge
Coloring
cookbook
Die Cuts
Digital Projects
Digital Stamps
Drawing
Dry Embossing
Fabric Stuff
Fantastic Folds
Field Trip
Home Decor
How Does Your Garden Grow?
Hymnal Art
In The Kitchen
In the studio
Jewelry
Lettering
Links
Multi-Technique
Music to Work By
Musings
Nail Art
New Work
Online Class
Other Hobbies
Other Projects
Painting
Paper Embroidery
Paper Piecing
Photo
Pretty Paper
Quilting
Random
reading
Scrap Recovery
scrapbooking
Sewing
Sketch Challenge
Some Backlog
Stamping
Stencils
Stickers
Supplies
Teabag Folding
Techniques
Testing
tips and tricks
Tutorial
Web resources
Welcome to my Blog
Work By My Friends
workflow
Writing
Blog Tools
Edit your Blog
Build a Blog
RSS Feed
View Profile
Group One
In & Out of Studio 3D
Thursday, 28 August 2008
Sitting Pretty
Topic: New Work

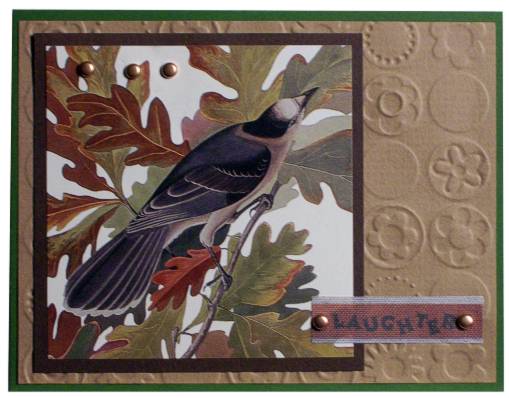
I've almost used up my year's calendar worth of Audubon bird illustrations - but I have a few left and this is one of them. Multi layers of cardstock, one of which has been run through the Cuttlebug. A few little brass brads and a fabric sticker are the finishers. 

Ddd


Posted by studio3d@ccgmail.net at 6:00 AM PDT
Wednesday, 27 August 2008
It's a BIG World, After All
Topic: New Work

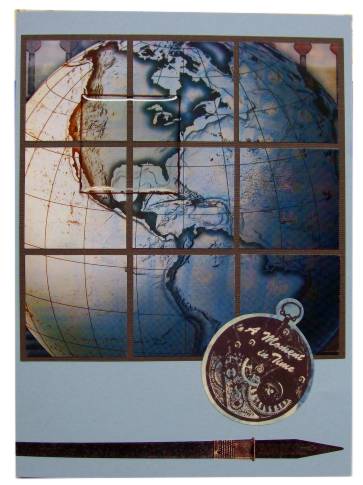
I love how this card came together from such simple elements. I started with a globe illustration and used my square punch to make 9 exact cuts. These were glued to brown cardstock with a thin dividing line between each one. The magnifying square is a self-adhesive flexible acrylic and I was delighted to discover that applying it centered over the intersection defined the US. I drew around it with brown Sharpie to make it more visible.

After mounting on light blue folded cardstock, I added two stickers - the text pocket watch and the dip pen.

Ddd


Posted by studio3d@ccgmail.net at 6:00 AM PDT
Tuesday, 26 August 2008
Take Off!
Topic: New Work

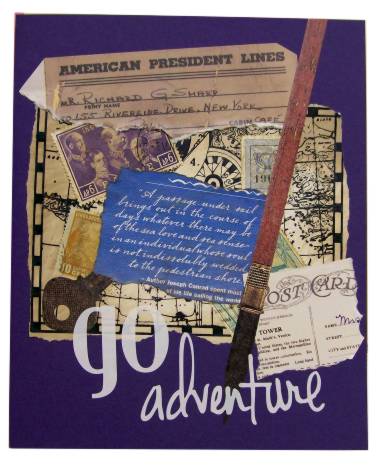
Another collage card comes from my 'parts and starts' drawer. I combined a stamped map, real stamps, a travel brochure quote, ephemera stickers (ticket, postcard, pen, and key). After gluing all the pieces in place I brushed them, and the card they are mounted on, with distress ink. This is to unify them as they started with varying degrees of intensity and brightness.

The white letters are rub-ons.

Ddd


Posted by studio3d@ccgmail.net at 6:00 AM PDT
Monday, 25 August 2008
Thanks
Topic: New Work

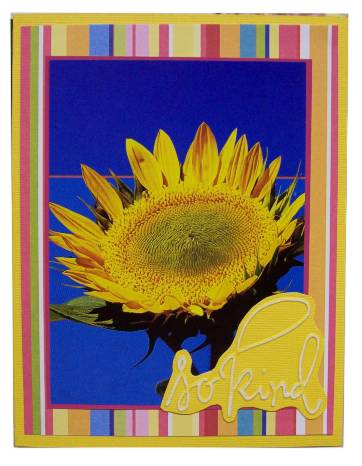
When a simple 'thank you' is needed, you can't go wrong with flowers. I snagged this sunflower from a magazine and set to finding the best background for it. Here's how it stacks up. Illustration, peel-and-stick paint sample, striped scrapbook paper, yellow folded cardstock. 

The same yellow cardstock was embossed with the Cuttlebug and the raised surface sanded down to the white core, trimmed and glued on.

Ddd


Posted by studio3d@ccgmail.net at 6:00 AM PDT
Sunday, 24 August 2008
Botanical Beauty
Topic: New Work

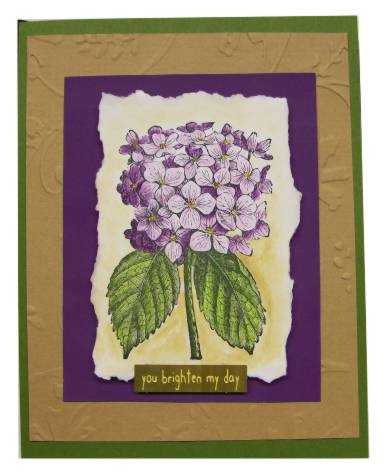
My favorite hydrangea stamp is back! After stamping with Staz-On on smooth white cardstock I colored with watercolor pencils using two shades of purple and two of green. Then I used a water brush to blend the colors on the image. I used a heat gun to dry it and then picked up a brown tone on the water brush and added some background shading. Finally, yellow pencil was added to the flower centers.

The torn-edged flower has been mounted with foam tape on purple card, this over a texturized tan and both on top of a folded green cardstock. The brass plate greeting was also mounted with foam.

Ddd


Posted by studio3d@ccgmail.net at 6:00 AM PDT
Saturday, 23 August 2008
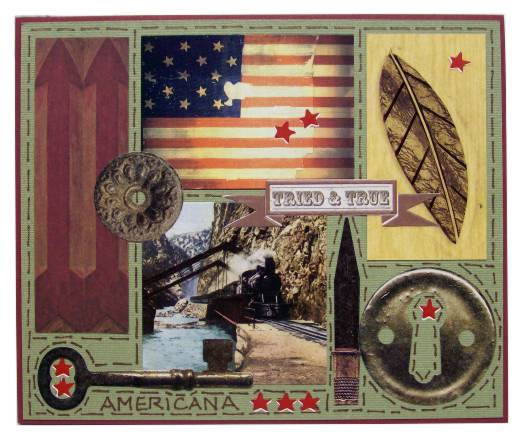
Americana
Topic: New Work

I gathered up a selection of Americana and antique images and created a collage on sage green cardstock. Brown Sharpie marker was used to create faux stitching around the elements to unify them. 

The title Americana is also written with the Sharpie. Then I used star stickers for more unity.

Ddd


Posted by studio3d@ccgmail.net at 6:00 AM PDT
Friday, 22 August 2008
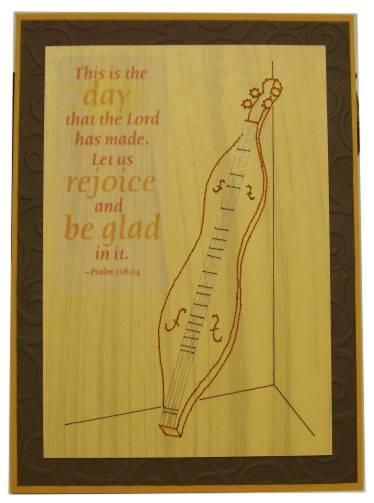
Country Dulcimer
Topic: New Work

This is one of my own patterns for stitching cards. I placed this country dulcimer on a woodgrained cardstock and mounted it on dark brown stock imprinted with swirls then on another tone of brown to match the thread.

A vellum sticker with the same range of browns was added for text.

Ddd


Posted by studio3d@ccgmail.net at 6:00 AM PDT
Thursday, 21 August 2008
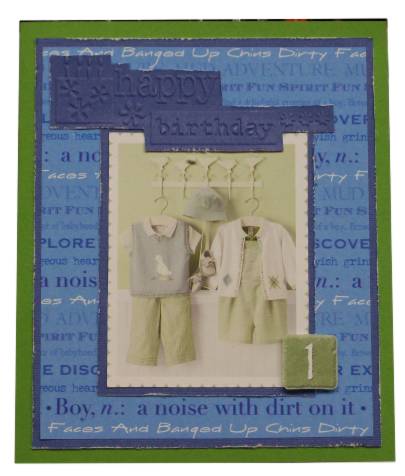
Little Boy Blue
Topic: New Work

For this boy's first birthday card I started with the catalog illustration of clothing. So cute! Then I mounted on blue cardstock that I had distressed along the edges. This went onto text-printed scrapbook paper with cute sayings about boys. Then comes another layer of blue cardstock with roughed edges and finally a green folded cardstock for the base.

I used some of the same blue cardstock and put it through the Cuttlebug to imprint the cake and happy birthday message. The last step was to cut out the '1' from a set of printed tiles and mount it with foam.

Ddd


Posted by studio3d@ccgmail.net at 6:00 AM PDT
Wednesday, 20 August 2008
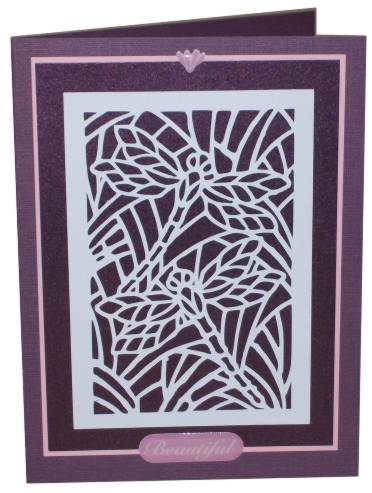
Some of My Friends are Cut-Ups
Topic: New Work

A friend with a Wishblade sent me an assortment of cuttings she had done with her machine. I mounted this white piece on sparkling purple and matted with pink and another purple cardstock. 

Puffy acrylic stickers add the text and the accent at the top.

Ddd


Posted by studio3d@ccgmail.net at 6:00 AM PDT
Tuesday, 19 August 2008
Puppy Power
Topic: New Work

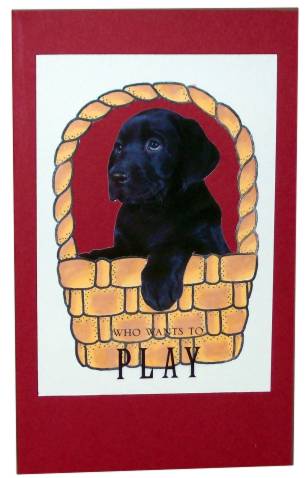
I love to take the little sample pictures off the back of calendars and use them on cards. This little fellow was actually posed in a basket but I stole it from him and made a new basket from a stamped image. The basket is colored with watercolor markers and trimmed out inside the handle only. 

The pup was separated from his basket and placed inside mine, and backed with maroon cardstock. I cut a sticker apart to create this text.

Ddd


Posted by studio3d@ccgmail.net at 6:00 AM PDT
Monday, 18 August 2008
Elegance and Simplicity
Topic: New Work

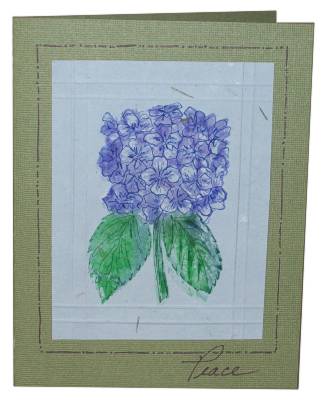
I had one more of the watercolor stampings from a last week. I added some line drawing on top for more definition. I also added a double row of scoring on all sides, mounted on sage cardstock and drew some doodle line around the whole. 

Hey! I hand-wrote the text on this one! Are you as impressed as I am?

Ddd


Posted by studio3d@ccgmail.net at 6:00 AM PDT
Sunday, 17 August 2008
Dream-Field
Topic: New Work

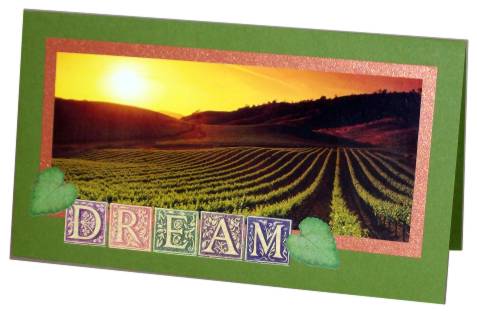
A travel brochure yielded this beautiful sunset over a vineyard. I mounted it on green with a border of copper and added sticker blocks and leaves. 

Ddd


Posted by studio3d@ccgmail.net at 6:00 AM PDT
Saturday, 16 August 2008
Out of the Scrap Bins
Topic: New Work

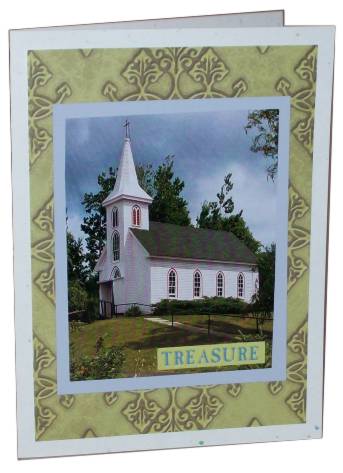
I clipped this little church from a magazine some time ago. I matched it up with a large paint chip for the mat, scrapbook paper(the patterned area) and speckled cardstock. 

The text is (surprise) a sticker.

Ddd


Posted by studio3d@ccgmail.net at 6:00 AM PDT
Friday, 15 August 2008
Flower 3D
Topic: New Work

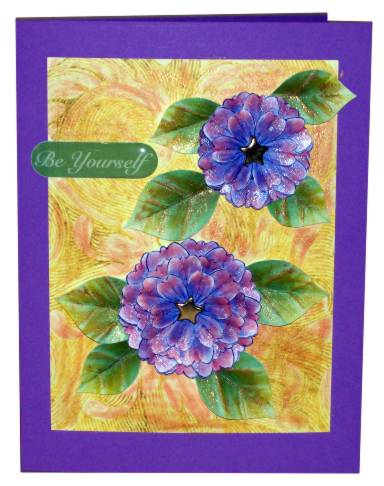
These 3D flowers were created by FredSheSaid and shared on her blog. She refers to them as Faux Foldy Flowers. I added some coloring and Twinkling H2Os.

I added a puffy acrylic sticker as well.

Ddd


Posted by studio3d@ccgmail.net at 6:00 AM PDT
Thursday, 14 August 2008
Simple Meander Books
Topic: Books

Today there are instructions on how to make a 3x3 meander book SO EASY that I taught it to 5 grandkids this summer - ages 9 down to 3. If they can do it, you can do it! There are two ways of making it. With the boys I made hard-cover books and the girls made soft-covers.

Let's begin with the hardcover version. Staft with a 12x12 piece of scrapbook paper. 
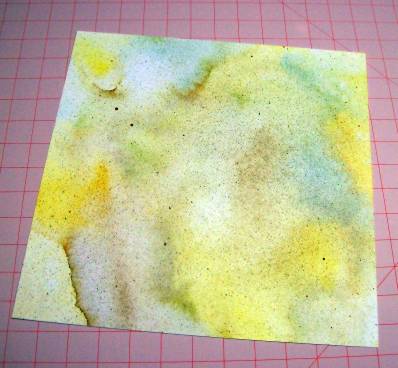
Begin with the printed side down and fold precisely in half. 
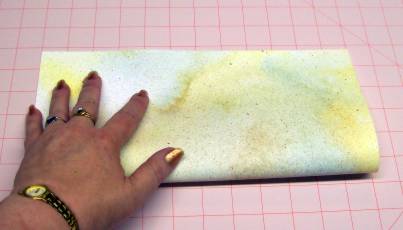
Open and fold the side closest to you to the center fold.
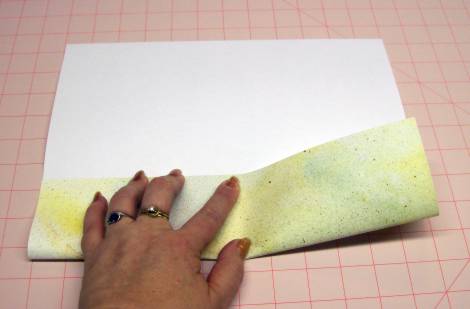
Rotate on the table and fold the other side to the center.
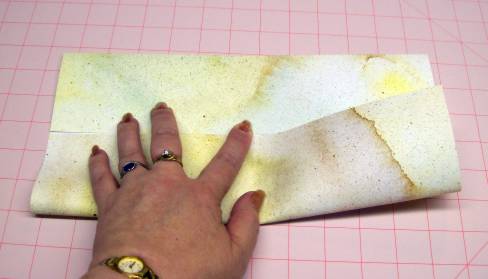
Open flat. Rotate 1/4 turn and fold in half again.
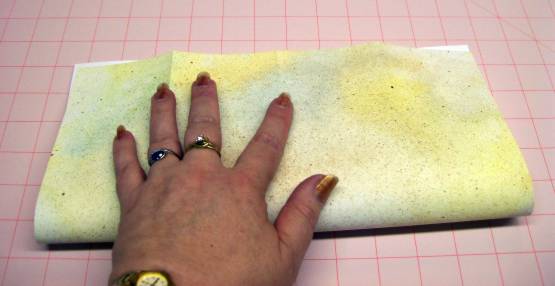
Open and fold side closest to you to the center.

Rotate and fold remaining side into the center.
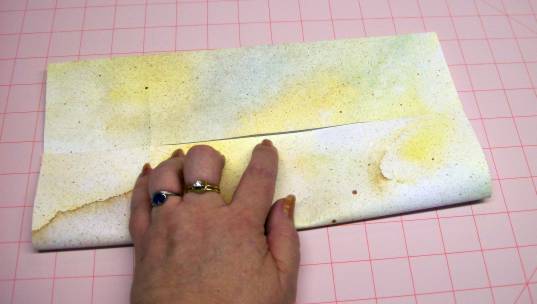
Open out flat.
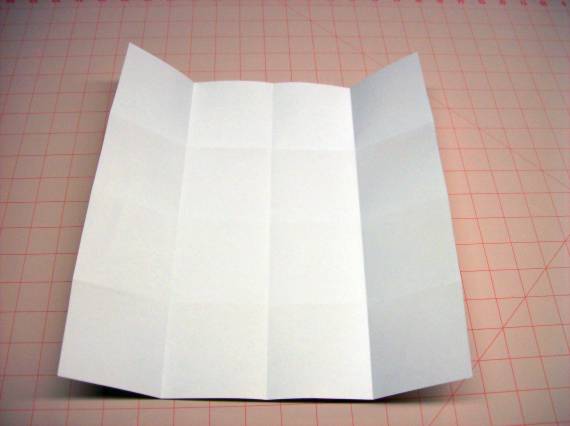
Use pencil to draw 'in the ditch' across the first three blocks from the upper left, then the right three blocks in the center row, then the left three blocks in the lower set. The finished lines will look like this:

_ _ _

   _ _ _

_ _ _

Cut on the drawn lines so finished page looks like this:

Lay on surface with printed side up. Fold first block (upper left) over.

Fold next block under

Continue accordion folding around corners right to the end.
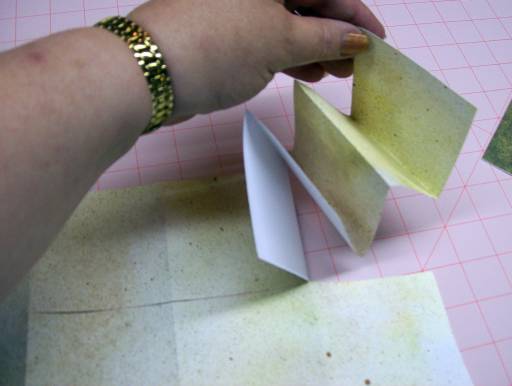
You end with the book stacked like this.
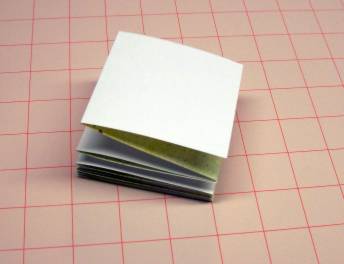
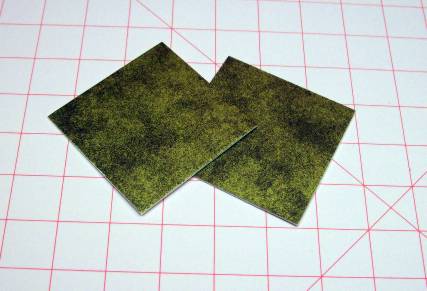
Now cut a couple of pieces of mat board measuring 3 1/4 x 3 1/8.
Our of scrap scrapbook paper cut a piece 3 1/4 x 2 1/2
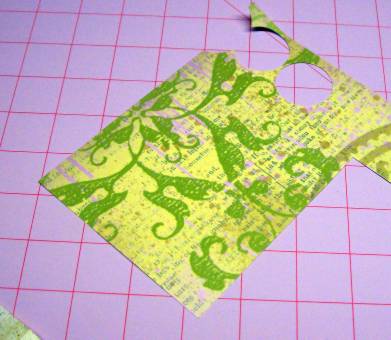
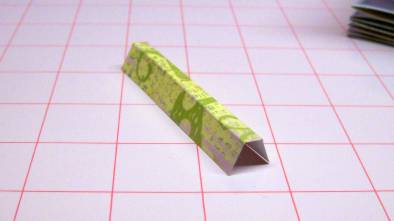
Fold this piece with two creases 1/4 apart running lengthwise.
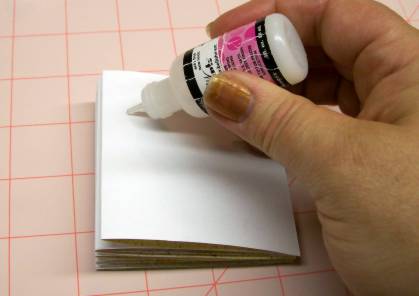
Apply glue lightly to end paper of the book stack.
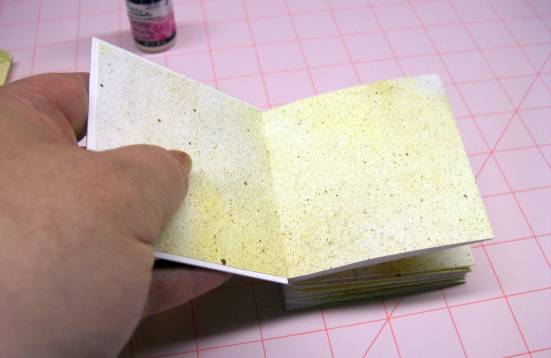
Glue cover board to pages with back of spine flush on all parts.
Apply glue lightly to spine paper and apply to book.
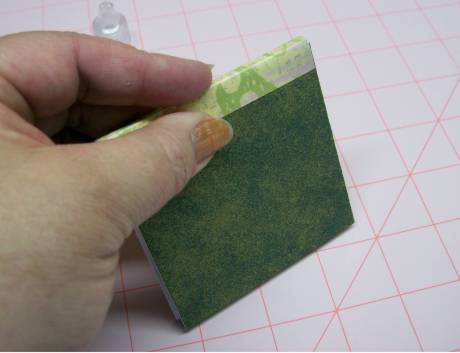
You did it! (so did a 3-year-old!)
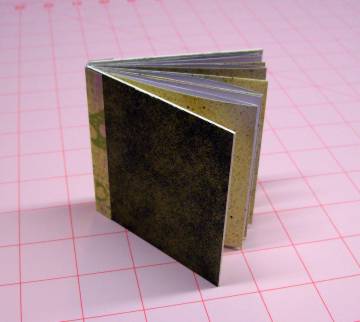
Now, to make it a soft-cover book, skip cutting out the mat boards. Then when you begin folding, start with the unprinted side up.
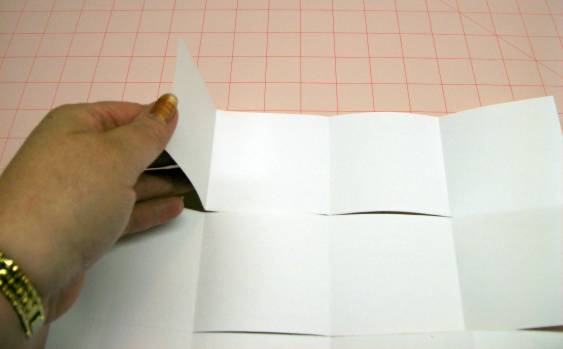
Your stack will end up with printed pages on the outside. Find the spine by turning the book so when you open the accordion you see color rather then white. Apply the spine paper (prepared the same way as for the hardback except it will only be cut 3 inches high instead of 3 1/4) to the spine.

Now you've made a softcover book like the girls made (ages 5 and up)

Ddd


Posted by studio3d@ccgmail.net at 6:00 AM PDT
Wednesday, 13 August 2008
Sequin-tially
Topic: New Work

Assignment on one of the groups I belong to was making a paper embroidery card with sequins. I edited a Lisa Burns free pattern by adding extra holes to stitch into around the edges. After all the stitching (purple metallic thread on irridescent white cardstock) was complete I went back to the insides of the fans and added a flower sequin, a star sequin, and a pearl bead to each.

The butterflies are glittered stickers and the text blocks are fabric stickers.

Ddd


Posted by studio3d@ccgmail.net at 6:00 AM PDT
Tuesday, 12 August 2008
The pear is back
Topic: New Work

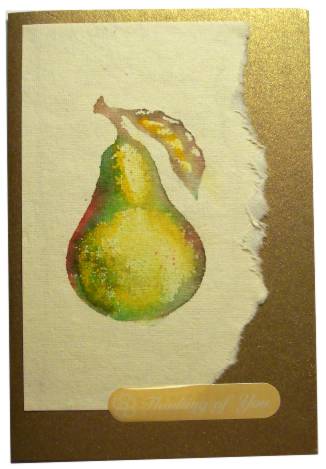
This is my favorite of the watercolor stamping I did this week. I used the same techniques, just different color-set.

I actually used 4 colors on the pear stamp and then to move color into the open area I misted the paper and smeared color into the center from the edges. 

This is mounted on gold metallic card and the puffy vinyl sticker says 'thinking of you'

Ddd


Posted by studio3d@ccgmail.net at 6:00 AM PDT
Monday, 11 August 2008
Fruit of the season
Topic: New Work

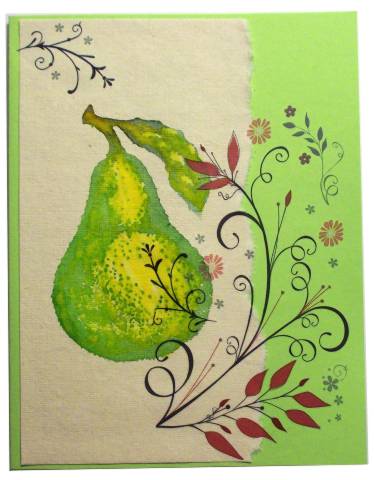
I just picked up this stamp on clearance and had to try it out with the watercolor technique. The stamp was colored with two tones of green marker. After stamping, it leaves the center plain, so I colored yellow marker over the whole thing, leaf included.

It was rather plain-looking so I added a whole unit of Heidi Swapp rub-ons.

Ddd


Posted by studio3d@ccgmail.net at 6:00 AM PDT
Sunday, 10 August 2008
Sketchy Floral Stamping
Topic: New Work

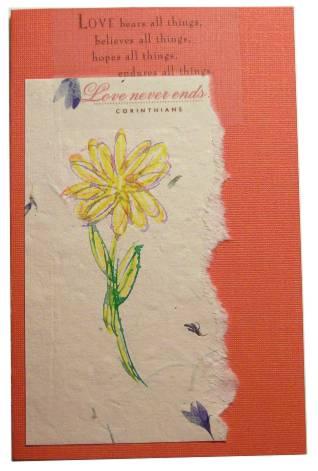
This card is made with the watercolor markers on a rubber stamp like yesterday's. However, in this case, when the image was lighter than I wanted I inked it in another color and over-stamped it. 

I added some yellow coloring 'inside the lines', mounted on coral cardstock and added a vellum sticker.

Ddd


Posted by studio3d@ccgmail.net at 6:00 AM PDT
Saturday, 9 August 2008
Watercolor Stamps
Topic: New Work

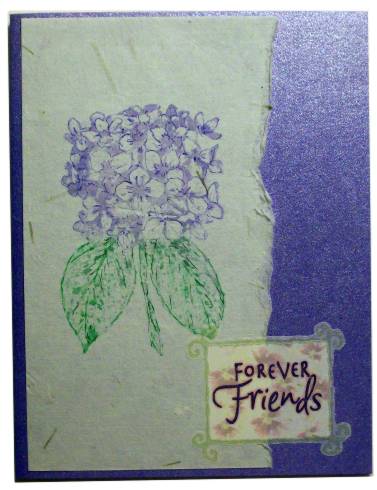
It's been a long time since I tried this stamping technique. I inked up a rubber stamp using watercolor markers, misted with water, stamped on handmade paper and immediately dried with the heat tool.

The image was just a bit loose for my taste so I did some very spare line enhancement with fine-tipped watercolor markers. 

This is mounted on metallic cardstock and a vellum greeting sticker is added.

Ddd


Posted by studio3d@ccgmail.net at 6:00 AM PDT
Newer | Latest | Older