Snow Day(s)
Topic: Around the House
I am a little late in posting today ... no power for 36 hours. We got it back at about 10 pm last nite but it kept me from creating for a couple of days as my studio is in the depths of the basement without windows. I can't match papers by kerosene lamp so today we have only pictures of the storm. This is the limit of them because my camera froze when we took it outside!
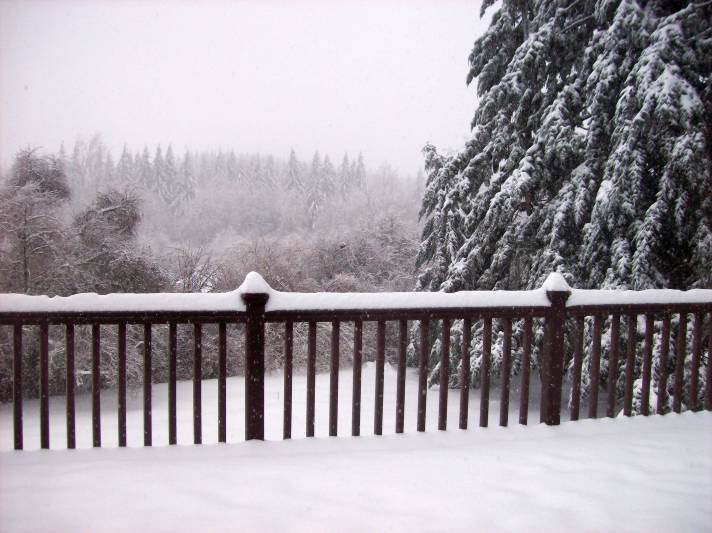
This is the view down the road outside our front yard.
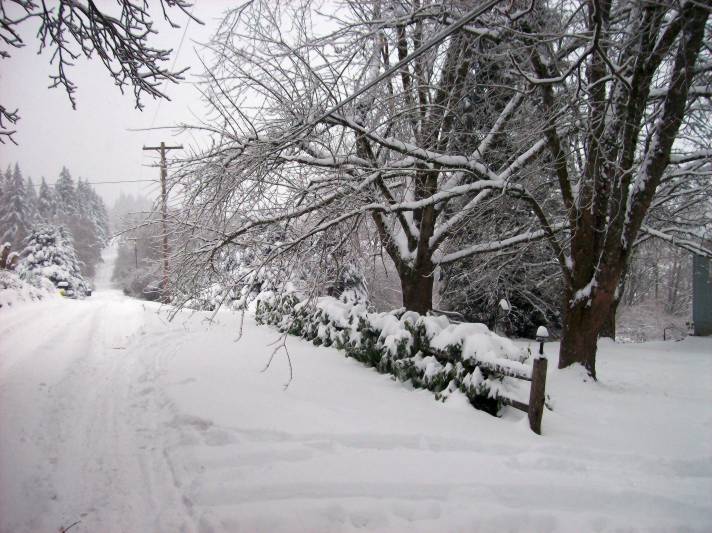
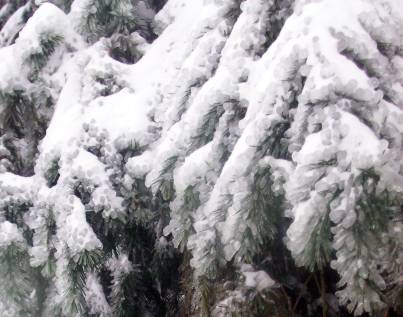
We had 11 inches of snow when we measured it last - it is snowing right now.

There is 1/2 inch of ice on everything - it is in a strata about 6 inches from the top of the snow.
We have one bird feeder and one squirrel feeder but it is not enough to take care of all our 'friends'. We have a troop of raccoons, flocks of sparrows, quail, doves, starlings and a host of other birds. We have lots of squirrels as well.

We had been feeding them dry dogfood, sunflower seeds until we ran out. Then we switched to dry oatmeal mixed in with peanut butter. We put it out under the truck which is the only place without a layer of the silver and white mess.
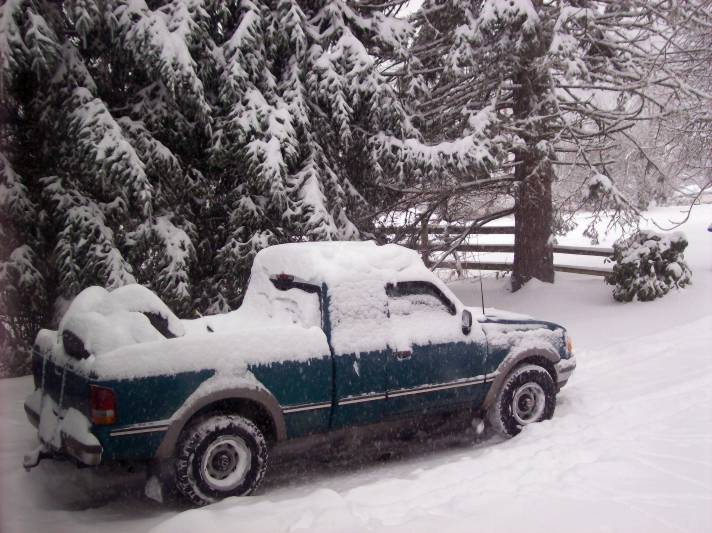
We're in for the day - again since Saturday morning - as our 4-wheel drive truck will not engage the front drive because it is too cold. We got stuck in our own driveway!
Now that I have power back, I'll get to do some crafting today and have more goodies to post tomorrow.
Ddd
Posted by studio3d@ccgmail.net
at 10:17 AM PST
Updated: Tuesday, 23 December 2008 11:11 AM PST


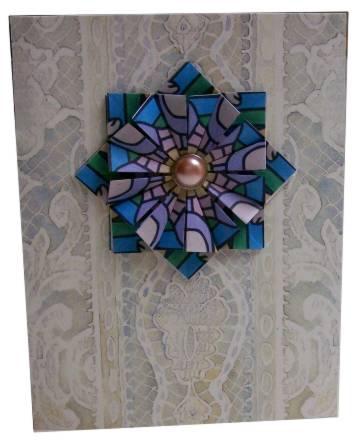
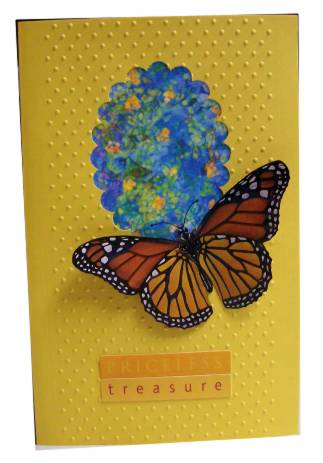
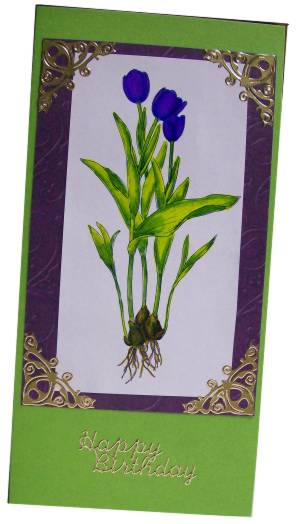
 This time I used a pearlized pink cardstock and after pricking out the whole pattern I used the needle to punch around the outer edges so they would tear away and create this lacy panel.
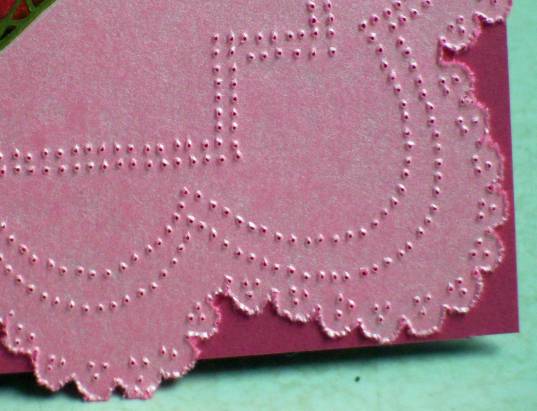

 The challenge to myself was to use only what I brought upstairs plus whatever I had in my 'stuff to work on someday' drawer beside my livingroom chair. No more trips downstairs allowed!