Topic: New Work
I found this photo 3D picture on the web and cut it for this card. I backed it with crackle-print scrapbook paper and trimmed all 4 edges with silver peel-off borders.
The greeting is also silver peel-off stickers.
Ddd
« | January 2009 | » | ||||
S | M | T | W | T | F | S |
1 | 2 | 3 | ||||
4 | 5 | 6 | 7 | 8 | 9 | 10 |
11 | 12 | 13 | 14 | 15 | 16 | 17 |
18 | 19 | 20 | 21 | 22 | 23 | 24 |
25 | 26 | 27 | 28 | 29 | 30 | 31 |
I found this photo 3D picture on the web and cut it for this card. I backed it with crackle-print scrapbook paper and trimmed all 4 edges with silver peel-off borders.
The greeting is also silver peel-off stickers.
Ddd
Another element from FredSheSaid. I cut it into a 3D element and mounted on speckled scrapbook paper over cardstock base.
The text is a vellum sticker.
Ddd
I chose a water printed scrapbook paper to stitch this waterlily from my own pattern. This is stitched with Sulky threads.
Very faintly at the top you can see the white rub-on greeting.
Ddd
This glossy paper reminded me of the sky at dusk and since it also resembles water I've stitched my lighthouse pattern on it. I added silver peel-off corners and a silver greeting.
This was stitched with a single strand of embroidery floss.
Ddd
I snagged this illustration from my daughter-in-law's blog and turned it into a 3D. I found some scrapbook scrap that looked like granite countertop and then one printed with blocks that reminded me of kitchen tiles. Voila!
The text blocks are three stickers.
Ddd
Another 3D illustration from FredSheSaid. This comes with a background and a choice of greeting blocks. I tore out the background and used a marker to darken the edges. Then I selected a scrapbook paper with music on it. This is all mounted on a blue cardstock and then on a white base.
Ddd
I used a background of printed cardstock for these stitched cats. I thought it looked like wallpaper.
I found this vellum text sticker and it perfectly suited the illustration.
Ddd
Faux Foldy Flowers from FredSheSaid have been layered withflower brads and arranged on green scrapbook paper. The leaves were scored down the center with the Scor-It and folded slightly for depth.
I added three purple flower brads and then mounted the whole thing on purple cardstock base. No greeting for this one.
Ddd
I found this 3D picture on the web. It is made from a photo so when it is completed it looks SO great. I mounted on a green scrapbook paper over teal cardstock base.
The text is a thick acrylic tile. I used Stickles in the mounting holes so it looks like gems are holding it on.
Ddd
This 3D design from FredSheSaid is mounted on green plaid scrapbook paper over a cream cardstock base. The text is a large sticker.
Ddd
I downloaded this free 3D cutting image from the web. It is on top of a dotted scrapbook paper and trimmed up with a large vellum sticker (the text) and tied with double ribbons.
Ddd
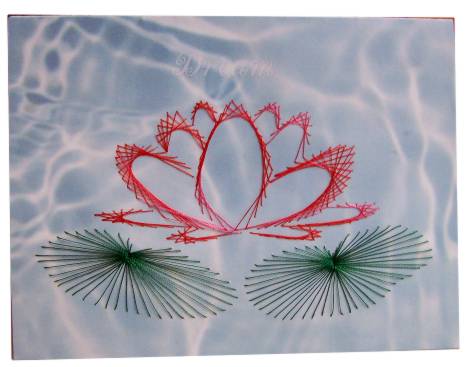
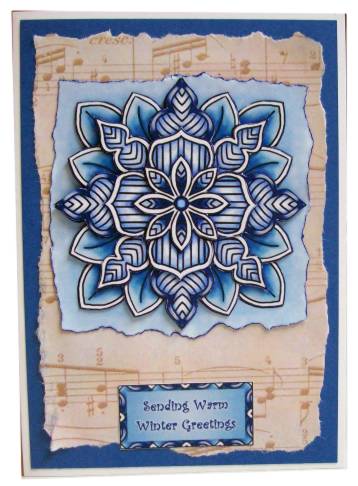
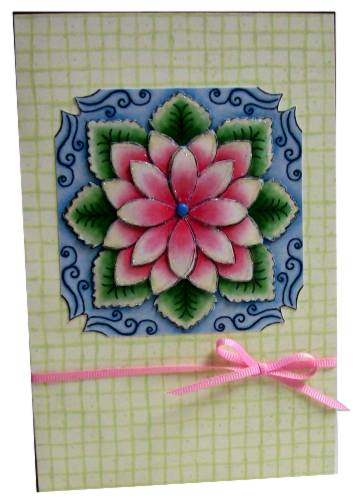
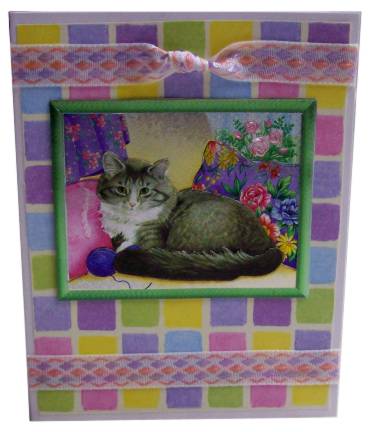
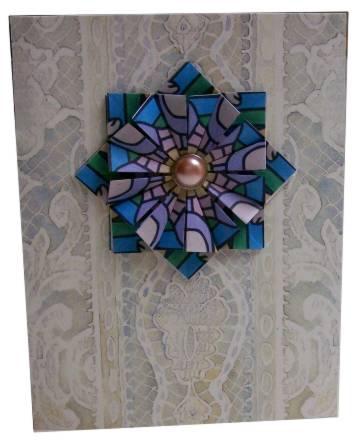
This was NOT what I expected nor what I set out to do when I folded these teabag squares!
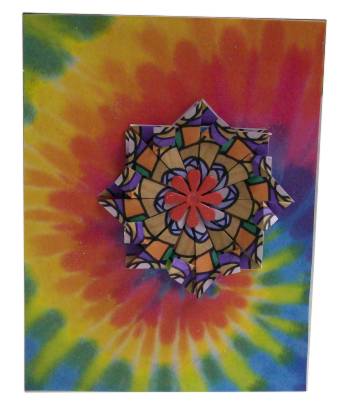
Searching for a background paper to match the folded medallion, I ran across this tie-dye print.
Careful cutting and placement made for a great compositions but it still looked 'flat'. So I added the flower brad in the center. Suddenly we've got 'flower power'!
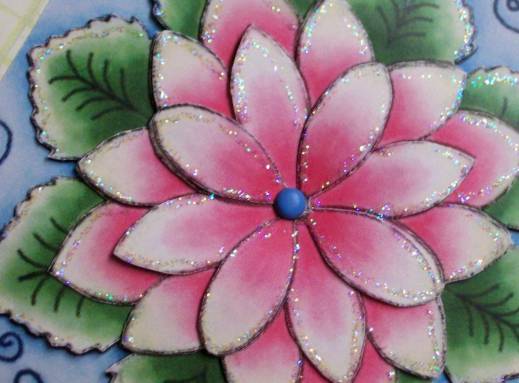
Then I got a little carried away by the psychodelic nature of the thing and added Stickles to the flower and to the edges of the color swirls by applying with the tip of my finger.
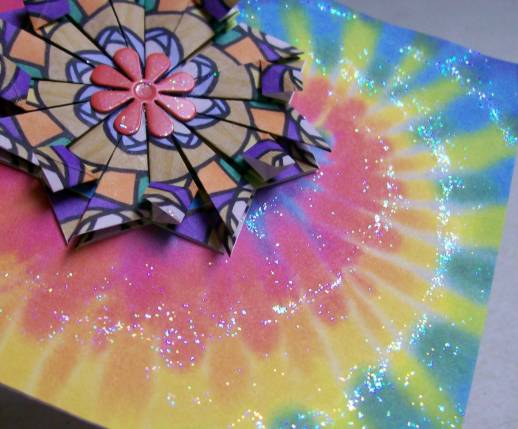
This leaves a trail of glitter effect without having the bulkiness of the glue.
This is the last of the cards made during my 'snow days' off of work and pretty much house-bound.
Even when I don't set out to create a challege for myself, it sometimes just ends up that way. And I DID get a pile of little 'projects' cleaned out of the drawer by my liningroom chair!
Ddd
I had an amazing number of things floating around in that project drawer last week!
This is a digital element created by "Fred-She-Said" and offered as a freebie.
I cut it in layers to use as a 3d element and placed a blue mini-brad in the center.
The background is a checked scrapbook paper and I added a ribbon around the front panel, through a small slit in the spine.
It was still a little too plain for my taste, to I let loose with the Stickles glitter and rimmed every leaf and petal. It really sharpened it up.
In this closeup view you can see the shiny edges I added.
Ddd
This is the last of the foil 3d pictures I had on hand.
The tile scrapbook paper echoes the colors of the picture as well as repeating the squared-off theme.
I found ribbon with the same colors and a geometric weave and added a band at the top and bottom both. I liked the top piece with a knot in the center better than plain like the lower ribbon.
Ddd
More foil 3d!
Not only are the birds and bath 3d on this card, but the pink flowers and the butterfly are as well.
I used a scrapbook paper with a mottled background for this card as the picture is so busy I did not want to detract.
For this card I used more of the gold-imprinted satin ribbon but did a 'fake' bow by threading it through slits in the card front.
Ddd
This foil 3d didn't have a 'background' like the rest, but simply cuts right in around the dog.
I used a striped wrapping paper behind the dog, tearing the edges for a casual feel.
Then I echoed the shininess of the foil with a satin ribbon knotted on the left. It has a very subtle fold print on it which also looks great with the foil picture.
I curl all the picture elements before placing them and I use silicone adhesive to create 'lift' and dimension in the final work.
Ddd
This is another of the foil 3d pictures.
I paired it with some of the scraps of paper that I had on my table from other recent projects.
I tore the floral background to make it a little more casual.
It isn't obvious from the pictures but there is so much depth and elegance to these foil pictures.
They are also very easy to cut and look very finished and professional when done.
Ddd
A friend sent me several sheets of foil 3d image sets to use. I had them in my projects drawer when the snows struck.
This image was enhanced by the subtle leaf print on this scrapbook paper.
I simply added two heart brads on the background and this will make a nice anniversary card sor someone.
I haven't decided if I want to add a sentiment or not.
What do you think?
Ddd
My project drawer had a couple of sets of teabagfolding squares.
I had created them from the Christmas windows pictures from last year but had never even cut them out.
So, this week I did just that. I love the look of the stained glass and it just looked perfect when mounted on this lace printed scrapbook paper.
I added a pearl-centered brad to the center of the medallion.
I decided to leave this card without a greeting. I can always place a peel-off greeting when I select it to send to someone, but may ust leave it like this.
Ddd
Here is the third of the paper pricking patterns I had on hand.
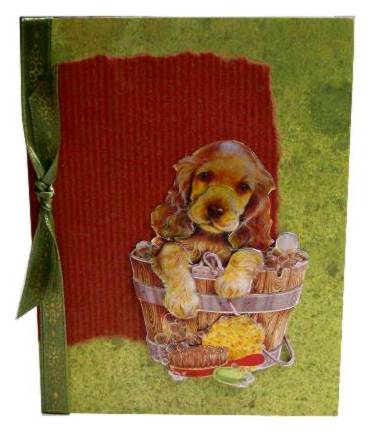
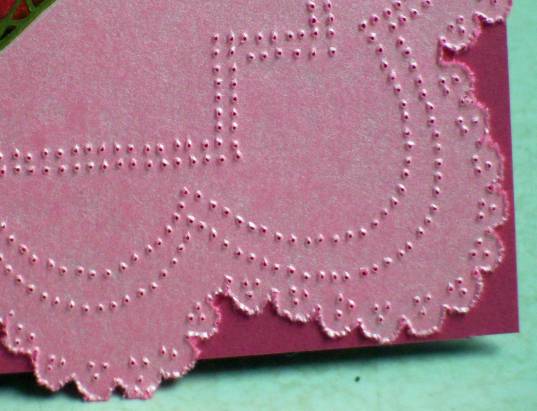
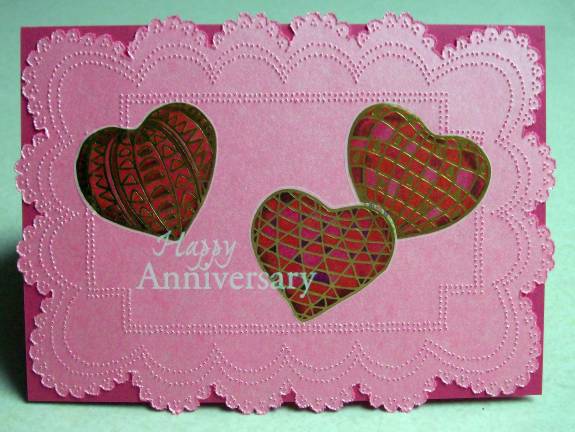
This time I used a pearlized pink cardstock and after pricking out the whole pattern I used the needle to punch around the outer edges so they would tear away and create this lacy panel.
I cut the base card slightly smaller so the lace edges would hang over.
The three hearts are vellum stickers that I've had in my stash forever. I added white rubons for the greeting.
Here's a closeup of the lower right corner of the panel.
Ddd