« December 2009 »
S M T W T F S
1 2 3 4 5
6 7 8 9 10 11 12
13 14 15 16 17 18 19
20 21 22 23 24 25 26
27 28 29 30 31
You are not logged in. Log in
Entries by Topic
All topics  «
3D paperwork
A - Z challenge 5
A - Z challenge 7
A - Z challenge round 4
A to Z challenge round 3
A to Z round 2
A to Z round 6
A-Z round 1
Around the House
Art Challenges
Artist Trading Cards
Backgrounds
Beads
Bible Journaling
Books
Boxes
Collage
Color Challenge
Coloring
cookbook
Die Cuts
Digital Projects
Digital Stamps
Drawing
Dry Embossing
Fabric Stuff
Fantastic Folds
Field Trip
Home Decor
How Does Your Garden Grow?
Hymnal Art
In The Kitchen
In the studio
Jewelry
Lettering
Links
Multi-Technique
Music to Work By
Musings
Nail Art
New Work
Online Class
Other Hobbies
Other Projects
Painting
Paper Embroidery
Paper Piecing
Photo
Pretty Paper
Quilting
Random
reading
Scrap Recovery
scrapbooking
Sewing
Sketch Challenge
Some Backlog
Stamping
Stencils
Stickers
Supplies
Teabag Folding
Techniques
Testing
tips and tricks
Tutorial
Web resources
Welcome to my Blog
Work By My Friends
workflow
Writing
Blog Tools
Edit your Blog
Build a Blog
RSS Feed
View Profile
Group One
In & Out of Studio 3D
Sunday, 27 December 2009
Three Tall Flakes
Topic: Stamping

Yep, back to the swoosh of flakes stamp! This time, stamped twice onto tall panels and graced with two punched flakes mounted with brads.

Since I had, by now, run out of gold brads I used silver on all of these and then used thick acrylic stickers for the greetings. One is applied directly to the card and two were stuck to more of the teal background card color and trimmed out for mounting.

Ddd


Posted by studio3d@ccgmail.net at 6:00 AM PST
Saturday, 26 December 2009
Five Triple Flakes
Topic: Backgrounds

Hey, It's MY blog and you'll look at CHristmas cards till I tell you to stop!

In this group, background of the upper center one is done with alcohol inks and silver mixatives, cleaning off the applicator by streaking across the glossy cardstock. The other four use a Whispers ink pad dragged across the cardstock to leave streaks.

All have teal punched snowflakes, showflake brads and sticker greetings. If you look closely you can see that some of the brads are gold, some silver, and one white. I used some gold snowflake stickers in each center to tie in the gold of the greeting stickers.

Ddd


Posted by studio3d@ccgmail.net at 6:00 AM PST
Friday, 25 December 2009
Two Flaky Swooshes
Topic: Stamping

Are you saying to yourself, "Hey, I saw these already!"? Think again! THOSE were gold flakes and these are teal, THOSE had scrapbook paper mats and these do not, THOSE had a single gold brad and these have THREE! 

See? Totally different!

MERRY CHRISTMAS!

Ddd


Posted by studio3d@ccgmail.net at 6:00 AM PST
Thursday, 24 December 2009
Flaky Background
Topic: Stamping

I used another panel with the snowflake stamped background but this time added a gold panel to the center. Over this I adhered a teal snowflake fromt he MS punch using a gold snowflake brad. 

I, again, used a peel-off greeting.

Ddd


Posted by studio3d@ccgmail.net at 6:00 AM PST
Wednesday, 23 December 2009
Golden Flakes
Topic: Stamping

This swirl of flakes is from the same clear acrylic set of stamps as the large ones stamped yesterday.  I stamped on a glossy panel and then used the MS punch to make golden flakes from a portion of a foiled Christmas card from last year. These I attached using gold snowflake brads.

Scrapbook paper was used to create the mat and these are mounted to teal folded cardstock. The greeting is a gold peel-off sticker.

Ddd


Posted by studio3d@ccgmail.net at 6:00 AM PST
Tuesday, 22 December 2009
Metallic Flakes
Topic: Stamping

I recently bought a snowflake stamp set of clear acrylics and have put them to good use. I folded a glossy cardstock and stamped an overall pattern of flakes using Whispers ink.

Then I used another recent purchase - a Martha Stewart snowflake punch and make these four by punching over foiled imprints from an old Christmas card. I love how the different foil snowflakes make every punch look like a different tool was used! The foild were of magenta, teal, silver and gold. 

Each flake was mounted using only a glue dot in the middle to leave dimension in the edges. Then a rhinestone was adhered to the center of each and the greeting - a gold peel-off - added to the card.

Ddd


Posted by studio3d@ccgmail.net at 6:00 AM PST
Monday, 21 December 2009
Pink Snow
Topic: Backgrounds

Technically, this could come under the heading of 'collage' cards but I really wanted to point out the background technique instead. I made this background with three tones of alcohol ink and silver mixatives. This was near the end, when I had little left on the applicator and the colors were pretty well blended. I used a slide-and-twist motion to clean off the applicator on the glossy cardstock and this was the result. I used a fancy corner punch on the background. 

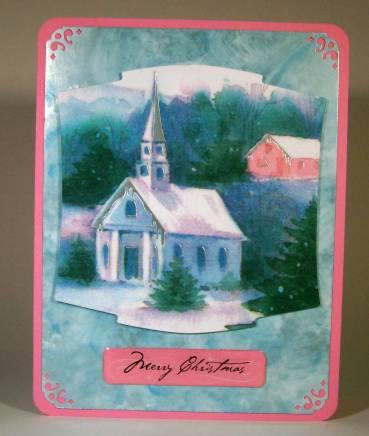
The center panel is the front off an old Christmas card, cut with a Nestabilities label die. I raised it on foam tape for dimension. I mounted on a folded pink cardstock base with the corners rounded and then added a thick acrylic sticker to more of the pink and trimmed around before adhering to the card.

---------------------------------------------------

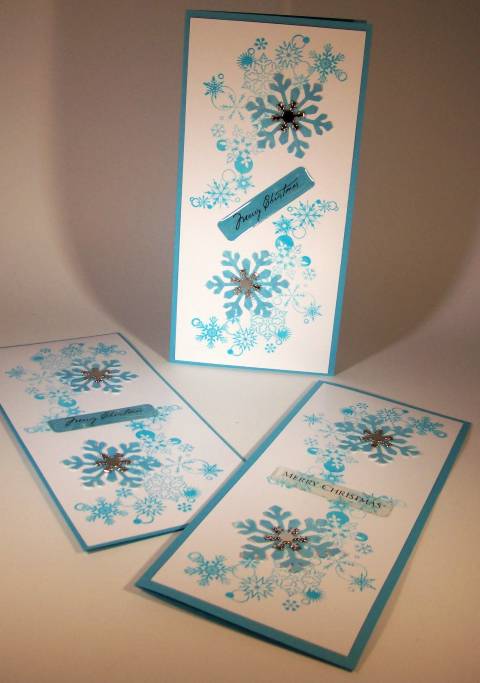
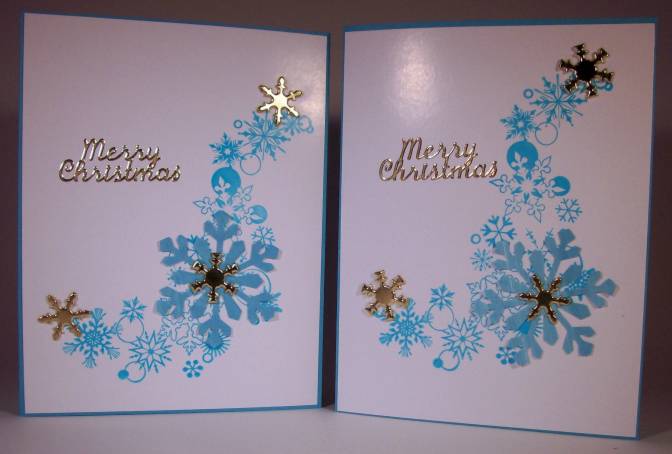
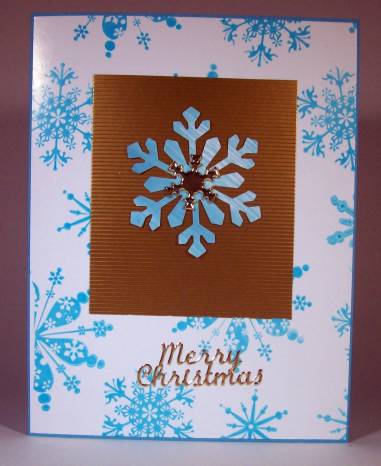
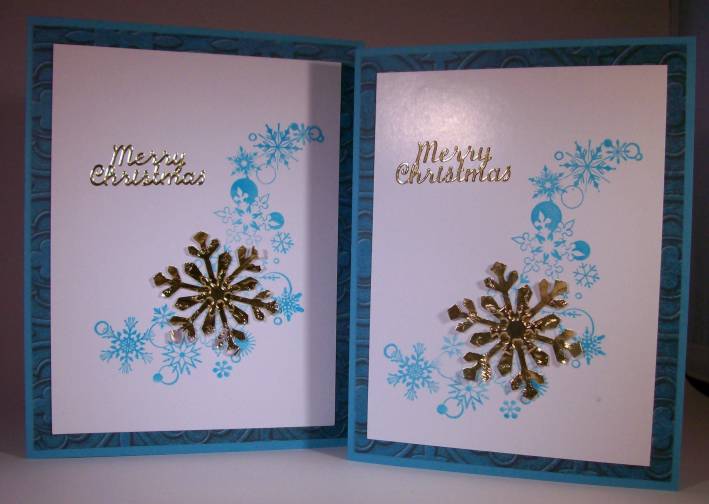
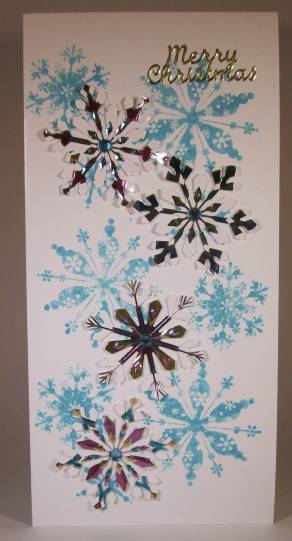
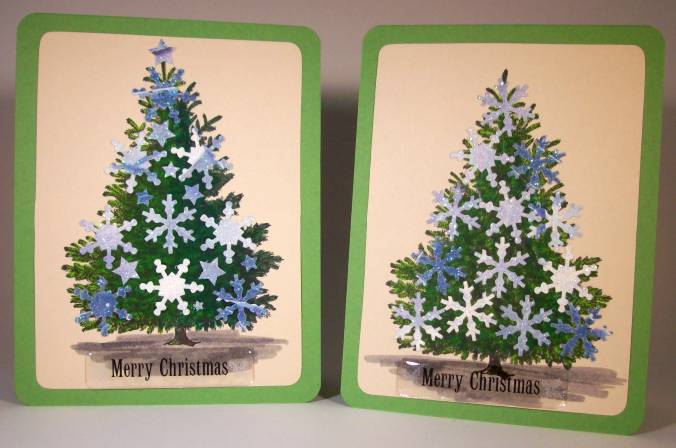
I feel free showing all my Christmas cards now because 1) they've been in the mail long enough that most should have been received by now and 2) I haven't had a comment on my blog for so long I don't think anyone is out there anymore. It's not like someone is going to see this and 'spoil the surprise'.

Ddd


Posted by studio3d@ccgmail.net at 6:00 AM PST
Sunday, 20 December 2009
Snowflake Trees
Topic: Stamping

I'm calling this entry 'stamping' even though you can hardly see it in the final result and even though I didn't to the original stamping! A friend sent me these two impressions in an image swap and I colored them in with markers. I used a Cuttlebug die to cut snowflakes out of the glittery parts of last year's Christmas cards and covered the trees with them. 

A punch was used to round the corners of the panel and the tent-fold green cardstock bases.

Each one has a thick acrylic sticker applied.

Ddd


Posted by studio3d@ccgmail.net at 6:00 AM PST
Saturday, 19 December 2009
All Eyes on You
Topic: Jewelry

More tiger eye spheres set off this simple combination with creamy fall colored paper beads. A 27.5-inch length, this goes well with any casual attire. 

...and we now return you to your regularly scheduled blog programming!

Ddd


Posted by studio3d@ccgmail.net at 6:00 AM PST
Friday, 18 December 2009
Moss and Tiger Eye
Topic: Jewelry

Ball beads of tiger eye are encased in silver caps to separate these moss-green paper beads. This makes for a classy necklace of a generous 32-inch length. 

Ddd


Posted by studio3d@ccgmail.net at 12:01 AM PST
Updated: Sunday, 22 November 2009 7:31 PM PST
Thursday, 17 December 2009
Dots and Dashes
Topic: Jewelry

The 'dashes' are the paper beads from striped paper in subdued tones. The 'dots' are the shiny wooden beads in a tone that makes them look like birch.

A very subtle 30.5-inch length. 

Ddd


Posted by studio3d@ccgmail.net at 6:00 AM PST
Wednesday, 16 December 2009
Tutti-Fruity
Topic: Jewelry

30 inches of fruity goodness! In addition to the clear embossing powder I added a coat of embossing called 'icy sparkle' It has a very subtle glitter in it and really adds the perfect finish to these beads. 

Pink and orange glass beads are spacers.

Ddd


Posted by studio3d@ccgmail.net at 6:00 AM PST
Tuesday, 15 December 2009
Enclosed Glass
Topic: Jewelry

A two-toned subtle print paper created these beads. I used brown glass beads and encased them in silver caps to make up the spacers. This necklace is a long 31.5 inches. 

Ddd


Posted by studio3d@ccgmail.net at 6:00 AM PST
Monday, 14 December 2009
Aquarium Chain
Topic: Jewelry

The colors in this 30.5-inch necklace remind me of what one might see in an aquarium. The beads are from a leafy print and  the blue and orange glass beads are colors pulled from that print. 

Ddd


Posted by studio3d@ccgmail.net at 6:00 AM PST
Sunday, 13 December 2009
Speckled Brights
Topic: Jewelry

The spacers for this 27-inch necklace are made of bone (I think) and look great with the speckled beads created from a brightly striped paper.

This makes for a very casual look that could be worn with a multitude of different outfits. 

Ddd


Posted by studio3d@ccgmail.net at 6:00 AM PST
Saturday, 12 December 2009
Disk-O
Topic: Jewelry

If you didn't know these beads were paper you'd be fooled into believing they were make of wood.

I had these real wooden carved disk beads and brown glass balls which paired beautifully for this 30.5-inch necklace. 

Ddd


Posted by studio3d@ccgmail.net at 6:00 AM PST
Friday, 11 December 2009
Add Some Shine
Topic: Jewelry

For the rest of my beads - from here on - I embossed them. I put the bead on a toothpick, rolled across a Versamark pad, and dipped into clear embossing powder and heated with a heat gun. This gives the beads a protective coating for longer wear and makes them match up better with the commercial beads.

This set was made with plaid paper. Colors from the paper were pulled out for the accent beads - dark wooden thin disks and green plastic thick disks.

This necklace measures 27 inches.

Ddd


Posted by studio3d@ccgmail.net at 6:00 AM PST
Thursday, 10 December 2009
Camoflage and Stone
Topic: Jewelry

Hah! You probably thought I was done with these. But, wait! There's more!

This plaid turned into a camoflage look and I combined the beads with garnet chips for this earthy 27-inch string.

Ddd


Posted by studio3d@ccgmail.net at 6:00 AM PST
Wednesday, 9 December 2009
Silver and Gold
Topic: Paper Embroidery

For a recent swap, with the assignment to work in silver and/or gold, I stitched up these praying hands in gold metallic Sulky thread on silver cardstock. I cut it out and embossed with a Nestability die.

I used a silver folded cardstock base and trimmed off the right of the front. Then the front panel has had a gold foil paper overlaid and the stitched panel is mounted onto it. 

I used gold peel-off stickers on the left corners and as a border on the inside back that shows when the card is closed because of the trimmed front cover.

I added graduated rhinestone accents along the top and bottom of the stitched panel.

Ddd


Posted by studio3d@ccgmail.net at 6:00 AM PST
Tuesday, 8 December 2009
All Wrapped Up
Topic: Jewelry

My Secret Sister gave me a gift and it was wrapped in this beautiful paper. I couldn't toss it out so I turned it into these beads. Since the paper is thinner it makes a more streamlined bead.

I combined it with irridescent  glass beads and made up this 24.5-inch beauty.

Ddd


Posted by studio3d@ccgmail.net at 6:00 AM PST

Newer | Latest | Older