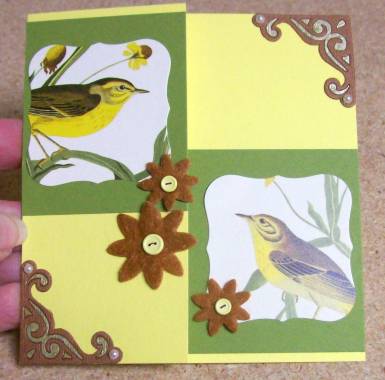
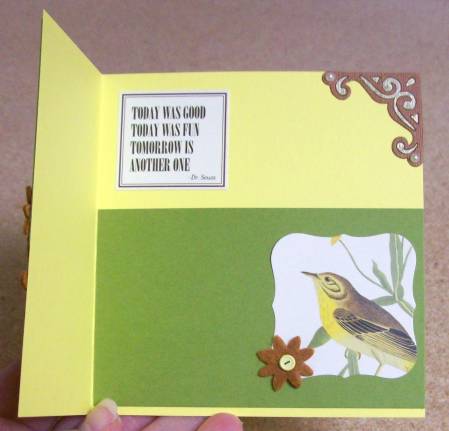
Topic: Fantastic Folds
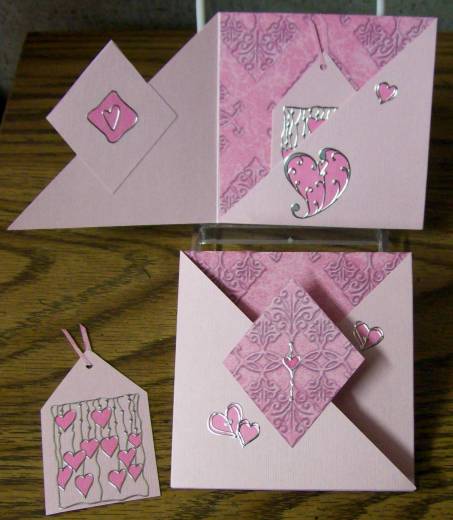
One of the blogs I read regularly had a fantastic video tutorial back in August for a card with mechanics. It is called a marquee card. I have been meaning to get around to trying since I first saw it.
Since I was asked to provide some "thank you" cards for an upcoming event, I decided today was the day! I cut all the parts for 9 cards and put them together assembly line style. This is my way of getting around my aversion to doing the same thing over and over. I just do step one on all of them, then step 2 on all of them, and so on until I'm done. It is easier for me than doing one all the way through and then thinking to myself "One down, only 8 more to go". That is so depressing.
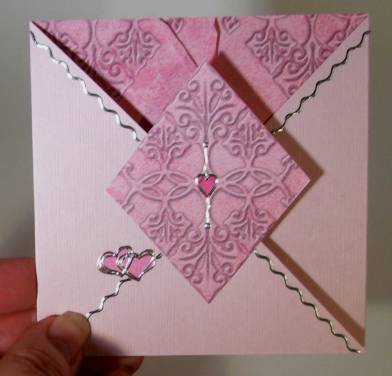
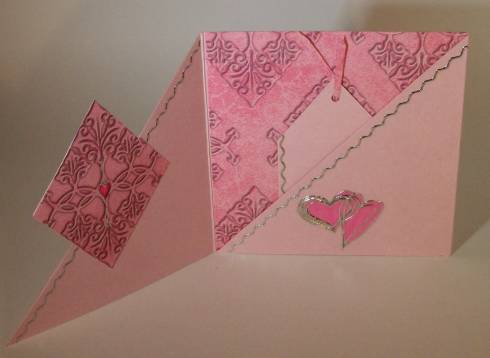
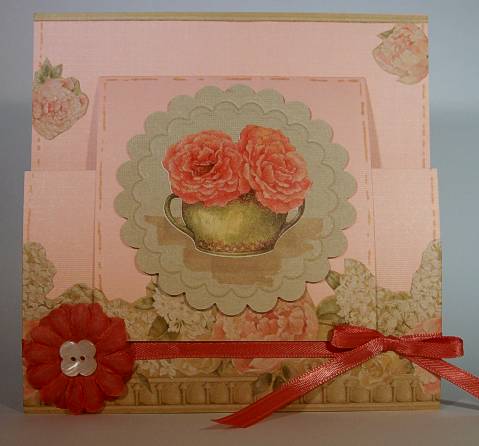
And, here is the result of card 1 (yes you are going to get them one-per-day until they are all shown.

The card, when closed, shows a scalloped window with a cutout circle behind it. I decorated the front with scrapbook paper, a peel-off greeting and some stick-on rhinestones.
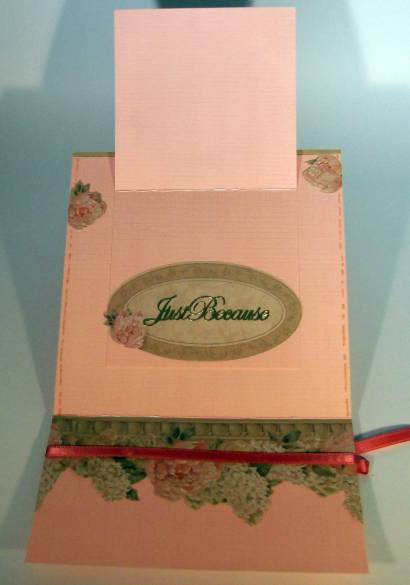
As the front panels are opened, the pieces behind the cutout circle slide left and right to reveal a greeting in the back.
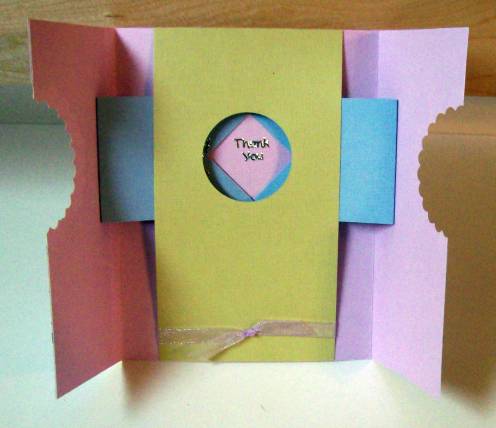
I also added a ribbon knotted around the inside panel.
Isn't this a clever structure? You can watch the video on construction here: http://stampspaperscissors.typepad.com/stamps_paper_scissors/2009/08/the-marvelous-magical-marqee-card-video-tutorial.html
Ddd