Topic: Scrap Recovery
Layers and layers of table scraps form the background for this illustration from the Engelbreit book.
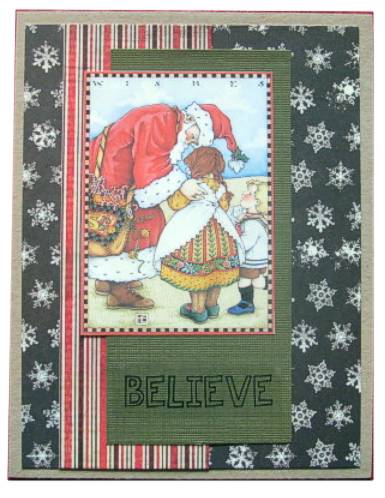
I added a clear sticker greeting at the bottom.
Ddd
Posted by studio3d@ccgmail.net
at 6:00 AM PST
| « | January 2011 | » | ||||
| S | M | T | W | T | F | S |
| 1 | ||||||
| 2 | 3 | 4 | 5 | 6 | 7 | 8 |
| 9 | 10 | 11 | 12 | 13 | 14 | 15 |
| 16 | 17 | 18 | 19 | 20 | 21 | 22 |
| 23 | 24 | 25 | 26 | 27 | 28 | 29 |
| 30 | 31 | |||||
Layers and layers of table scraps form the background for this illustration from the Engelbreit book.
I added a clear sticker greeting at the bottom.
Ddd
Another image from the stamp catalof, colored with Copic markers. I was experimenting to make the dove seem dimensional without making it look anything but white. Three cool gray tones were blended for this. Then I used tone on tone for the image background and greeting.
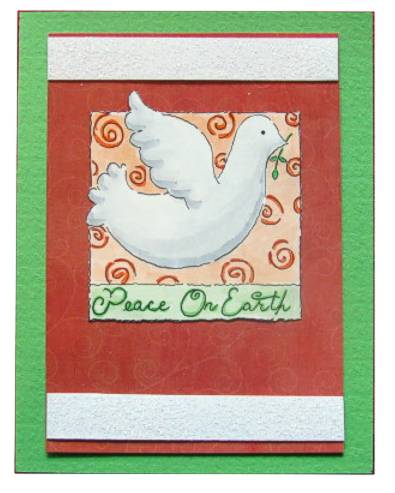
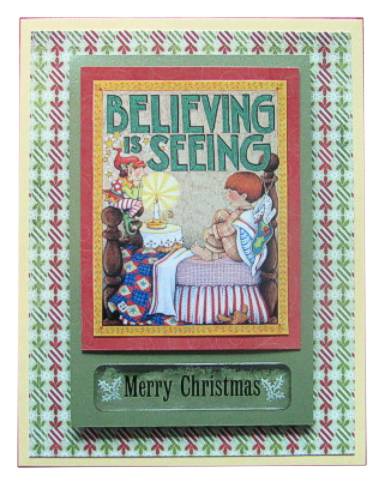
I had these two strips of frosty glitter cardstock that were cut from an old card. The cinnamon layer is the backing sheet out of a sticker package. The folded green cardstock base is the only part of this card that is not scraps.
Ddd
Nothing really fits the category of this like 'stickers'. I started with striped and script background to make the card look like a room. Then I used three vinyl tree stickers to create a layered Christmas tree and decorated it liberally with star stickers.
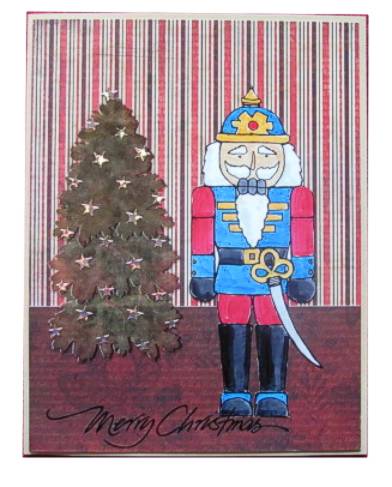
The image is from the stamp catalog, colored with Copic markers, and the text is a rub-on. I haven't decided if this image is supposed to be the 'steadfast tin soldier' or a 'nutcracker', though.
Ddd
Among the colors my camera refuses to process is this cardstock in granny smith apple green. This card is made of table scraps and turned out with a retro feeling to it. The greeting is a combination of two rub-ons. And red cardstock layer is topped with a scrap of fussy-cut tree paper.
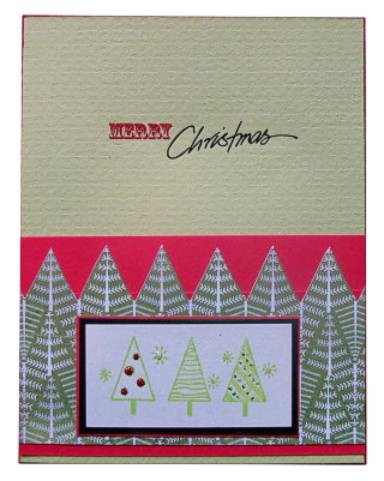
The stamped trees on the image are closest to the real color of the cardstock. They are glittered and mounted first on black and then on red. These, along with their mounting panels, were a gift tag from a few years back that I saved for re-use.
Ddd
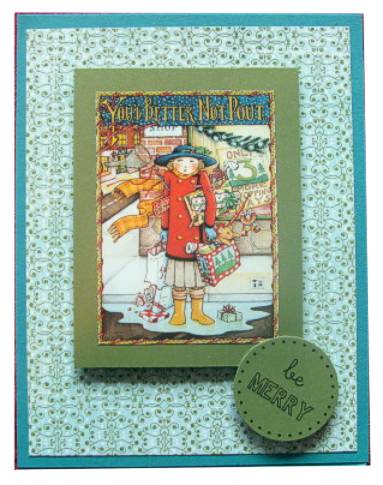
I thought the greetings used together on this card really suited. The scrap recovery image says, "you'd better not pout," and the clear sticker reads, "be merry."
Ddd
This little guy does! I bordered this image with a rust layer and a shimmery green layer to which I added a thick acrylic greeting sticker.
Christmas candy paper in a micro-print makes the background over the yellow folded cardstock.
Ddd
This image is from the stamp catalog I bought. I colored it up with markers for this card. The background is made of 2 inch squares of scrapbook paper left on the desktop. I glued them to mustard cardstock and used a black pen to draw stitching around each one.
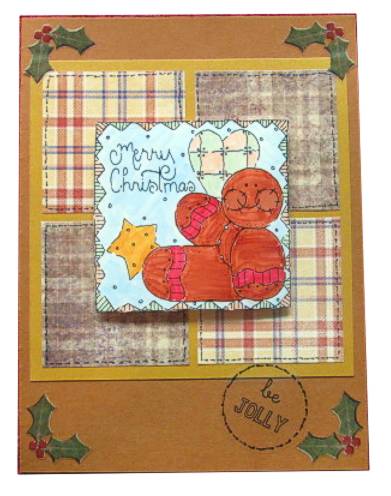
I used foam dots under the image and trimmed up the corners of the gingerbread-colored folded cardstock with vinyl stickers. The text in the circle is a clear sticker. I had a dotted border around it but I used the pen to turn it into stitching.
Ddd
A combination of scraps and leftover things. The image is from the Engelbreit book I tore apart for the art. Two layers of green cardstock, a layer of glittered snowflake cardstock and a vinyl greeting sticker. A couple of punched corners and some creative placement make this uinque.
You probably remember this image from November as well, when I started posting 3D Christmas cards. Again, different backing paper, larger card and a 3D greeting in place of the rub-on.

I really like the distressed-look candy-striped paper that works so well with the image colors.
Ddd
Back when I first started the 3D images I created one with the other copy of this pattern. I changed up the background, made the card a little larger and then used a 3D greeting sticker in place of the rub-on used last time.
In fact, I bought these greeting stickers with exactly this image in mind!
Ddd
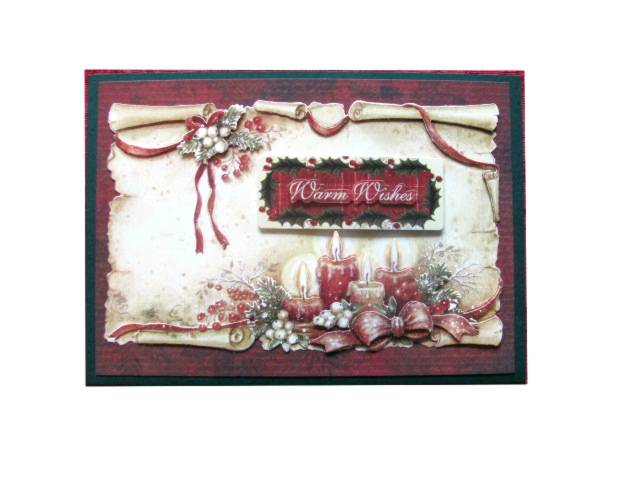
Here we're back to the foil 3D and these elegant shapes. I made several layers using cocoa, mustard and plaid that all shimmer. The smaller layers are popped up on foam over the plaid.
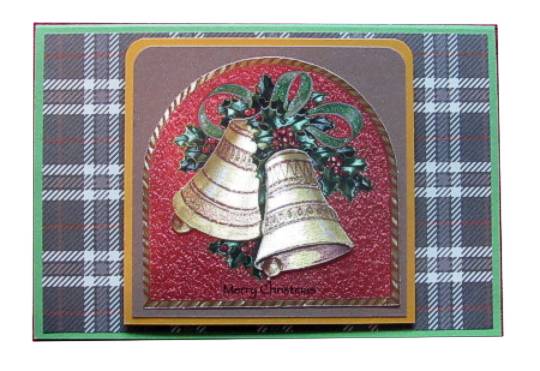
I used a green folded card base and added gold Stickles to all the decorative bands on the bells. I used green Stickles on the ribbons and added a clear sticker for the greeting.
Ddd
These square 3D images require a slightly larger card but that lends some elegance as well.I used gold Stickles on the ribbons on both images as a first step. The left card has the image popped up on foam dots over a circle patterned paper and mossy green cardstock. The oval 3D greeting sticker got an added cranberry colored border.
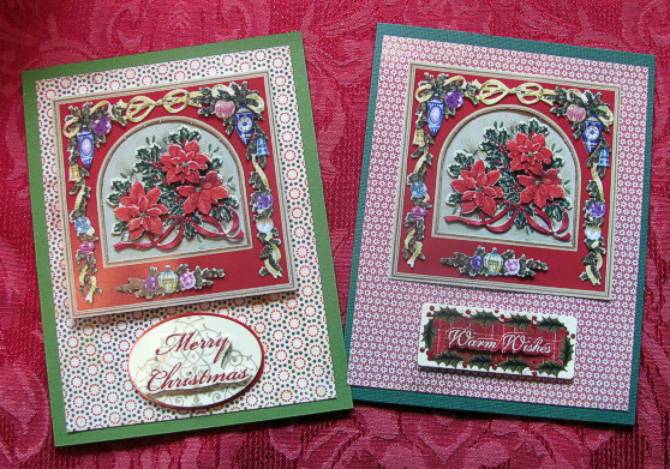
The second card uses dark green cardstock and a tiny white poinsettia print paper. The image is mounted flat to the paper but the greeting sticker is 3D.
Ddd
Think we're about done with Christmas cards? Not really - I have enough to last to the end of the month!
This foil image looked pretty flat until I added green Stickles to all the green parts of the trees and gold to the lanterns. Zippity Zingo! I used a corner round punch on the image and popped it up on foam dots over a plaid background.

After I stamped the greeting at the bottom I added green glitter to the green stripes in the plaid. Blue folded cardstock makes up the base.
Ddd
This 3D image was so simple I tried to give it a little extra zing in the treatment. This starts with a green border and tiny white button brads at the corners. This is popped up on foam dots over the background paper - more of the swirling snow. This time, though, I stamped snowflakes all over the paper and added clear rhinestones to the center of all of them.
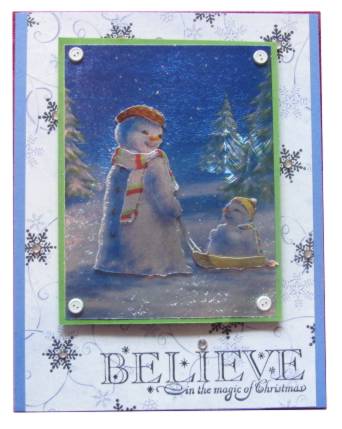
I also stamped the greeting at the bottom and dotted the 'I' with another rhinestone. Cornflower blue cardstock was folded for the base.
Ddd
Another pair of images with different treatments.Image one got a snowflake grid background in teal and celery with a celery ground of torn cardstock. I mounted them on teal cardstock and stamped the greeting at the bottom. I added Stickles all over the snowman for a little zip.
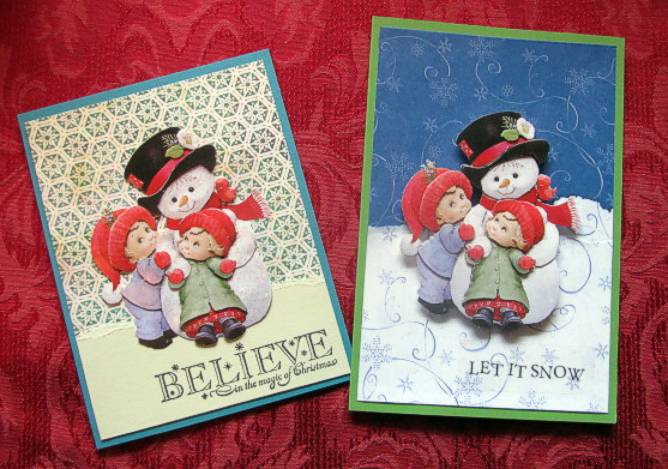
Card number two got a matchup of swirly snow paper in blue on white and white on blue with a torn edge. I mounted this on green folded cardstock before the image was popped up on foam dots and the greeting is a clear sticker.
Ddd
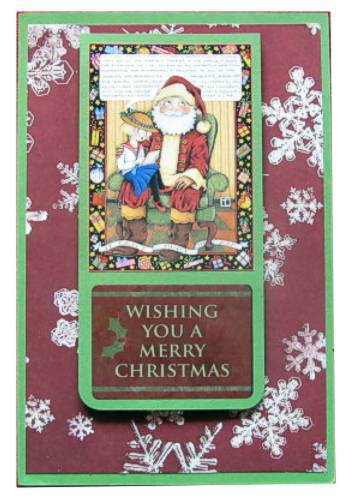
These two illustrations got entirely different treatments.The card on the left is a bit of flash with that shiny gold text background over green cardstock. Two table scrap papers were used to create a color band behind the main image, popped up on foam dots. I used the idea of the red-colored tag with a clear sticker greeting on both the cards.
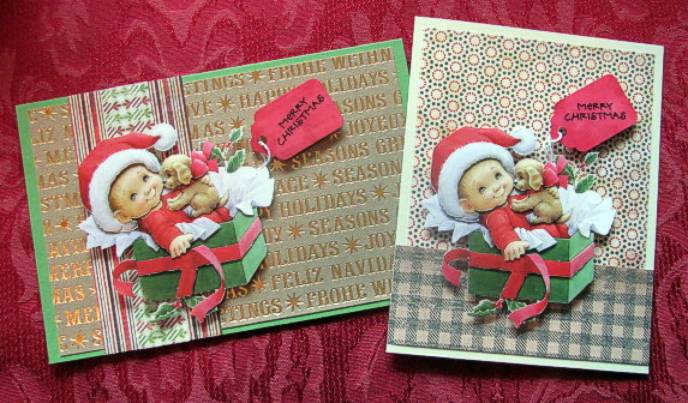
For the one on the right I used two different prints of paper to mimic wallpaper and carpet so it looks like this might be a scene from the living room on Christmas morning. The image is mounted with foram dots on this card, too.
Ddd
A pair of Rocking Moose with Santa aboard were used for these two cards. Each got a separate treatment this time. Moose left got a pale green background with rounded corners popped up on foam dots over the pinecone printed paper. I glittered the cones with gold again and added a 3D greeting sticker. Santa's 'list' has hand written 'naughty or nice?'
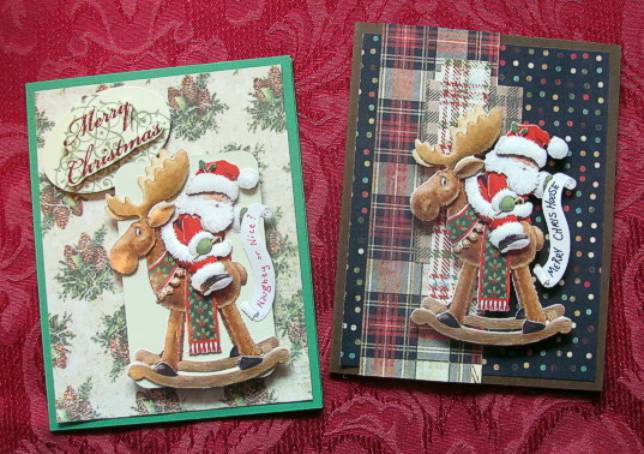
Moose number 2 got a mixture of comfy plaids and a dotted paper over brown cardstock. His paper says 'Merry Chris-Moose'.
Ddd
Here's another pair of illustrations that I treated identically. I stayed with the red and green theme in the 3D picture and used a bit of black with rounded corners for contrast. The black layer is on foam tape over the plaid background paper.
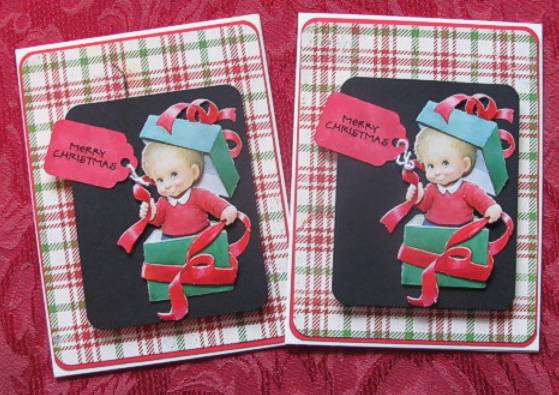
Those little tags started out as white price tags and I colored them with a Copic marker. The text greeting on the tag is a clear sticker and I used the original strings to tie them on to the ribbon.
Ddd
These two cards with the same illustration are treated nearly identically. The only difference is that one has the snow layer printed on it and the other is a torn piece of that paper glued on. Can you tell which is which?
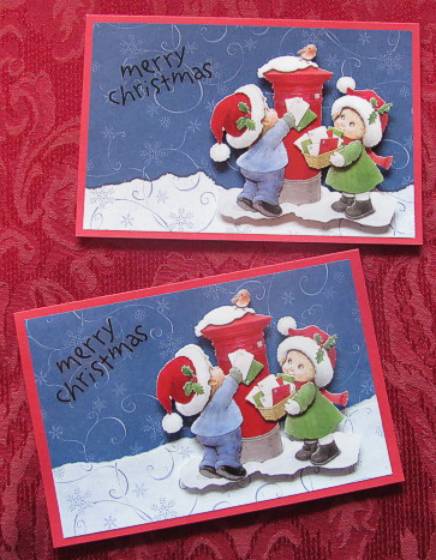
I did a simple mounting on red cardstock, popped up the illustration on foam dots and added a clear sticker greeting.
Ddd
Script prints were used for the background on both of these versions of card using the same illustration. The one on the left has gold Stickles added to the yellow flower centers. I used green on the left and yellow for the right to bring out different parts of the color pallette.
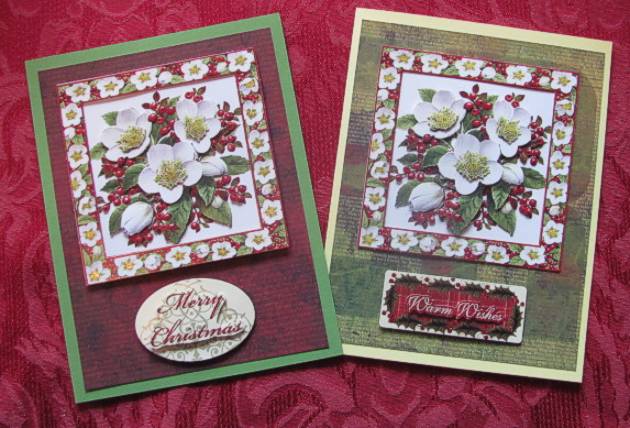
I had purchased two versions of 3D greeting stickers and selected a different one for each of these.
Ddd
