OWH Stars and Stamps Blog
Topic: Stamping
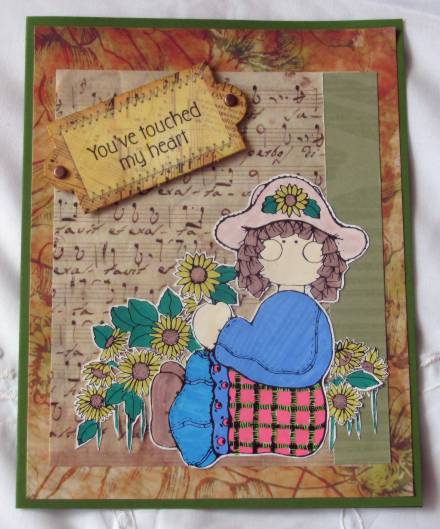
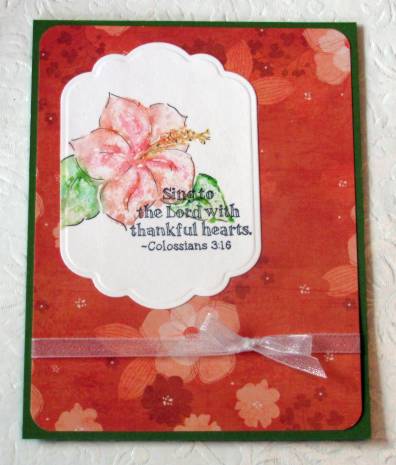
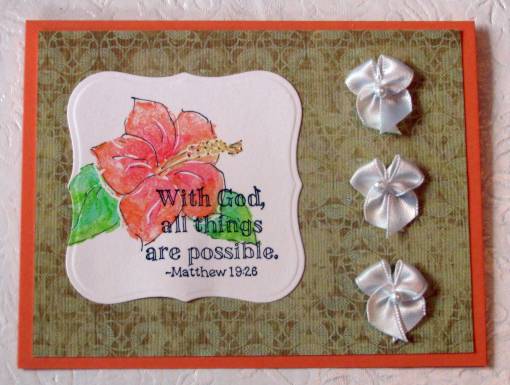
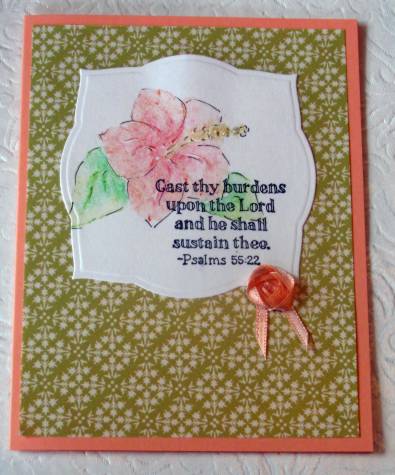
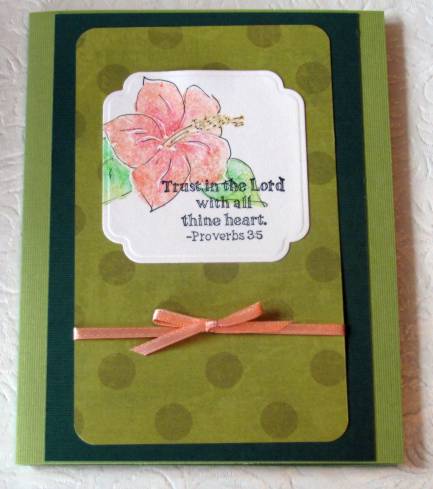
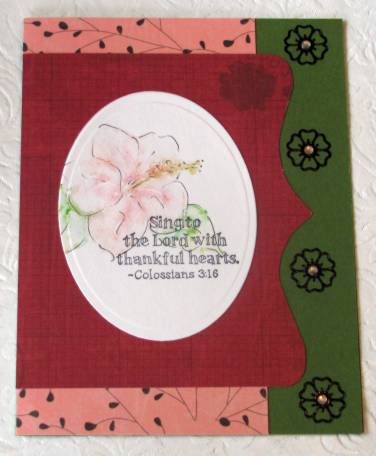
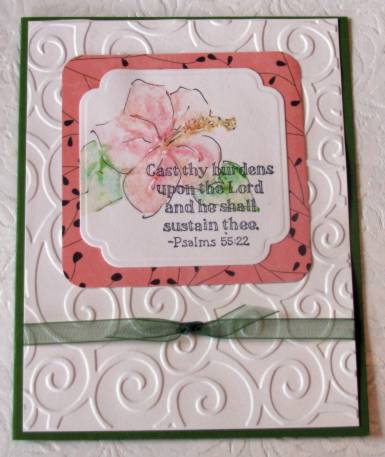
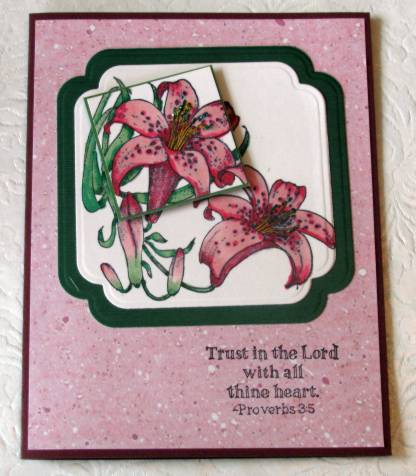
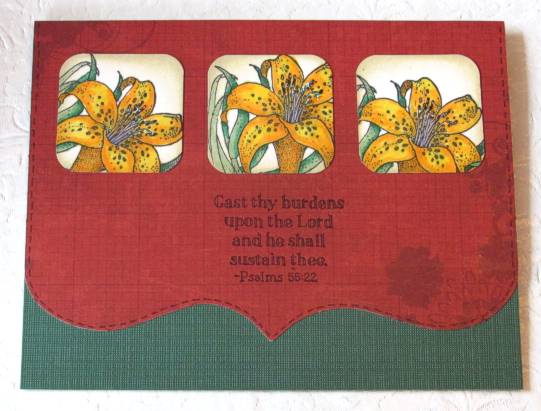
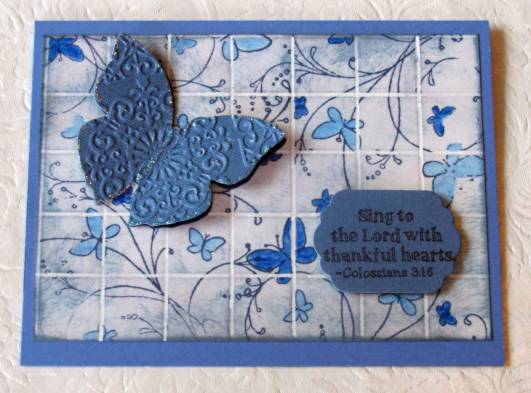
I made 16 cards for the Operation Write Home Stars and Stamps blog Fall Challenge. They are featuring one of them as a sample card to encouage others to make fall cards to send to the troops. These are used by soldiers to write home to their families.
I used stamping on all of them, colored with copic markers and then matched up with scrapbook papers, printed cardstocks, ribbons, brads and such. For some of them I used card sketches I had drawn some time ago, for others I just winged it.
They are posting one of them. Here are all of them that I made.
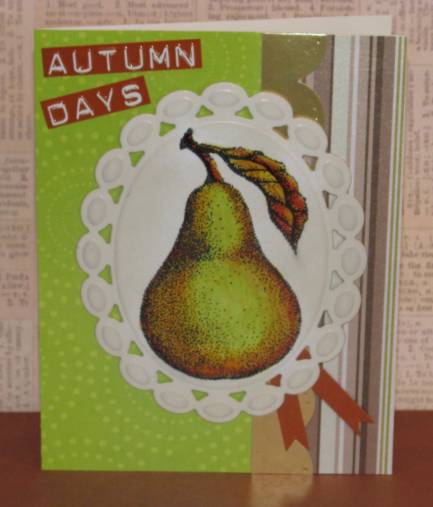
Stamps: Pear, Script Background, Greeting
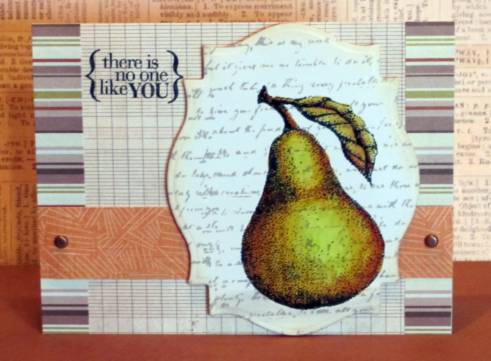
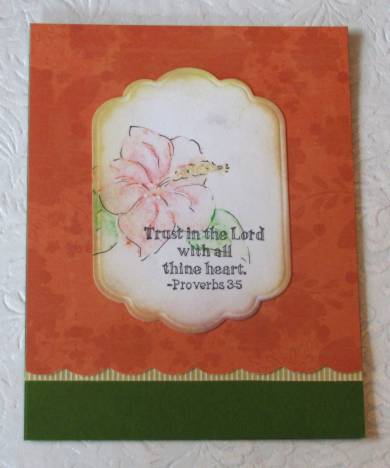
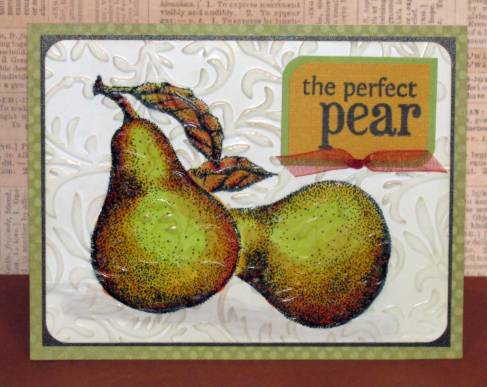
Stamps: Pear, Greeting
Stamps: Pear
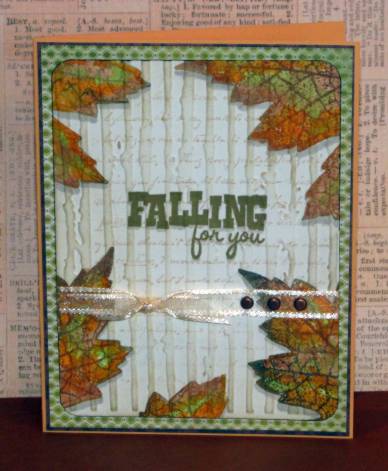
Stamps: Maple Leaf, Script Background, Text Greeting
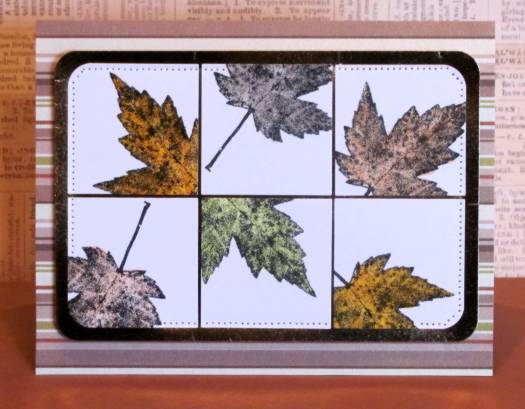
Stamps: Maple Leaf

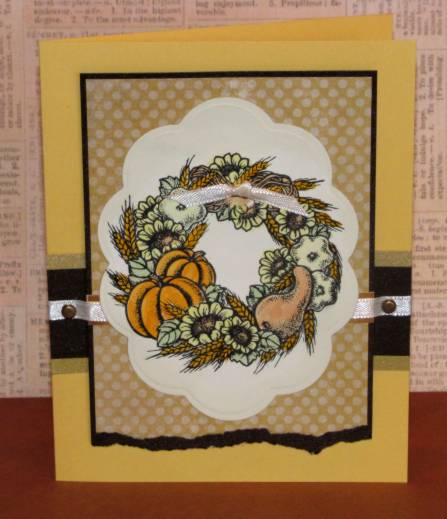
Stamps: Fall Wreath
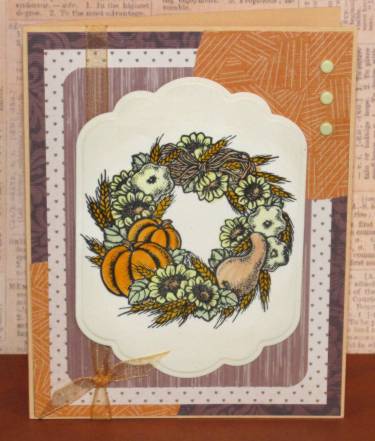
Stamps: Fall Wreath
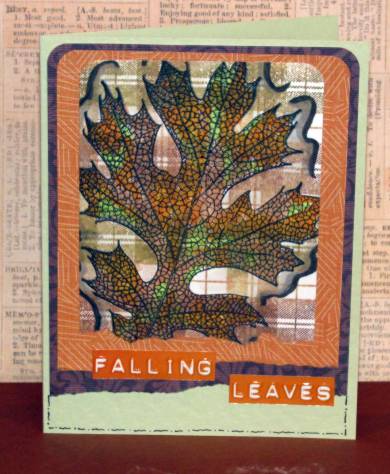
Stamps: Plaid Background, Oak Leaf
Stamps: Log, Greeting

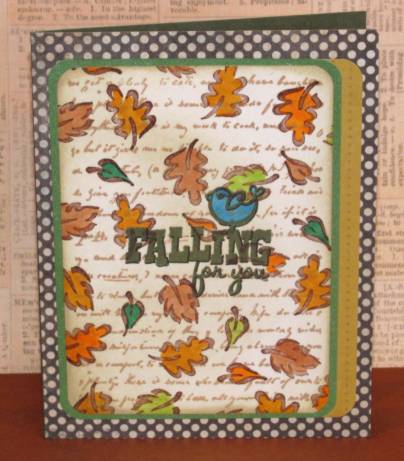
Stamps: Script Background, Three Outline Leaves, Bird, Text Greeting
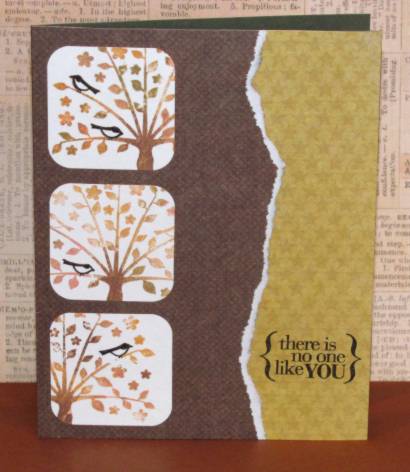
Stamps: Tree, Greeting Text
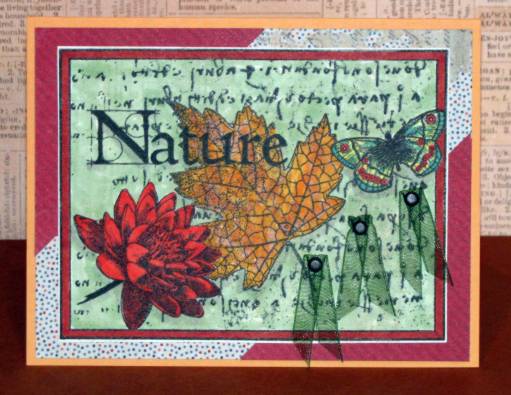
Stamps: Nature Collage
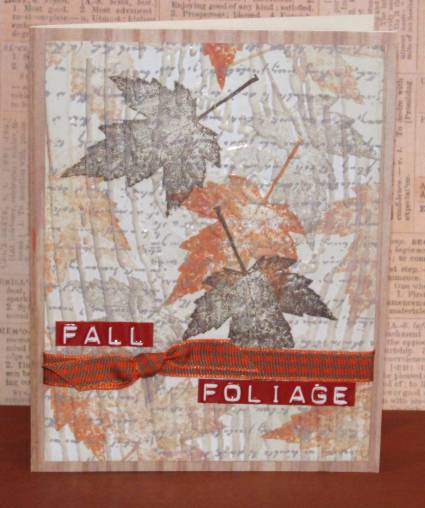
Stamps: Script Background, Shadow Leaf
Stamps: Shadow Leaf
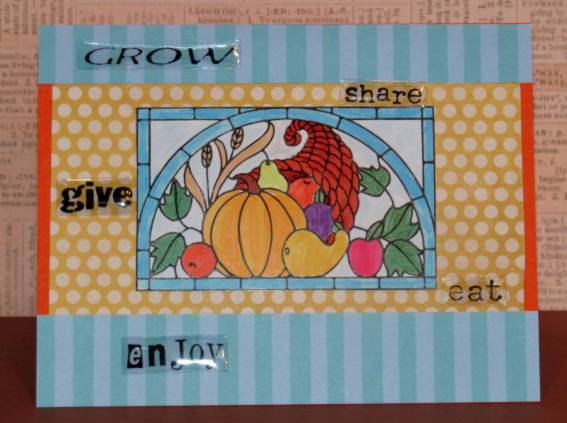
Stamp: Fall Stained Glass
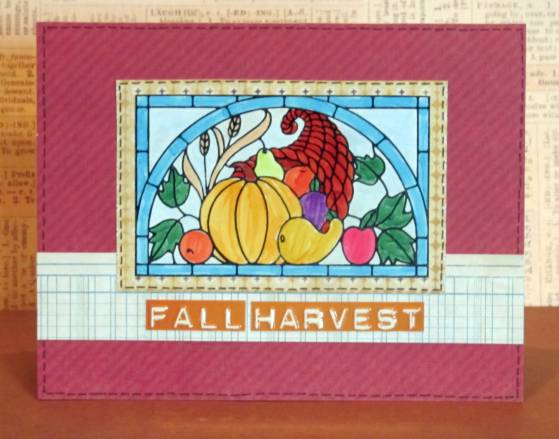
Stamps: Fall Stained Glass
And there you have it...
Ddd
Posted by studio3d@ccgmail.net
at 6:00 AM PDT