« July 2011 »
S M T W T F S
1 2
3 4 5 6 7 8 9
10 11 12 13 14 15 16
17 18 19 20 21 22 23
24 25 26 27 28 29 30
31
You are not logged in. Log in
Entries by Topic
All topics  «
3D paperwork
A - Z challenge 5
A - Z challenge 7
A - Z challenge round 4
A to Z challenge round 3
A to Z round 2
A to Z round 6
A-Z round 1
Around the House
Art Challenges
Artist Trading Cards
Backgrounds
Beads
Bible Journaling
Books
Boxes
Collage
Color Challenge
Coloring
cookbook
Die Cuts
Digital Projects
Digital Stamps
Drawing
Dry Embossing
Fabric Stuff
Fantastic Folds
Field Trip
Home Decor
How Does Your Garden Grow?
Hymnal Art
In The Kitchen
In the studio
Jewelry
Lettering
Links
Multi-Technique
Music to Work By
Musings
Nail Art
New Work
Online Class
Other Hobbies
Other Projects
Painting
Paper Embroidery
Paper Piecing
Photo
Pretty Paper
Quilting
Random
reading
Scrap Recovery
scrapbooking
Sewing
Sketch Challenge
Some Backlog
Stamping
Stencils
Stickers
Supplies
Teabag Folding
Techniques
Testing
tips and tricks
Tutorial
Web resources
Welcome to my Blog
Work By My Friends
workflow
Writing
Blog Tools
Edit your Blog
Build a Blog
RSS Feed
View Profile
Group One
In & Out of Studio 3D
Friday, 29 July 2011
Just Ride
Topic: Die Cuts

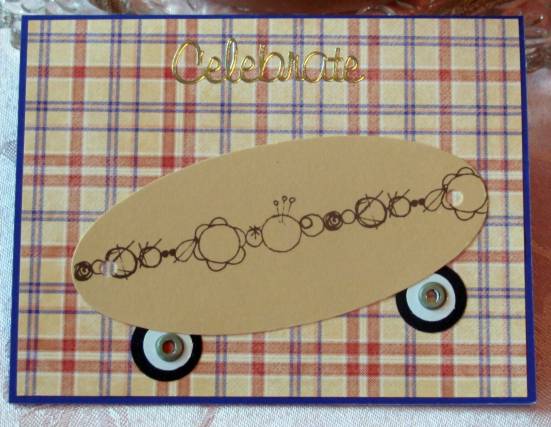
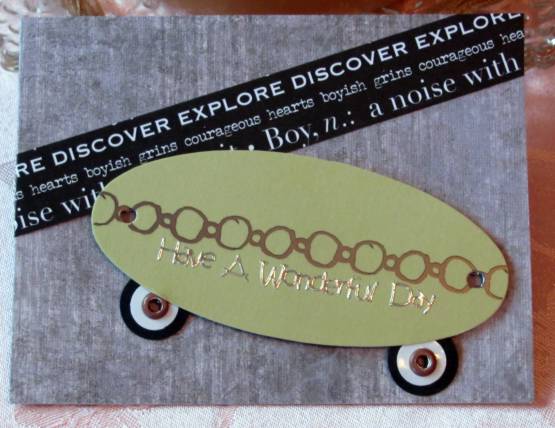
Some time ago I made a skateboard element for a card using a diecut oval tag, some round punches, hole reinforcements and eyelets. I made several of these while I had the supplies out and set aside some for later use. It is now later.

For this first one I used a rubon border to decorate the center of the board and droppes it onto a plaid background. I also added a gold peel-off greeting at the top. This might be good for a younger boy.

For an older boy, I selected a more stark background and added a band of text about boys. This skateboard is popped up on foam squares and I added the silver peel-off text directly on the deck.

I like how the same element can span a wide age-difference.

Ddd


Posted by studio3d@ccgmail.net at 6:00 AM PDT
Thursday, 28 July 2011
Vellum Overlays
Topic: Stickers

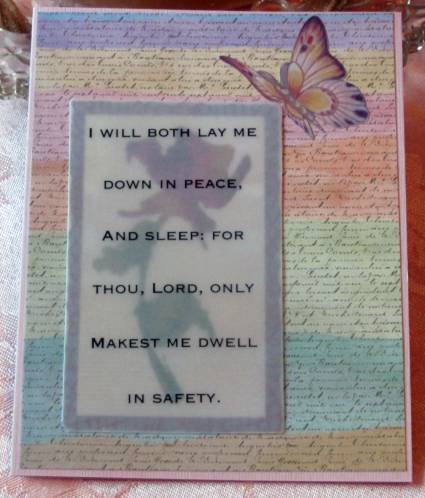
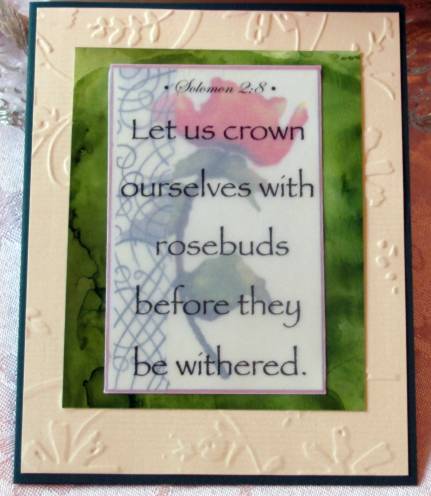
So here I am with two little pads of printed vellum scriptures and sayings and also with a pile of large floral stickers. The stickers already have frames and have a watercolor look to them. I've had them for years. I decided to combine them and it turned out as a successful venture.

I cut the vellum down to 1/4 inch all around the sticker. Then I laid them face down and peeled ONE side of the sticker backing up and volded the vellum over it and creased. The backing was placed back down and on to the opposite side of the sticker. I trimmed the vellum corners and then folded in the two remaining sides. I lifted the backing once again and ran dry-adhesive over the vellum edges.

Next up was creating the card bases and selecting matching backing papers for each sticker. This is the resulting 5 cards.

The first uses a printed scrapbook paper background and a butterfly sticker accent.

Here I used an embossed background and a panel of alcohol-ink background.

The next two use a backgound I got in a swap. It is mulberry paper that has been stamped with Versamark and rubbed with Pearl-Ex to imprint the leaves. They are actually metallic-looking.


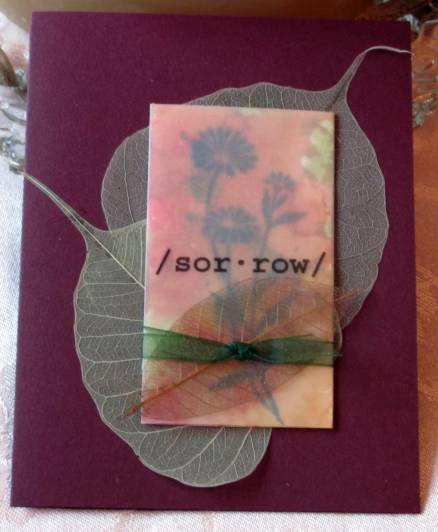
This last one is actually not a sticker, but a stamped silhouette over an inked background. But the vellum wrapping was done in the same way. I used skeleton leaves as a background element and added a band of sheer ribbon to the panel.

This is an easy technique to do and looks so elegant on the cards. I have many more of these stickers and vellum so you may see this again one fine day.

Ddd


Posted by studio3d@ccgmail.net at 6:00 AM PDT
Wednesday, 27 July 2011
Lumping
Topic: Stickers

OK, the title of this entry has nothing to do with either the theme of the cards or the supplies/techniques used to create them. WHAT?!?!?! No, it relates to a new plan for posting. I often create a multiple of cards in any one session and, posting them one per day, causes me to post up to three months in advance. I wanted to be able to show you all the work but not get too far ahead of myself. So I've decided that I will post cards together that have a similar theme, materials or techniques.

With that said, today I am posting 6 cards with an Independence Day theme. All of them use stickers and most of them use both printed scrapbook paper with a blue jeans print and a set of sticker sheets I got at the '75% off everything' store closeout.

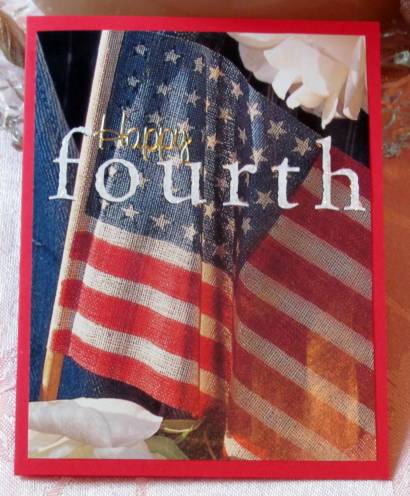
This first card is the odd one of the bunch. I used a magazine, advertisement or book illustration (can't remember for sure) that was in my parts & starts drawer. The 'fourth' text is part of the illustration but I added Stickles to it for a little shine. The 'Happy' text is a gold peel-off sticker. A simple mounting to a red folded cardstock base was all I needed to finish it.
The sticker sheets I bought are cardstock stickers and the red, white, and blue are in the darker range. Since it makes them look antique I pulled out scrapbook papers with a vintage blue jeans print. Some of these had additional elements 'stitched' into the paper so I used those parts. These two used a portion with a leather patch over a frayed area. I layered labels over the patch.

To this one I also added three deep red rhinestones.

And on this one I colored in the star with Stickles.
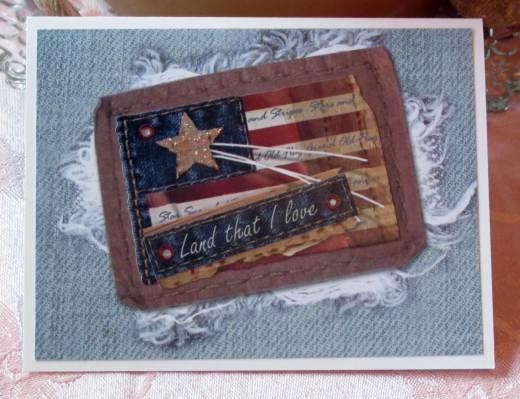
Another of the papers has a frayed area without a patch. Some of the stickers had a stitching line around them so I placed them over the fraying to look like they were sewn on. I also added shinestones to this card.

There was no focal point on this print so I chose the area with wrinkles to give it some depth. Two layered stickers left a lot of 'white space' so I filled in with acrylic heart stickers.

And finally, this background with the '&' patch over a denim patch. I added the 'red', 'white' and 'blue' stickers, the row of stars and the three single stars. I also added Stickles to the three central stars and used a distressing tool on the panel edges before mounting.

This is my favorite of the 6 cards.
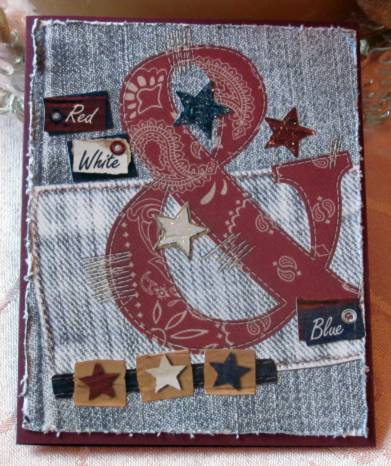

This is also the only one that I used dark card base on. The rest are on white (OK, the first is on red, but Its a different style altogether).

Ddd


Posted by studio3d@ccgmail.net at 6:00 AM PDT
Tuesday, 26 July 2011
Log Cabin
Topic: Stamping

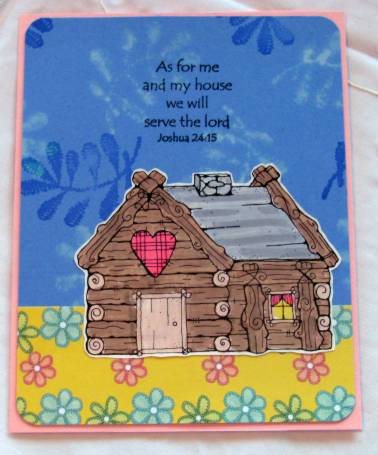
The 'sky' on this card is a background I made some time ago. I started with a cornflower blue and stamped first with bleach and then with darker blue. I had this piece left over and added a strip of printed scrapbook paper at the bottom as 'ground'

The log cabin is from the stamp catalog and has been colored with watercolor markers. I added the scripture stamp in the sky region, rounded the corners and added it all to pink folded card base.

Ddd


Posted by studio3d@ccgmail.net at 6:00 AM PDT
Monday, 25 July 2011
No Words to Say
Topic: 3D paperwork

Well, this is the final 3D of the diecuts I bought. I had no words to say goodbye so there is no greeting on this card.

The background is one of the Color Me papers that I blended with distress inks and stamped with a text pattern.

I chose a folded cardstock base to match the flowers and gave this a simple centered framing.

Ddd


Posted by studio3d@ccgmail.net at 6:00 AM PDT
Sunday, 24 July 2011
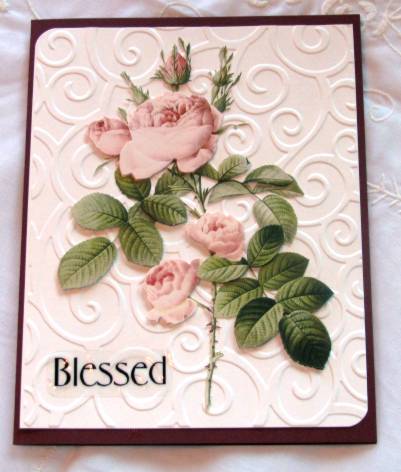
Blessed
Topic: 3D paperwork

This cream cardstock was run through the Cuttlebug to create an elegant background for the roses. I also rounded tow opposing corners to enhance the framing on the burgundy folded card base.

A clear sticker provides the black text word.

Ddd


Posted by studio3d@ccgmail.net at 6:00 AM PDT
Saturday, 23 July 2011
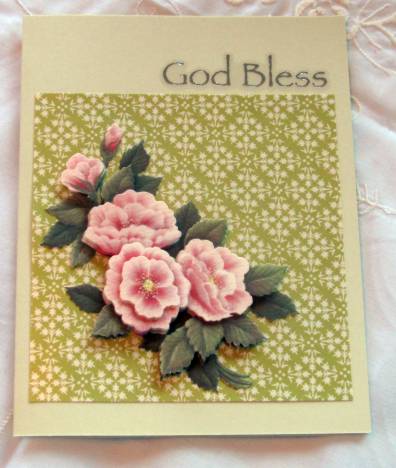
God Bless
Topic: 3D paperwork

Another simple layout that really delivers, thanks to the materials selection. The green printed panel is shimmery paper and I added it to a celery folded card base.

The text is a clear sticker with silver print.

Ddd


Posted by studio3d@ccgmail.net at 6:00 AM PDT
Friday, 22 July 2011
Pink Stripe Day
Topic: 3D paperwork

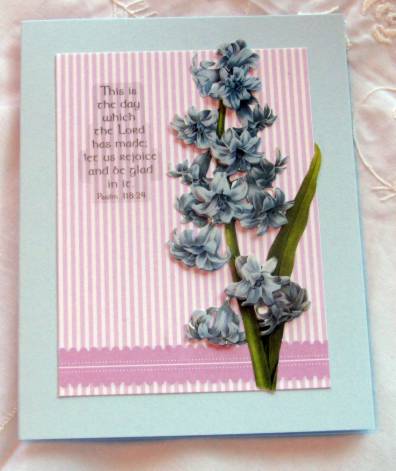
The combination of the pastel floral and the pink striped cardstock make this a very feminine card. I selected a pastel blue for the folded card base to keep it simple and added a clear ssticker with silver text.

I am very near the end of these 3D floral sheets. I will be sad to move on from these.

Ddd


Posted by studio3d@ccgmail.net at 6:00 AM PDT
Thursday, 21 July 2011
Where's Your Treasure
Topic: Collage

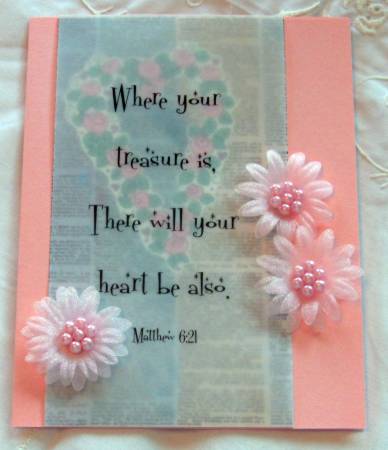
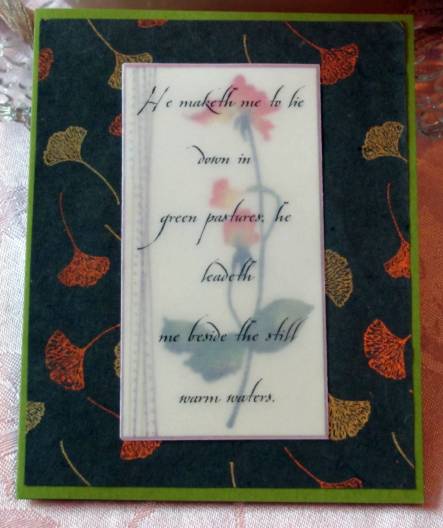
This card is much like yesterday's with the layout and method used. I started with a different color pallette and the scrapbook paper and illustration from the stamp catalog are obviously not the same. I also turned the top and bottom edges of the vellum under and adhered them to the back of the scrapbook paper panel before adhering to the card front.

Because there is no glue to hide, the flowers are just for show.

Ddd


Posted by studio3d@ccgmail.net at 6:00 AM PDT
Wednesday, 20 July 2011
Field Lilies
Topic: Collage

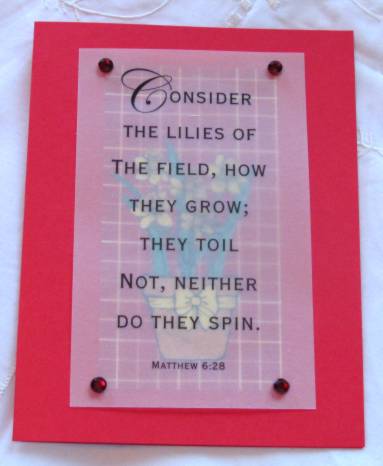
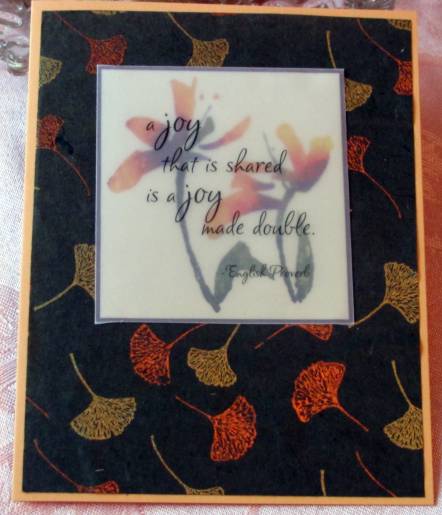
I wanted the vellum text panel to be the focus of this card so I layered it directly over the printed scrapbook paper and the illustration of flowers from the stamp catalog. Actually, the image is two in one: the flower pot and the daffodils started out as separate items. They are colored with watercolor markers.


I mounted the vellum with mini-glue dots and then used rhinestones to cover them.

Ddd


Posted by studio3d@ccgmail.net at 6:00 AM PDT
Tuesday, 19 July 2011
Perfect Gifts
Topic: Scrap Recovery

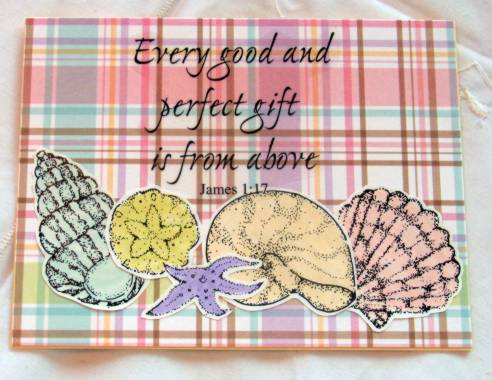
The stamp catalog yeilded up a range of seashells which I colored with pastel watercolor markers. In cruising through the pile of table scraps I loved how well the colors matched this plaid and created a collage of the shells across the bottom.

I added this to a beige folded card base and selected a clear scripture stickers.

Ddd


Posted by studio3d@ccgmail.net at 6:00 AM PDT
Monday, 18 July 2011
Definition of Joy
Topic: Collage

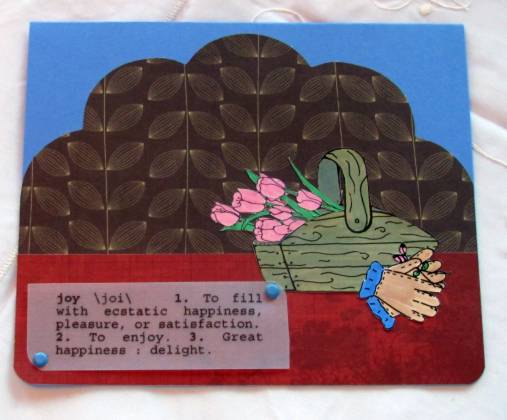
The image on this card is a combination of three from the stamp catalog: the tulips, the wooden basket, and the garden gloves. All are colored with watercolor markers. I slit the layers of the basket so I could insert the stems of the flowers to make it look like they were cut from the garden.

The background is created with a blue folded card base, and two printed cardstocks - one of them diecut. I chose to round the corners at the bottom to echo that die-cut edge.

The definition panel is printed vellum on which I rounded two opposing corners. This was mounted with blue brads to match the gloves and the background paper.

Ddd


Posted by studio3d@ccgmail.net at 6:00 AM PDT
Sunday, 17 July 2011
Be Blessed
Topic: Stamping

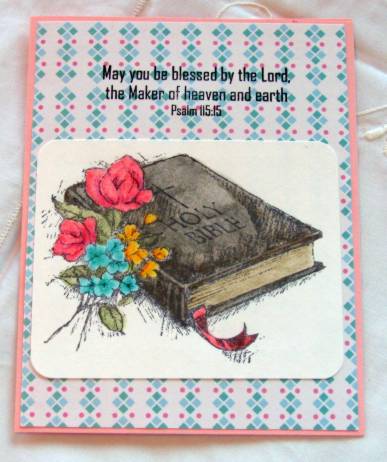
This is another of the scripture stamps I made for my own use. I stamped it directly onto the background patterned paper and added the stamped Bible on a separate panel over the top.

The image is colored with watercolor pencils and blended with an aquabrush. A pink folded card base ties it all together.

Ddd


Posted by studio3d@ccgmail.net at 6:00 AM PDT
Saturday, 16 July 2011
Is This Card a Stinker?
Topic: Collage

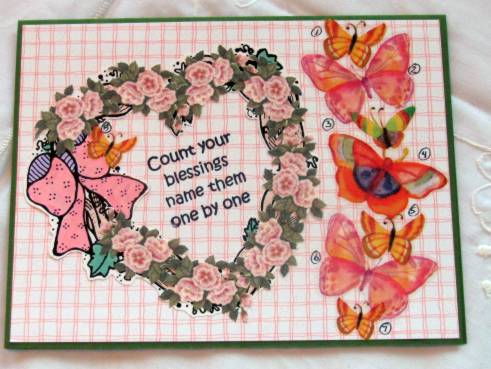
I'm not sure I like this card at all! It seems too spotty, overdone, disconnected, cutesy, and lame.

If you agree - please tell me. I might tear it apart and try to do something else with the elements. Or it may just go in the trash!

Ddd


Posted by studio3d@ccgmail.net at 6:00 AM PDT
Friday, 15 July 2011
We Will Serve
Topic: Stamping

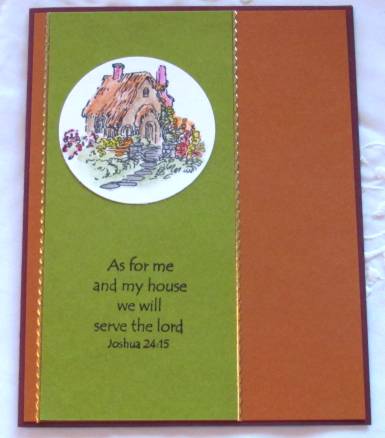
My custom stamp is back. I wish that I had noticed my software 'correcting' the capitalization of Lord before I printed it on the plate or before I created the stamp with it. Now it will be forever thus.

I stamped the scenic and colored it with watercolor pencils and an aquabrush before using a round die to cut it out. The card colors were pulled from the illustration which is why the match so well.

I used gold peel-off border stickers to frame the focal panel.

Ddd


Posted by studio3d@ccgmail.net at 6:00 AM PDT
Thursday, 14 July 2011
Eyes Can't See It
Topic: 3D paperwork

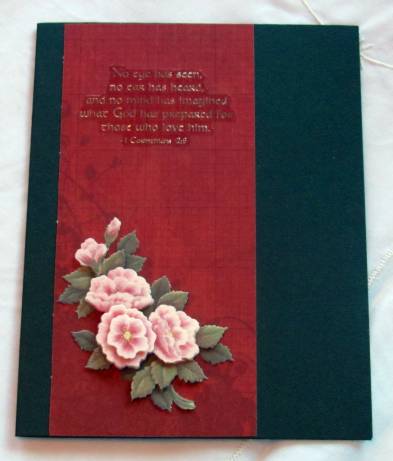
Despite the flowers, this card could be used for a masculine card because of the colors and dark tones. The center panel is printed cardstock with a grid and tone-on-tone floral corner.


The folded card base was chosen to echo the leaves and I used a clear sticker with silver text.

Ddd


Posted by studio3d@ccgmail.net at 6:00 AM PDT
Wednesday, 13 July 2011
K is for Kokopelli
Topic: Paper Embroidery

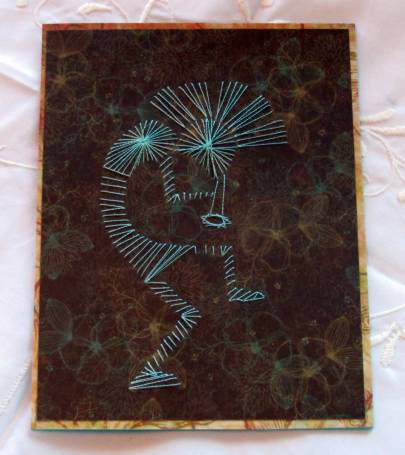
I already had set aside a card for H (houses) and skipped over I and J to stitch up this one for the alphabet challenge. Years ago someone shared this pattern with a group I was on. What a cheery little fellow.

I had pricked this out on printed cardstock and chose the light teal thread to match one of the flower colors. Another scrapbook paper creates the frame but the folded card base is the same teal as the thread.

Ddd


Posted by studio3d@ccgmail.net at 6:00 AM PDT
Tuesday, 12 July 2011
Guidance
Topic: 3D paperwork

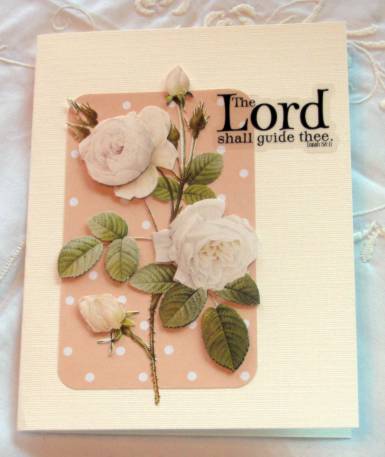
Note to salf: don't stick the 3D image on the dotted paper and THEN try to round the corners. Check!

I started out with square corners but they just didn't feel right. I do like the way the flower escapes the bounds of its mounting. I gave it a cream card base to keep the look simple.

That's another clear text sticker, in case you hadn't figured it out.

Ddd


Posted by studio3d@ccgmail.net at 6:00 AM PDT
Monday, 11 July 2011
G is for Good Luck
Topic: Paper Embroidery

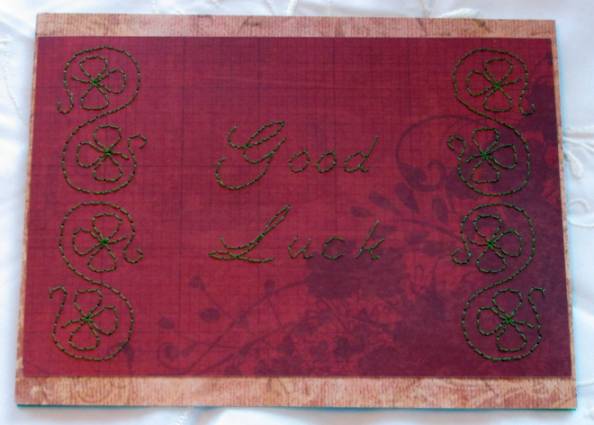
In the continuing alphabet stitching challenge I created this card from a pattern I sold to CardMaker Kit-of-the-month. I chose a grided tone-on-tone cardstock.

I added a layer of scrapbook paper as a background. No text is needed since there is a greeting stitched in.

Ddd


Posted by studio3d@ccgmail.net at 6:00 AM PDT
Sunday, 10 July 2011
Happy Dance of Color
Topic: 3D paperwork

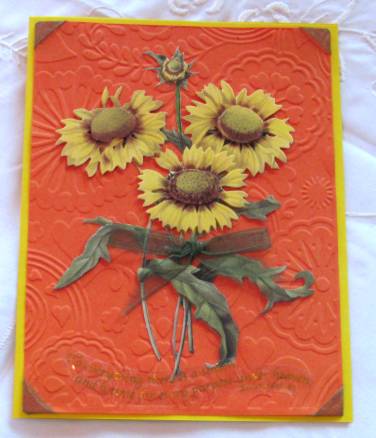
These sunflowers just called out for a cheery background so I used this orange with a Cuttlebug texture folder. The organza ribbon is tied through slits in the paper around the stems.

I used folds of the same ribbon to create 'photo corners' and added a clear text sticker at the bottom.

Ddd


Posted by studio3d@ccgmail.net at 6:00 AM PDT
Newer | Latest | Older