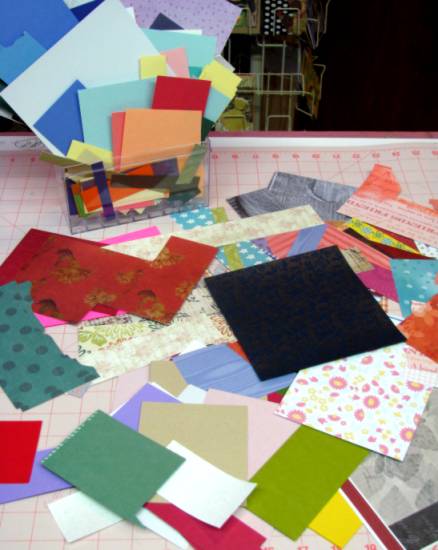
Topic: Scrap Recovery
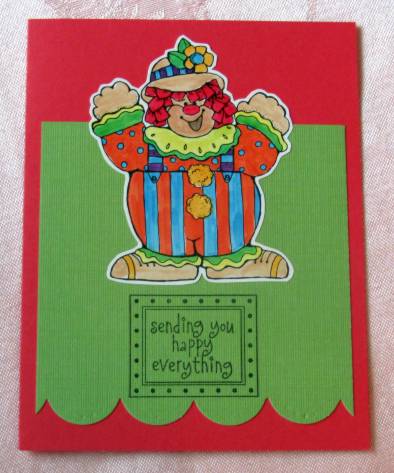
I colored up a couple of cards designed to be sent to children. These are non-specific greetings rather than for a birthday or other holiday. Sometimes a kid just needs a 'shout-out' to remind them somebody is thinking of them. Both are from the stamp catalog and colored with watercolor markers. Both alsofeature the scallop punch.
I used a craft knift to trim around the clown and used bright green and red to make it festive. I thought the scalloped edge could remind one of the big-top tent and mounted the clown off the top edge for interest. The greeting block is stamped.
On the giraffe pull-toy I worked more on shading to make it look 3-dimensional. After trimming with the craft knife I used some of the scraps from the grid/border paper and stamped a greeting sideways along one edge. The scallops go on the edge this time over a blue card base.

After everything was assembled I drew in a towing string for the toy across several layers.
Ddd