« April 2013 »
S M T W T F S
1 2 3 4 5 6
7 8 9 10 11 12 13
14 15 16 17 18 19 20
21 22 23 24 25 26 27
28 29 30
You are not logged in. Log in
Entries by Topic
All topics  «
3D paperwork
A - Z challenge 5
A - Z challenge 7
A - Z challenge round 4
A to Z challenge round 3
A to Z round 2
A to Z round 6
A-Z round 1
Around the House
Art Challenges
Artist Trading Cards
Backgrounds
Beads
Bible Journaling
Books
Boxes
Collage
Color Challenge
Coloring
cookbook
Die Cuts
Digital Projects
Digital Stamps
Drawing
Dry Embossing
Fabric Stuff
Fantastic Folds
Field Trip
Home Decor
How Does Your Garden Grow?
Hymnal Art
In The Kitchen
In the studio
Jewelry
Lettering
Links
Multi-Technique
Music to Work By
Musings
Nail Art
New Work
Online Class
Other Hobbies
Other Projects
Painting
Paper Embroidery
Paper Piecing
Photo
Pretty Paper
Quilting
Random
reading
Scrap Recovery
scrapbooking
Sewing
Sketch Challenge
Some Backlog
Stamping
Stencils
Stickers
Supplies
Teabag Folding
Techniques
Testing
tips and tricks
Tutorial
Web resources
Welcome to my Blog
Work By My Friends
workflow
Writing
Blog Tools
Edit your Blog
Build a Blog
RSS Feed
View Profile
Group One
In & Out of Studio 3D
Tuesday, 2 April 2013
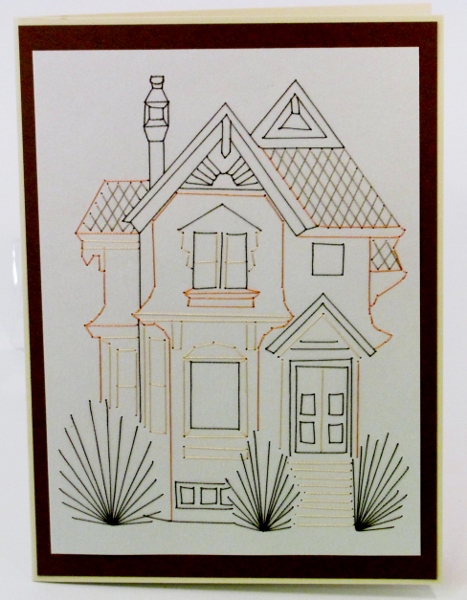
Painted Lady
Topic: Paper Embroidery

Victorian houses in our area are often painted in bright and odd colors and refered to as painted ladies. I took that concept into account when selecting colors for this card.

The base is light gray which gave me an opportunity to mute the colors and create a unified look.

I used a backing of dark red over a cream to pull out colors from the illustration.

Ddd


Posted by studio3d@ccgmail.net at 12:01 AM PDT
Monday, 1 April 2013
No Foolin'
Topic: Musings

What is it about deciding you REALLY like a product that makes the manufacturer take it off the market? Does this happen to you, too?

Here are some things I really miss:

General Foods International Coffee - these instant flavored coffee drinks were available in a variety of flavors including (my favorite) chocolate raspberry, hazelnut creme and white chocolate caramel. They also had the more traditional french vanilla, irish creme and amaretto. Some were available in sugar-free as well. Not only that, but they came in cute rectangle metal canisters with snap-on plastic lids. So what happened? One day I went to the store and there weren't any. NONE. They just vanished off the face of the earth.

GardenBurger Meatballs - These veggie 'meatballs' had the greatest texture and flavor. I never served them and had anyone guess that they were not made of real ground meat. They were great with spaghetti, stroganoff and meatball sandwiches. They made awesome sweet and sour or barbequed appetizers, too. Just like the coffee... vanished.

Rolaids - How do you spell 'relief' now? This one was the result of some manufacturing faux pas (contamination) at a plant they had contracted with. So, get a different plant! Don't just throw up your hands and say 'oh well'. Fortunately, our supermarket has produced a knock-off that works just the same (other name brands, not so much).

Extra Strength Excedrin - We also found a replacement brand for this discontinued favorite pain releiver. When you have a headache you should NOT have to go experimenting for help!

Dimetap ExtendTabs - Thanks to the druggies I no longer get optimum relief for sinus pain. Pseudophedrine is now a perscription drug and does not get manufactured in this time-release formula. Pooh!

Vanilla Mint toothpaste - Oh how I loved the flavor of this! I guess not enough other people did, though. I have a problem with the strong minty flavors burning my tongue and this was just perfectly flavored.

Then there are the products that they up and change the formula to something they call 'improved' and I want my OLD, beloved back again! Shampoo, bathroom cleaner, nail polish remover, hairspray, dishwasher soap... yeah pretty much listed all chemicals!

I beg of you, Mr. marketer/developer/chemist... leave my Snapple, Tater Tots, Cheerios and Windex alone. If you have some wunderkind whiz kid who needs a project, require him to come up with something original and leave my stuff alone!

OK off my soap box (New and Improved Tide With Bleach Crystals and Fabric Softerner Beads, of course).

Ddd


Posted by studio3d@ccgmail.net at 12:01 AM PDT
Sunday, 31 March 2013
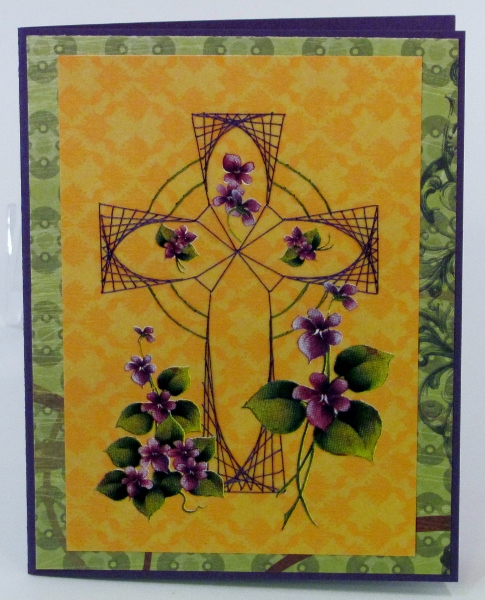
Happy Easter
Topic: Paper Embroidery

I have several cross patterns for paper embroidery but I think this is my favorite. It is decorative enough to stand on its own but also lends itself to adding decorative elements.

I stitched on a tone-on-tone orange paper using purple and dark green threads, having recalled that I had some purple and green floral rubons. This was a simple card to put together.

I backed with a green patterned paper over a purple card base.

Ddd


Posted by studio3d@ccgmail.net at 12:01 AM PDT
Saturday, 30 March 2013
Bustin' At the Seams
Topic: Sewing

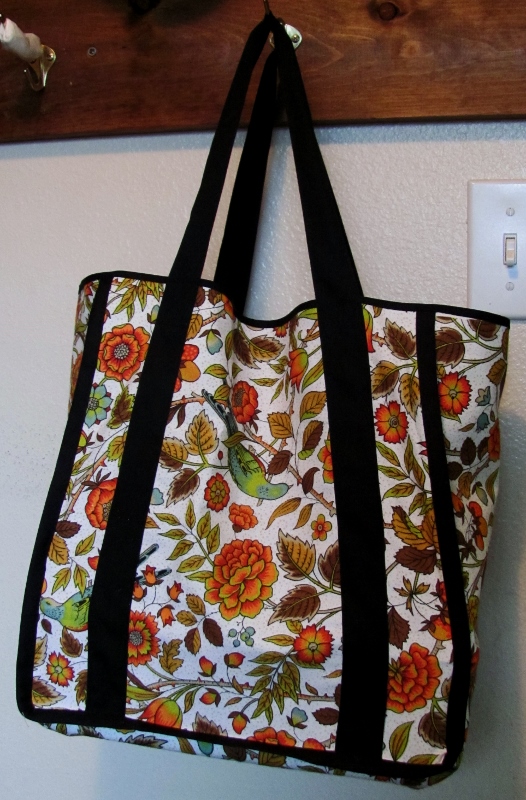
Well, the OLD bag was bustin' at the seams. So I used it as a pattern and stitched up a replacement. This is what we use for our library materials.

The original was a cheap reuseable shopping bag. It measures 15.5 square with an 8 inch side and bottom. I had the heavy-duty fabric on hand as well as a heavy black fabric that I used to fashion the straps. I reinforced the bottom with a second layer of the floral fabric.

The seams are all zig-zagged before binding with bias tape to seal the raw edges. Narrow bias tape is also used to bind the upper raw edge.


A plastic shoe box (sans lid) is dropped into the bottom as further reinforcement and to keep the base from sagging when being used.

Ddd


Posted by studio3d@ccgmail.net at 12:01 AM PDT
Friday, 29 March 2013
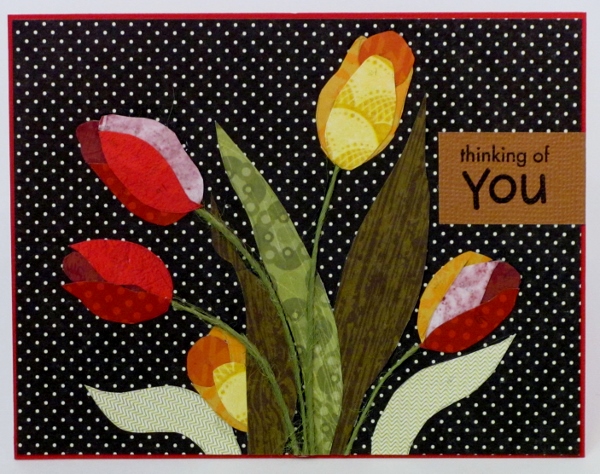
Garden Beauties
Topic: New Work

This is a whole different style of card creation and since I don't intend to do it ever again, I didn't want to create a new category for it!

The original sketch for this is a design for a 12 x 12 quilting block applique. I shrunk it down to fit an A2 card and traced/cut the pieces from patterned cardstock (10 different ones). Each piece is glued individually onto the black dotted background. I glued some green twine on for stems.

I trimmed it a bit to leave a fine red border of the card base showing and added a stamped sentiment block to the right to fill some open space.

Ddd


Posted by studio3d@ccgmail.net at 12:01 AM PDT
Thursday, 28 March 2013
Triple Double
Topic: Collage

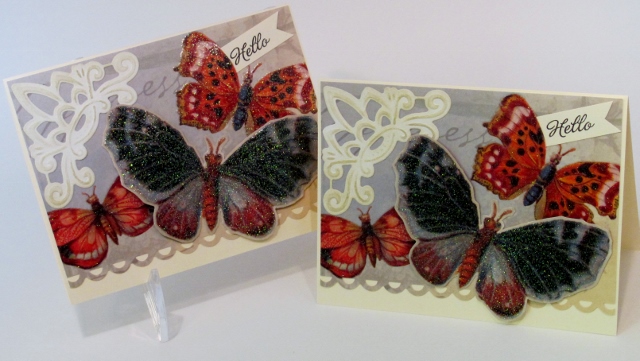
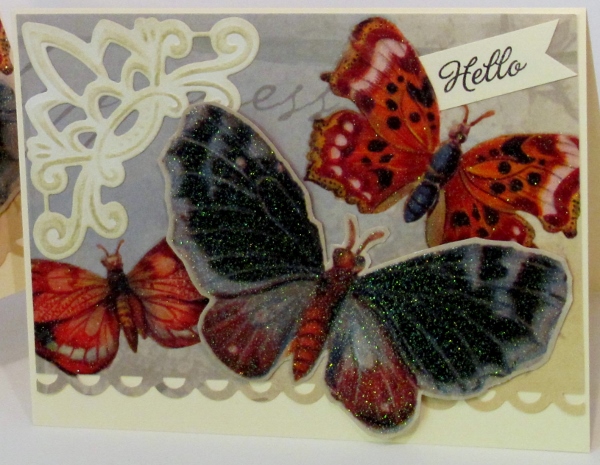
Back when I whacked up all my 12 x 12 cardstock into card-sized chunks I ended up with a couple of odd bits wth glittery butterflies. I decided to see what I could do with these and had duplicates so I could do two cards the same.

The strange bits had two butterflies running off the edges on each side. I also had some small panels with a butterfly centered on it. These I cut out with a thin border. I cut the larger panel with a scalloped punch at the bottom, Tinted and applied a large corner bracker, and stamped a small sentiment.

The sentiment is tucked into a slit along one wing. The large butterfly has the body glued down flat and the wings raised up on foam.

Love how the cream-colored bits form a triangle.

Ddd


Posted by studio3d@ccgmail.net at 12:01 AM PDT
Wednesday, 27 March 2013
Botanical Quad
Topic: Collage

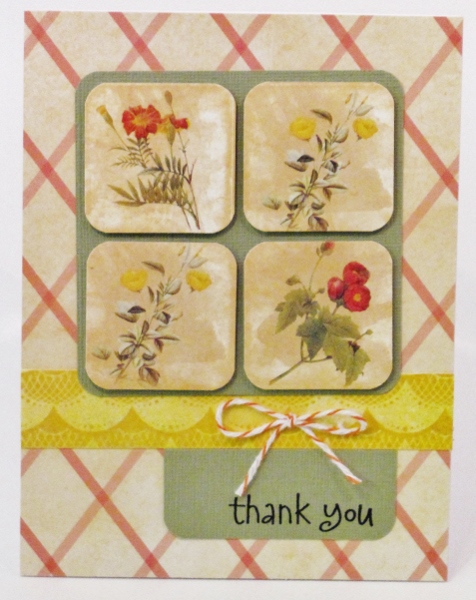
Heree's another of those products I thought I had used up, only to find one more scrap left. I cut the individual tiles out and rounded the corners. These were popped up on foam on a sage green background, cut to size and corners rounded.

I chose a lattice background, added a yellow patterned strip and a little twine bow.

The stamped sentiment got two rounded corners and butts up against the yellow strip.

Ddd


Posted by studio3d@ccgmail.net at 12:01 AM PDT
Tuesday, 26 March 2013
Car Parts
Topic: Dry Embossing

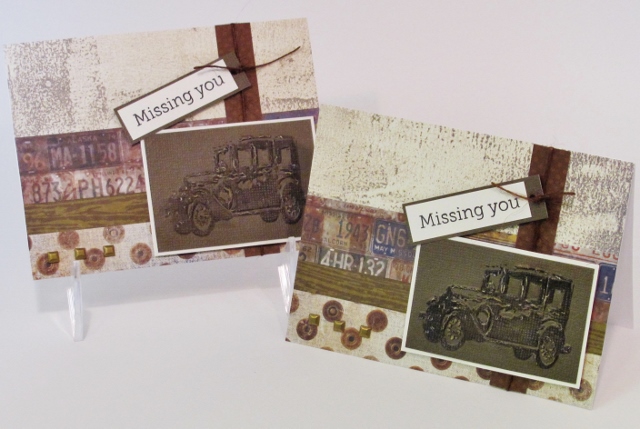
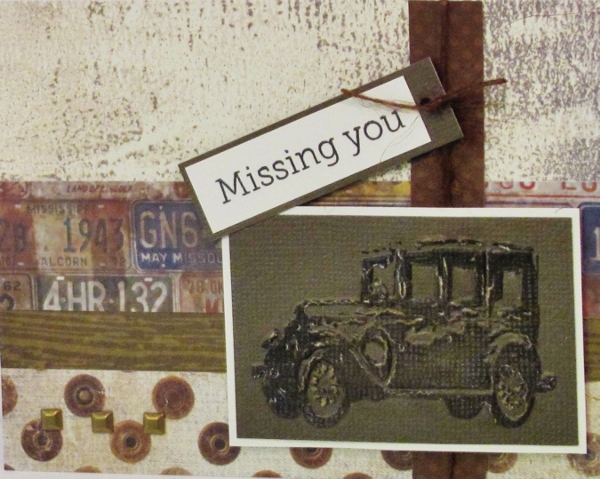
I ran across a snippet of cardstock with license plates printed on it and thought it would be fun to combine it with an emobssing folder I have with an antique car. As I pulled out the embossing folder I remembered that I have a stamp similar to that. Imagine my surprise when I pulled it out and discovered they are exactly the same, even to the same size. HA!

I stamped the car on some brown cardstock and then embossed it with the folder. Cool - except the folder has such sharp edges that it kind of tears the edges of the image. I used a foam applicator and distress ink to recolor those areas.

I pulled out more printed cardstocks with distressed looks and combined strips to create a masculine backbround. A vertical strip also got a piece of twine knotted around it. The car image was banded and popped up on foam. I reversed the colors for a stamped sentiment and tied it to the twine before popping up on foam.


As a final step I added three square nailhead stickers on th lower left.

I had enough matrials to create two identical cards at the same time.

Ddd


Posted by studio3d@ccgmail.net at 12:01 AM PDT
Monday, 25 March 2013
Bargain Bin
Topic: Supplies

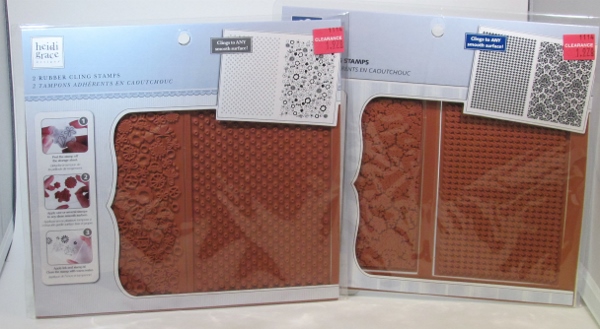
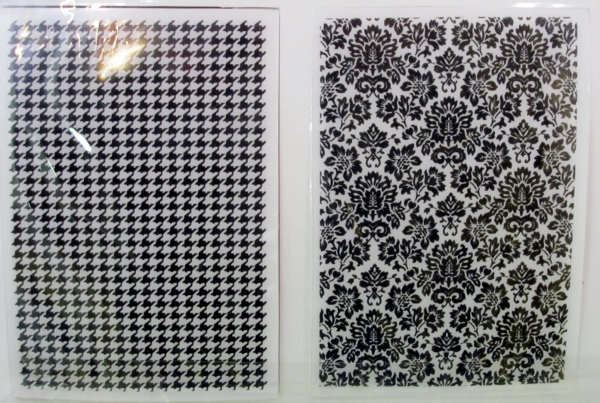
Who doesn't love a bargain? And if it is on something cute, so much the better. I often make a quick swing by the clearance bin at the local craft store to see if there are any great deals to be had. Oh the joy the other day when I found two different pairs of background stamps on deep discount.

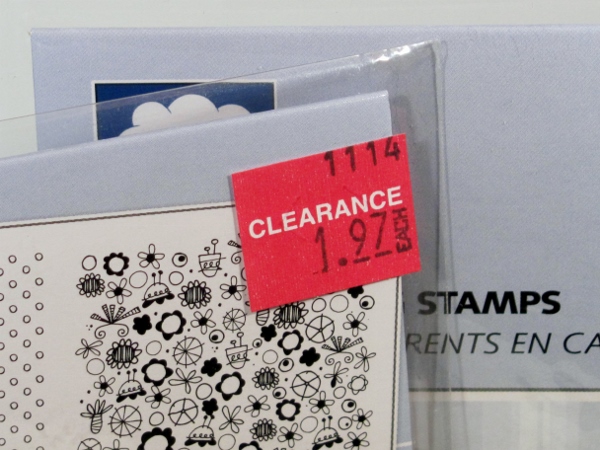
Can you see the price on those? Here, let me help you...

OH YEAH!

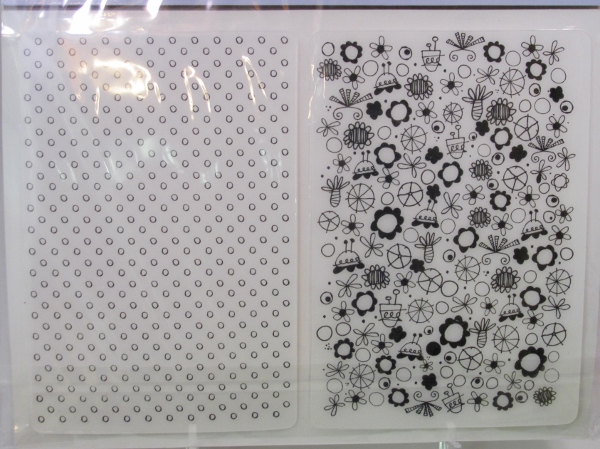
Each package has two cute background stamps. They are rubber mounted on cling foam to use with an acrylic block.


So cute!

Ddd


Posted by studio3d@ccgmail.net at 12:01 AM PDT
Sunday, 24 March 2013
Open Wide - Here Comes The Choo-Choo
Topic: Sewing

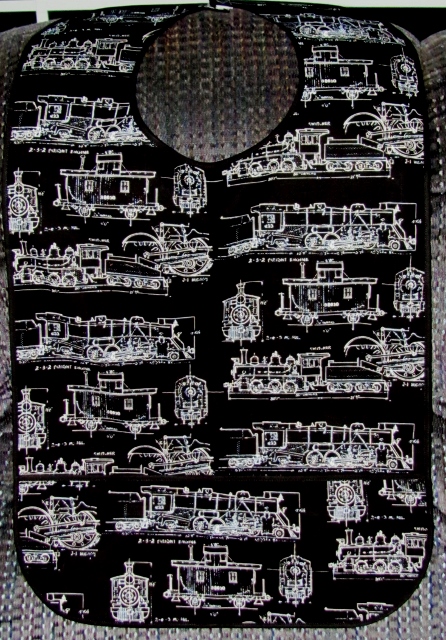
If you like to eat in front of the TV it can be super handy to have some kind of clothing protector against spills. this is especially true of eating things like soup, spachetti and the like.

I made several of these and did not take photos of them. Then I had leftovers of the awesome train fabric and decided to make one more.

These measure 24" high by 15" wide and have a 6 1/2" neck hole. I rounded the corners with th same curve of the neck hole. The pocket is 5 1/2" high.

I used narrow double-fold bias tape to bind all the edges including the upper edge of the pocket. The back of the neck is cut open and there is velcro to facilitate closure.

Ddd


Posted by studio3d@ccgmail.net at 12:01 AM PDT
Saturday, 23 March 2013
Sitting Pretty
Topic: Stamping

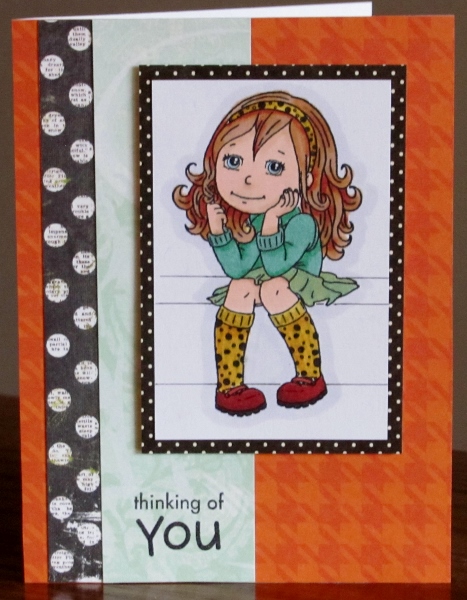
This image came to me in a swap a long time ago and I just ran across it and decided to color it up. Since I didn't stamp it I took a chance by using Copic markers as I didn't know what kind of ink was used for the image. Only the yellows used on the headband and socks bled the image ink but I don't mind.

I used three tones in the hair and two each in the skin, sweater, skirt, socks and shoes. I used a combination of Copics, Spectrum Noir, and Bic Mark-It markers. I also added a cool grey halo around her and drew in some simple lines to provide seating for her.

I picked up the colors in her hair in the houndstooth, the dots in the socks in two black dotted papers, and her clothing in a teal band of patterned paper.

The girl and her background are popped up on foam. The sentiment is stamped onto the teal strip.

Ddd


Posted by studio3d@ccgmail.net at 12:01 AM PDT
Friday, 22 March 2013
Llama Always Thinking Of You
Topic: Stamping

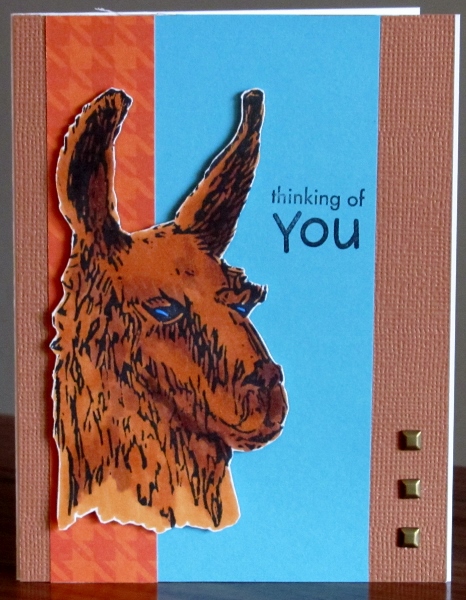
This is the first time I have colored this llama (one of my hand carved stamps) with Copic markers. I've usually never even done any shading on it. I actually like this effect a lot.

I trimmed him with a very fine white edge so he would stand out from the background. I chose a houndstooth to pick up color from the fur and a plue panel to mimic the eyes. The main panel was cut to reveal a thin white edge like the llama and he is popped up on foam tape.

Three square brass 'nail head' stickers mimic brads.

Ddd


Posted by studio3d@ccgmail.net at 12:01 AM PDT
Thursday, 21 March 2013
Raccoon Love
Topic: Stamping

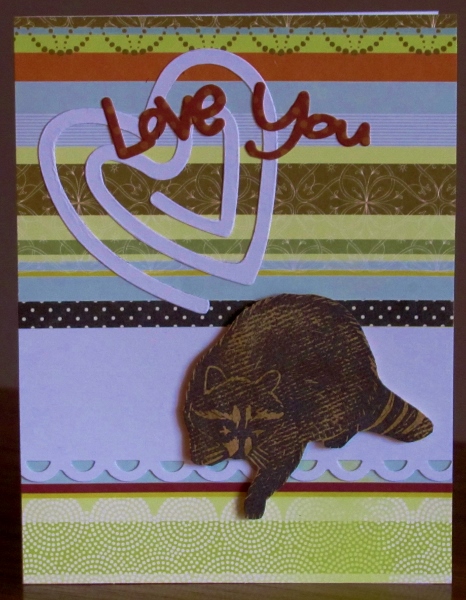
To feature this raccoon (one of my hand carved stamps) I chose a striped paper and added a thin band of black dot paper plus a wide band of white with a scalloped border punch. I thought this would evoke the feeling of water. I popped the raccoon up on foam tape.

I added a white diecut spiral heart and added text with diedut words in tones to match the brown stripes in the paper.

Ddd


Posted by studio3d@ccgmail.net at 12:01 AM PDT
Wednesday, 20 March 2013
They're Ba-a-ack
Topic: Stamping

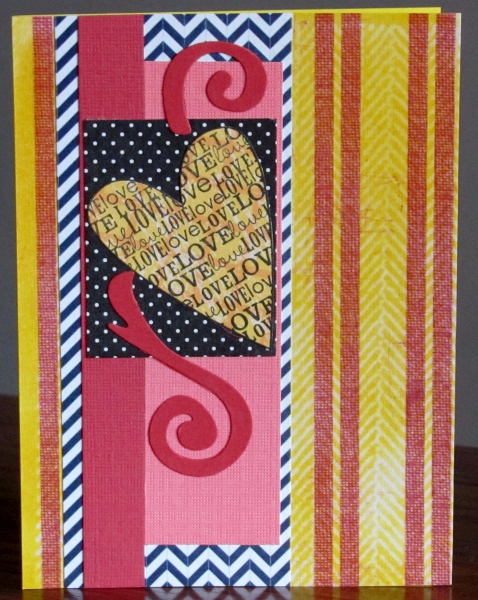
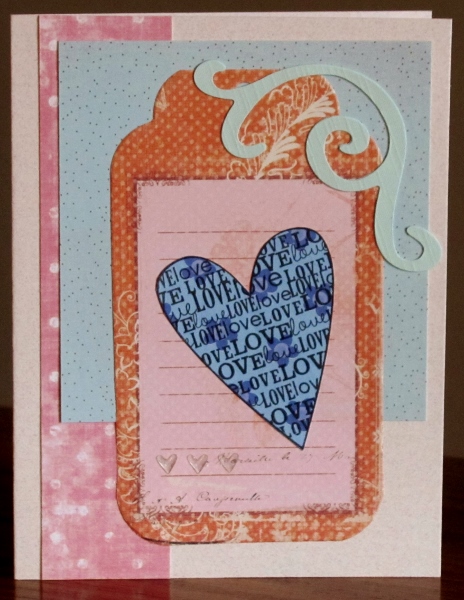
Just LOOK! I found even more of these stamped LOVE hearts hiding in the parts and starts drawer. SIGH, will I never see the end of these? I guess if I do I can always stamp more.

For the blue one I chose a tag and a couple of muted toned papers. This is on a soft pink card base. I also added a diecut swirl and three tinted acrylic heart stickers along the bottom.


I had a bright yellow heart as well and found some striped paper that I had colored with yellow and printed a herringbone pattern on. Some black and white herringbone coordinates with that which leads to the black and white dot. From the red in the paper I chose to add three tones of reds in blocks and swirls.

No sentiments added because, after you've said 'love' 35 times, what more do you need?

Ddd


Posted by studio3d@ccgmail.net at 12:01 AM PDT
Tuesday, 19 March 2013
Checking In
Topic: Stamping

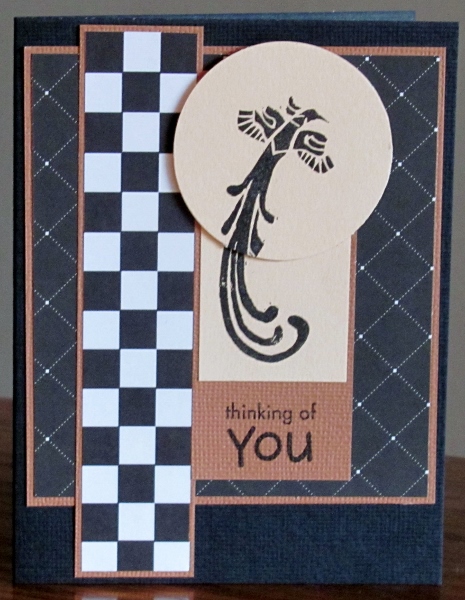
Every now and again I sort through a box where I have just tossed miscellaneous parts that didn't get used on a project where it was planned. In just such a foray I ran across this duo of a fully stamped image and a spotlight cut of part of the same stamp. Time to put these to use.

I popped the spotlight image up on foam and selected black papers as a contrast to the tan image. I chose a coffee brown to band all of them. A simple layout.


This is one of my hand carved stamps.

Ddd


Posted by studio3d@ccgmail.net at 12:01 AM PDT
Monday, 18 March 2013
Cut, Color, Paste
Topic: Stamping

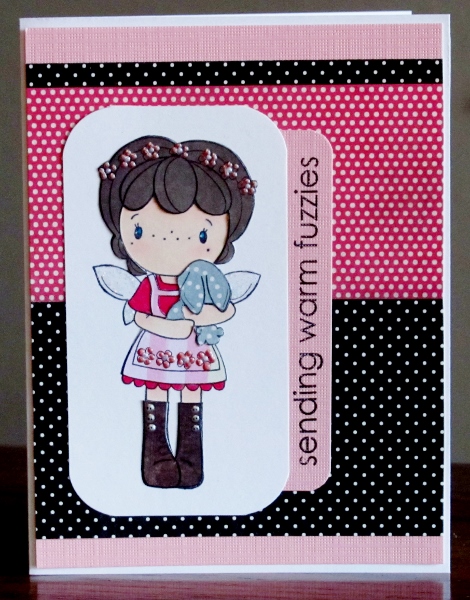
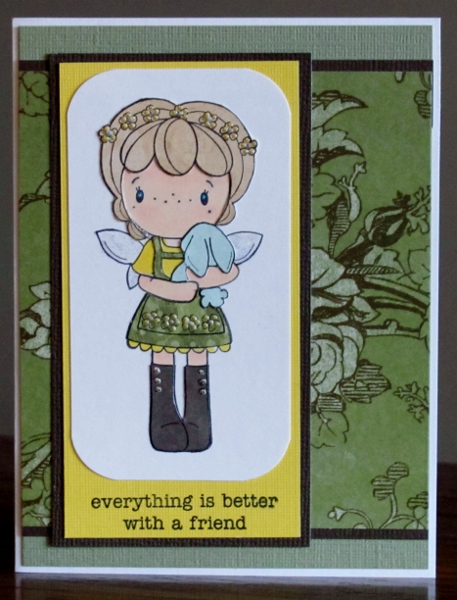
I had lots of little bits of patterned paper so I used some of them up by stamping parts of an image on them for paper piecing.

I stamped the whole image on white cardstock to start. Then I colored the flesh areas, the blouse and the skirt ruffle using Copic markers. I used four patterned paper images to cut out the hair, pinafore, bunny and boots.

I used liquid pearls on the flowers in the hair and on the dress and the buttons on the boots. Then I put Stickles on the wings.

With two completed images I chose patterned papers and card bases for each trimmed the images and rounded the corners. These are the resulting cards.


I stamped the sentiments on them,

Ddd


Posted by studio3d@ccgmail.net at 12:01 AM PDT
Sunday, 17 March 2013
On a Bender
Topic: Paper Embroidery

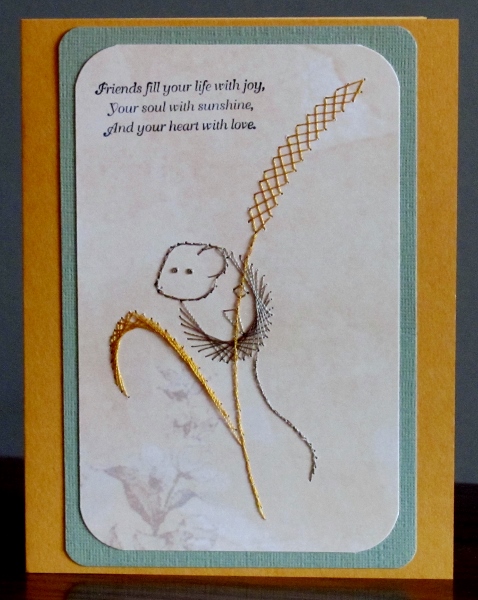
This little field mouse seems to be a bit heavy for the stalk he's hanging out on.

I was supposed to stitch him up for a swap on 'animals' but delayed too long and missed the swap. Now I have this little card on hand whenever I need it for some other purpose.

After stitching I mounted on a gray-green to match the mouse over a goldenrod to match the stalk.

Ddd


Posted by studio3d@ccgmail.net at 12:01 AM PDT
Saturday, 16 March 2013
Right On Track
Topic: Quilting

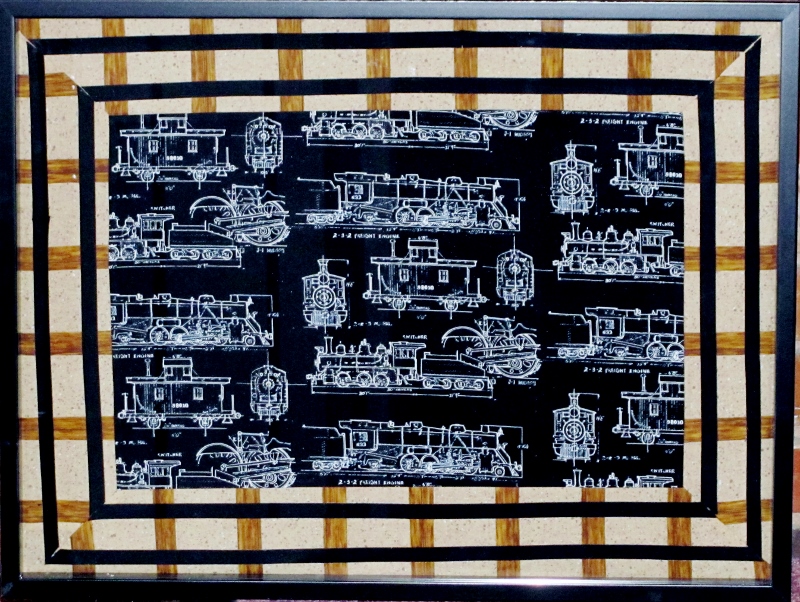
Technically this is not a quilt since it is not batted and stitched through the layers. But it is pieced so I'm calling it quilting for the purposes of classifying this blog entry Wink.

This started with the train fabric I showed the other day. I bought it to feature as the central panel on an art piece. It was suggested that the border could be train tracks but I could not find any suitable fabric. I decided to piece tracks.

I used a fabric with a 'ground' print and one with 'wood' print to create railroad ties on a rail bed. Then I stitched it onto the black panel with mitered corners. I then used black bias tape and a roll of 1/2 inch Steam-a-Seam2 to create 'rails'.


It is installed in a black shadow-box frame.

Ddd


Posted by studio3d@ccgmail.net at 12:01 AM PDT
Friday, 15 March 2013
Stiff Upper Lip
Topic: Supplies

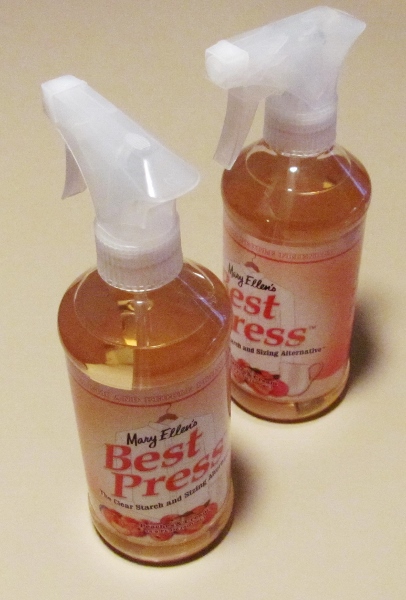
After pre-washing quilting fabrics they are limp and easily skewed out of square. Starching is one option but I fell in love with Mary Ellen's Best Press. The scent I was introduces to it with was lavender. But at the Sewing Expo I found the booth selling it and fell in love with the peaches and cream scented one.

This is so yummy I may be spraying even when I don't need to!

Ddd


Posted by studio3d@ccgmail.net at 12:01 AM PDT
Thursday, 14 March 2013
Towering Assistance
Topic: Supplies

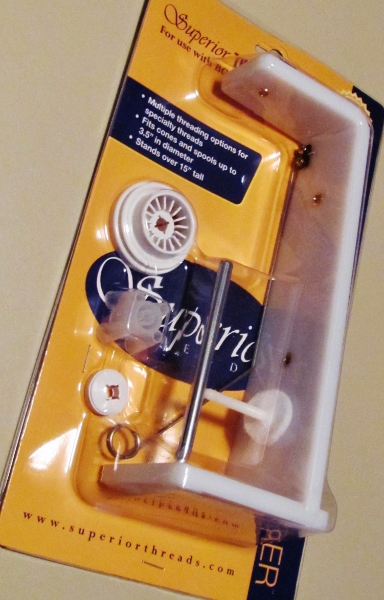
I have wanted to buy thread on large cones as a time and money saver but my machine is not set up to accomodate them. I looked at several cone holders at the Sewing Expo and decided on this one.

It also has a side-facing holder so a standard spool winds off the side rather than spinning off the end like the sewing machine holder requires. This is especially good for metallic or other wrapped threads to keep them from tangling.

Ddd


Posted by studio3d@ccgmail.net at 12:01 AM PDT
Newer | Latest | Older