« June 2013 »
S M T W T F S
1
2 3 4 5 6 7 8
9 10 11 12 13 14 15
16 17 18 19 20 21 22
23 24 25 26 27 28 29
30
You are not logged in. Log in
Entries by Topic
All topics  «
3D paperwork
A - Z challenge 5
A - Z challenge 7
A - Z challenge round 4
A to Z challenge round 3
A to Z round 2
A to Z round 6
A-Z round 1
Around the House
Art Challenges
Artist Trading Cards
Backgrounds
Beads
Bible Journaling
Books
Boxes
Collage
Color Challenge
Coloring
cookbook
Die Cuts
Digital Projects
Digital Stamps
Drawing
Dry Embossing
Fabric Stuff
Fantastic Folds
Field Trip
Home Decor
How Does Your Garden Grow?
Hymnal Art
In The Kitchen
In the studio
Jewelry
Lettering
Links
Multi-Technique
Music to Work By
Musings
Nail Art
New Work
Online Class
Other Hobbies
Other Projects
Painting
Paper Embroidery
Paper Piecing
Photo
Pretty Paper
Quilting
Random
reading
Scrap Recovery
scrapbooking
Sewing
Sketch Challenge
Some Backlog
Stamping
Stencils
Stickers
Supplies
Teabag Folding
Techniques
Testing
tips and tricks
Tutorial
Web resources
Welcome to my Blog
Work By My Friends
workflow
Writing
Blog Tools
Edit your Blog
Build a Blog
RSS Feed
View Profile
Group One
In & Out of Studio 3D
Tuesday, 25 June 2013
6x6 Cut-Ups - Thirteenth Installment
Topic: Multi-Technique

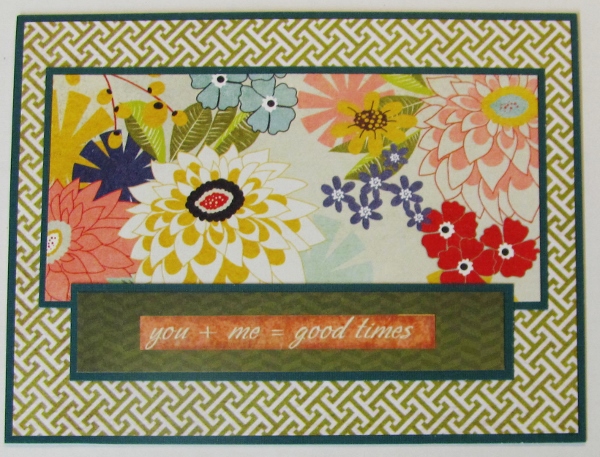
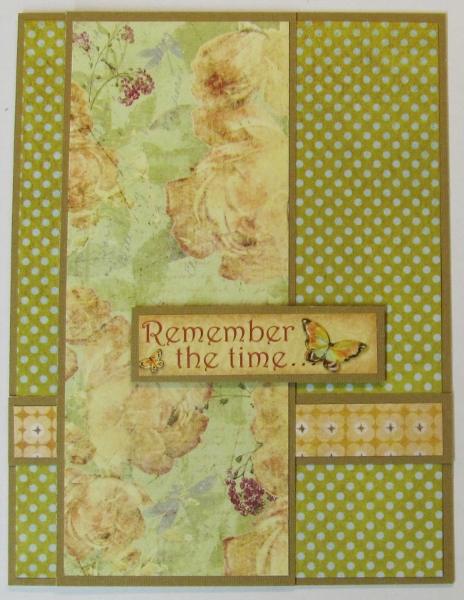
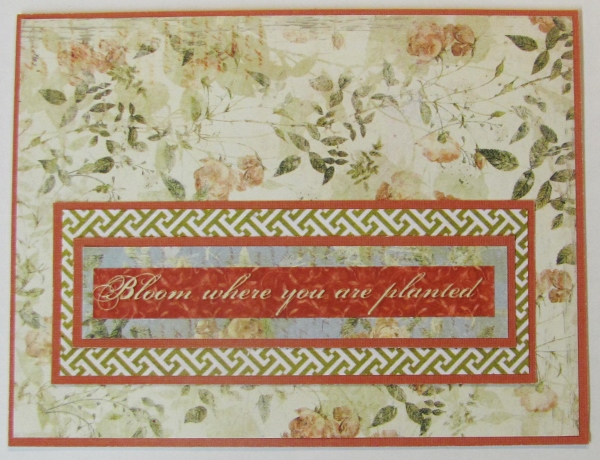
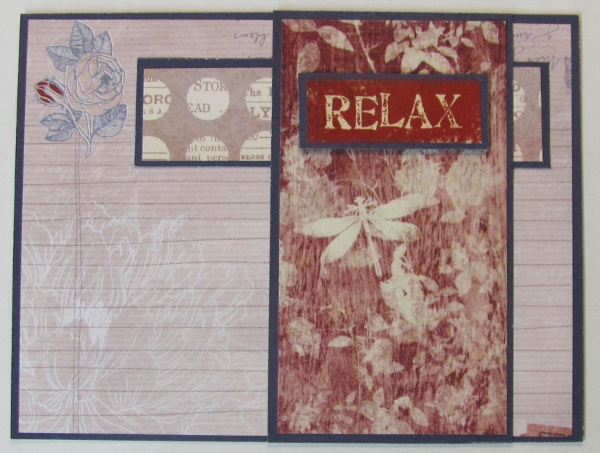
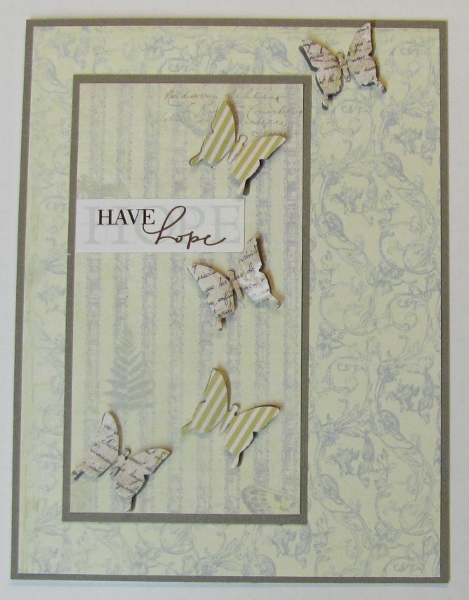
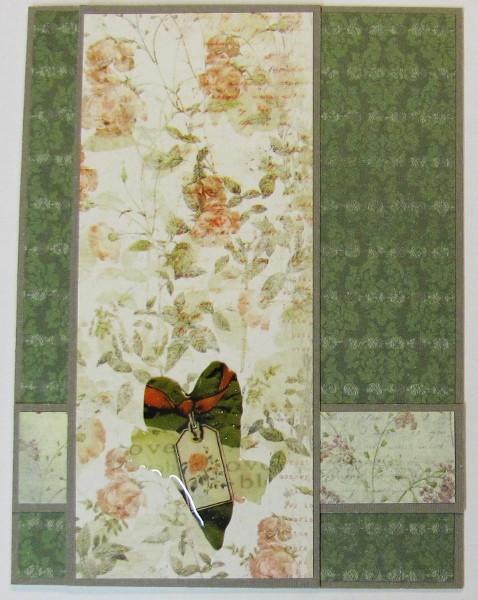
Feeling a bit punchy today? Although I used punched butterflies on a few of the other cards in this series, for this card that is ALL I used. I glued down a solid colored one then 3D mounted a patterned one over the top.


I couldn't leave it at that so I added a cardstock sticker of text.

Ddd


Posted by studio3d@ccgmail.net at 12:01 AM PDT
Monday, 24 June 2013
6x6 Cut-Ups - Twelfth Installment
Topic: Multi-Technique

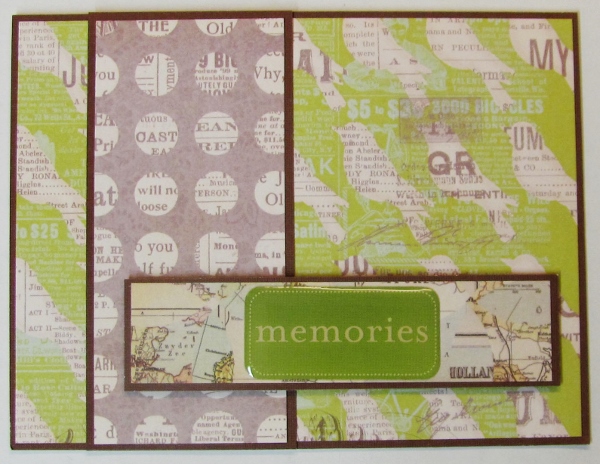
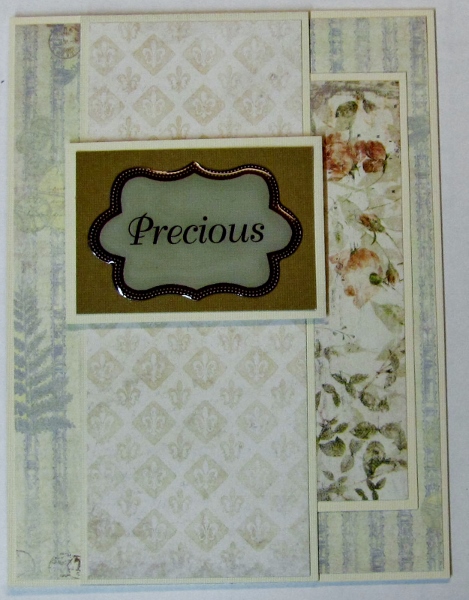
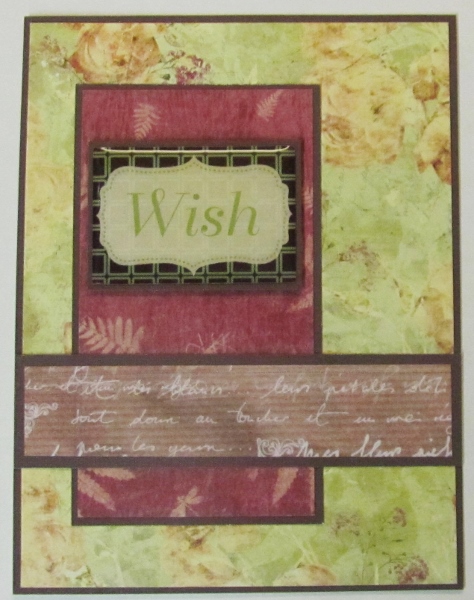
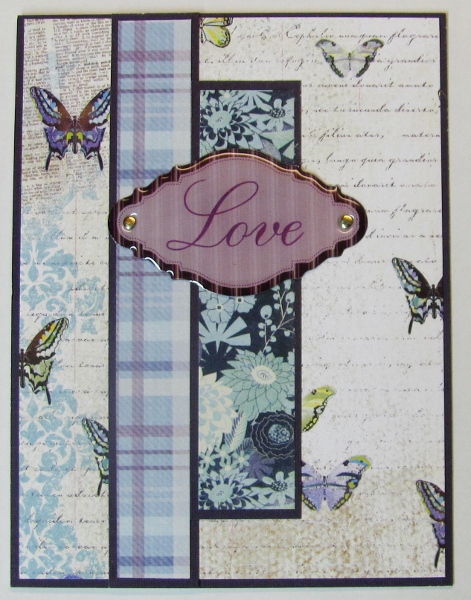
I had a sheet with just three vinyl stickers. Had I more of these I might have used them, but alas...

I mounted them on bordering materials to match the rest of the card and they are all popped up on foam tape.


This one got an extra strip of patterned paper.


This one had a large open space so I stamped a sentiment in it.


You can see why it would have been nice to have more of these.

Ddd


Posted by studio3d@ccgmail.net at 12:01 AM PDT
Sunday, 23 June 2013
6x6 Cut-Ups - Eleventh Installment
Topic: Multi-Technique

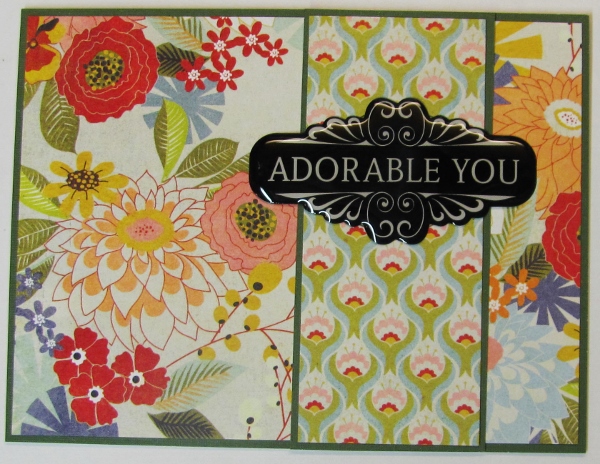
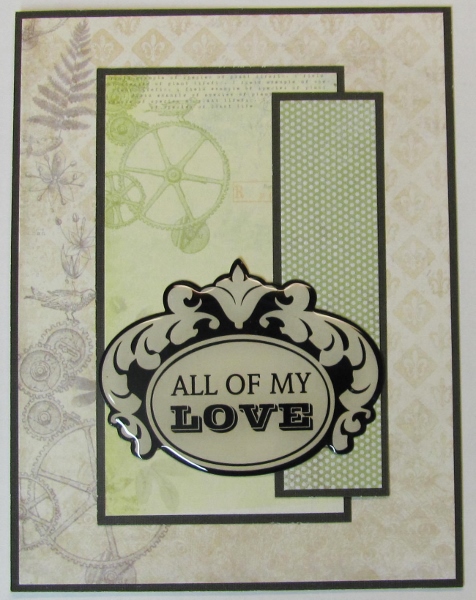
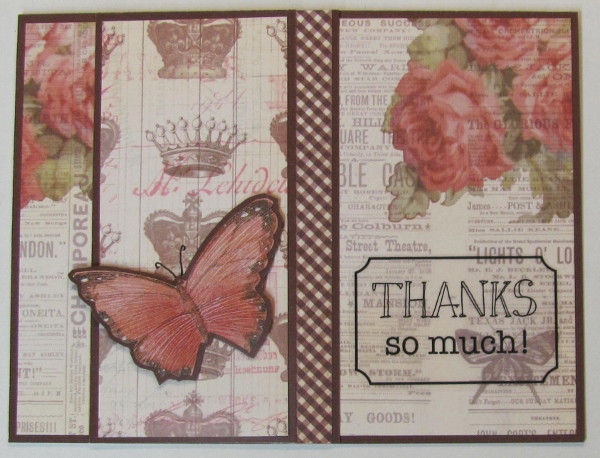
One lone card - that's all I have for today as it is all I made with a hard acrylic sticker. This was one left on an old sticker sheet.


What a romantic feel!

Ddd


Posted by studio3d@ccgmail.net at 12:01 AM PDT
Saturday, 22 June 2013
6x6 Cut-Ups - Tenth Installment
Topic: Multi-Technique

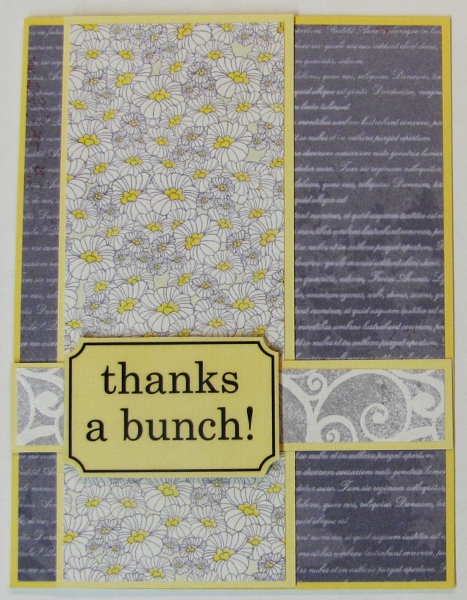
Another gift of supplies contained some black and white acrylic text stickers. YUMMY!


I didn't use very many of these because the high contrast was a bit much for most of the cards I had set up.

Ddd


Posted by studio3d@ccgmail.net at 12:01 AM PDT
Friday, 21 June 2013
6x6 Cut-Ups - Ninth Installment
Topic: Multi-Technique

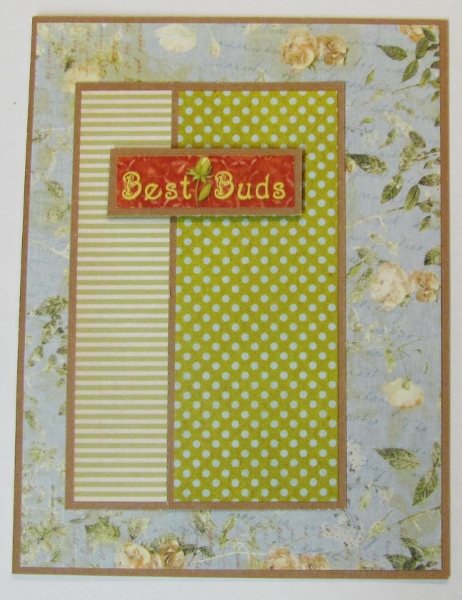
Next to butterflies, I guess I like flowers next best. I chose some flower stickers to embellish the cards being shown today in the 6x6 cutup project.


This one also got a 3D text sticker


Love the scalloped border punch on this one.

Ddd


Posted by studio3d@ccgmail.net at 12:01 AM PDT
Thursday, 20 June 2013
6x6 Cut-Ups - Eighth Installment
Topic: Multi-Technique

We're still got several days of 6x6 cutups to go through. that was a BIG project!

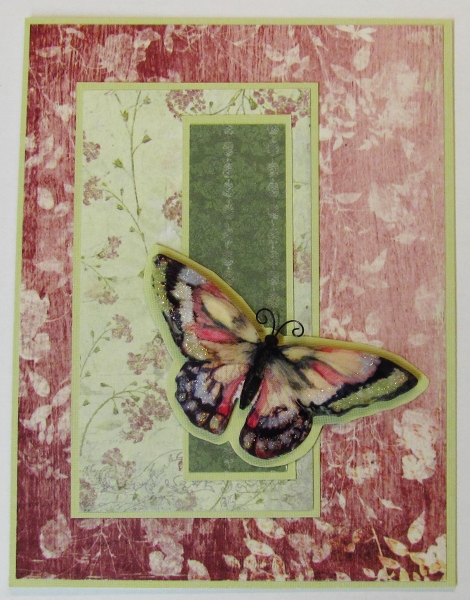
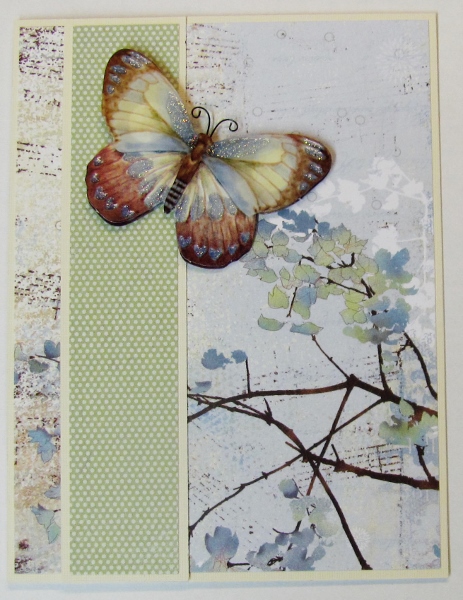
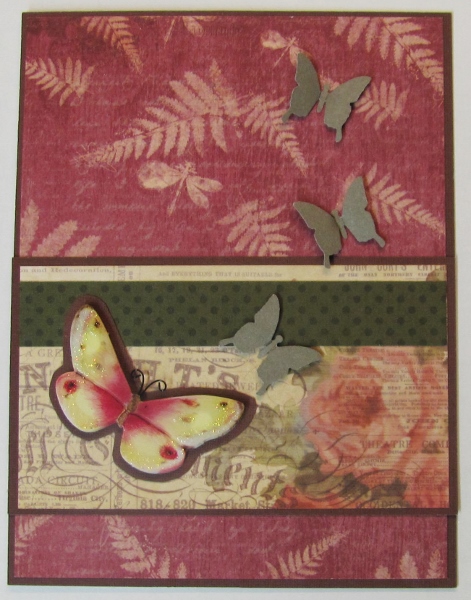
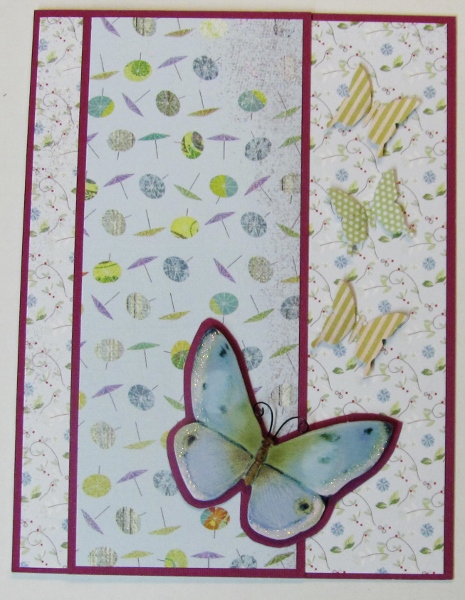
Today I decorated with 3D butterfly stickers I picked up on sale recently. For some of them I placed them on a bordering color to match that on the patterned paper pieces.


Some of these got punched butterflies added as well


These butterfly stickers have a glittery bit on them, too.

Ddd


Posted by studio3d@ccgmail.net at 12:01 AM PDT
Wednesday, 19 June 2013
Cut-Ups - Seventh Installment
Topic: Multi-Technique

In a gift of card supplies I got a sheet of text stickers. I used some of these to decorate some of the 6x6 cutup cards.


Now THOSE are some simple cards.

Ddd


Posted by studio3d@ccgmail.net at 12:01 AM PDT
Tuesday, 18 June 2013
Cut-Ups - Sixth Installent
Topic: Multi-Technique

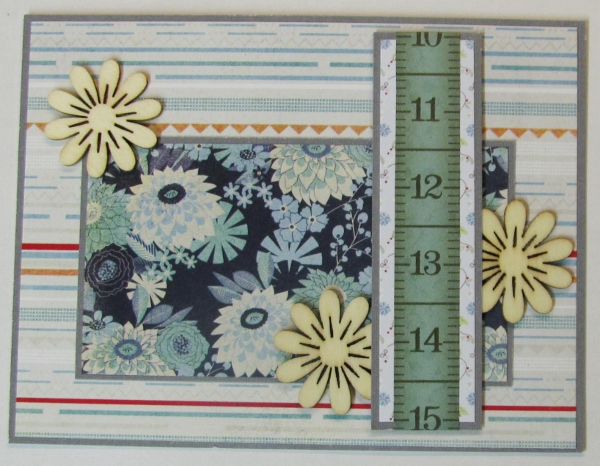
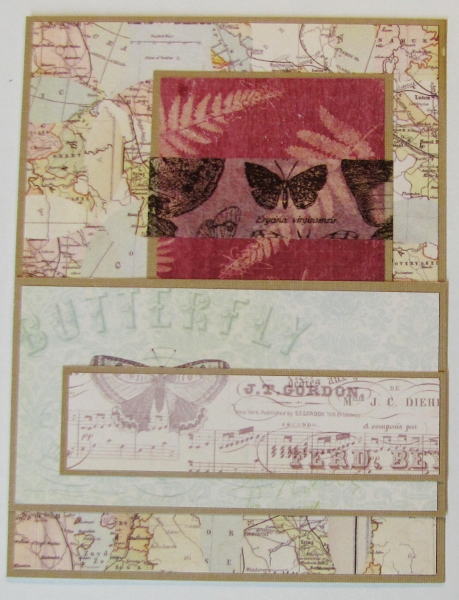
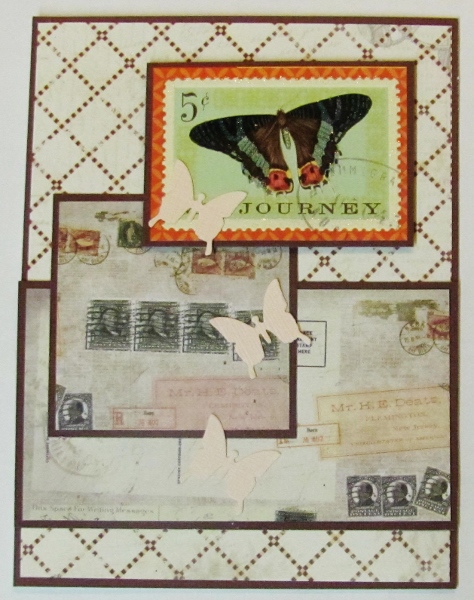
For this installment of 6x6 cutups I used tissue tape (washi tape, paper tape) on my cards. I don't have a lot of this and I'm not fond of it being SO removable. For this reason I always make sure I wrap it to the back before adhering a unit to a card.

This one uses an opaque tape with number markings. I also added some wooden flowers.


For this card I added a single strip of translucent tape that echoes the butterflies in the lower papers.


And, finally I used a wrap of several strips of text-printed translucent tape on this one. I also added three double-layered silk flowers adhered with grey brads.


LOVE this color combination!

Ddd


Posted by studio3d@ccgmail.net at 12:01 AM PDT
Monday, 17 June 2013
Cup-Ups - Fifth Installment
Topic: Multi-Technique

After that little graduation break I'm back with more from the 6x6 cutup sessions.

This one features a standard sticker.

I added some punched butterflies to cover part of the text on the sticker.

Ddd


Posted by studio3d@ccgmail.net at 12:01 AM PDT
Sunday, 16 June 2013
Thanks Dad
Topic: Digital Projects

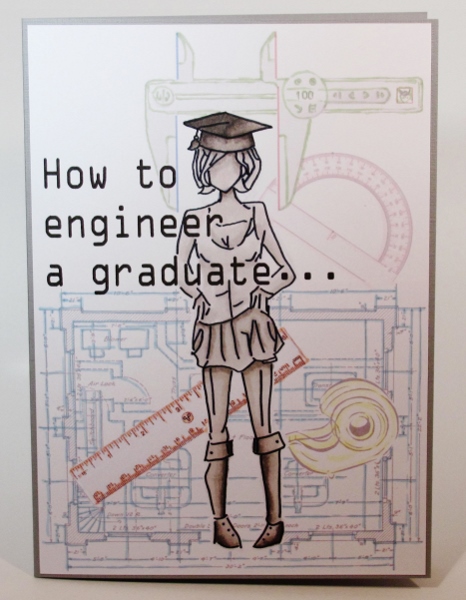
Miss graduate also asked for a Thank You card for her Dad with the request that his be humorous.

For this I wanted to incorporate personalized elements: He is an engineer, she will be studying engineering, she is an artist.

I worked from a sketch for this card again but I did all the layout and design in CorelDraw. I downloaded some graphics from Google Images and used the program to remove color and tone down contrast. The idea was to end up with a light sketch of tools with the girl on top.

The image was printed on white cardstock with an inkjet printer. I then used a black watercolor marker to draw in the girl and her cap with bolder lines. I then used Copic markers in warm greys to color them in. Colored Copics were used to trace out the background images.


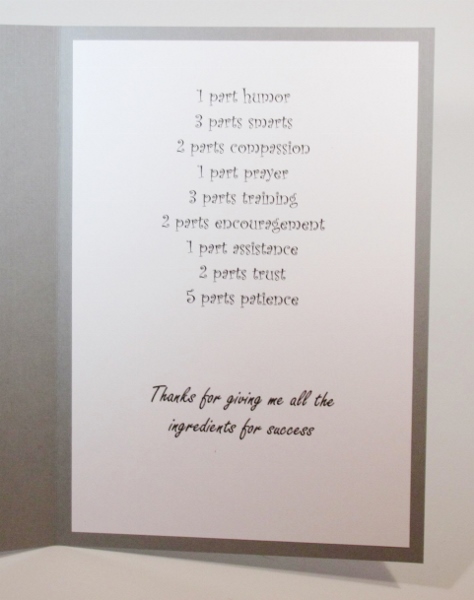
I trimmed and mounted this image onto a warm grey card base. Inside, a second printed panel is mounted.

I used a playful mix of fonts to contrast against the structure.

Ddd


Posted by studio3d@ccgmail.net at 12:01 AM PDT
Updated: Thursday, 9 May 2013 10:15 PM PDT
Saturday, 15 June 2013
Thanks Mom
Topic: Multi-Technique

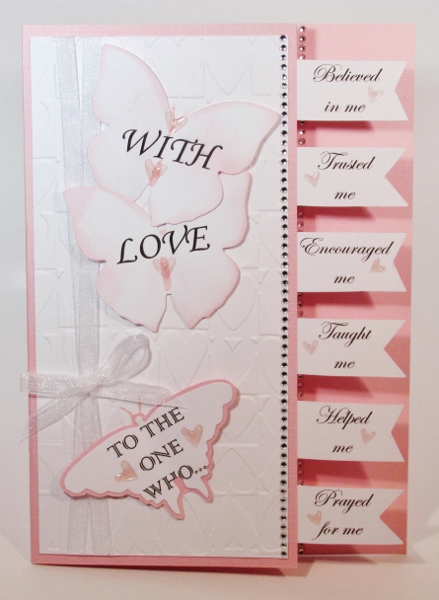
I had an opportunity to make a card for a young lady graduate to give her Mom as a thank you. The only request was that it be 'fancy'.

Unlike most cards I do, I sketched out a plan before I started. The card base is a pink 5 x 7 fold. I trimmed off a portion of the right front panel for mounting the flagged text. A white front panel was run through a heart embossing folder. White cardstock with text printed was cut out with butterfly dies, tinted with 'spun sugar' Distress Ink and mounted with the wings up on foam tape.

I tied sheer white ribbon top to bottom with a bow. A row of rhinestone trim graces the cut edge of the front. I finished off with lots of 'dew drops' in pink tinted hearts.

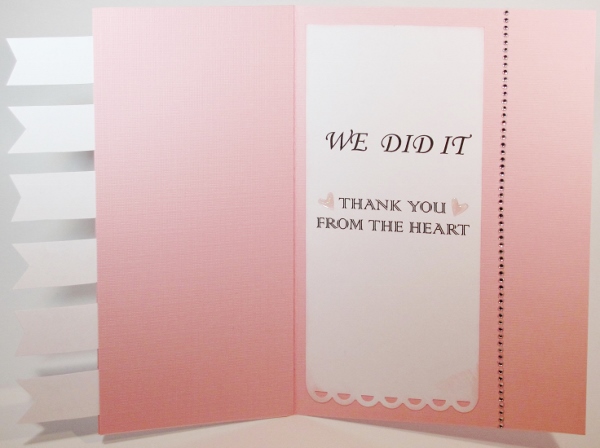
When open there is a printed white panel on the inside and another row of rhinestone trim.


I used a scallop border punch on the bottom edge.

Ddd


Posted by studio3d@ccgmail.net at 12:01 AM PDT
Friday, 14 June 2013
Cut-ups - Fourth Installment
Topic: Multi-Technique

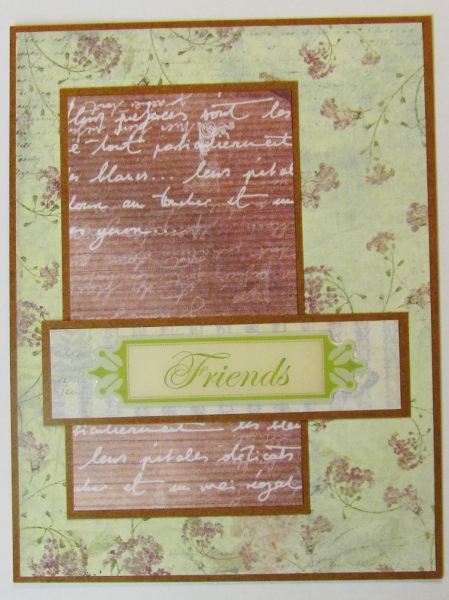
Only one card to show today as I only used one vellum sticker.

This was mounted on cardstock matching the bordering materials and popped up on foam tape.


A clear sticker of text was added over the top of it.

Ddd


Posted by studio3d@ccgmail.net at 12:01 AM PDT
Thursday, 13 June 2013
Cut-Ups - Third Installment
Topic: Multi-Technique

For day three of the 6x6 page cutups I'm featuring cards that use clear text stickers.


This sticker has a little color to it - unusual for a clear sticker.


this one is just your everyday clear sticker


This is a similar sticker but I mounted it to cardstock that matches the bordering materials


I didn't make as many with these supplies.

Ddd


Posted by studio3d@ccgmail.net at 12:01 AM PDT
Wednesday, 12 June 2013
Cut-Ups - Second Installment
Topic: Multi-Technique

Continuing with the 6x6 pads cutups... This set got puffy stickers from a sheet I got in a supplies gift package.

Love the shapes of these sticker:


Nice colors in these stickers, too


You don't find stickers like this every day


I mounted this sticker on backing to match the borders around the papers


Nice script on the text - the peacock printed on the paper is neat, too


Odd sticker, but the color worked


Little gold nail head stickers fill the holes to look like brads


I combined an additional clear sticker and a couple of alpha stickers for this one


And that wraps up another day.

Ddd


Posted by studio3d@ccgmail.net at 12:01 AM PDT
Tuesday, 11 June 2013
Cut-Ups - First Installment
Topic: Multi-Technique

I was inspired by the OWH blog to try using up a lot of my 6x6 papers at once by doing marathon cutting/matching sessions. Here is my process:

-- take a stack of 6x6 scrapbook cardstock

-- cut off a 3 3/4" chunk from one side (my cards are 1/4" smaller than an A2)

-- trim strip off bottom to leave 5 1/8" on the big chunk

-- separate into piles by size

-- when whole stack is cut up, pull one from each stack to create a harmonious grouping

-- do this to the whole pile of cutups

-- for each grouping select a sheet of plain color cardstock for bordering

-- cut a backing piece 5 1/4" x 4", mount largest piece of printed cardstock on it.

-- shuffle around other two pieces to get a pleasing arrangement, trimming as desired.

-- cut and adhere backing pieces for each of these

-- lay out card parts like they might be on finished card and spread on a large surface (do the whole stack)

-- pull out stickers, embellishments, stamps, trims, etc. and select something to use as decoration for each card front.

-- adhere smaller pieces to main piece using strong adhesive or foam tape

-- attach embellishments

-- adhere to a folded card base


So... having done that whole process over the course of 3 days I ended up with 42 finished cards! I grouped them by the style of embellishment used and photographed them by these groups for sharing.

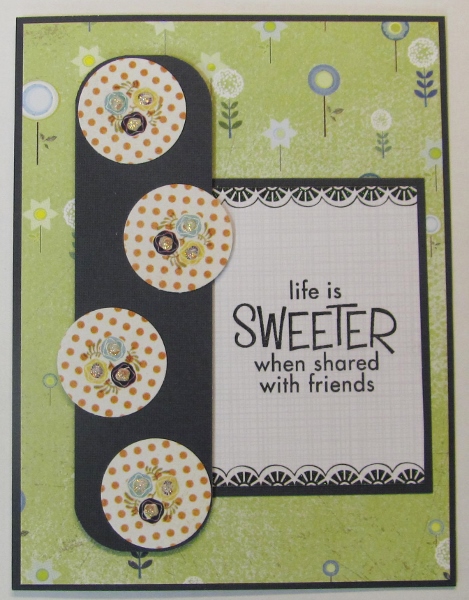
Today's share is those decorated by a stamped sentiment:

This one actually got the third piece of patterned paper dropped. I did a little creative cutting on a backing piece and punched circles of the flower grouped paper. Each of the three flowers got a center of Stickles. The sentiment is stamped on a 'journaling' tag I was given in a swap.

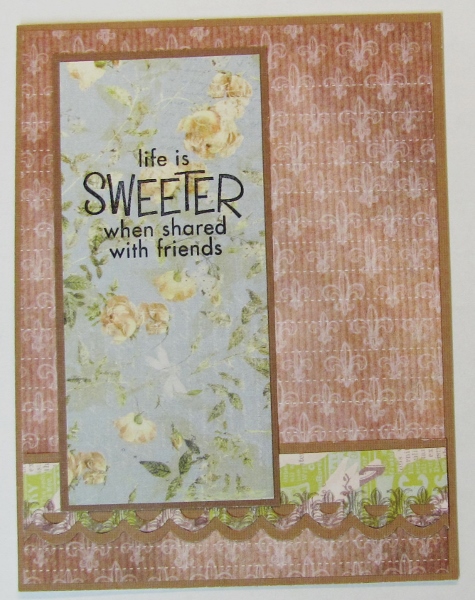
I used a border punch on one piece of the patterned paper as well as its backing color and offset them. The text is stamped directly onto the patterned paper.

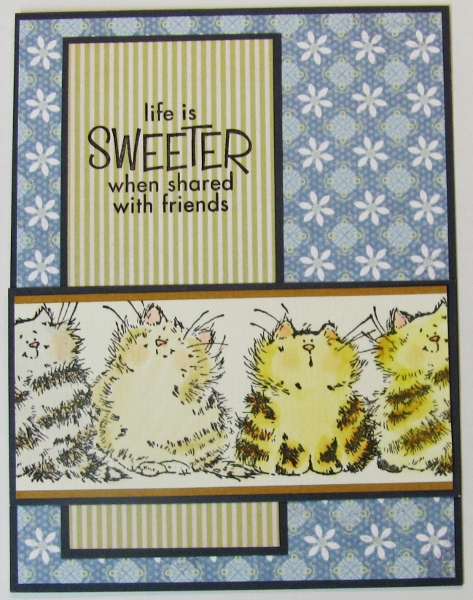
This piece also got one strip of patterned paper dropped in favor of a stamped and colored image of cats that I got in a swap.

So this is the way the project started. More to come!

Ddd


Posted by studio3d@ccgmail.net at 12:01 AM PDT
Monday, 10 June 2013
Time to Set the Table
Topic: Sewing

My daughter-in-law is an awesome gardener, seed-saver, organizer and all the other things one needs to be a successful vendor at farmer's market. She also sells her home-baked breads and eggs from her chickens, ducks and geese!

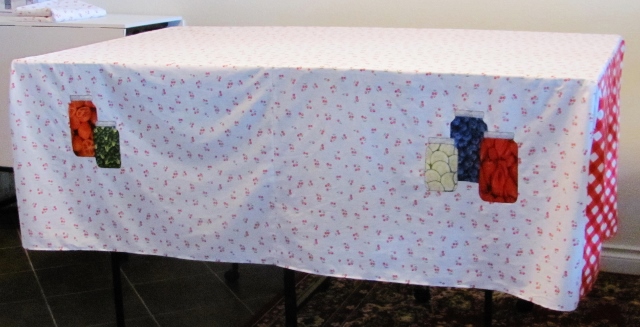
I decided to make her a set of custom tablecloths and apron for her farmer's market station. She has a 5-foot and a 6-foot table so I made a cloth for each. All these photos are of the 5-foot version as I don't have a longer one to display the other tablecloth.


The main background fabric is crisp white with tiny cherries all over. This forms the top and front drop of the tablecloths.

The end pieces are of a diagonal checkerboard print. I made these set-in so the tablecloth is essentially a box. I wanted them to fit snugly and not be caught by the wind to blow off.

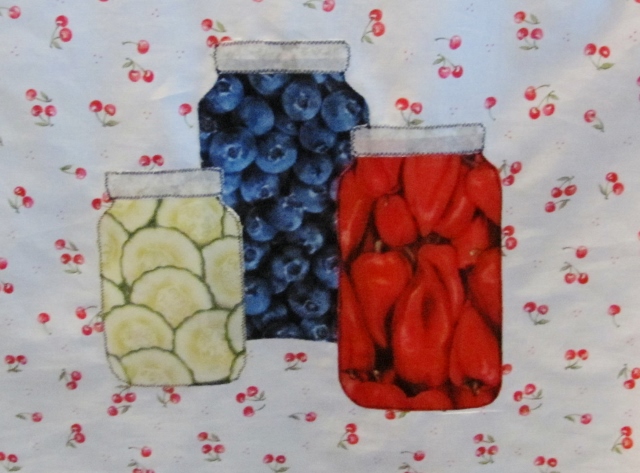
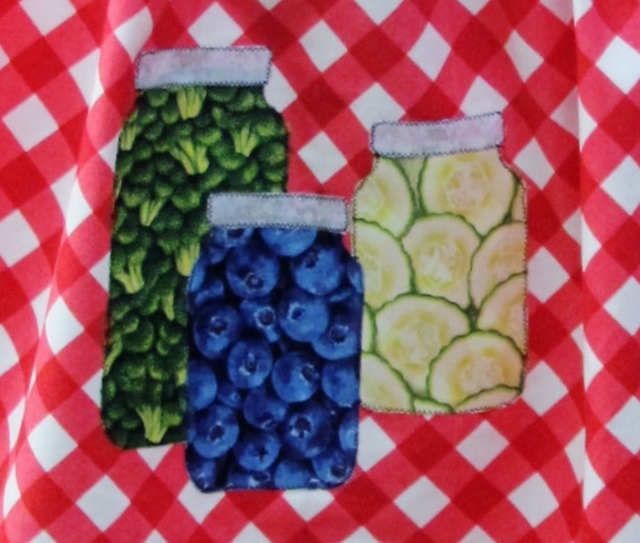
Decorating the front pieces are canning jar appliques in pint and quart sizes using fruit and veggie print fabrics. I used tomatoes, peppers, broccoli, blueberries, and sliced pickles. These are all stitched on with a narrow black zig-zag outline around the jars and the lids.

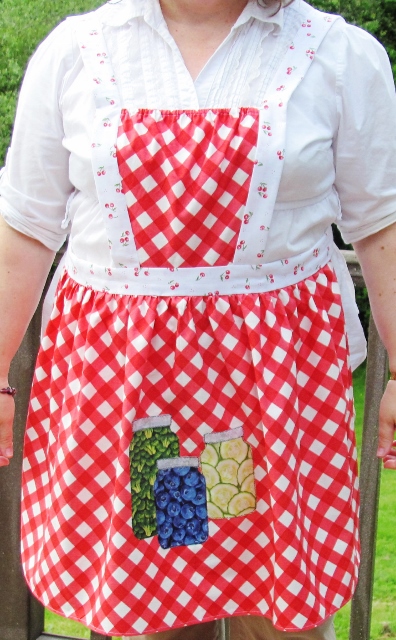
The batching apron uses the checkerboard as the main fabric and the cherry print as the trim (straps and waistband). I ran out of this so the ties and the back of the straps are plain white fabric.

I appliqued three jars on the front of the skirt to match the tablecloths.


I'm not sure she sells ANY of these produce items at her booth and I'm QUITE sure she doesn't sell canned goods, but I liked the way these elements worked together anyway.

Ddd


Posted by studio3d@ccgmail.net at 12:01 AM PDT
Sunday, 9 June 2013
American Coastal
Topic: Paper Embroidery

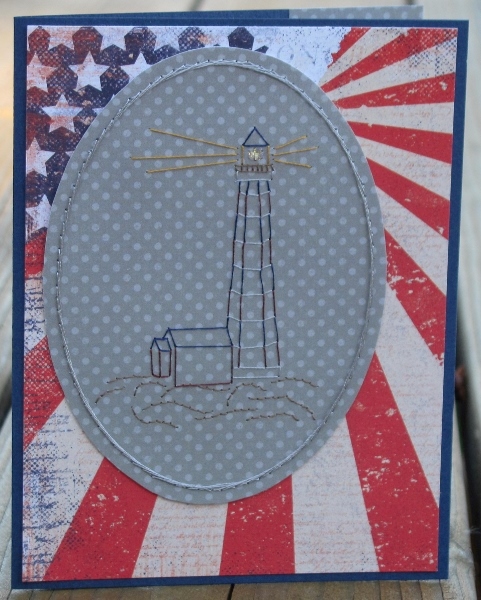
For a swap on the theme 'light' I chose my lighthouse pattern and a dotted background. This paper seemed to call out for muted shades of thread so I chose a taupe for the rocks and golden for the light, burgundy and darke blue for the lighthouse accented by a steel grey. The same steel grey was used to stitch the oval border.

When I gan across this printed cardstock it seemed to be the perfect background for the card. I trimmed it to reveal a narrow border of the blue card base. I trimmed the oval feature piece with a 1/8 in border and adhered it so the red burst echoes the light beams from the lighthouse.

I used a small dot of gold Stickles on the light in the lighthouse.

Ddd


Posted by studio3d@ccgmail.net at 12:01 AM PDT
Saturday, 8 June 2013
Just Give Me An Outline
Topic: Paper Embroidery

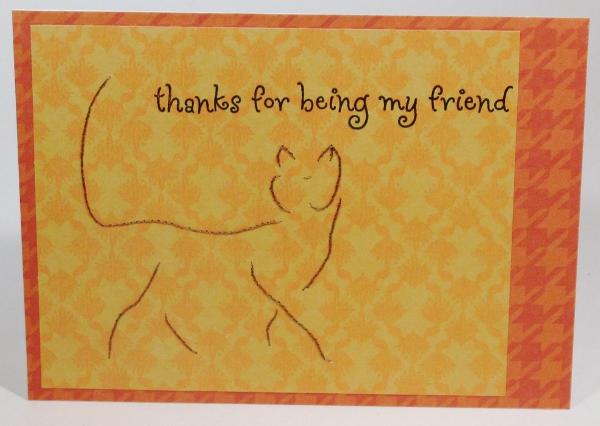
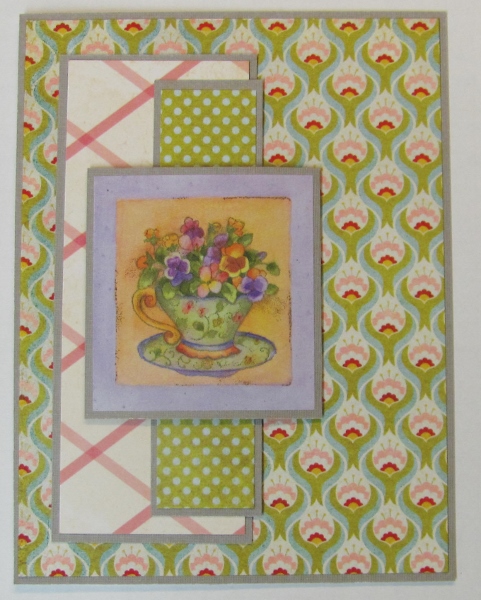
A June swap will involve animals. I got ready with this outline cat from my own pattern. I stitched on a golden patterned paper so it would look like it was against wallpaper in a house.

I stamped a greeting and then mounted over an orange houndstooth print paper.

Ddd


Posted by studio3d@ccgmail.net at 12:01 AM PDT
Updated: Saturday, 18 May 2013 1:43 PM PDT
Friday, 7 June 2013
Write It On The Board
Topic: Stamping

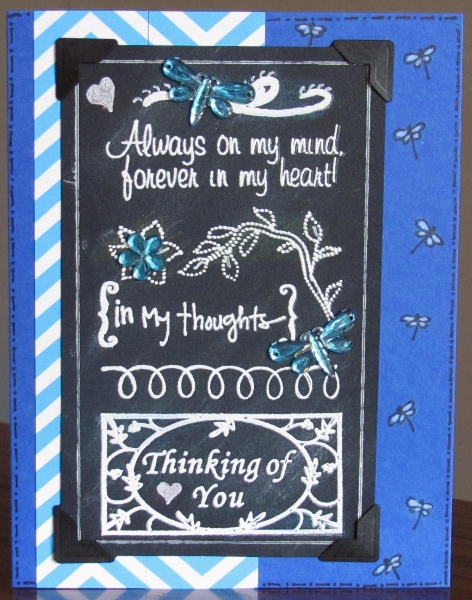
I've been seeing cards all over the net with what is called the 'chalkboard technique'. I wanted to have a go at it myself and finally made some time for it.

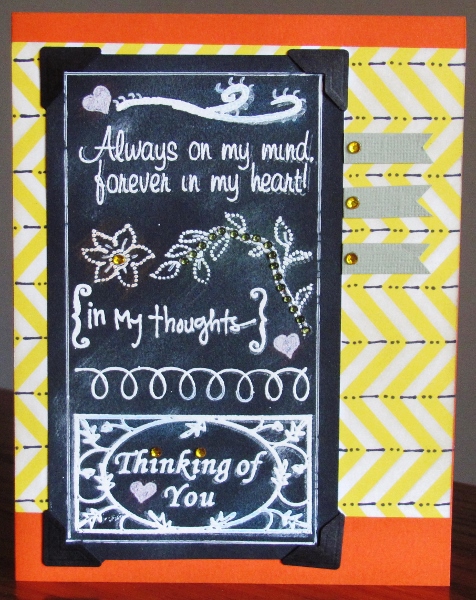
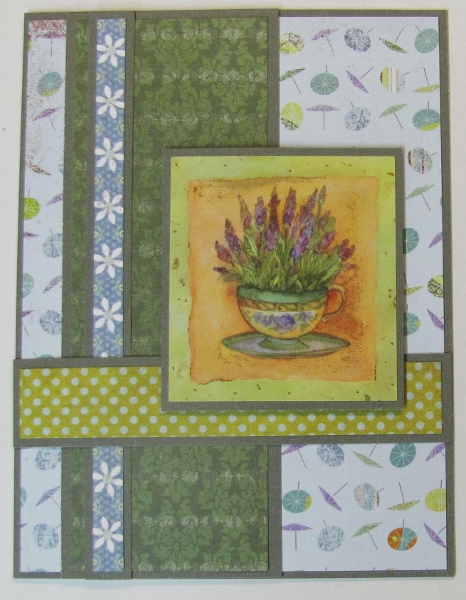
Multiple images and sentiments are stamped on black cardstock with Versamark ink and embossed with white powder. Then some whitish chalk ink is lightly smeared onto the background to look like chalk dust. I used a white gel pen to add some doodling and some border lines. Colored pencils were lightly applied over selected areas and the piece was trimmed out. I had some black photo corners on hand so added these on all the chalkboards.

I used the same stamp combination on three pieces of cardstock and then mounted them on different color combinations of card base and chevron paper.

On the blue one I added accents of shaped rhinestones (using glue dots) and doodled in some borders and a bunch of dragonflies with black Sharpie. The dragonflies were colored in with white gel pen and over-colored with blue colored pencil.


I did a version in yellow and orange and added colored rhinestones throughout. Three paper flags were added to the right and each of these got rhinestones as well. I used the Sharpie to add doodles in the chevron paper.


Finally, I made a pink and purple combo. Shaped rhinestones, colored paper flags and some clear acrylic hearts are the accents. Sharpie doodling on the chevron paper is the finishing touch.


It is definitely a different style for me. I might try it again some time but I can't see doing it a lot. On the other hand, now I can check that off my to-do list.

Ddd


Posted by studio3d@ccgmail.net at 12:01 AM PDT
Thursday, 6 June 2013
What's White And Hops?
Topic: Field Trip

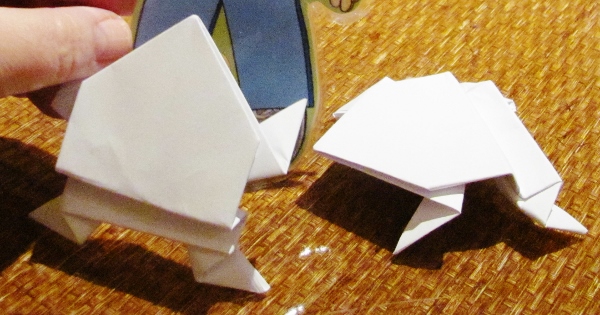
NOT a rabbit! Strangely enough it is actually a frog!

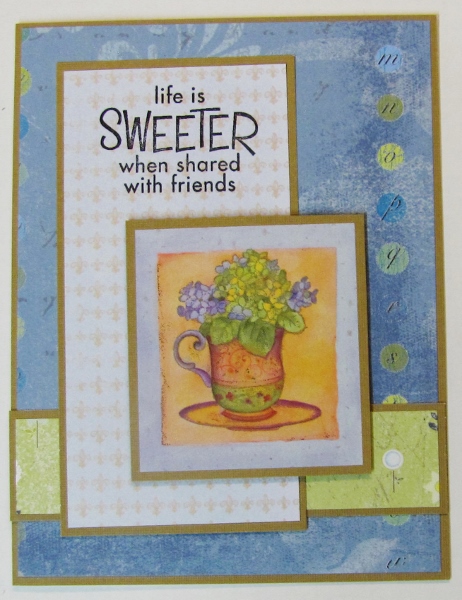
We had a class that was only advertised as 'origami'. We got plan white printer paper and the instructor talked us through the steps. I went back an immediately made another to reinforce the steps in my head.

If you press down on the back of the back and slide your finger off the frog will hop.

Ddd


Posted by studio3d@ccgmail.net at 12:01 AM PDT
Newer | Latest | Older