Topic: Quilting
On the Missouri Star Quilt Company's video tutorials I found one for what they have called disappearing pinwheels - churndash version: (http://www.youtube.com/watch?v=zZUXNMpKF74)
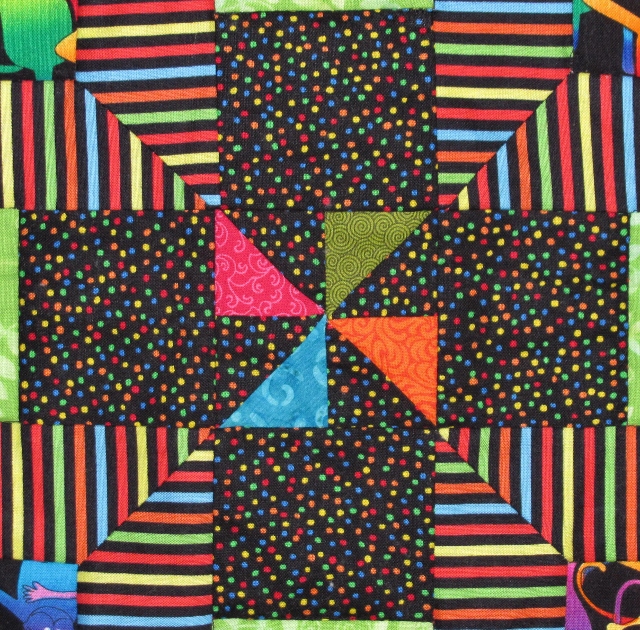
This fascinating construction starts out by facing two contrasting squares together (I used 11 inch) and stitching around all 4 sides with a 1/4 inch seam. Then the blocks are cut on both diagonals and opened up to reveal 4 matching half-square triangles. These are then placed together to form a pinwheel and stitched into a single block.
I made these pinwheels with six each of red/white and blue/white fabric combinations. Each red and each blue were different fabrics from my stash.
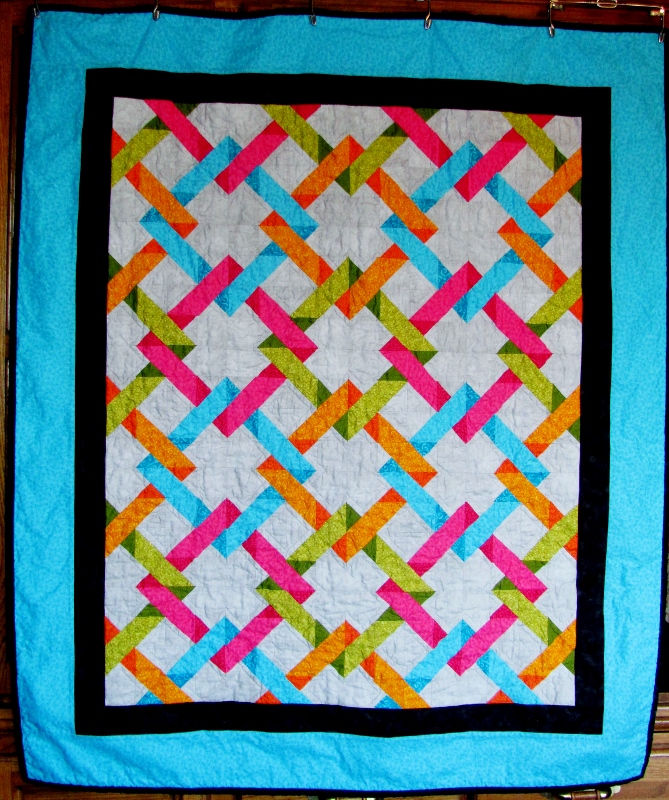
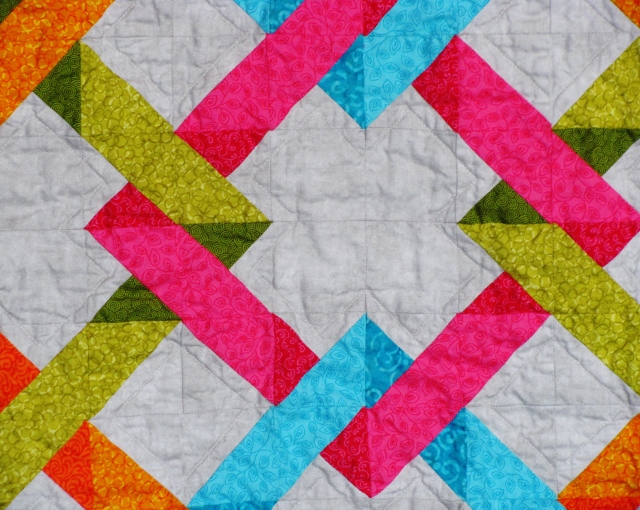
All of the pinwheels got trimmed to 12.75 inches and then were cut into 9-patches of 4.25 inches. I rotated the corner blocks and the side blocks so all the color faced the pinwheel and then swapped the pinwheel centers to the opposite color of block. I then swapped the reds from block to block to make then scrappy and repeated the process with the blue ones. These were all assembled back into churndashes with contrasting pinwheel centers.
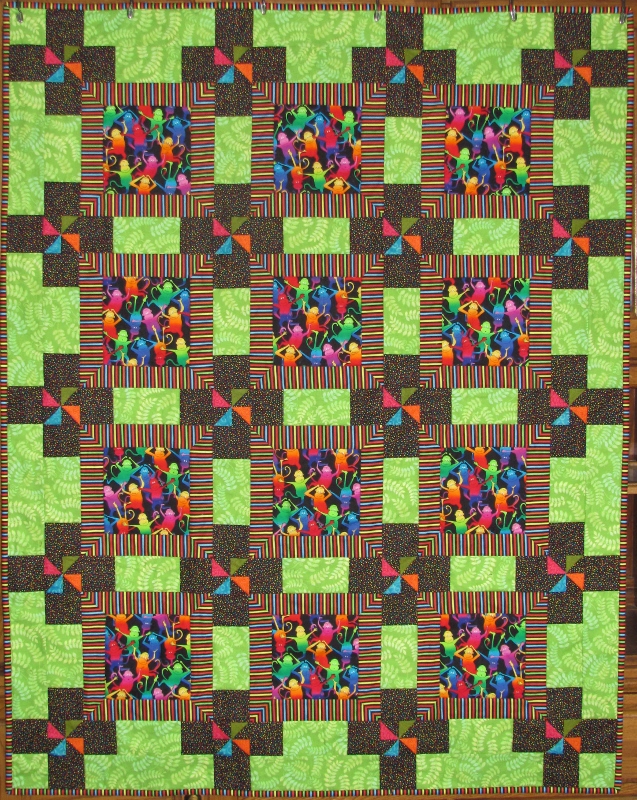
I cut strips to frammed the blocks with one-inch of contrasting color and assembled my quilt top with 1/2 inch white sashing. A white border wraps it all up.
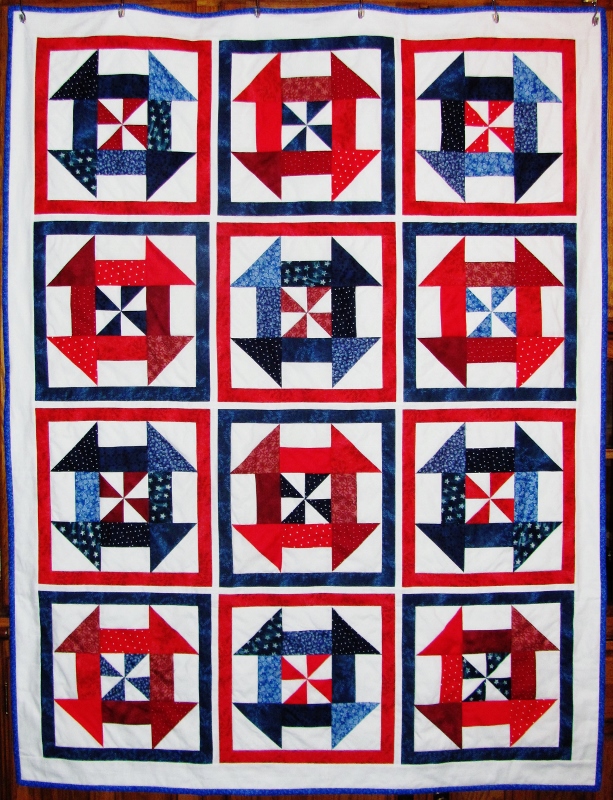
The most challenging element of this construction is that, after that initial cut, every seam is on the bias until the block frames go on.
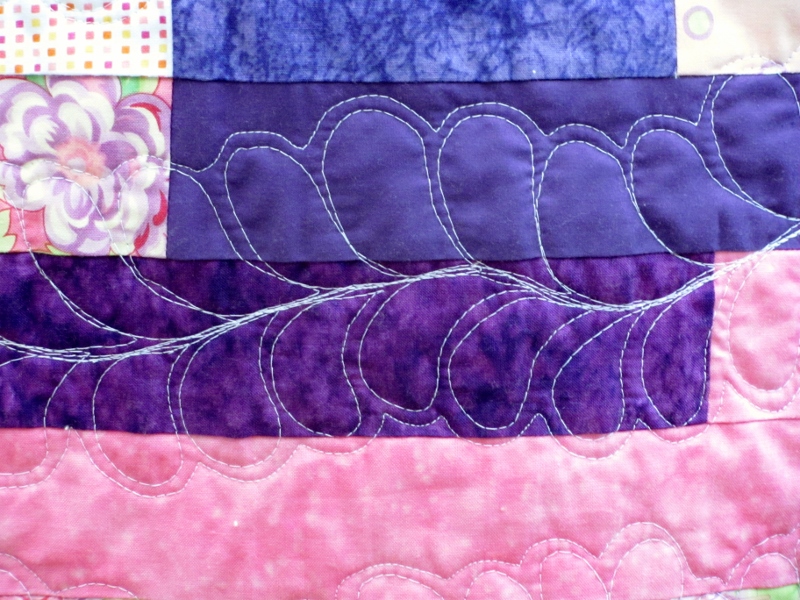
I quilted this in the ditch on the inside of the frames and on the 'tic-tac-toe' lines of the blocks.
Ddd