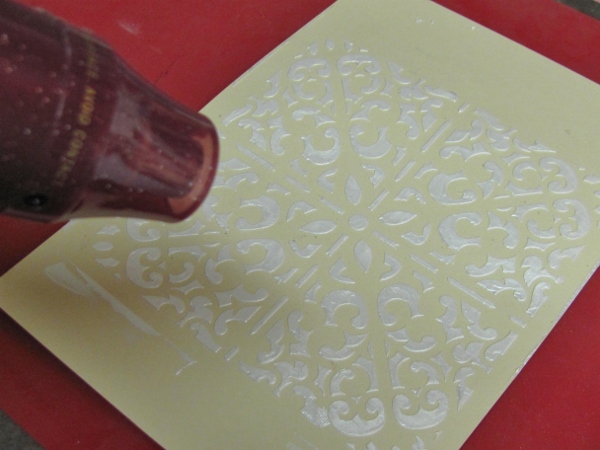
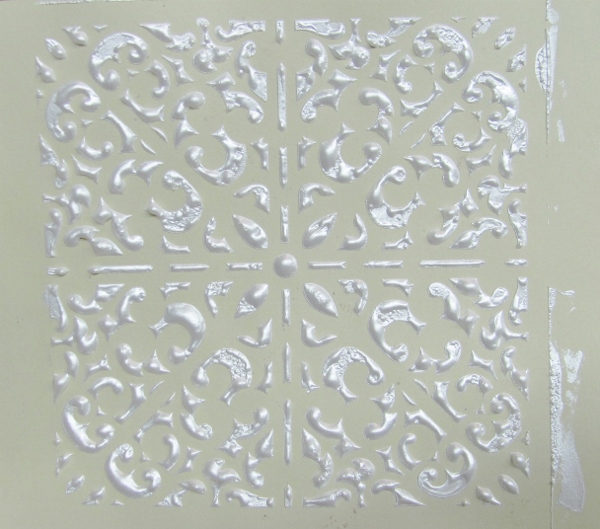
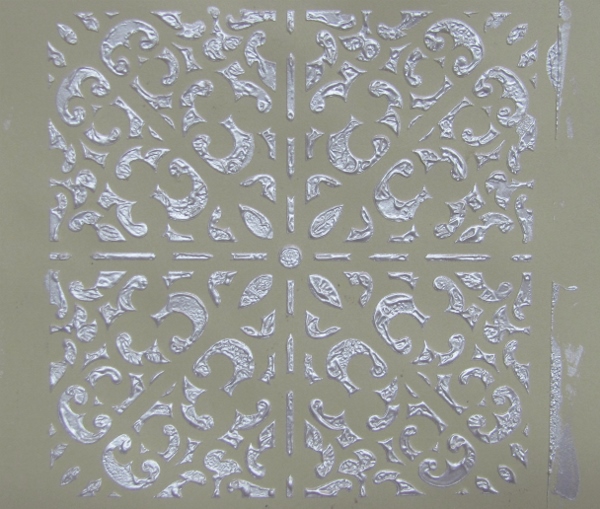
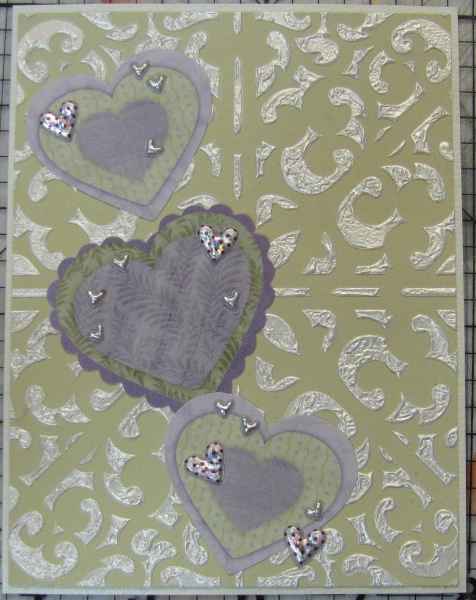
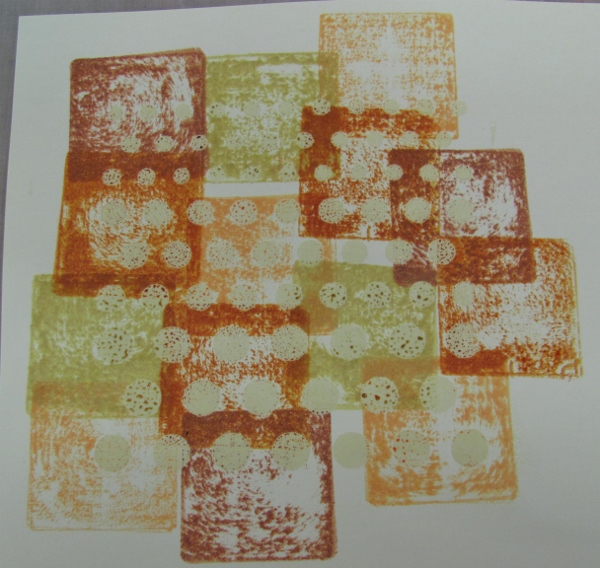
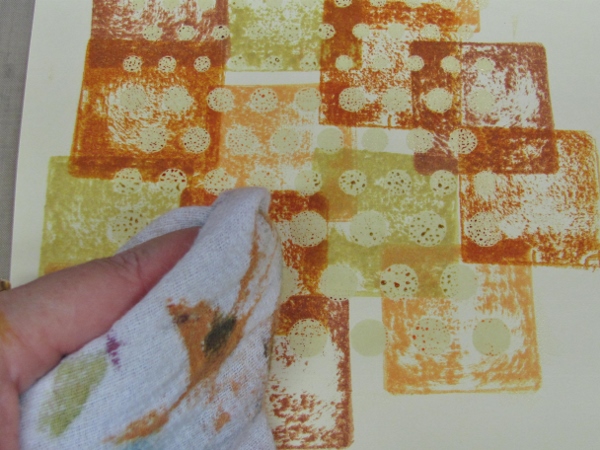
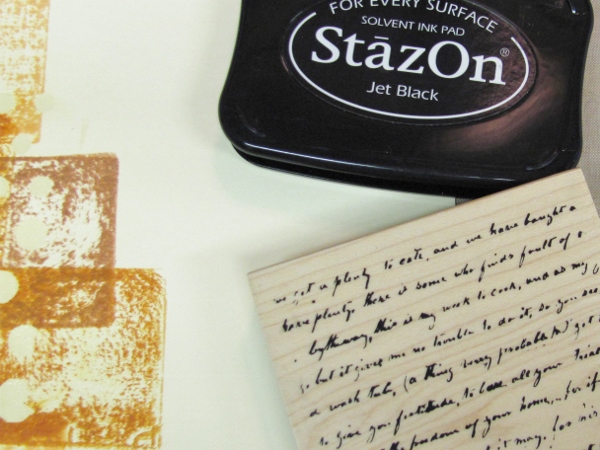
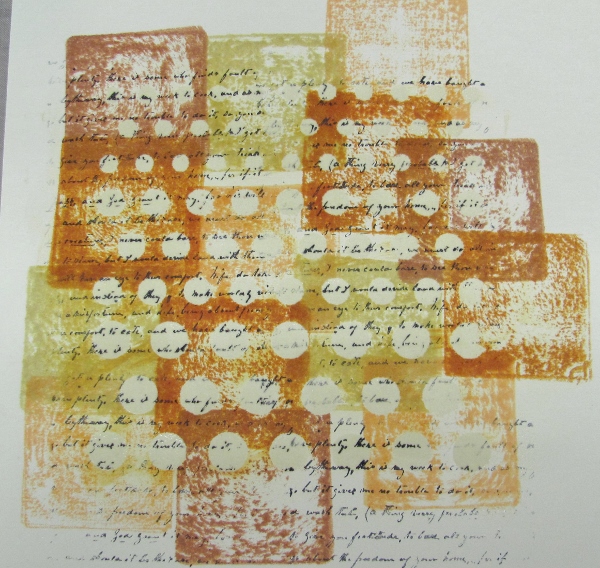
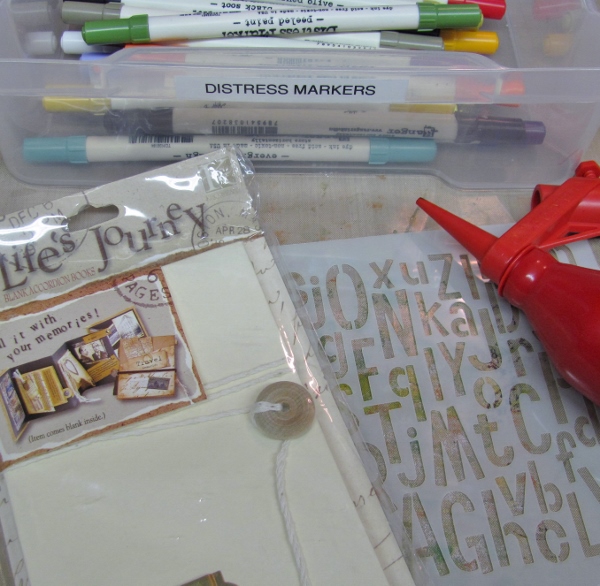
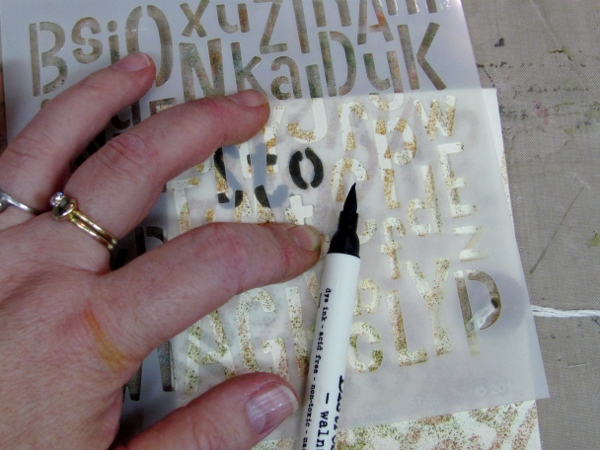
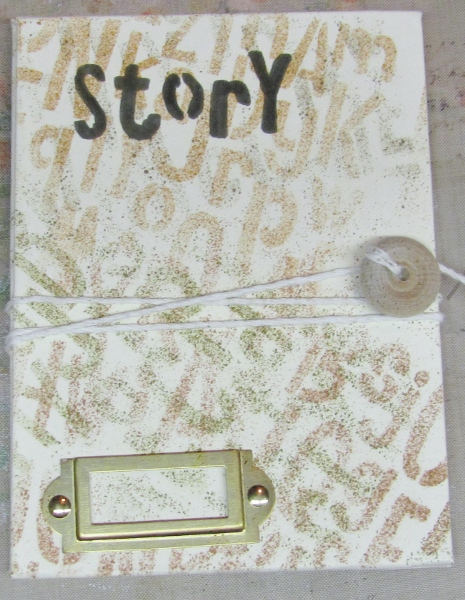
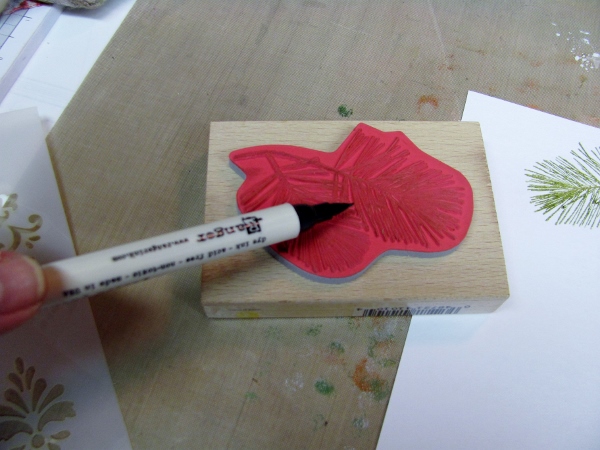
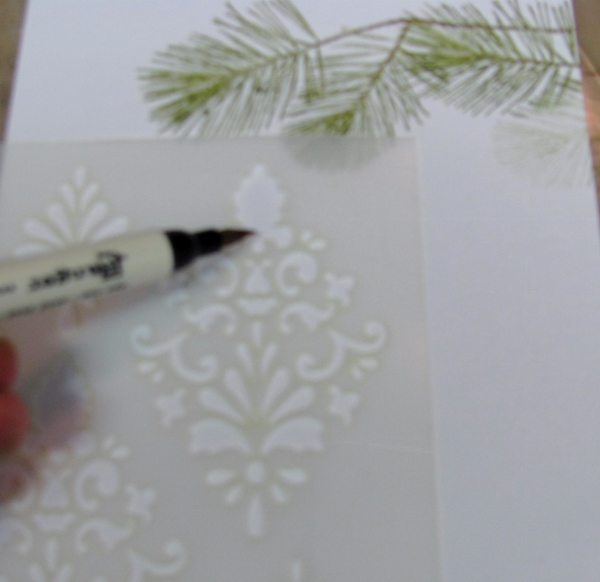
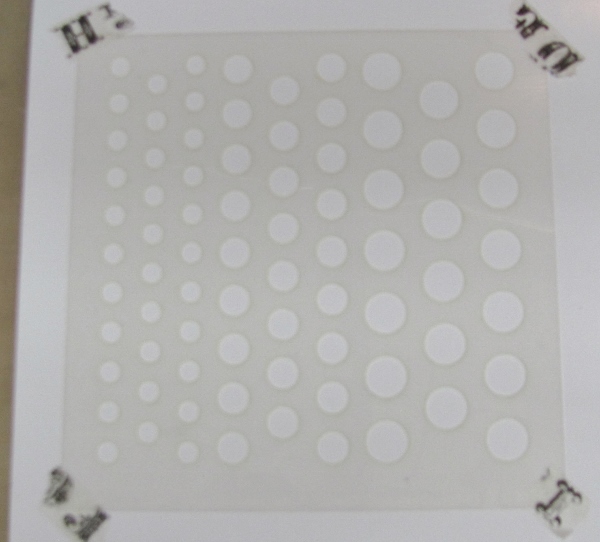
Topic: Stencils
I have two techniques today using the Wildflowers stencil. My recent order from My Favorite Things was certainly a bonanza of inspiration.
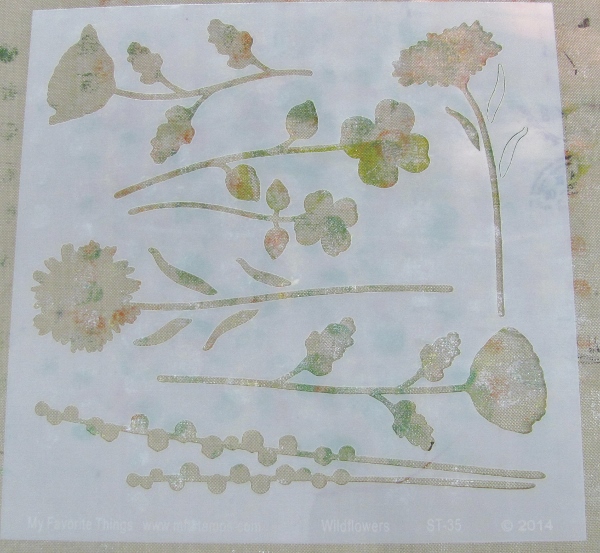
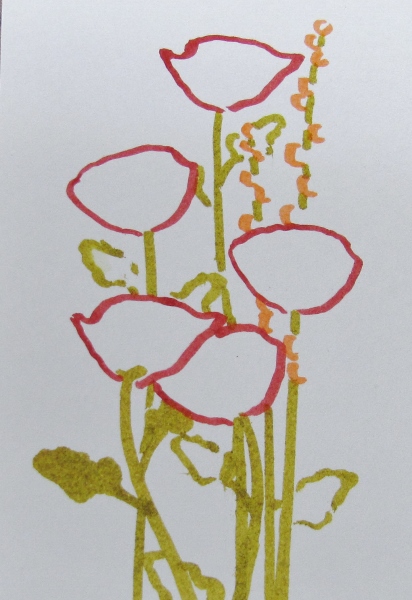
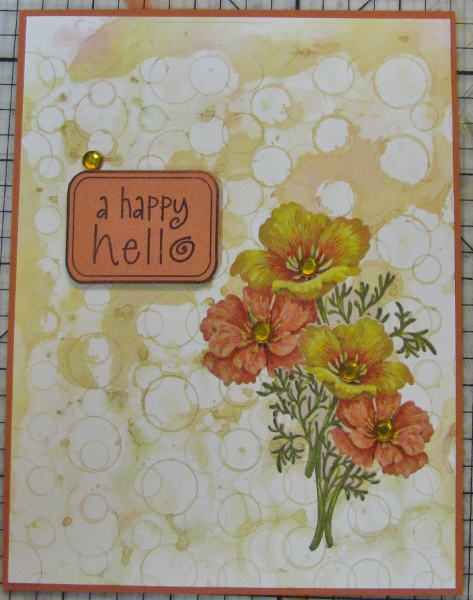
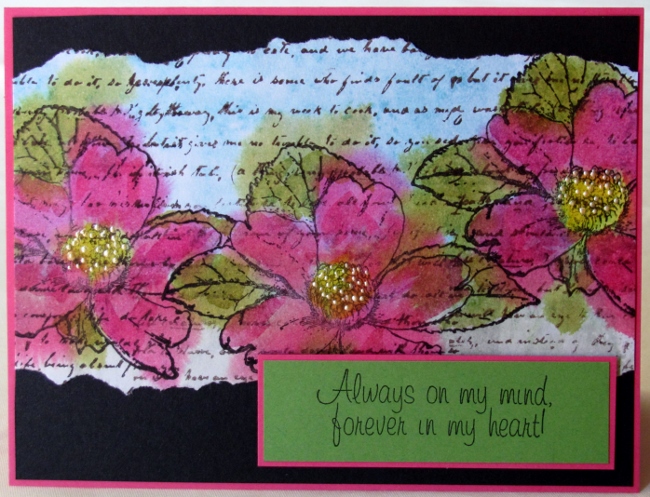
The first time I used this stencil I focused on the poppies. So I'd like to address the other two types of blooms today.
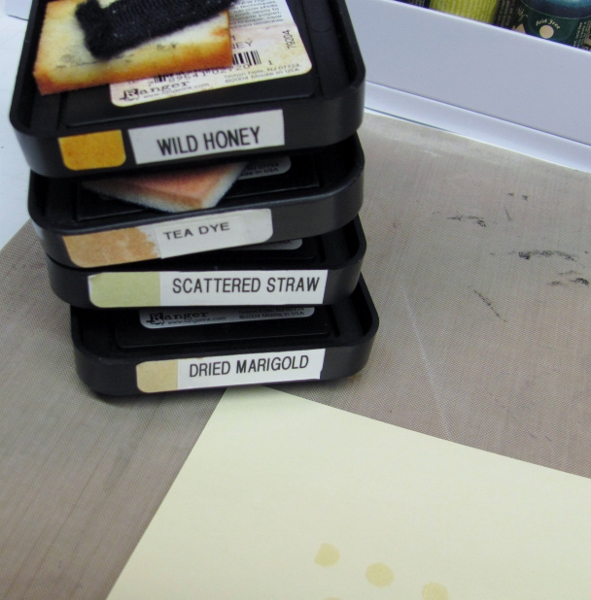
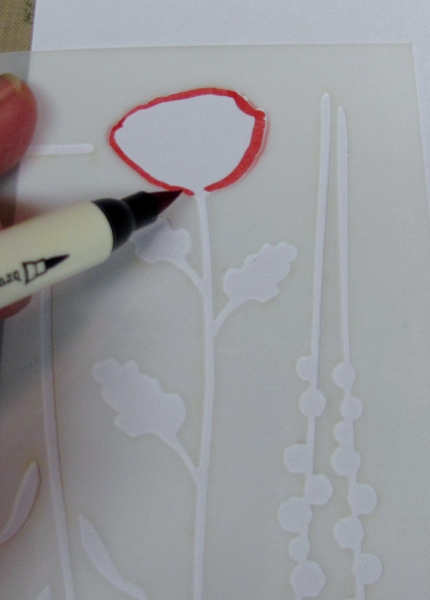
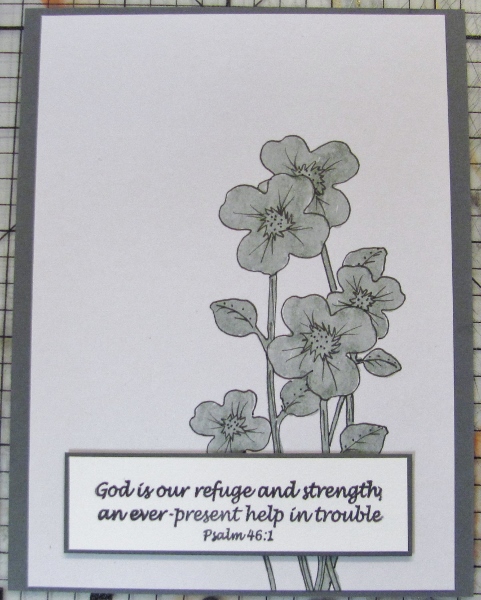
For the first, I used watercolor paper, fine-line permanent marker, and Distress Marker.
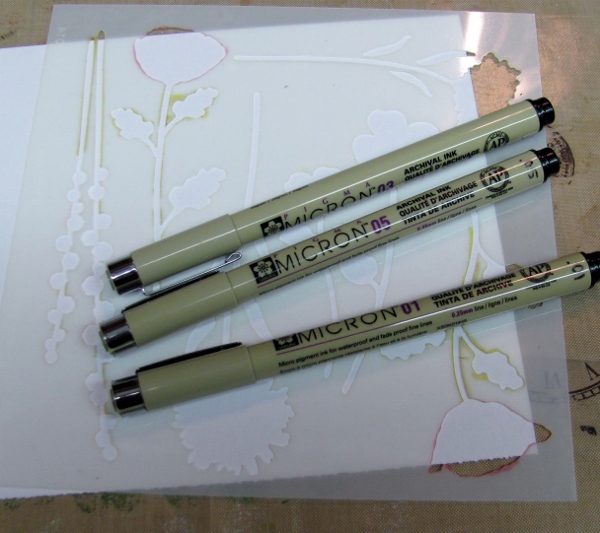
I used the marker to trace the outline of the four-petal blooms. I used both sizes in both the front and reverse images and mixed the stems as well. The plan was to create a pleasing arrangement.
Because the stencil is firm it will not easily allow the pen to push it out of shape during this drawing process - a nice feature that prevents stray lines.
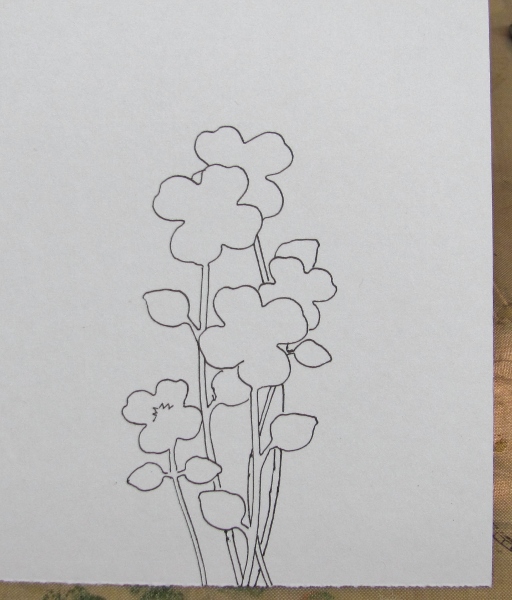
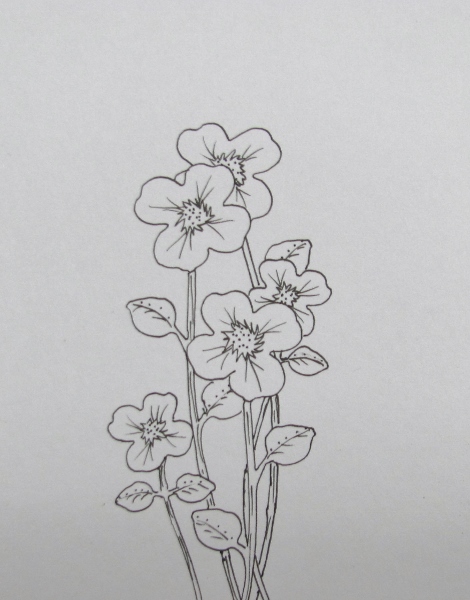
Then I started adding some simple details - bursts in the centers, radiating lines from the bursts, veins in the leaves, dots in the centers.
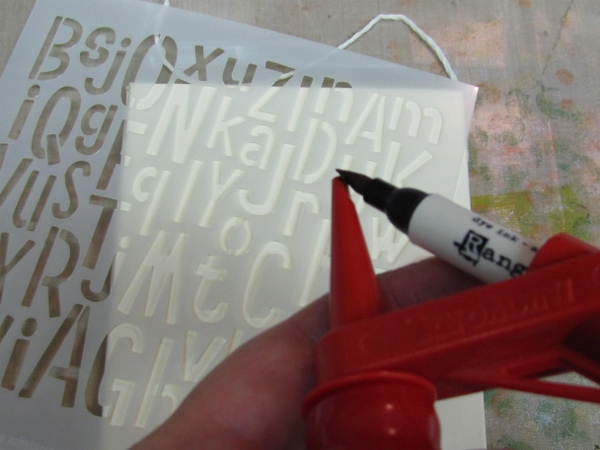
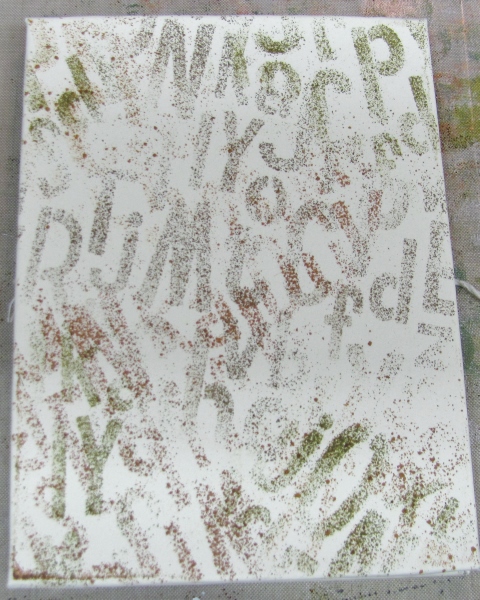
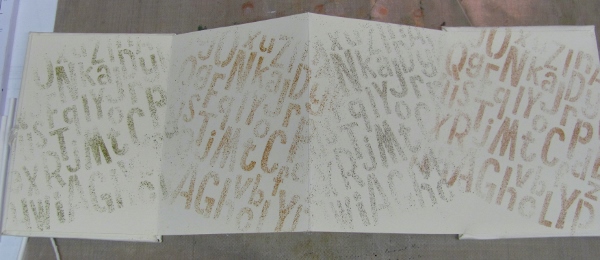
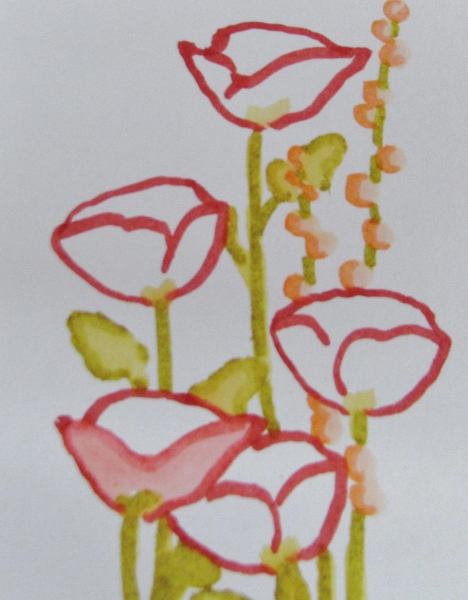
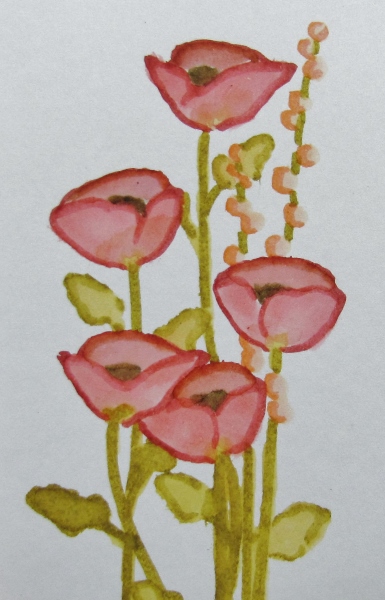
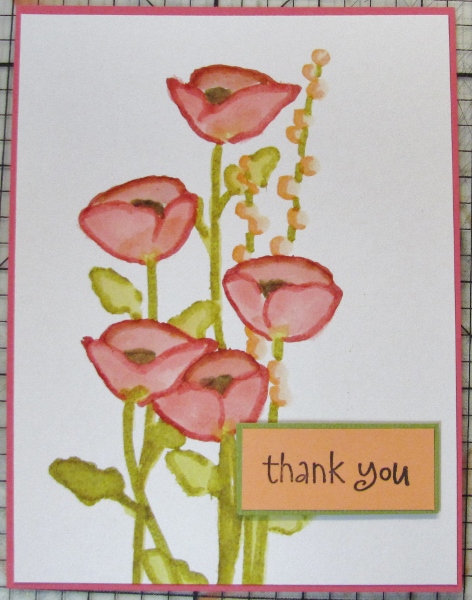
When the ink was dry I colored in all the image with a neutral Distress Marker.
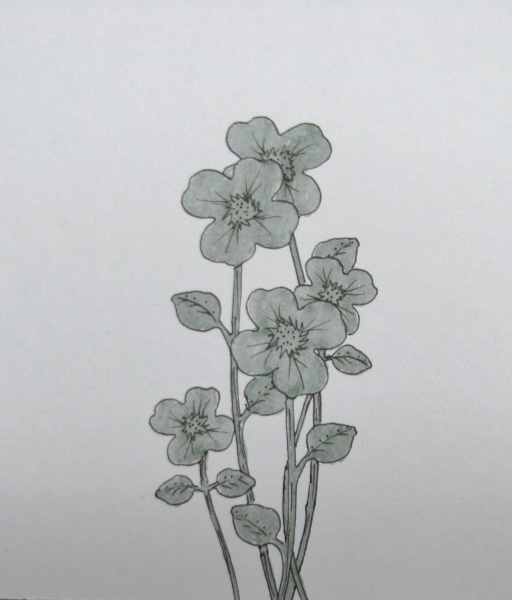
By banding in the same color as the marker and a simple sentiment stamped on white, this makes a calm card.
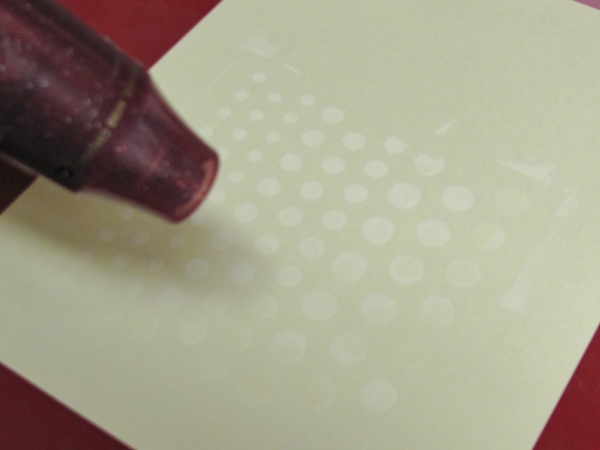
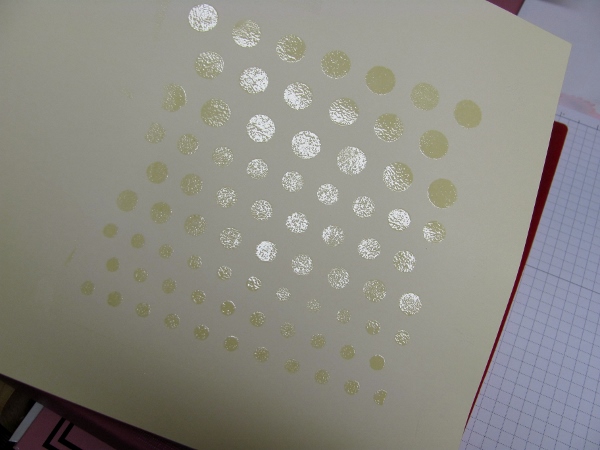
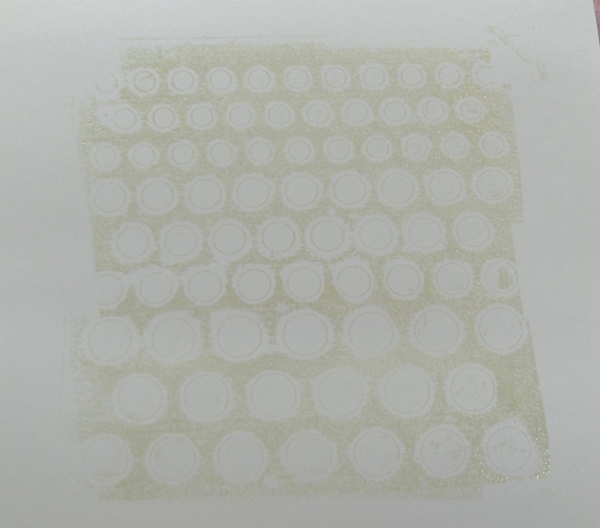
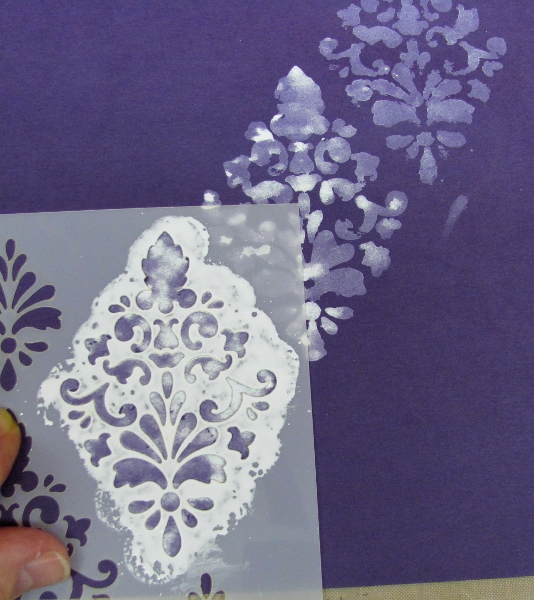
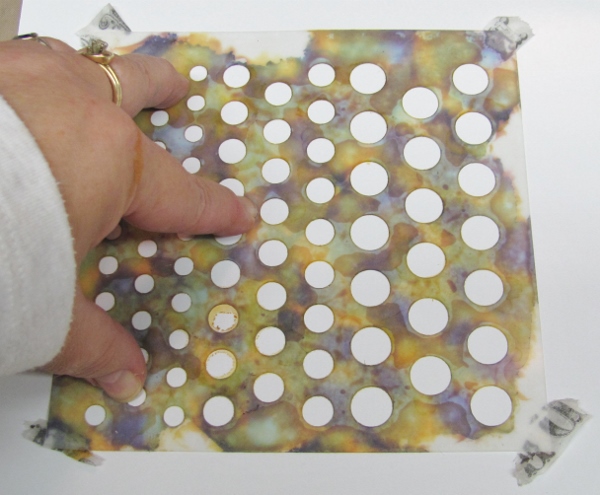
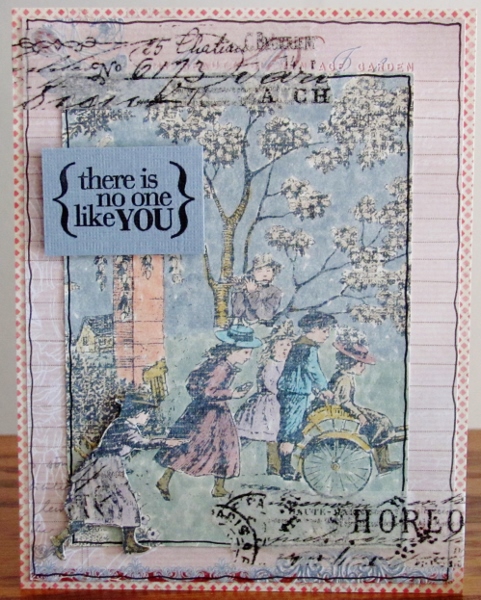
The other set of flowers on this stencil are daisies (or sunflowers). I decided to use Copic markers with the airbrush tool.
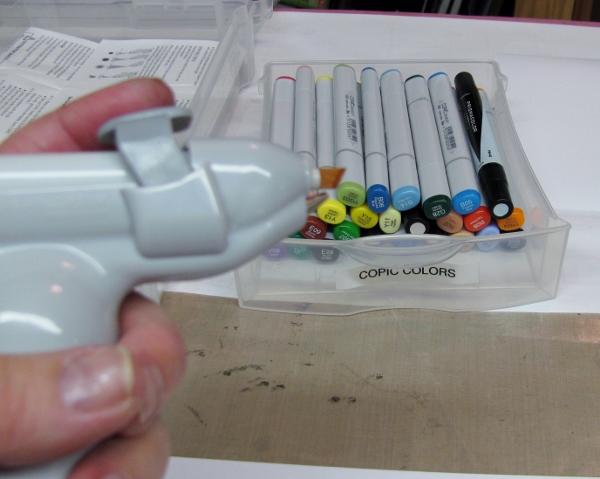
This requires a lot of masking so you don't get overspray into unwanted areas of the card. I used scrap cardstock and torn post-it notes.
I first laid the stencil where I wanted it and then masked around the area I was using. Then this area was sprayed with the air gun.
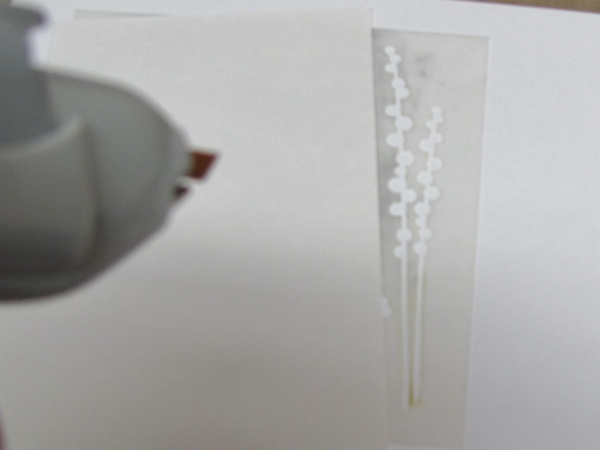
A new bloom was selected, placed, masked, and sprayed.
All of the blooms were applied and then the stems and leaves were added in the same manner.
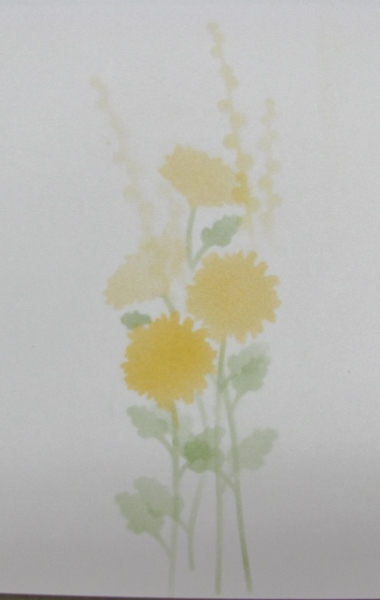
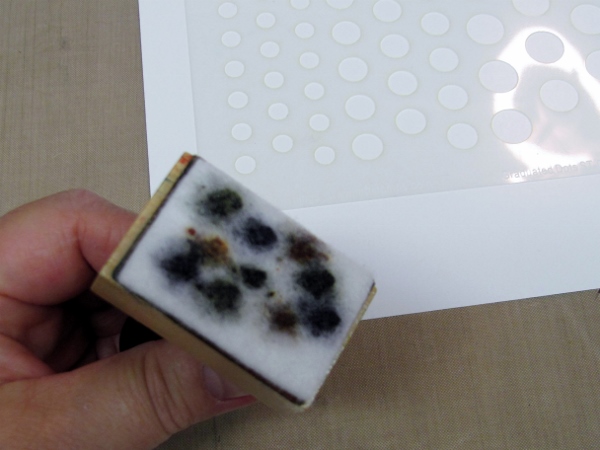
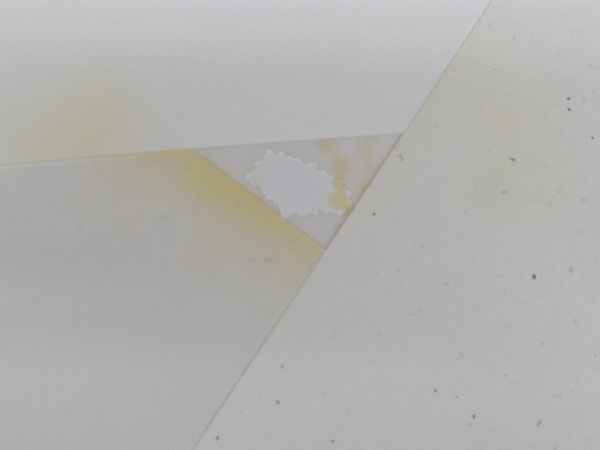
The Copic color from the spray is easily cleaned off the stencil with rubbing alcohol or Copic blender solution.
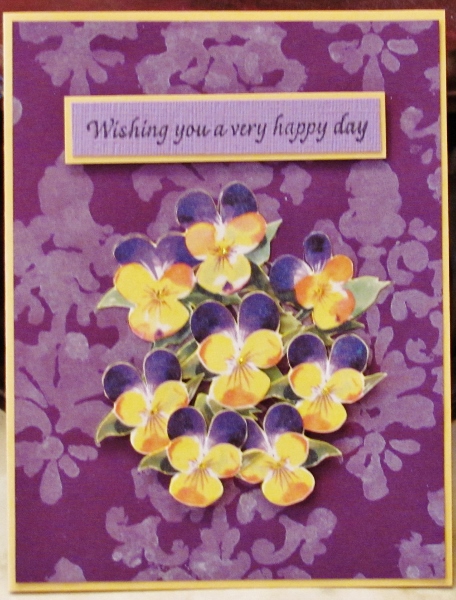
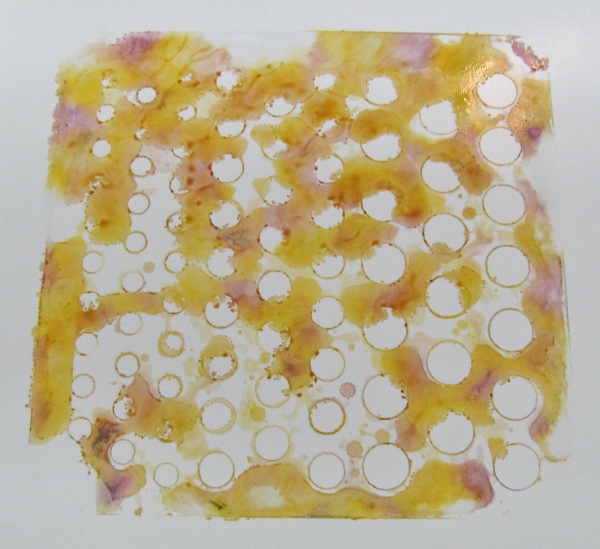
Since the floral arrangement was so tall I decided to turn this into a tall card. The sentiment was stamped on white cardstock and banded in yellow to match the flowers.

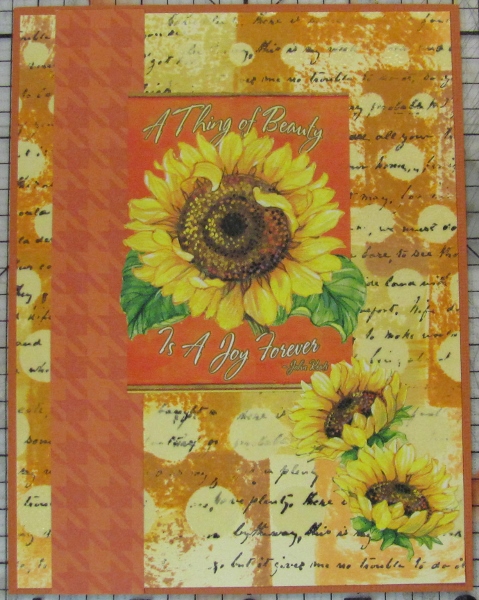
An elegant silhouette.
Ddd