« March 2016 »
S M T W T F S
1 2 3 4 5
6 7 8 9 10 11 12
13 14 15 16 17 18 19
20 21 22 23 24 25 26
27 28 29 30 31
You are not logged in. Log in
Entries by Topic
All topics  «
3D paperwork
A - Z challenge 5
A - Z challenge 7
A - Z challenge round 4
A to Z challenge round 3
A to Z round 2
A to Z round 6
A-Z round 1
Around the House
Art Challenges
Artist Trading Cards
Backgrounds
Beads
Bible Journaling
Books
Boxes
Collage
Color Challenge
Coloring
cookbook
Die Cuts
Digital Projects
Digital Stamps
Drawing
Dry Embossing
Fabric Stuff
Fantastic Folds
Field Trip
Home Decor
How Does Your Garden Grow?
Hymnal Art
In The Kitchen
In the studio
Jewelry
Lettering
Links
Multi-Technique
Music to Work By
Musings
Nail Art
New Work
Online Class
Other Hobbies
Other Projects
Painting
Paper Embroidery
Paper Piecing
Photo
Pretty Paper
Quilting
Random
reading
Scrap Recovery
scrapbooking
Sewing
Sketch Challenge
Some Backlog
Stamping
Stencils
Stickers
Supplies
Teabag Folding
Techniques
Testing
tips and tricks
Tutorial
Web resources
Welcome to my Blog
Work By My Friends
workflow
Writing
Blog Tools
Edit your Blog
Build a Blog
RSS Feed
View Profile
Group One
In & Out of Studio 3D
Thursday, 17 March 2016
Class - Serger Techniques
Topic: Field Trip

Since I bought a serger a couple of months ago, this was the one class I was most excited about. And it did not disappoint.

I have only sewn on standard machines so I am intimidated by my embroidery machine and my serger.

The instructor has taught lessons in Threads magazine so is quite knowledgable.

I took lots of notes on her very thorough handout:


And for this class, I DID go buy the book at her booth.

Her book includes a DVD so you get actual demonstrations of the process.


I am almost persuaded that I can get my serger out and have a go at it.

Ddd


Posted by studio3d@ccgmail.net at 12:01 AM PDT
Wednesday, 16 March 2016
Class - Style Show
Topic: Field Trip

The style show was one class that we didn't have to pay for.

One of the pattern designers was showing her line as it was made up in different fabrics and with different details.

She kept emphasizing that her patterns went from sizes 6 to 22 but all of the models were skinny!

She, herself, was a short chunky lady and she did bring some of her own clothing. But the model was tall so a button that went midriff on the designer came to the center of the breast on the model.

If somebody wants to sell me on a patter that looks good on short chunky people - let's see some short chunky models!


The pants on the model were very thin white fabric so every seam showed and you could see the color of her flesh through them - YUK!

Ddd


Posted by studio3d@ccgmail.net at 12:01 AM PDT
Tuesday, 15 March 2016
Class - Shop Your Closet
Topic: Field Trip

I have been seeing quite a few 'capsule wardrobe' posts on pinterest lately. Last spring I actually used this concept to put together a travel wardrobe for three weeks in the UK and was delighted with how well it worked.

Her concept is to start with what you aready own - weeding out whatever does not make you very happy wearing it. Then, when you have left only the pieces you like, decide which go together for mix and match outfits.

Start with 2 bottoms, 2 tops and a layering piece that all go together. Add accessories. Lay them out on a white sheet and take a photo. 

To expand, add another bottom or top that goes with some of the first pieces. Take more photos.

You will end up with a catalog of how all your clothing can be put together into outfits.


She suggests doing the same with your fabric stash - starting with a print, adding fabrics that go with it and expanding choices until you have enough for a quilt. She puts these togethr in project bags (along with a pattern if she has one selected).

Ddd


Posted by studio3d@ccgmail.net at 12:01 AM PDT
Monday, 14 March 2016
Class - Dynamic Totes
Topic: Field Trip

The class on dynamic totes focused on four ways to make the same purse - with her pattern.

She was ALL about the pleather (used for the base of the purse) and a specific brand of interfacing (that she sold in her booth).

Personally, I think pleather looks cheap - it is a plastic.


There are enough free purse patterns on the internet that I couldn't see investing in hers.

Ddd


Posted by studio3d@ccgmail.net at 12:01 AM PST
Sunday, 13 March 2016
Class - Stash Busting
Topic: Field Trip

I take Marti Michell's class every year because she always has new templates and sample quilts to show.

I don't own any of her templates but I'm fascinated by the instructions she has throughtout her catalog.


Many of her patterns and instructions can be duplicated with other standard rulers, though I have not done so yet.

Ddd


Posted by studio3d@ccgmail.net at 12:01 AM PST
Saturday, 12 March 2016
Class - Angles in Piecing
Topic: Field Trip

I was actually glad when I realized that I had taken this class before!

I remembered the first step but couldn't remember what came after that or why we did it. Couldn't find my old notes either.

Now I can use this information on how to create bias striped fabrics from strips and use them on quilts or as inserts in garments.


Yay! One class I found worthwhile.

Ddd


Posted by studio3d@ccgmail.net at 12:01 AM PST
Friday, 11 March 2016
Class - Fitting Yourself By Yourself
Topic: Field Trip

I was disappointed that the instructor, Peggy Sagers, only gave a very hurried rundown of the things she has taught on her PBS show Fit To Stitch.

Just let me say that I think someone else should listen to the class ant then write the title and synopsis in the catalog for these classes. 

She did NOT cover how to fit yourself by yourself! To me that means just me, myself and I trying to pin darts on the back of the muslin while it is on my body - without someone else to take the tucks.

Her solution... a full length mirror, a hand mirror, and taking the garment on and off till you like how it fits!


She also directed us to her patterns and whe booth SHE woould be in - but there were no patterns there.

Disappointing.

Ddd


Posted by studio3d@ccgmail.net at 12:01 AM PST
Thursday, 10 March 2016
Class - Upcycles
Topic: Field Trip

Another class I took at the Sewing and Stitchery Expo was titled Ultimate Upcycles.... really?

We had a slide show and some samples passed around. These were 99% pocket purses, handbags, etc. made from old jeans and leather coats that she gets at the thrift store.

There were a couple that I would be seen with but not much.

This is another where I have nothing to show for my time but a ticket stub:

If you are interested in her work, she has an upcycling board on pinterest.

Ddd


Posted by studio3d@ccgmail.net at 12:01 AM PST
Wednesday, 9 March 2016
Class - Mariner's Compass
Topic: Field Trip

The 'selling point' to this class was that we would learn how to make mariner's compass without paper piecing...

Um, yeah... the answer is to buy her rulers and book.

The finished compass is the appliqued onto the quilt front.

NOT INTERESTED.

That is why all I have to show for this class is the ticker I got in with!


At least I had a place to sit down for 45 minutes.

Ddd


Posted by studio3d@ccgmail.net at 12:01 AM PST
Tuesday, 8 March 2016
Pants and Slacks
Topic: Sewing

At the Sewing and Stitchery Expo I decided to get some patterns for pants. I had three pairs of thin fabric pants for travel last year but one pair was ruined when I fell. You think I could find them again... NO!

So I've decided to make them while applying things I have learned about fitting on PBS shows.


I also bought some pants elastic in white and black (for light and dark fabrics).

I will do the fitting and make 'muslins' for both patterns before buying my fashion fabrics.

Ddd


Posted by studio3d@ccgmail.net at 12:01 AM PST
Monday, 7 March 2016
Sewing and Stitchery Expo
Topic: Field Trip

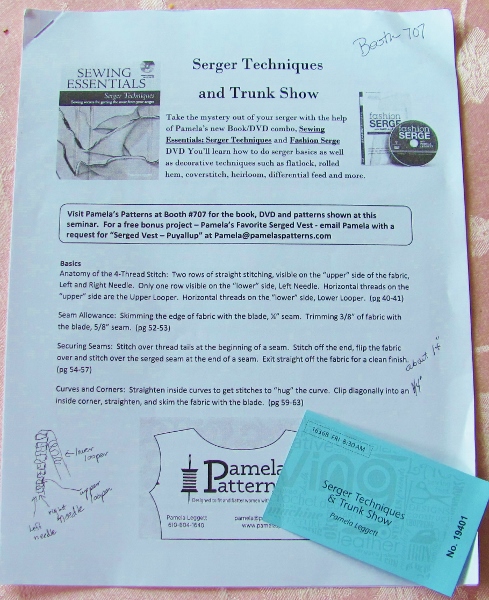
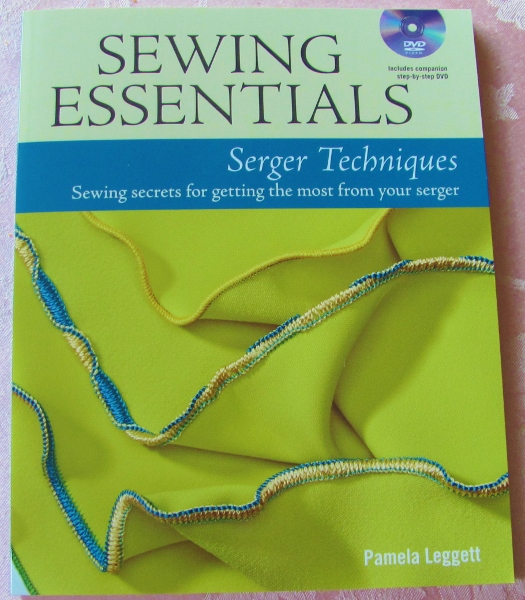
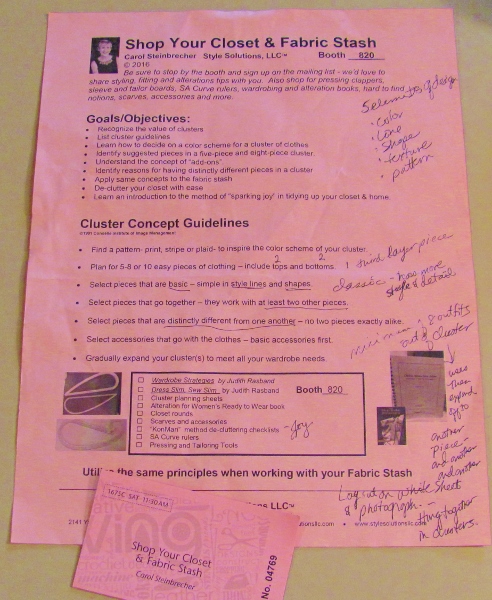
The 2016 Sewing and Stitchery Expo in Puyalup Washington has come and gone and a good time was had by all.


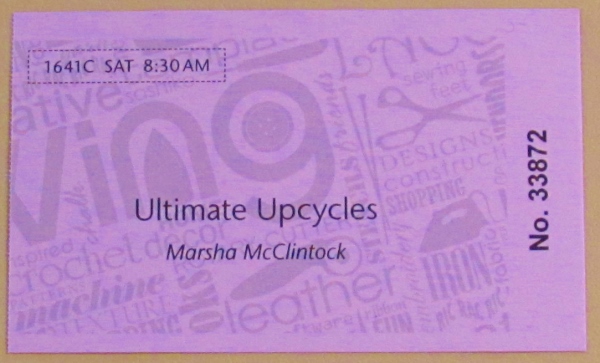
This year, eight ladies from our quilting group carpooled up and started in with classes right after noon on Thursday.

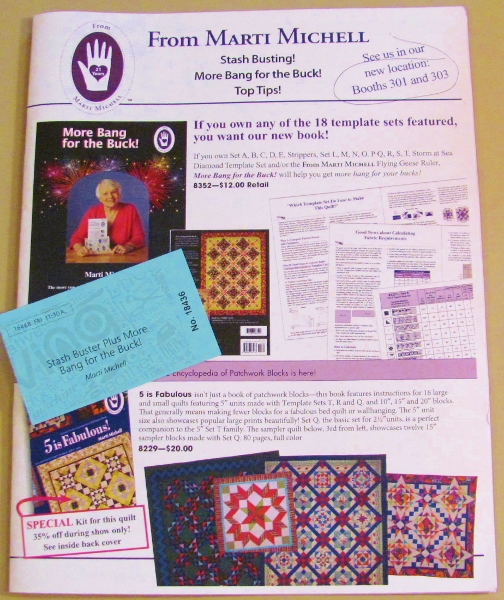
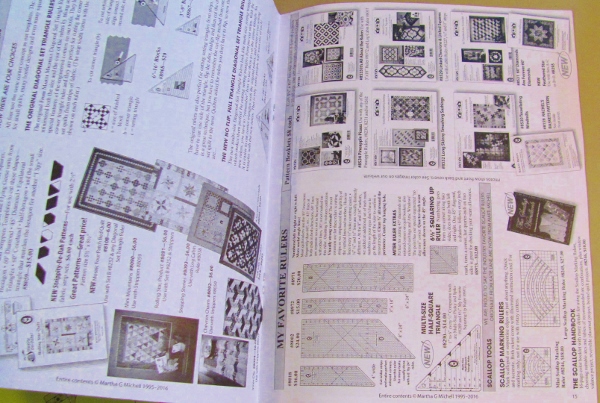
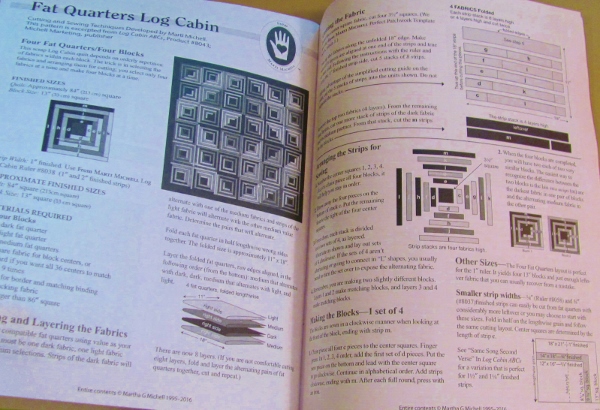
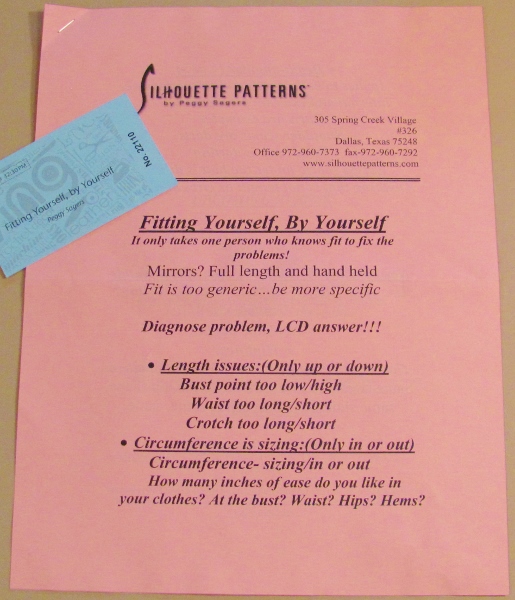
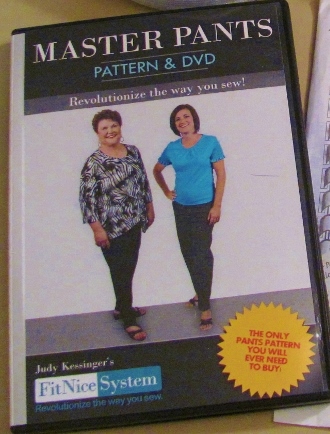
There was time for shopping between classes and I had a short list of things I wanted to pick up.

After our dinner (at the Chinese Buffet) we all meet in one of the hotel rooms for show and tell.

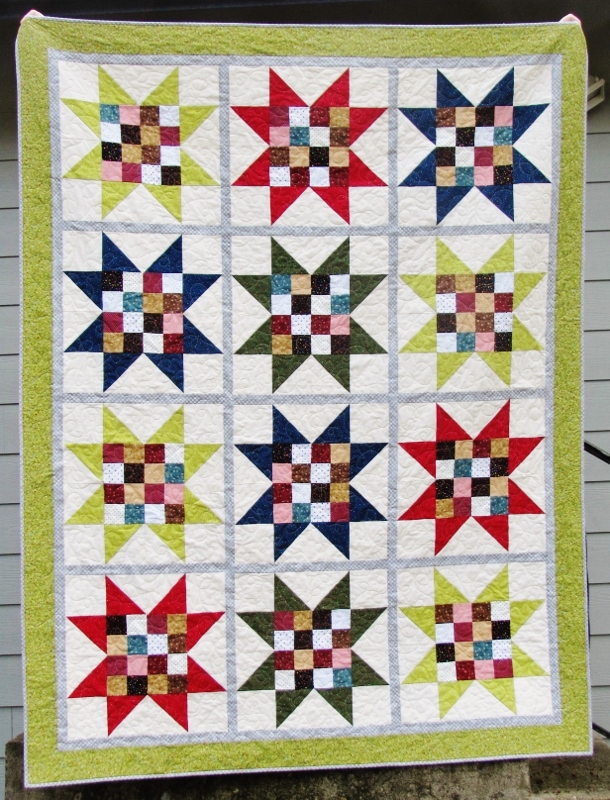
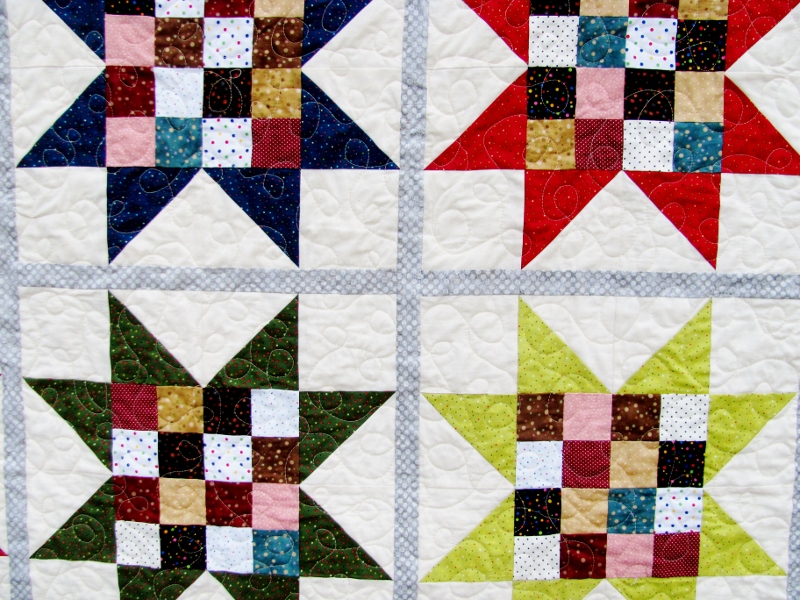
We share what casses we took and any especially neat techniques we learned from it. Then we share our purchases.

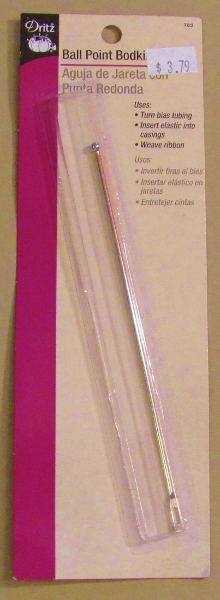
This year I picked up a bodkin which is used to thread materials (ribbon, elastic, etc.) into casings.

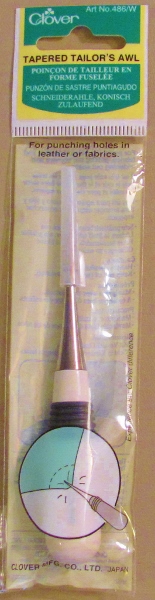
I picked up a tailor's awl which is used as a stiletto when sewing to keep fabric going straight and prevent the seams from flipping over the wrong way.


I got a hara marker which is a sharp edged plastic that, when drawn across fabric will create a crease. This can take the place of marking the fabric with pens or pencils.

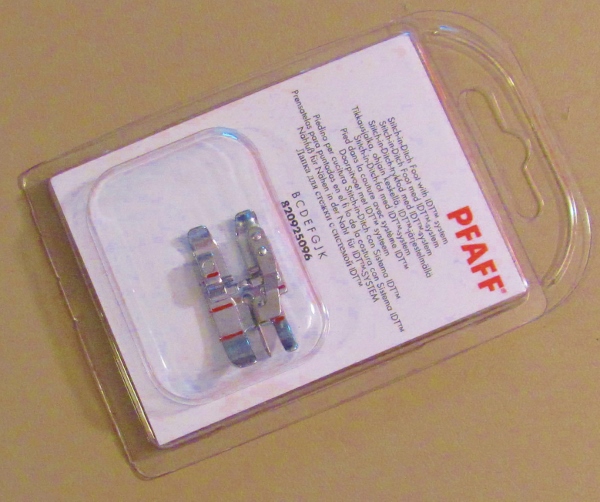
I bought a new foot for my sewing machine that has a 'blade' aligned with the needle, making it easier to stitch in the ditch.

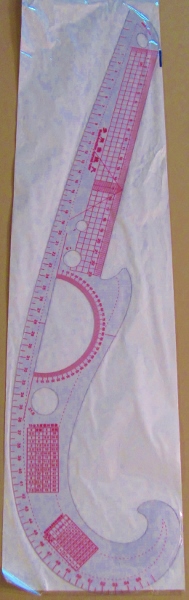
The last tool I picked up is a french curve. This is used to make smooth transitions in garment sewing (waist to hip, armhole, etc.)


I'm sure I'll 'need' something when I go back next year.

Ddd


Posted by studio3d@ccgmail.net at 12:01 AM PST
Sunday, 6 March 2016
Quilter's Fingers
Topic: Nail Art

I'm headed off to three days at a Sewing and Stitchery Expo out of state with a bunch of ladies from our quilting group. In addition, it was time for a new manicure.

MASHUP!

I decided to do some funky nail art and gave myself bright blue nails with yellow dots in a 'fabric' imposter theme.

Since I'm reading a quilting novel right now, too, I decided to include that in the photo-shoot.


Some fun, huh?


The blue polish is one I got at the dollar store. The yellow was 50 cents at a yard sale.

Ddd


Posted by studio3d@ccgmail.net at 12:01 AM PST
Saturday, 5 March 2016
Stars of the Polka
Topic: Quilting

I did not realize how many dotted fabrics I had used until I gathered up all the scraps to use in one quilt. I found a tutorial on the Missouri Star Quilt Company site that uses a 16-patch center in some traditional stars.

Along with my dots, I used muslin for the background fabric. I only needed to buy an additional dot for the sashings and for the backing and outer border.


I think there are 14 different dots in the 16-patches. The stars feature different colors of the same dotted print that I got in fat-quarters in a 'fabric-by-the-pound' bin.

Here you can see the quilting, which is loop-the-loop meandering using cream colored thread.


I am going to keep this one where it will live on the guest bed. It is the exact size of the queen mattress.


It's been nice to decide lately to keep some of these quilts for myself as, up to now, I have only made banners to keep. I now have spring, fall and Christmas quilts for decor as well as this guest throw. Hubby has the king dog quilt, too.

Hmmm, a blue winter quilt and a summer quilt for decor and I will be all set.

Ddd


Posted by studio3d@ccgmail.net at 12:01 AM PST
Friday, 4 March 2016
Everything's Coming Up Roses
Topic: Backgrounds

I'm still shaving cards off the stack of backgrounds.

This one was pulled after I added that 4th color to the mix so it has a brighter green feel than the last two (which were more teal).

I pulled some rose stickers that wre purple and peach and arranged them in a fall down the side.

The silver peel-off sentiment sticker overlaps the blooms slightly making the design look integrated.


The base card, though purple, is not nearly as bright as it appears. It actually matches the purple roses.

Ddd


Posted by studio3d@ccgmail.net at 12:01 AM PST
Thursday, 3 March 2016
Doily Decor
Topic: Backgrounds

The shaving cream backgrounds are back.

On the one I used today I added a peel-off sticker white doily as the centerpiece. I had a pink sticker of a grouping of roses that was placed in the center of the doily.

The base card I selected is pink to match the roses.


A silver peel-off word provides the sentiment.

Ddd


Posted by studio3d@ccgmail.net at 12:01 AM PST
Wednesday, 2 March 2016
A Little Bit Off the Top
Topic: Backgrounds

Remember those shaving cream backgrounds? I made some cards using them for backgrounds.

Today's uses some vellum pansy stickers over a paper set in landscape. A bit of white peel-off sticker trim and a silver peelloff sentiment sticker make it look very feminine.


The purple base card reflects the vellum pansies.

Ddd


Posted by studio3d@ccgmail.net at 12:01 AM PST
Tuesday, 1 March 2016
Color From a Tube
Topic: Painting

If you know art supplies you've probaably heard of Gelatos which are water soluble pigment in a stick form. They come in a holder that looks like a lipstick tube so you can hold it and smear/scribble it on the paper.

However, the ones I have are NOT name brand. They are some cheap version that I bought in a tourist gift shop at the coast. I used them one time, years ago, and then put them in a drawer for 'some other time'.

I couldn't remember what type of base I had used them on before but I figured, "water soluble = watercolor paper".

I made a pencil sketch using the magnolia stamp I used yesterday as a guide. Then I scribbled the crayons onto the various areas where I needed the color.

I used a flat watercolor brush to add plain water to one color area at a time and blended out the pigment. With the rough texture of the watercolor paper the wash areas (sky and ground) did not blend out smoothly.

After the whole piece was dry I went back with a permanent marker and drew in to define the outlines and sketch details. I used a bit of cross-hatching to create shadows.


I cut the image down and used colors from it to build borders and added a black peel-off sentiment sticker.

Ddd


Posted by studio3d@ccgmail.net at 12:01 AM PST
Monday, 29 February 2016
Look Ma! No Lines!
Topic: Painting

I had another image on watercolor paper stamped with scattered straw ink. This was done with masking as the actual stamp only has one flower on it.

I continued on with the no-line watercolor technique, mixing my own greens and adding a blue wash for the sky.

I added a bit of pink to the petals and used paynes gray for shadows.

I trimmed into the blossoms to create more impact as it makes them appear larger when they won't fit in the frame.

I bordered the painting with gray and pink thenlayered it on green - picking up colors from the image.


I added a silver script sticker for text.

Ddd


Posted by studio3d@ccgmail.net at 12:01 AM PST
Sunday, 28 February 2016
All Drawn Out
Topic: Drawing

I have been doodling for as long as I can remember. It got me in trouble when I was in grade school as I used to use up my tablets with doodles instead of with my practice of printing and arithmetic.

In class lectures in high school and college I had just as many doodles in the margins as I had notes. Fortunately, I could look at what I had drawn and remember what the teacher had been talking about.

Later, sermon notes included many little designs that later became cards or scrapbook page sketches. 

I am not one to carry a sketchbook along with me (just one more thing for an already heavy purse) so I don't sketch much 'on the fly'.

I do have a sketch pad that I can use when I intentially sit down to do some doodles, though.

I use an eversharp number 2 pencil because I can't stand the way regular pencils get dull so fast. I use a Mars eraser as it is easy on the paper surface. 


When I have a doodle or sketch I like I use permanent marker to ink it and then erase the pencil lines.

These get clipped out and filed for future reference.

After refining further, they might be turned into a sketch for a card, a rubber stamp to carve, or a watercolor design.

Ddd


Posted by studio3d@ccgmail.net at 12:01 AM PST
Saturday, 27 February 2016
A Close Shave
Topic: Backgrounds

One of the groups I am on issued a challenge to use the shaving cream technique to create backgrounds and use them to make a card.

This is what is needed to do the shaving cream background:


Besides the tray, reinkers, shaving cream and a skewer you also need some cut pieces of white cardstock to 'print' on and some paper towels for cleanup.

To begin, you spray the shavig cream into the tray and flatten it out with the skewer. Then you drip reinkers onto the cream and use the skewer to swirl it around. The cardstock is pressed onto the surface, lifted away and wiped off with the paper towel.

What is left behind is a marbled-look pattern on the cardstock surface.

It works best to use harmonious colors of reinker so you don't get 'mud'.

The first few 'pulls' may have ink that is too dark - mine did - but the more it is stirred and printed the more muted the ink will become.

Here are mine:


When the patterns were too subtle, I added another color of ink:


I ended up with 10 sheets of cardstock off of one shaving cream tray. LOTS more cream in the can so there is hope for more to come.

Ddd


Posted by studio3d@ccgmail.net at 12:01 AM PST

Newer | Latest | Older