« March 2017 »
S M T W T F S
1 2 3 4
5 6 7 8 9 10 11
12 13 14 15 16 17 18
19 20 21 22 23 24 25
26 27 28 29 30 31
You are not logged in. Log in
Entries by Topic
All topics  «
3D paperwork
A - Z challenge 5
A - Z challenge 7
A - Z challenge round 4
A to Z challenge round 3
A to Z round 2
A to Z round 6
A-Z round 1
Around the House
Art Challenges
Artist Trading Cards
Backgrounds
Beads
Bible Journaling
Books
Boxes
Collage
Color Challenge
Coloring
cookbook
Die Cuts
Digital Projects
Digital Stamps
Drawing
Dry Embossing
Fabric Stuff
Fantastic Folds
Field Trip
Home Decor
How Does Your Garden Grow?
Hymnal Art
In The Kitchen
In the studio
Jewelry
Lettering
Links
Multi-Technique
Music to Work By
Musings
Nail Art
New Work
Online Class
Other Hobbies
Other Projects
Painting
Paper Embroidery
Paper Piecing
Photo
Pretty Paper
Quilting
Random
reading
Scrap Recovery
scrapbooking
Sewing
Sketch Challenge
Some Backlog
Stamping
Stencils
Stickers
Supplies
Teabag Folding
Techniques
Testing
tips and tricks
Tutorial
Web resources
Welcome to my Blog
Work By My Friends
workflow
Writing
Blog Tools
Edit your Blog
Build a Blog
RSS Feed
View Profile
Group One
In & Out of Studio 3D
Thursday, 9 March 2017
When The Bough Breaks
Topic: Quilting

When Pinterest popped up with a picture of a Swoon Block I immediately envisioned it as a single big block for making a baby quilt.

I had identical fabrics in three colors. (Color rendition is poor as they are actually cream, steel grey and shell pink.) This is 40 inches square made up of 4-inch units.


Because of the little branches printed on the fabrics I used an embroidery stitch of leafy vines for quilting. I used the stitch to outline every block of color and separate the border from the block. I also used it to hold down the binding.


The backing uses the same shell pink fabric.

Ddd


Posted by studio3d@ccgmail.net at 8:07 PM PST
Tuesday, 28 February 2017
Flower Girl
Topic: Quilting

Three baby quilts in a row? What's up with that?

Our church donates to a local pregnancy clinic (Hope 360) and our quilt group that meets at the church makes donation quilts for them to give the new babies.

We have made Passages quilts for the local hospital for several years but Hope 360 is only a couple years old. Other ladies in our group have already donated several baby quilts but I had never done so. I decided to make some and, since I didn't have other projects waiting, I quickly finished off three of them.

The quilt today is from a tutorial by the Missouri Star Quilt Company. They called it 'Dizzy Daisies'. 

In the tutorial, they used a line of fabric that was quite subdued in coloring. I wanted to go bold and bright. I chose, from my stash, 5 bright pinks, 4 bright oranges, bright yellow, bright green, bright turquoise and crisp white.

The petals of the flowers start out as 5-inch squares and are snowballed on three sides - two white and a yellow - using 2 1/2 inch squares. Then these are joined together with the yellows together to make the flower.

The blocks were joined with 2 1/2 inch white sashing with green cornerstones. Then the turquoise border was added - also 2 1/2 inches wide.


I quilted the orange flowers like daisies (all of the flowers got spiral centers):


The pink flowers got rose-type petals:


The vertical sashing was quilted first with vines and leaves. Then the horizontal sashing got rows of tiny flowers:


The turquoise border has dragonflies printed on it so I just quilted with loop-the-loops down the length.

The binding matches the border and the backing is green flannel.

Ddd


Posted by studio3d@ccgmail.net at 5:40 PM PST
Saturday, 25 February 2017
Sweet Pea Weave
Topic: Quilting

A quilting supplies catalog arrived in my mail box just as I was looking for a pattern to make another baby quilt. One pattern looked very complicated but the notes at the bottom said it was only three blocks and showed them. All were made from squares and half-square triangles and only five fabrics required: black, a dark and a light of color one, a dark and a light of color two.

Well, I did some calculations to see what size of blocks and building units it would take to make a baby quilt between 36 to 40 inches. I cut all the units to finish at 2.5 inches. Therefore the blocks would be 7.5 inches.

Then I went off to find fabrics and was delighted to run across a set of fabrics I bought to use together and they met the criteria precicely. I had a black with tiny roses, a tone-on-tone dark green with leafy shapes, a light green with sweet peas, a dark pink with open flowers and a light pink with small white flowers.

I calculated the number of each unit I needed and cut/sewed them. Then the blocks were assembled. I needed 13 of one block and 6 of each of the other two blocks and they lay out in a 5 x 5 grid.

The assembly that makes all the cane weaving look requires that there be no sashing between the blocks.

Ready?


Don't you love it?

I used a light green flannel on the back and did large meander quilting.


A border around the outside would have broken up the pattern so I just finished it with a binding in the black floral.

Finished size is 38 inches.

Ddd


Posted by studio3d@ccgmail.net at 3:17 PM PST
Friday, 24 February 2017
Picking Up the Pieces
Topic: Scrap Recovery

When I heard of the sudden devastating loss of a friend's husband I wanted to send a sympathy card to her right away. In looking through my supply of cards I found I had none suitable.

I started picking up random scraps from the bins on my desktop and thumbed through a couple of pads of printed vellum sentiments. The pieces I settled on were: an embossed black cardstock from which I had sometime punched a heart, a strip of dotted paper, a narrow scrap of grey paper, a lightly patterned paper, a diecut square frame, a vellum sentiment and a torn strip of text-printed tissue paper.

I arranged and shuffled until I came up with this arrangement and then adhered everything together on a folded white card base:


I loved how the dotted strip exactly fit into the heart opening. I also love how the tissue text ends with the words 'by heart'.

After 49+ years of being together, this sets the perfect tone for what I wanted to express to the widow.

Ddd


Posted by studio3d@ccgmail.net at 9:10 PM PST
Wednesday, 22 February 2017
Baby Buggy
Topic: Quilting
This is my first quilt for Hope 360 Pregnancy Clinic. It is 40 inches square.

I got some pieced blocks from a warehouse sale, all packaged together and made of solids. Each block was different in pattern and mostly in colors. I don't know if they were assembled for a demo, a sampler, a class or something else? There were just these 5 in the pack, all stitched up into 8 1/2 (unfinished) blocks.

I found a salmon with tiny dragonflies that matched some of the solicd and added in a grey marble that matched some of the dragonflies. The only consistent color in the pieced blocks was a dark blue/grey so I bought a yard of solid as close to that as I could find.
 

I quilted overall with large meander.


Then I quilted the borders with dragonflies.


It is backed with flannel.


Some of the colors in the backing are similar (but not identical) to the solids on the front.

Ddd


Posted by studio3d@ccgmail.net at 12:37 PM PST
Wednesday, 15 February 2017
Garden Maze
Topic: Quilting

Final Finish!

I am officially caught up with all of my UFO quilting and sewing projects. 

The fabrics for this quilt were pre-cuts from a fabric line featuring a garden theme. There weren't enough strips for the pattern so I added in a few from my stash and also provided the creamy background and border from the stash.

The pattern is from a book on quilting with precuts and I cut it down considerably to end up with a lap quilt size.


I quilted with an over-all pattern of vines and leaves. I love using this when I am working with garden or flower fabrics.


I won't stay without projects for long though. I already have fabrics and patterns set aside and can't wait to get cutting again. And then there's that big fabric sale going on this weekend....

Ddd


Posted by studio3d@ccgmail.net at 11:54 PM PST
Tuesday, 14 February 2017
Tropical Twist
Topic: Quilting

ANOTHER FINISH! I'm on a roll now.

I did a repeat of the Twizzle pattern used for Pixie Sticks - this time using Teal, Green and Purple. This gave it a tropical look to me leading to the name 'Tropical Twist'.

I gave this one a wide border matching the background and used that for the binding as well. This makes the pattern float above the background.


Here is the background fabric. It reminds me of coconut husk so fits the tropical theme.


Because of the pattern on the background it did not lend itself to the converging lines quilting that I used on the other quilt. So I just did stitch in the ditch quilting and called it good.

This quilt will go to the hospital Passages program.

Ddd


Posted by studio3d@ccgmail.net at 8:14 PM PST
Saturday, 11 February 2017
Pixie Sticks
Topic: Quilting

Today was an all day (9 am to 4 pm) quilting session at the church. We do this two Saturdays a month September through June.

My project for the day was to work on quilting one of my donations quilts that will go to the hospital's Passages program.

The pattern I started with was a free download from Craftsy.


Although it was designed with four sections of color running top to bottom I didn't want mine to be that big so I cut only three colors. When I laid them out in these vertical bars I didn't like it so I mixed the colors all together.


This has such a modern, graphic look that I decided to quilt it with converging lines running top to bottom. It really reinforces the modern look.


The name came about because these colored bars remind me of those sugar-filled straws that children so love.

Ddd


Posted by studio3d@ccgmail.net at 5:57 PM PST
Thursday, 9 February 2017
Art Deco Dreams
Topic: Quilting

I've been working hard on getting caught up with quilt projects that just need the quilting and binding done.

The one I finished today was made from a pattern I tore out of a magazine soon after I started making quilts. When I bought the main fabric with those swirls of teal and brown I went right for this pattern even though it was featured in purple and black. 

This is actually a very simple pattern - one big block in the center with 4 snowballed corners - 8 squares around the sides with one snowballed corner each then joined into pairs - 4 squares in the corners. I alternated between the teal and the cream in placement.

The sashing in stripe has all the other colors in it and I used the same brown in the cornerstones as the snowball corners.


When I was ready to quilt I designed some art deco corners and a scalloped center motif. I made 36 copies of the line art. I would pin one into a corner and free-motion stitch through the paper and then tear it away. It took a lot of practice to figure out how to stitch the corner without too many back-tracks.

I did the same with the centers.


I am now down to 3 'Works In Progress'.

Ddd


Posted by studio3d@ccgmail.net at 6:20 PM PST
Friday, 3 February 2017
Grand Floral Parade
Topic: Quilting

Some quilts I absolutely fall in love with before I even start stitching on them. That was the case with this one - just because the fabric was so yummy!

I bought a wide stripe black floral from the bargain bin and realized that at home I already had a black with little rosebuds that would look great combined with it. Once I found a pattern I liked, I chose the yellow, green and coral in the florals and in my stash. I added in a white with tiny dots in yellow and coral for the background.

Before I even started sewing this, I realized I had enough of the floral, yellow and green as well as the rosebuds and big florals to make another quilt and cut this one to sew up (showed back on August 14, 2016):


So, I got sidetracked and made several other quilts along the way but I finally got around to finishing up this originally cut one!

You'd hardly know they were the same fabrics, would you?


The coral and white really changes the feel of it.

In the original wide stripe fabric there was a funky separating stripe running lengthwise. I cut that 2 1/4 inches wide and used it for the binding.


For the first time, I bound from back to front so I could topstitch the binding. This left the back binding with a narrow black stripe that helps separate it from the large orange polkadot backing.

I call this one Grand Floral Parade because the large blossoms remind me of the Rose Festival.

Ddd


Posted by studio3d@ccgmail.net at 7:32 PM PST
Tuesday, 31 January 2017
Le Jardin En Provence
Topic: Quilting

I finished my New Year's Day mystery quilt from Bonnie Hunter (Quiltville) today. She calls this pattern En Provence for the colors she witnessed when she travelled there last year.

I kept her color scheme and dug deep into my stash for the colors I needed. She had designated Sherwin-Williams paint colors to set the palette and I used their ColorSnap tool on my phone to create a color bar for reference.


I could carry this right to my drawers and pull fabrics to build the scrappy units. Totally scrappy is SO not my style but I persevered and I am happy with the result.

The cutting and sewing of units were clues released over the course of several weeks - x number of neutral 4-patches, x number of tri-recs squares in dark purple and neutral, etc. I made only 9 of the 16 blocks she designed it for so I was making half the stated number of units for both the blocks and the sashings (which make up the magenta stars).

When she got to the reveal I counted the actual number of each type of unit and made enough of each to fill out the design.


I used different free-motion quilting on various elements: stalks of lavender through the purple chains -


roses, leaves and vines in the yellow block areas -


leaves and vines along the borders -


and echo quilting on the magenta stars -


The backing is purple marbled fabric and I added a binding of dark purple.


This is the final look showing the full layout:


Though the units were scrappy the top is not random. I worked very hard on the layout so that identical fabrics would not end up smack against each other. I also tried to alternate the darks and lights in the neutrals of the borders.
 
I am pleased! And I am keeping this one for myself.
 
Ddd


Posted by studio3d@ccgmail.net at 3:18 PM PST
Monday, 30 January 2017
Bible Journaling - Isaiah 35:1
Topic: Bible Journaling

I'm so glad I discovered this form of art. I had read a lot about art journaling and viewed others' work but the multi-media, and mostly abstract, stuff I was seeing was just not speaking to me.

Then I saw some Bible artwork by Sandy Allnock (she used to run Operation Write Home for whom I made cards for servicemen) and knew I had found the focus I wanted.

The key for me is that I have a verse in mind and can draw artwork specifically for that page. It doesn't have to be frame-worthy nor does it have to be hidden away in an art journal with other random art. It has purpose - a devotional focus.

I experiment with lettering styles that I would have no reason to study were I not trying to marry the text to the illustration.

For this page I reflected on Isaiah 35:1.


I wanted to illustrate the profusion of blossoms so drew (from memory) a wide variety of flowers. I also made the desert cactuses bloom in the mid-ground.

I searched a font library for 'flower fonts' and sketched several to use, repeating them down the text for continuity.

I came upon this scripture by thumbing through the concordance in the back of my Bible the other day. I'm going entry by entry making a note of phrases that evoke an illustration in my mind. In the first session of this cataloging I have reached the middle of the 'C's.

Ddd


Posted by studio3d@ccgmail.net at 12:01 AM PST
Sunday, 29 January 2017
A Walk In the Woods
Topic: Quilting

I signed up for a mystery quilt for New Year's Day.

Prior to the day of, we were provided with guidelines on selecting 6 fabrics that would contrast and blend well in the pattern and how much of each to have on hand.

Then, over several days we were given cutting instructions for various colors and instructed on labeling them.

On New Year's Day the designer released instructions every few hours - 'stitch A1 squares to B2 triangles to create X number of usits that look like this' (for example).

Of course, nobody could actually sew as fast as the instructions were published as many steps were time-consuming or complicated.

It took me about a week to finish, including layout and assembly of the quilt top. I then had to wait for the next quilting get-together at the church to use the big tables to sandwich the quilt. That caused another delay as bad winter weather cancelled the first scheduled session.

Finally, I got it all together and then this week I got to quilt it. I did this with loopy vines and leaves all over the top.


The name fo this quilt has a two-fold origin. One is the arrows pointing this way and that over the pattern. The other is the fabric selection.

You can see in this close-up that there is a leafy forest floor, a wood grain and a sweet little country plaid. I also used a green and a blue as well as a dark brown with gold circles.


I used the dark brown for the backing and the little plaid for the binding.

On to the next.

Ddd


Posted by studio3d@ccgmail.net at 1:21 PM PST
Wednesday, 25 January 2017
Bible Journaling - Matthew 10:31
Topic: Bible Journaling

When I have read through this section of scripture in the past, I have always zeroed in on the phrases 'the hairs of your head are numbered' and 'fear not'. This time I wanted to focus on the fact that God treasures us and finds us to be of great worth to himself.

I looked up photos of sparrows on the internet to get their shape and coloring right. I wanted to make sure they looked like sparrows and not like robins, hawks or parrots! Good photo reference is essential.

I had just thumbed through a book on botanical drawing and took a few photos from the back pages. In that, I studied the structure of a branch that I could incorporate into the drawing for the birds to perch upon.

I drew with a pencil, traced with fine-line pen, erased the pencil lines and added colored pencil to the drawing.

Various lettering styles were pencilled in, inked and colored before I added lots of doodle swirls and colored them.


I used my favorite color to lightly color the sky as my finishing touch.

Ddd


Posted by studio3d@ccgmail.net at 2:23 PM PST
Friday, 20 January 2017
Bible Journaling - Zephaniah 3:17
Topic: Bible Journaling

I trolled Pinterest for Bible Journaling ideas when I first started and have combined several for this scripture. Some used the keyboard or the staff for other scriptures.

The roses were sketched in from memory of some I once saw. I used the lines in the journaling border as a guide to drawing the keyboard - very handy. I looked up 'treble clef' to get the shape and shading right.

The handwriting on the scripture is my own and I used notes for all the dots over the 'j' and 'i's.

My extra-fine line pen is getting low on ink so I moved up to a wider tip for the inking. It lends more weight to the drawing over the coloring.

The colored pencil work was used primarily on the roses, leaves and goldenrod, but I did use some smudged color on the staff, treble clef and scripture.


You'll also note that I started dating the artwork above the reference at the top of the page. I went back to my already-posted pages and added the dates on them as well.

Ddd


Posted by studio3d@ccgmail.net at 9:18 PM PST
Monday, 16 January 2017
Bible Journaling - Philippians 4:8
Topic: Bible Journaling

As soon as I started considering this scripture for Bible journaling this was the image that popped into my head (no pun intended). I had to do some searching to find a reference photo for it as I could not remember what it was called.

"Phrenology [from Wikipedia] is a pseudomedicine primarily focused on measurements of the human skull, based on the concept that the brain is the organ of the mind, and that certain brain areas have localized, specific functions or modules. Although both of those ideas have a basis in reality, phrenology extrapolated beyond empirical knowledge in a way that departed from science." The phrenology head is a kind of 'map' to the mind that these people used.
 
I searched and found several models of this and used one as the basis for a rough drawing in my sketchbook several weeks ago. When I decided to do this scripture today I worked only from that drawing and basically redesigned the head to sketch into my Bible. The key elements carried over from the original were the dividing lines on the top of the head designating the various areas.
 
The second reference I used was on drawing scrolls, which I had photographed into my phone from a drawing book. I also looked up font references on how to draw and shade chiseled lettering.
 
Next, I wrote the 'thoughts' from the scripture into the areas outlined on the head.
 
With these items sketched in place with pencil, I was able to ink in the scripture and the illustration and finish with colored pencils.

I made the colored areas match the lettering on the scroll, used a variety of greys to shade and model the head, and did the same for the scrolls.


Because the phrase 'whatever is' was repeated over and over in the scripture I turned it into a simple bulleted list with this phrase as the header.

I put the reference into a 3D box to mimic the sculptured head.

Ddd


Posted by studio3d@ccgmail.net at 12:54 PM PST
Saturday, 14 January 2017
Bible Journalling - Psalm 119:105
Topic: Bible Journaling

This will be a scripture that is familiar to most, although I learned it in the KJV when I was a child and this version sounds 'not quite right' to my ear. But since I am doing my work in an NIV Bible I stick to that in the art and quotes.

I first drew the lantern in a sketchbook and then looked up a photo to see where I had gone wrong. It was mostly right, though I had forgotten those supporting bars along the outside.

After the lantern, I drew in the path and followed that by the various roadside materials.

The lettering is my own invention, too.


I went back to a single page illustration as this called for a more vertical layout.

Ddd


Posted by studio3d@ccgmail.net at 5:33 PM PST
Wednesday, 11 January 2017
Bible Journalling - Psalm 139:17-18
Topic: Bible Journaling

Ooooh, I love it when a project comes out exactly like I planned it!

Last time I had my Bible journalling out I made a note of several scriptures I wanted to illustrate and did some rough pencil sketches in a notebook. So, when I got ready to work today, I already had a starting place.

I selected Psalm 139:17-18 to illustrate with a beach scene.

As usual, I completed the sketch in the Bible with fine-line black pen and used colored pencils to finish it.

I don't know why the photo does not show it, but on the lettering (the wider parts) are double lines with purple colored between them to match the distant hills.


This was drawn and colored completely from the imagination. The only reference I used was a look-up of a photo of a sandpiper so I could get the pose correct.


I added lots of little dots around the critters and around the last words in the quote, "the grains of sand", to join them to the illustration.

Ddd


Posted by studio3d@ccgmail.net at 9:06 PM PST
Saturday, 31 December 2016
2016 Wrap-Up
Topic: Multi-Technique

And so ends another year...

This year, instead of reviewing only my 10 favorite projects of the year, I decided to compile a list of accomplishments for the year on the blog.

First I ought to point out, as a reminder, that this was the year I stopped creating art to 'feed the blog' and started using the blog only as new art was completed, letting it happen in its own time. This began the first of June just as I had completed 9 years of posting art daily. It was a milestone moment and I chose to make the change that would allow me to relax a bit and let the art develop on its own schedule. The result was 69 blog entries June-December rather than the 217 that it would have taken to fill every day. I like it!

So, what did I do with all that time?

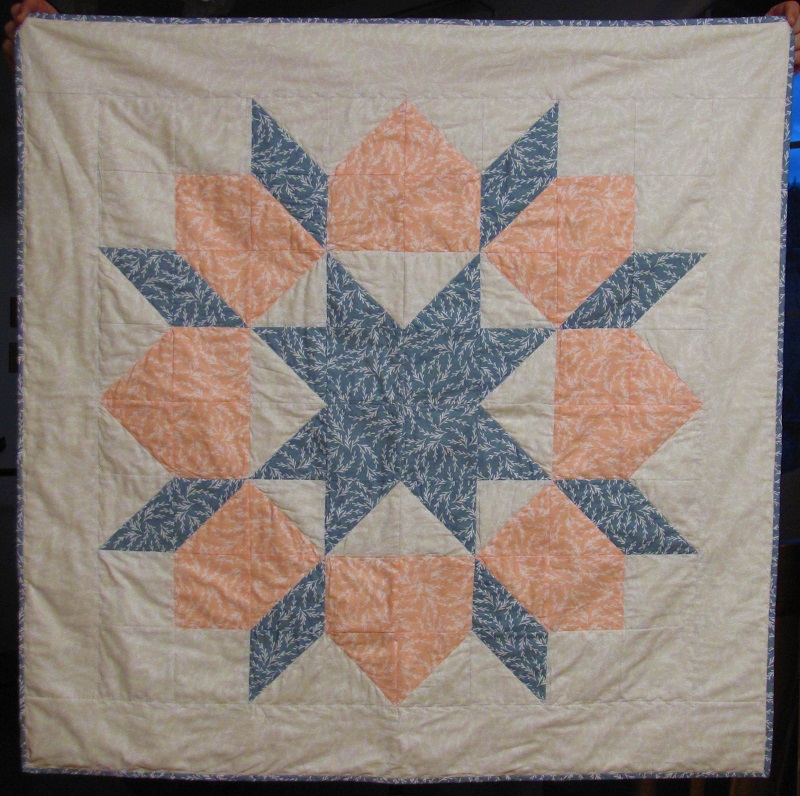
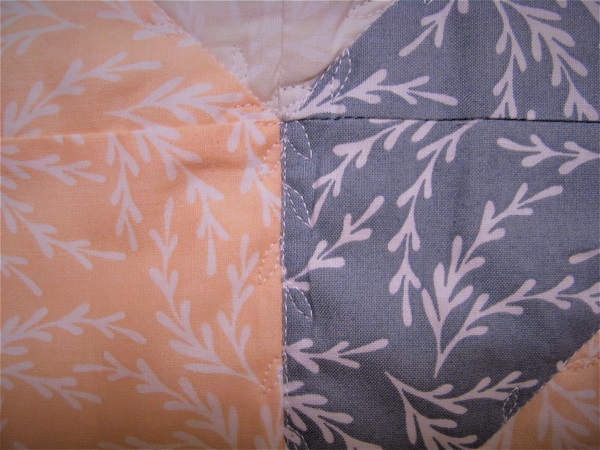
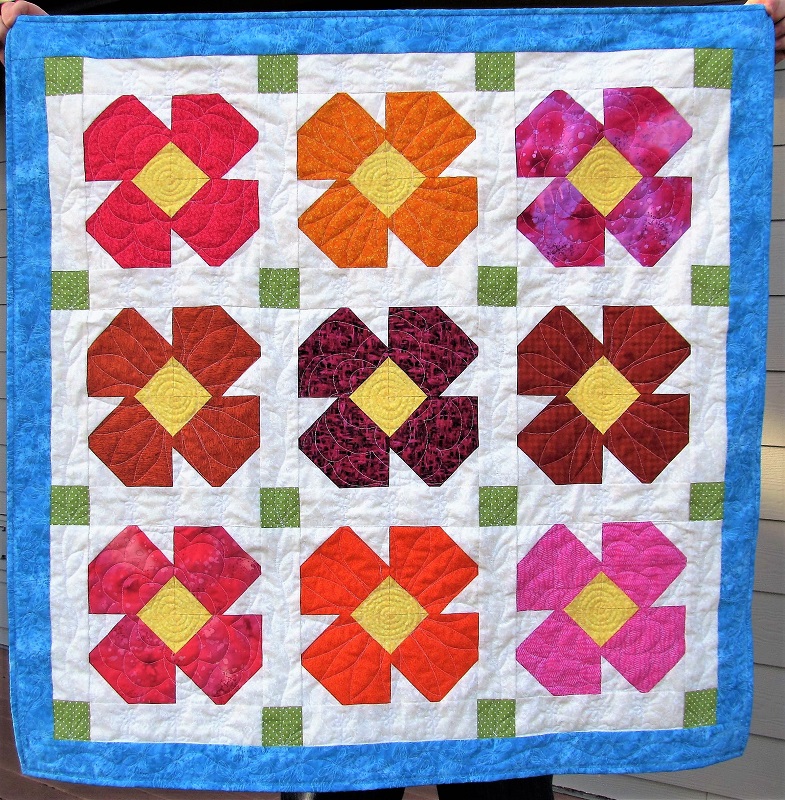
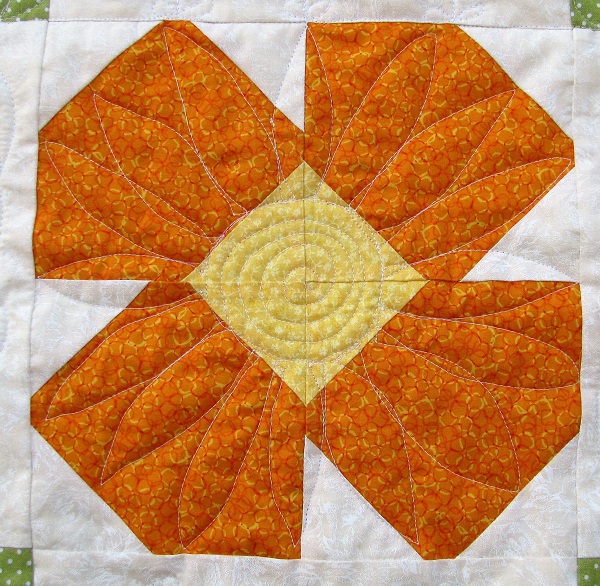
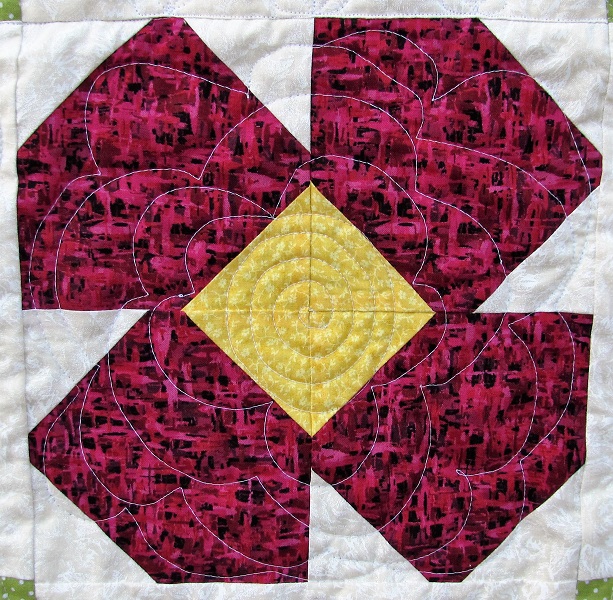
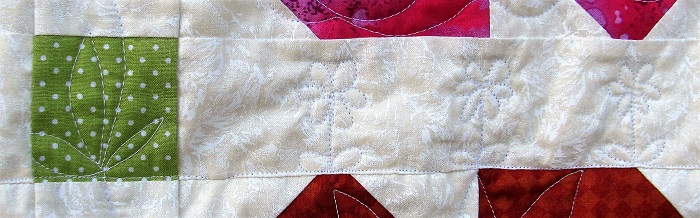
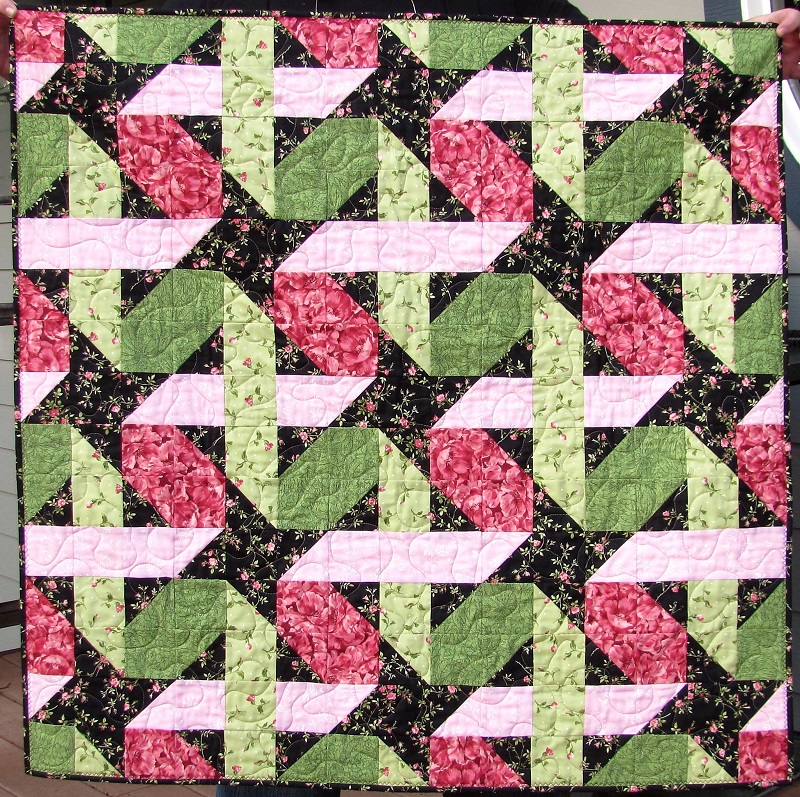
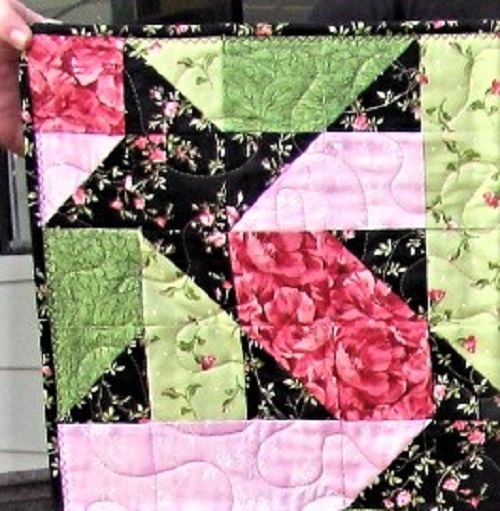
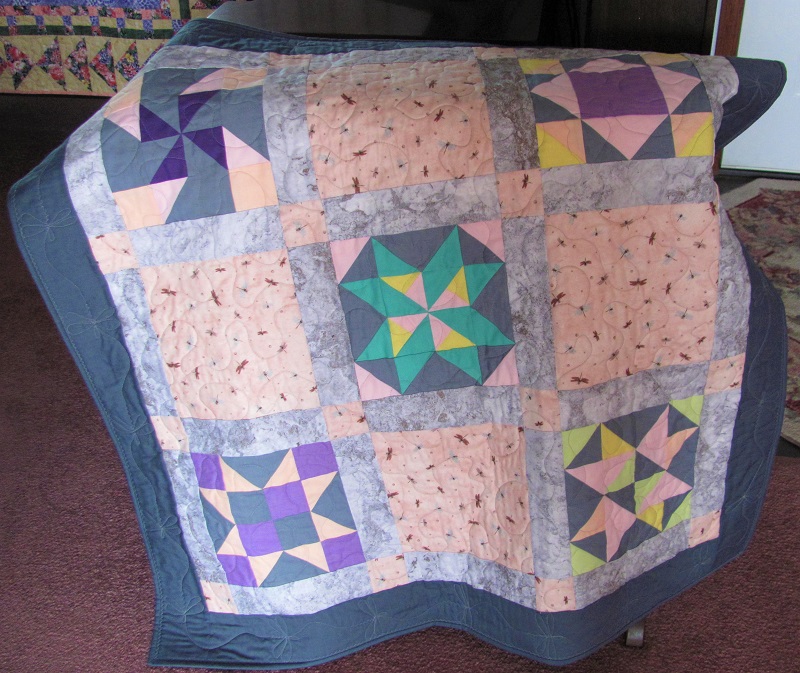
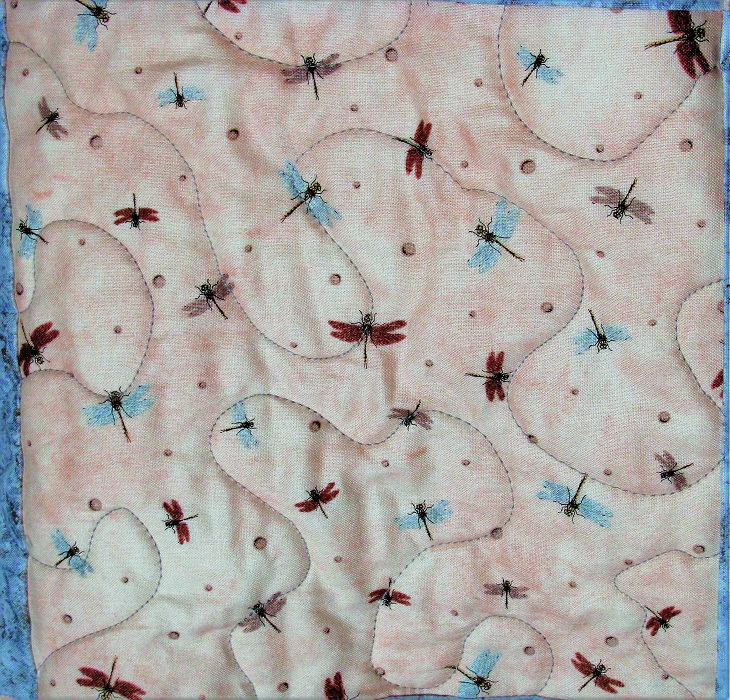
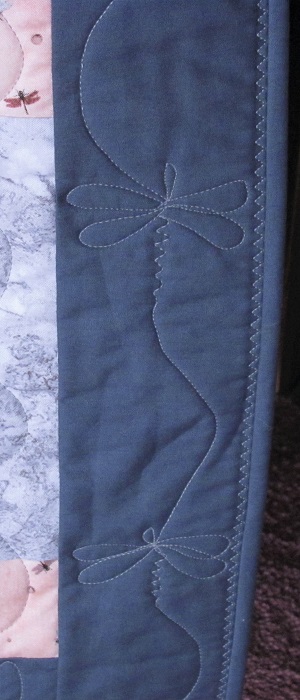
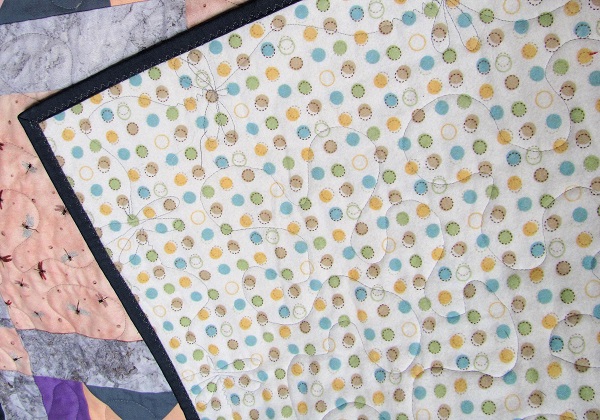
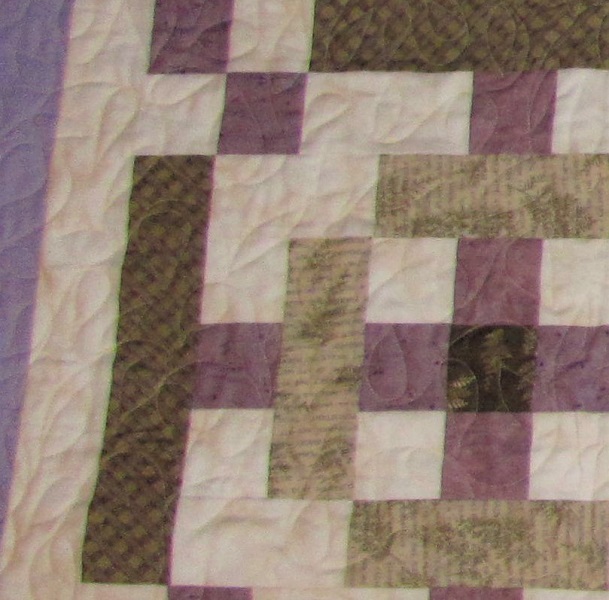
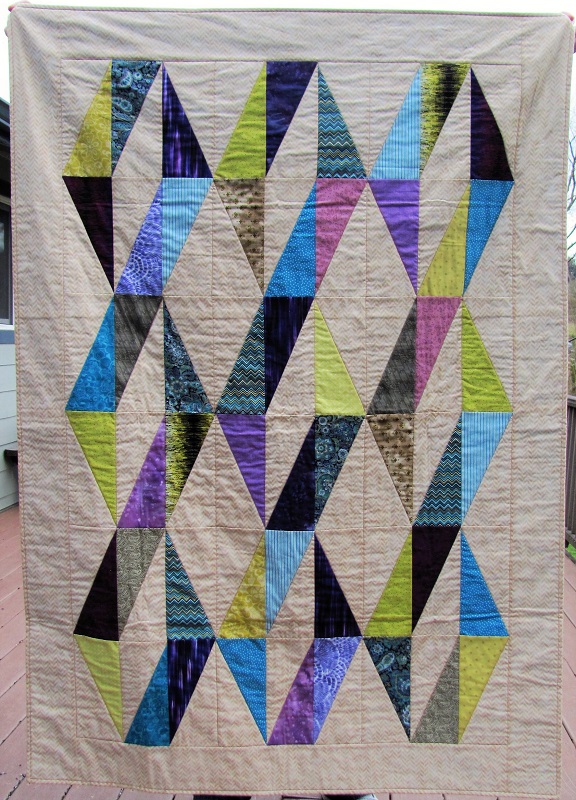
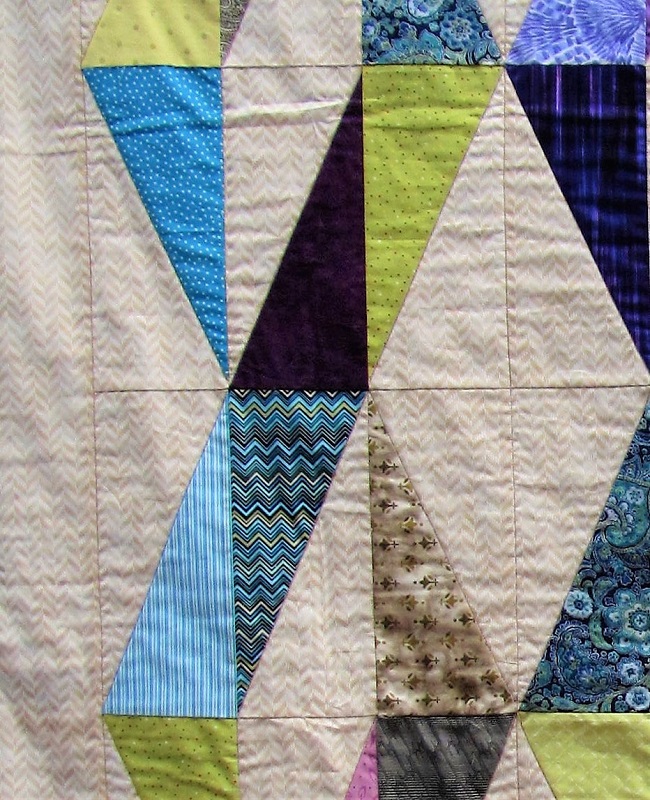
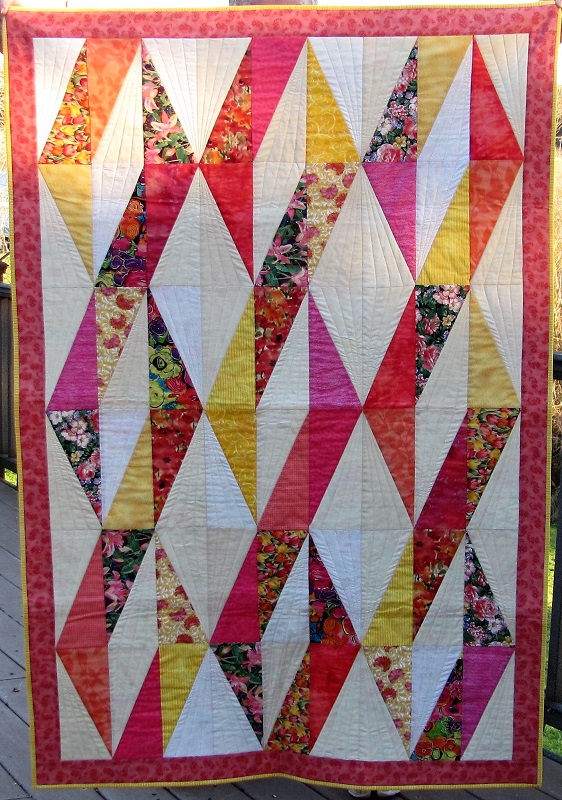
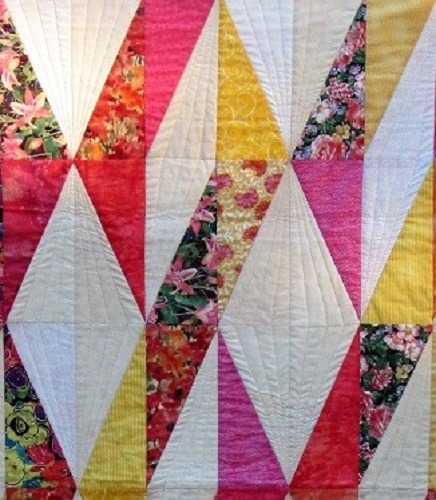
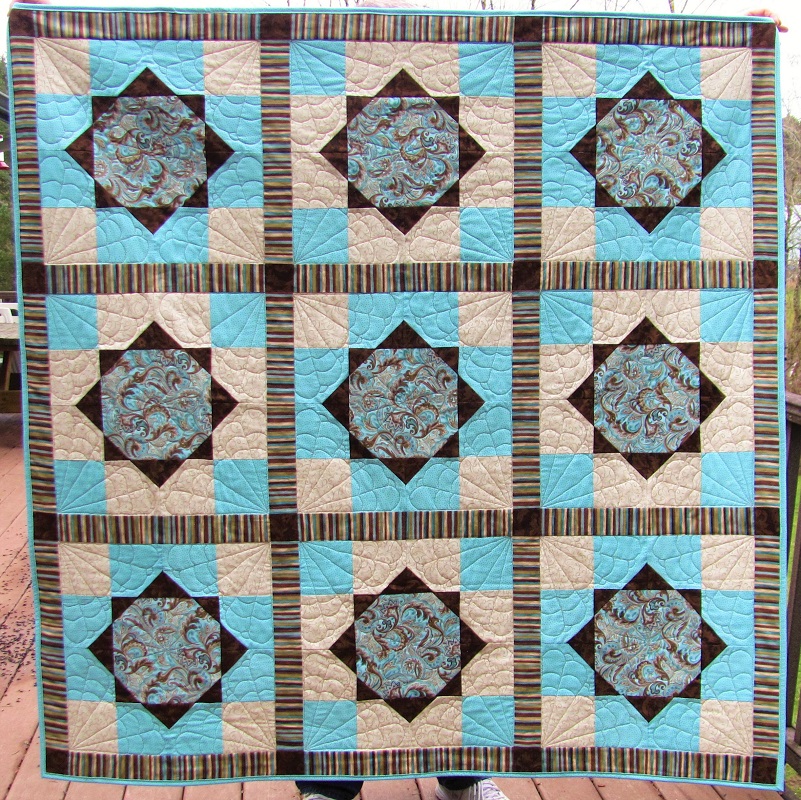
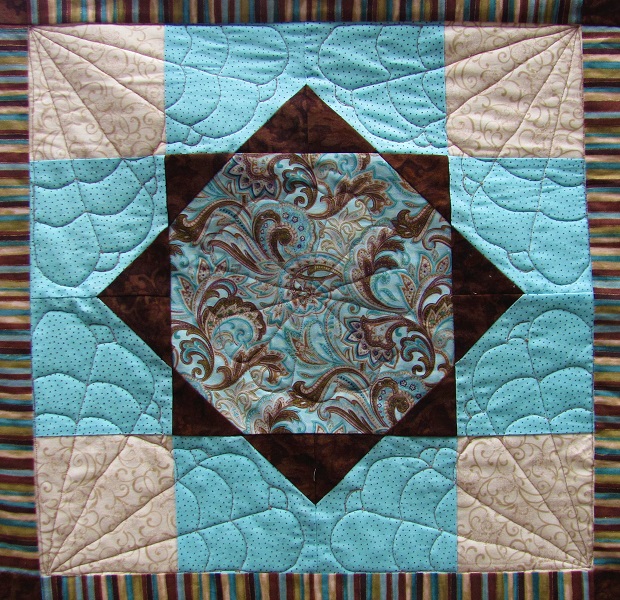
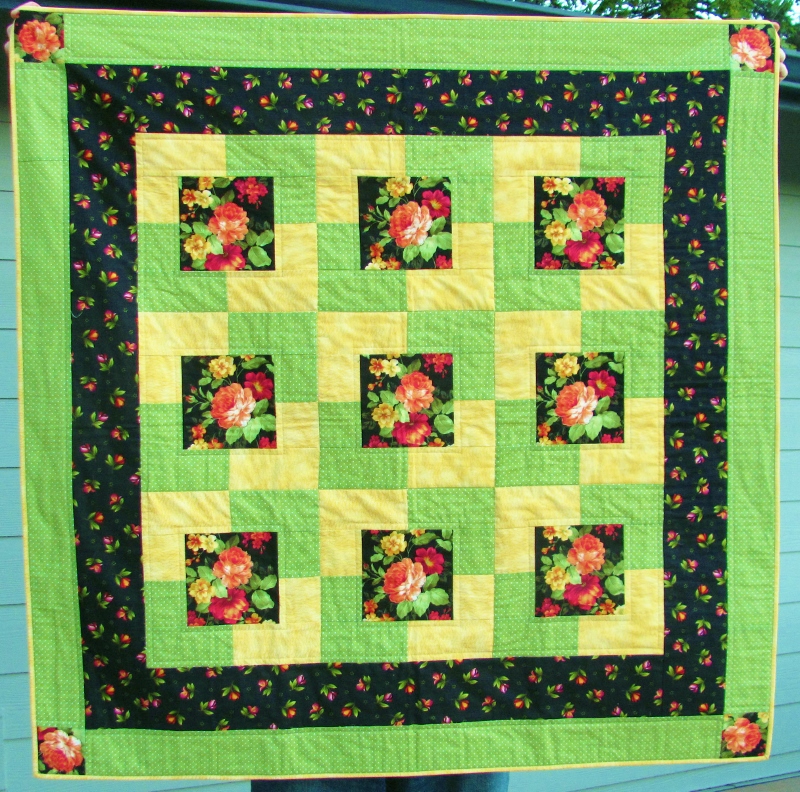
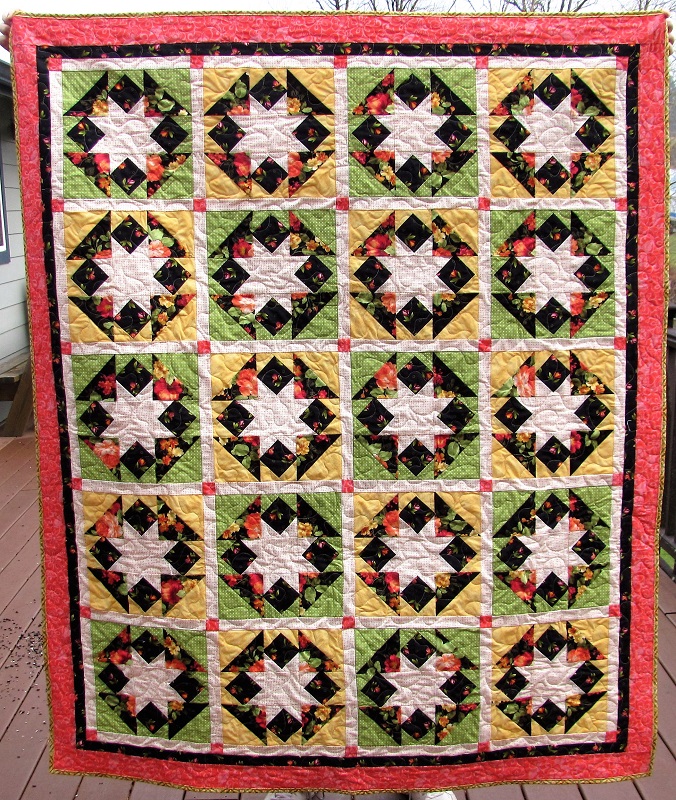
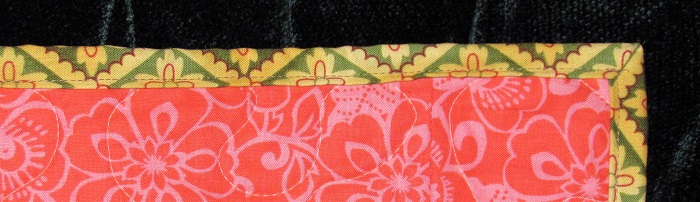
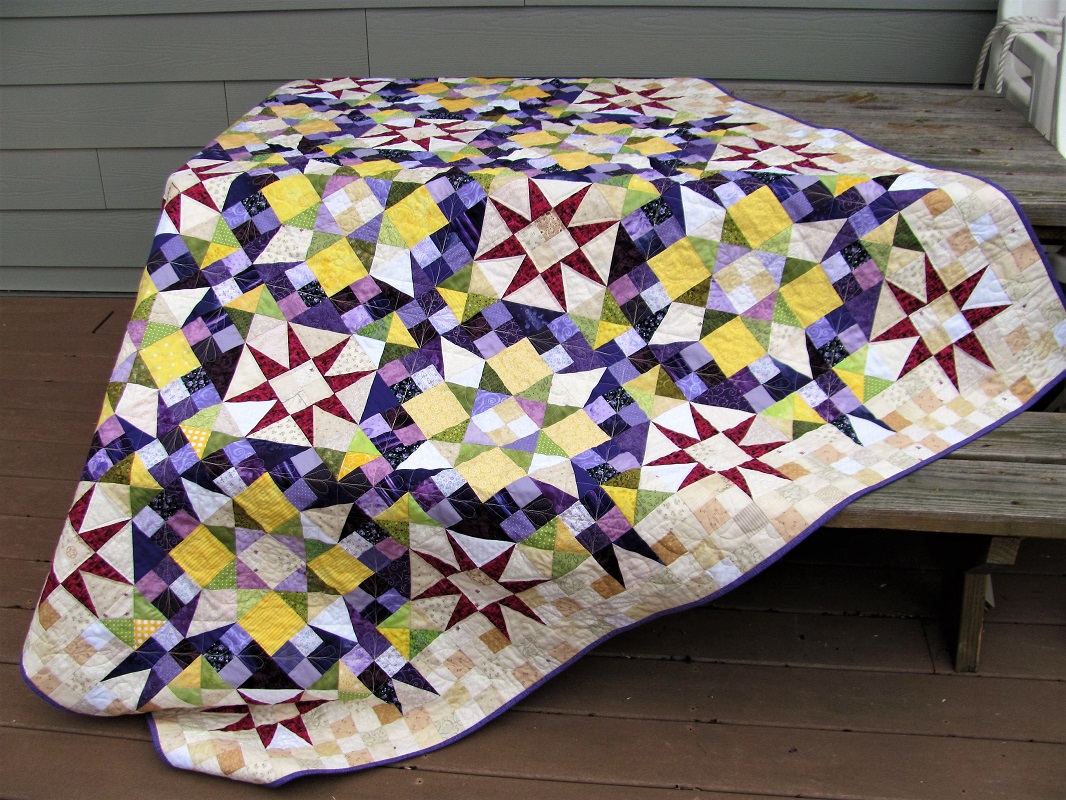
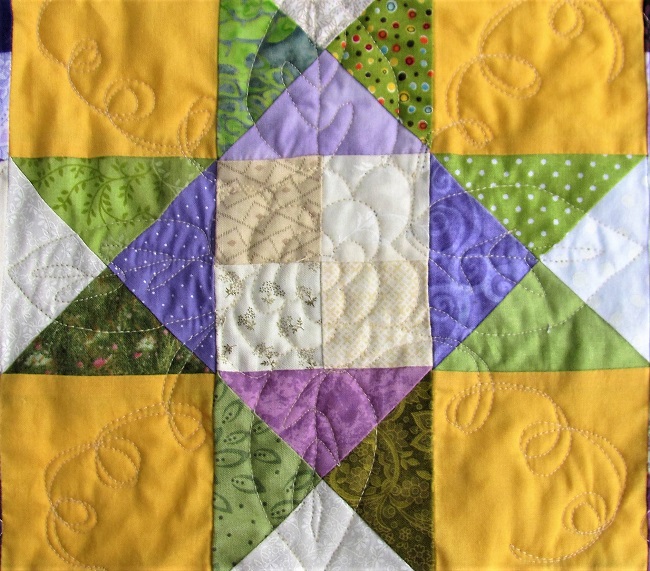
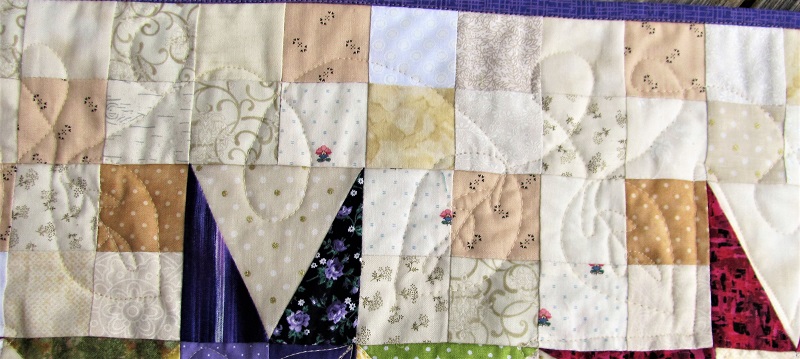
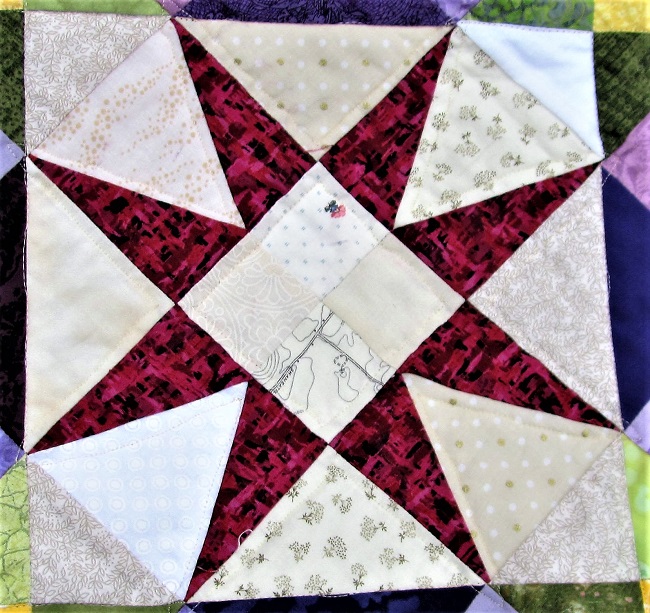
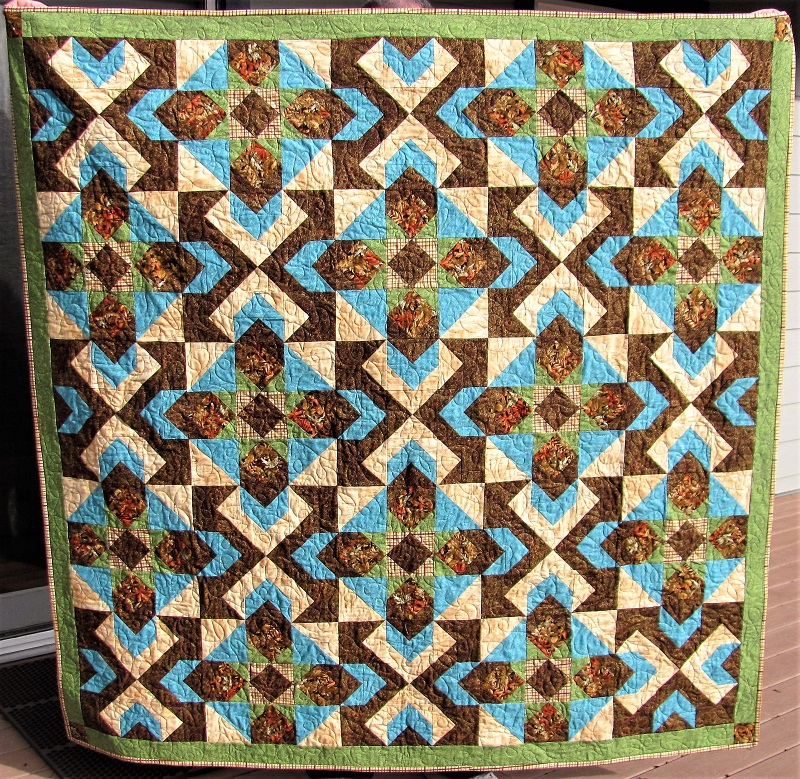
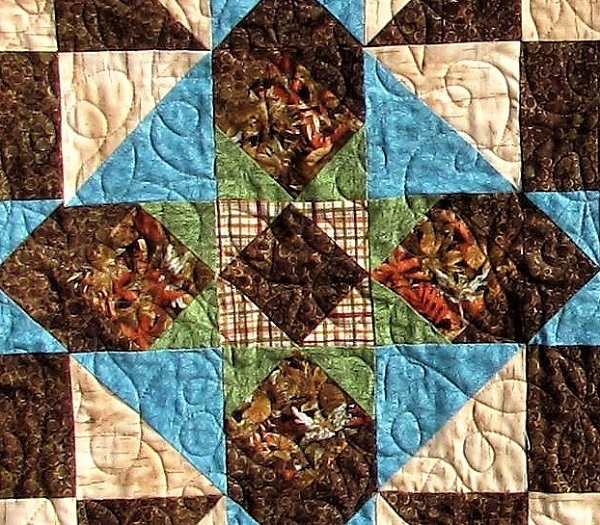
Quilting: completed 20 (baby quilts and lap quilts), 1 tree skirt, 6 placemats (retro campers), pieced 4 tops (lap quilts ready to be quilted), cut all the pieces for 1 quilt, started 2 mystery quilts (in progress).

Sewing: made 6 microwave bowl buddies, 1 small boxed bag, 4 pairs of pants, 2 pillowcases, 2 fabric origami boxes, 9 woven fabric ornaments, 2 zippered makeup bags, 1 insulated lunch bag.

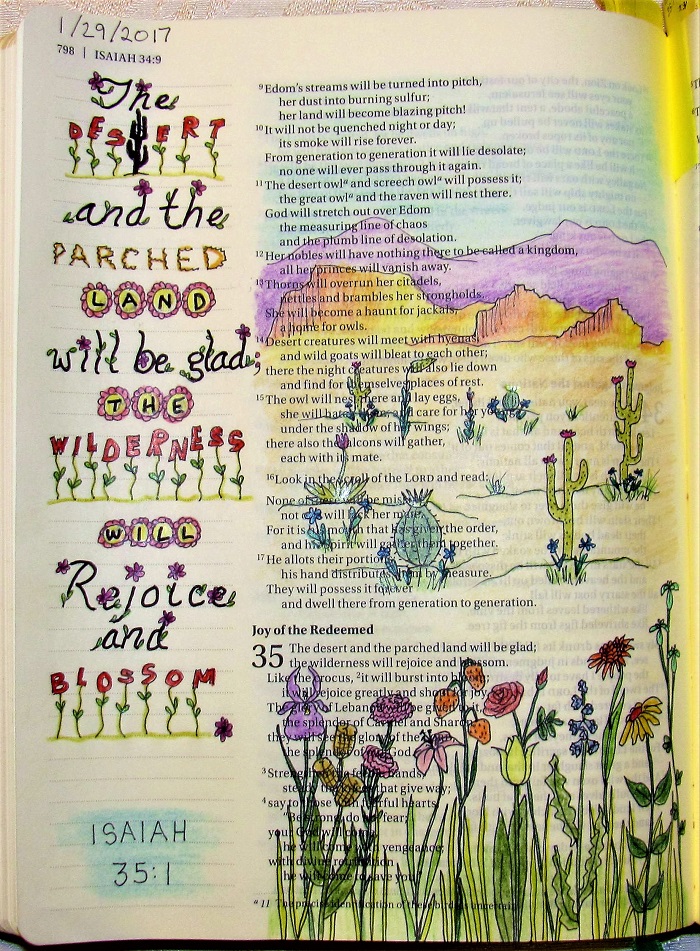
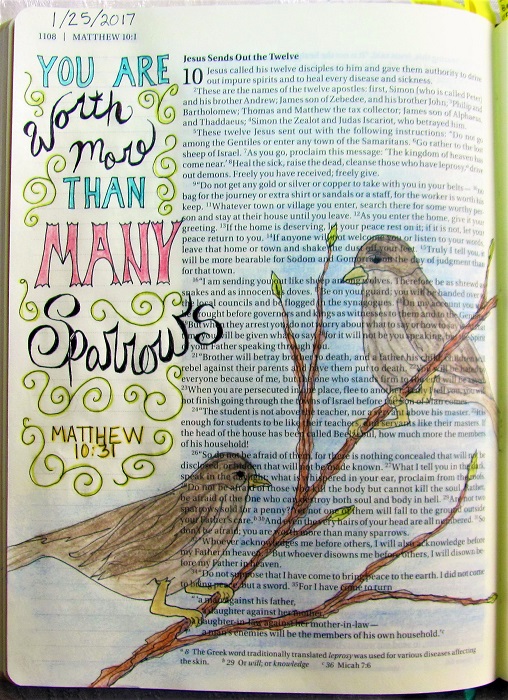
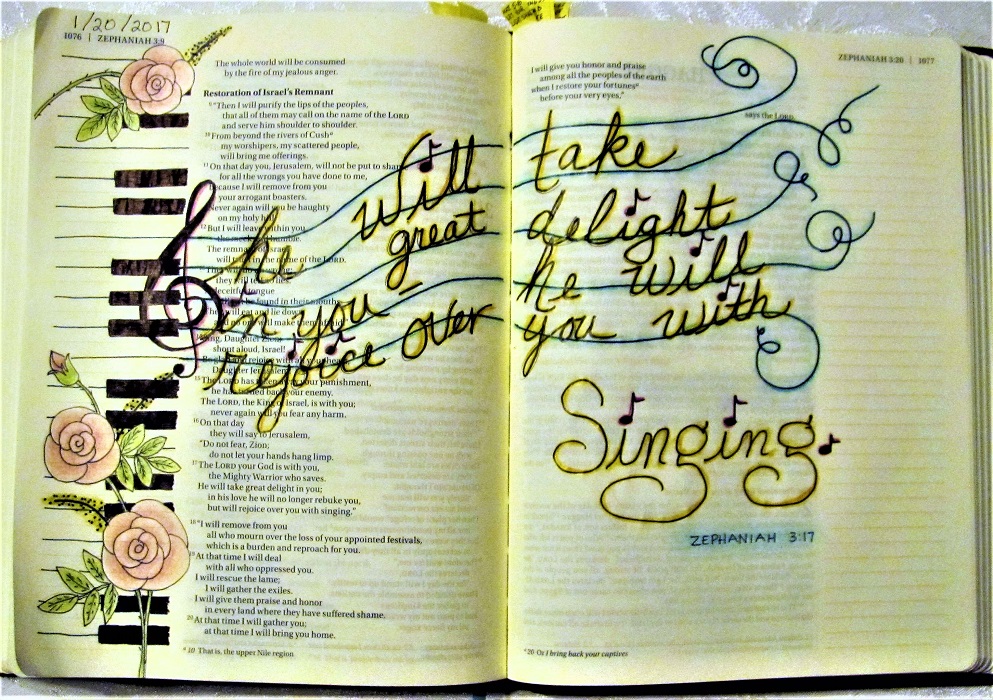
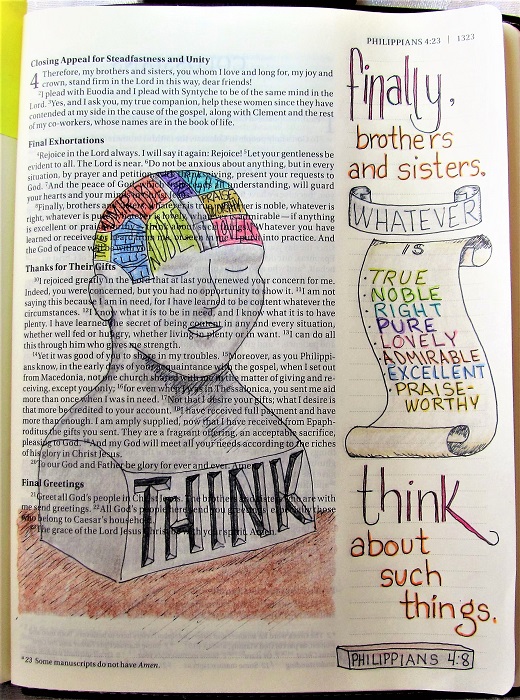
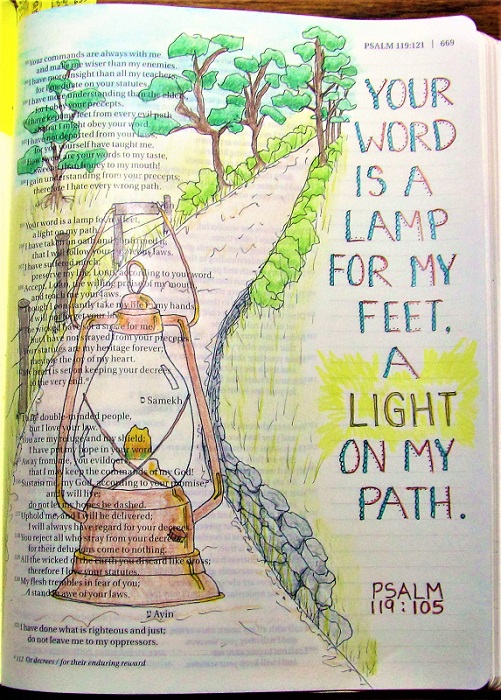
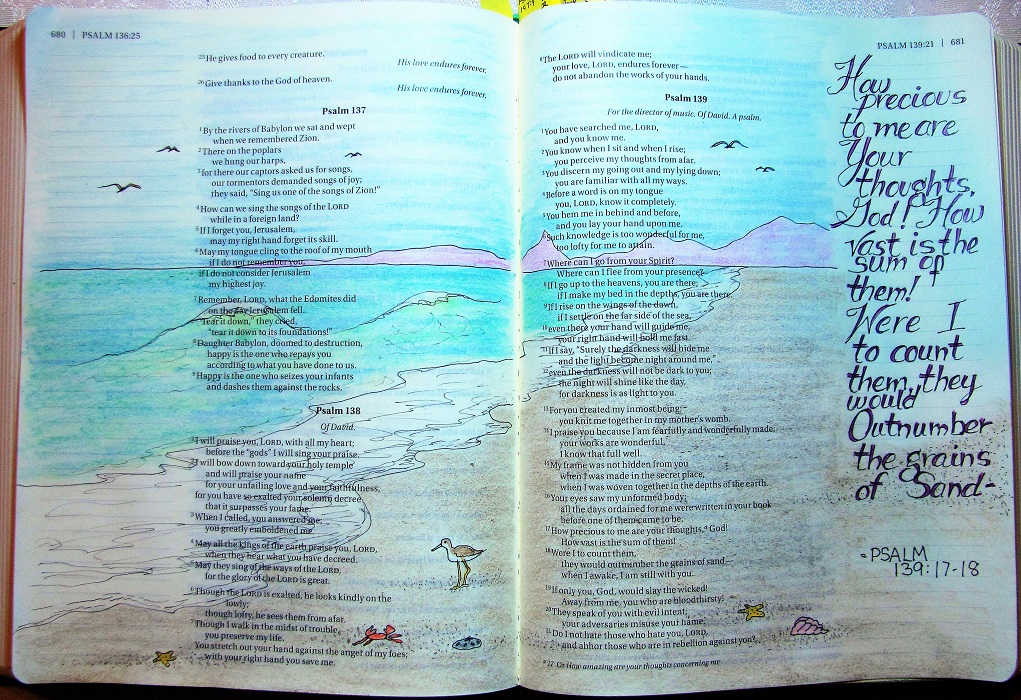
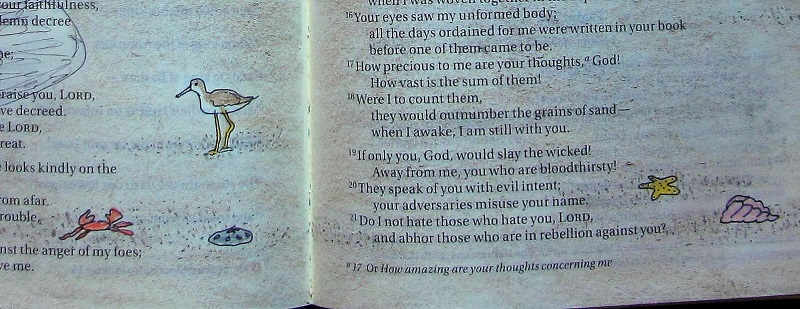
Bible Journalling: This was a totally new endeavor started in September. I have 9 pages completed (pen and ink with colored pencils).

Artwork: 1 colored pencil drawing.

Digital projects: 3 calendars from Shutterfly, 5 books from Shutterfly, 10 cards from Shutterfly.

Challenges: 16 projects using Tim Holtz's Twelve Tags series for inspiration.

Gardening: A shared endeavor with Mom.

In the Kitchen: 26 Freezer to Crockpot meals (haven't sampled all of them yet but we're making note of the ones we want to make again), Preserving from the garden to go in the freezer (corn on the cob, breaded scallop squash, butternut mash, diced tomatoes, roasted summer squash, diced peppers).

Jewelry: 1 bracelet.

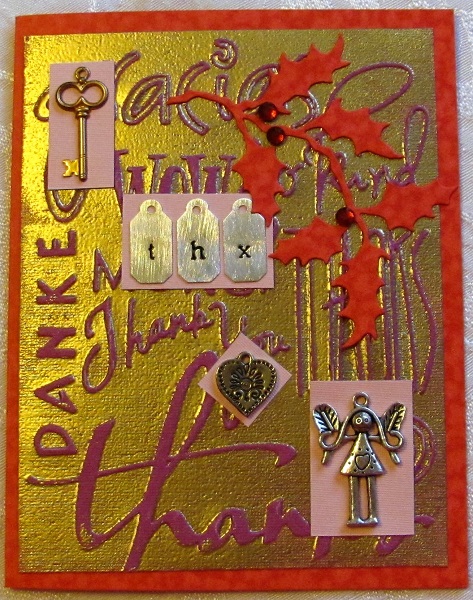
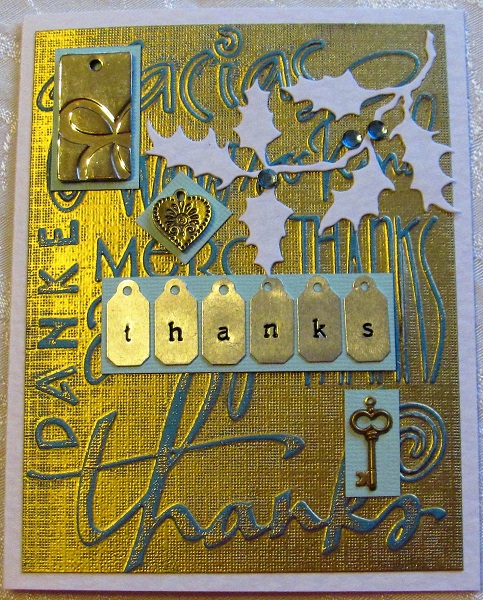
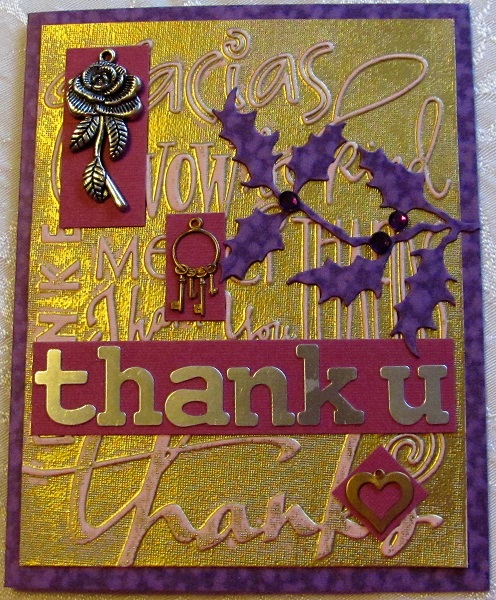
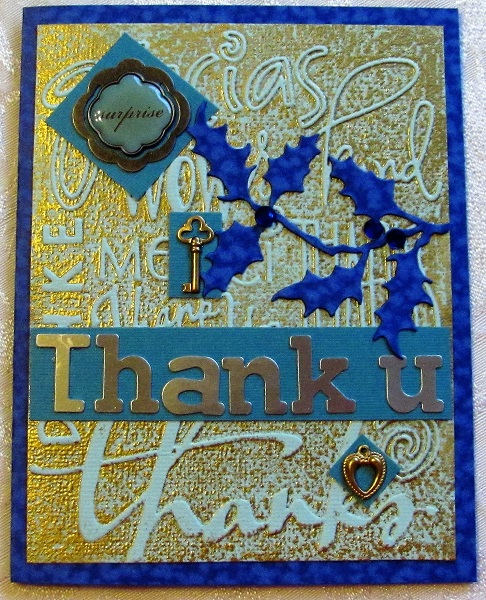
Cards: 143 hand made.

Travel: California coastal cruise, Riverboat cruise, Omaha NE, Lynchburg TN, Ephrata WA.

Miscellaneous: 2 watercolor pieces (using stamps for the sketch), 1 decorated blank book (for use as a travel journal).

Grand total: 288 items plus travel and gardening.

I also read 195 magazine issues and innumerable books (including all the assignments for a 16 in 2016 challenge)

Yep, I keep busy!

I would point out that, this year, my very favorite art-related activity is not something I created but a place we visited. We only scheduled a few hours for our visit to The Getty Center (Museum) in Los Angeles. We were mesmerized by all we saw but had to pick and choose as we rushed through. We had to totally skip the Maplethorpe exhibit, the sculpture gardens, and entire centuries of artwork. I loved standing in front of original paintings and sculptures by the world's renouned artists throughout time. I want to go back. I want to spend days there. I want to see it all! I also want to visit other museums like the Smithsonian, the Louvre, the Metropolitan, etc. I LOVE ART!

So, goodbye 2016. Hello 2017, here's to another art-filled year.

Ddd


Posted by studio3d@ccgmail.net at 9:14 AM PST
Tuesday, 27 December 2016
12 Tags of 2016 - December
Topic: Multi-Technique

I did it! I really, really did it! I finished all of the 2016 12 tags in 2016! LOL.

I wasn't sure I was going to get this last one done but when I realized I needed some 'thank you' cards for Christmas gifts received.

Here are the techniques that Tim Holtz combined:


And this is the tag he created:


I made cards this time out and here are the steps I used (I left out some of Tim's process):

- apply versamark ink to the inside front of a word embossing folder

- put colored cardstock in the folder and run theough the Cuttlebug

- scoop gold embossing powder onto the versamark ink

- melt embossing powder with heat tool

- select metal embellishments including some with text

- use wet glue to apply metal embellishments to colored cardstock. trim

- use Xyron to adhere text paper to a colored base card

- use wet glue to adhere the mounted metal embellishments to the card front

- use Cuttlebug to cut out 'greenery' from colored cardstock

- adhere to card front

- add rhinestones to serve as berries in the greenery

- glue a white card liner inside

Here are the four cards I made:


Challenge met!

Ddd


Posted by studio3d@ccgmail.net at 7:50 PM PST

Newer | Latest | Older