« November 2018 »
S M T W T F S
1 2 3
4 5 6 7 8 9 10
11 12 13 14 15 16 17
18 19 20 21 22 23 24
25 26 27 28 29 30
You are not logged in. Log in
Entries by Topic
All topics  «
3D paperwork
A - Z challenge 5
A - Z challenge 7
A - Z challenge round 4
A to Z challenge round 3
A to Z round 2
A to Z round 6
A-Z round 1
Around the House
Art Challenges
Artist Trading Cards
Backgrounds
Beads
Bible Journaling
Books
Boxes
Collage
Color Challenge
Coloring
cookbook
Die Cuts
Digital Projects
Digital Stamps
Drawing
Dry Embossing
Fabric Stuff
Fantastic Folds
Field Trip
Home Decor
How Does Your Garden Grow?
Hymnal Art
In The Kitchen
In the studio
Jewelry
Lettering
Links
Multi-Technique
Music to Work By
Musings
Nail Art
New Work
Online Class
Other Hobbies
Other Projects
Painting
Paper Embroidery
Paper Piecing
Photo
Pretty Paper
Quilting
Random
reading
Scrap Recovery
scrapbooking
Sewing
Sketch Challenge
Some Backlog
Stamping
Stencils
Stickers
Supplies
Teabag Folding
Techniques
Testing
tips and tricks
Tutorial
Web resources
Welcome to my Blog
Work By My Friends
workflow
Writing
Blog Tools
Edit your Blog
Build a Blog
RSS Feed
View Profile
Group One
In & Out of Studio 3D
Friday, 23 November 2018
Life With a New Font
Topic: Bible Journaling

Sure enough, this past week was the rollout of another series of lettering lessons. This week we used 'life' as the focus word.

LIFE Font – Day 1 – Introduction

LONG POST!

We are going to learn a font this week that is informal and fun and we are going to use ‘Life’ as our focus word.

But before we go into details, let’s review the steps we use in the Lettering Lodge to learn new fonts.

·         The most important thing in our lettering concept is P-I-E. This stands for Pencil-Ink-Erase. As you are learning new styles it is best to work in pencil first. Take your time and ‘draw’ your letters rather than ‘writing’ them as this helps break away from one’s natural handwriting. Practice each letter multiple times until you are comfortable with the form. Trace your best effort in ink. Then, when the ink is dry, erase the pencil.

·         Practice paper should be lined, graph or dot grid. This will help keep your letters even and straight. There are free printable versions of all of these online.

·         A basic lettering guide follows:

_______________  ascender line (top of upper-case and tall letters)

_ _ _ _ _ _ _ _ _ _   x height (top of the lower-case letters)

_______________  base line (where the base of the letters sit)

_______________  descender line (bottom of descending letters)

Once you proceed from letter practice to phrase writing the descender line will often double as the ascender line for the next row of text.

·         Study the new style to note the elements that make it unique. Is it a script or a print? Does it have serifs or not? Are the letter shapes linear or rounded? Are the bowls of the letters circular or oval? Is it an upright or an italic? Are there curves or curls or tails that are repeated? Learning to recognize these elements and practicing them before you start drawing your whole letters will get you to a point of familiarity and consistency much faster.

·         Remember, YOU are the artist! You have the freedom to change a particular letter form to something you like better as long as you keep it consistent with the style. In a similar vein, you can change an entire style. It is best to do this after you have learned it in the manner taught, though. Then feel free to give a little slant to an upright print; make a slanted script stand tall; make the caps all half again as tall – make it your own.

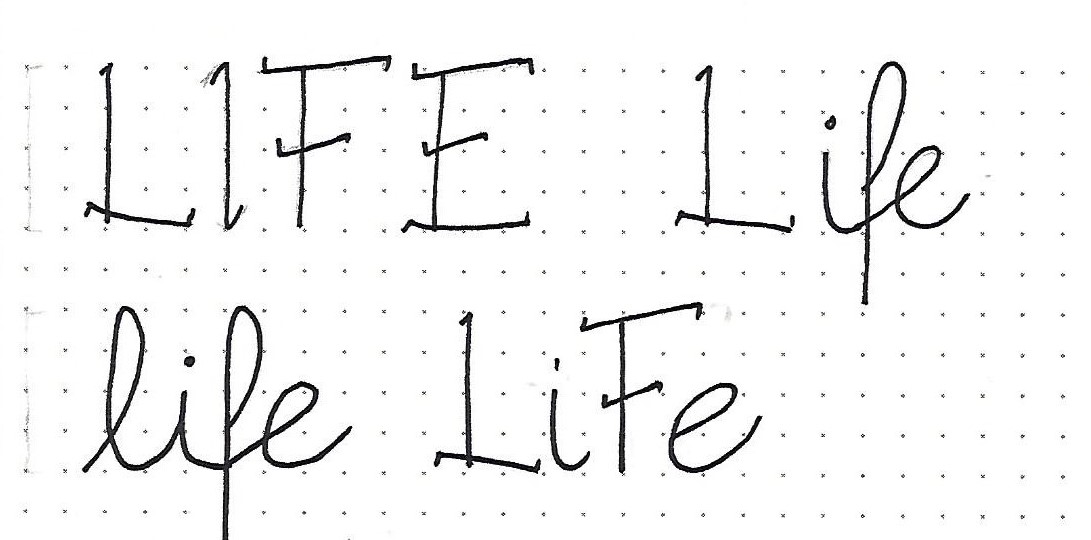
So, let’s get started with this new lettering style? It is an upright script that combines a lot of ‘print’ styling including half-serifs. Note that I’ve worked on a 4-unit font height with an x-height of 2 units.

WAIT! Did you skip over those bullet points above? Please go back and read them, even if you think you already know it. It is important!

The best way to learn and to use this particular font is to draw out the base letter (in pencil), connect the lower-case letters in a natural way (in pencil), add the half-serifs (in pencil) and then ink over everything and erase the pencil.

Ready? Time to practice with both the upper- and lower-case letters in the word ‘Life’.


LIFE Font – Day 2 - Alphabet

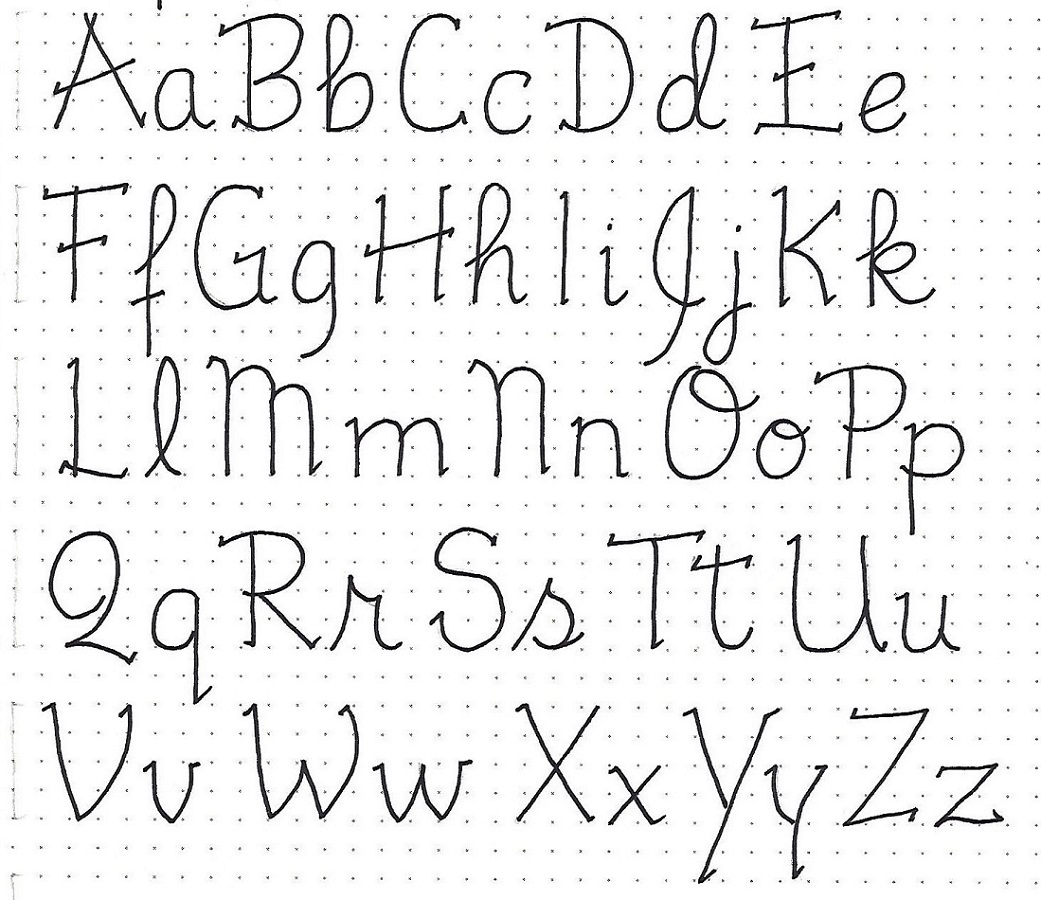
With the reveal of the whole alphabet let’s look closer at the features that make up its ‘style’.

Most of the capitals are closer to a print style while the lower-case are more script. Watch for the half-serifs on the capitals although some do NOT have them (J, O) and there are a few lower-case that do have them (c, I, m, n, p, q, u, v, w, x, y, z) – there were a lot more than I realized!

The lower-case ascenders come all the way up to the same height as the caps (except the t) and the descenders are two units below the base line.

There is some really nice styling on the f, J, Q, and s.

Take time to practice a lot so as to become thoroughly acquainted with the font. This will make the later exercises easier to accomplish. Don’t worry about connecting letters today, we’ll go over that in tomorrow’s lesson.

LIFE Font – Day 3 - Music Lyrics

It should be easy to come up with some hymn or chorus lyrics that use the word ‘Life’,

As you write them on your practice sheet you will be concentrating first on the letter forms and then on the connections between the letters. Try to get the spacing between the letters as even as you can. Keep in mind that it is fully permissible to lift your pen/pencil between letters. Your connecting line may end near the bottom of a letter whose own starting point is at the top (see the nd combo in ‘and’, the nc and ra in ‘consecrated’, the rd in ‘Lord’.

Use the P-I-E (pencil-ink-erase) method to create your best work. Remember, we are ‘drawing’ the letters instead of ‘writing’ them.

I made a little piano keyboard to decorate my page, just for fun.


LIFE Font – Day 4 - Scripture

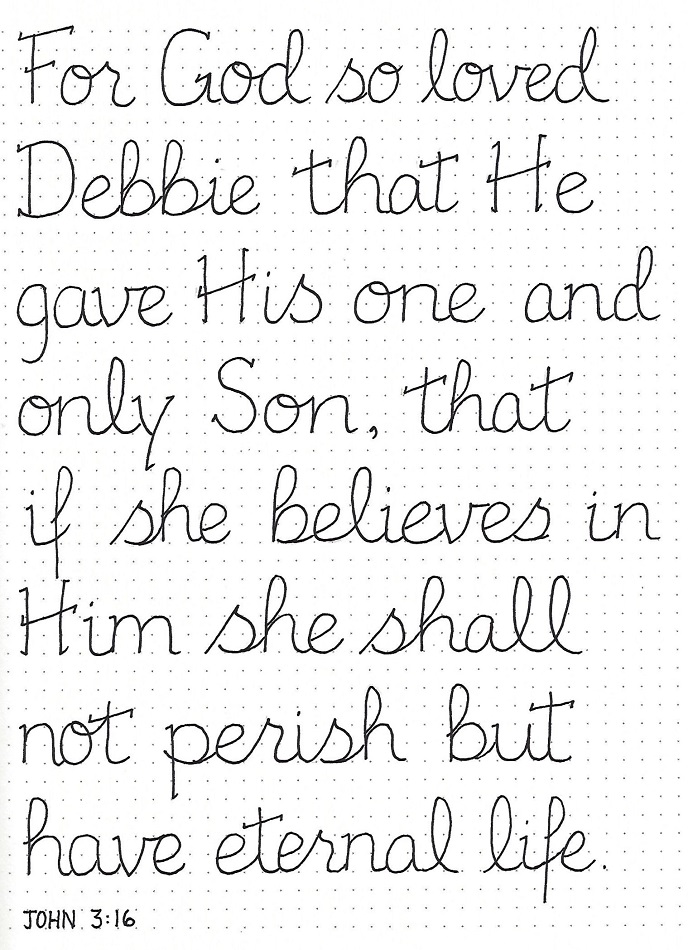
As we do every Thursday, we’re going to find a scripture with the focus word (Life) and write it out on a practice page. This is one more way of getting practice with the font that may use different letters than you used yesterday.

Although I did not on today’s piece, I often use caps on ALL of my words just so I can practice more of them.

Today I used a paraphrase of John 3:16 that I have on a bookmark that was given to me many years ago.

It would be fun to see many of you use this as practice, personalized with your own name, of course.

LIFE Font – Day 5 - In Your Bible

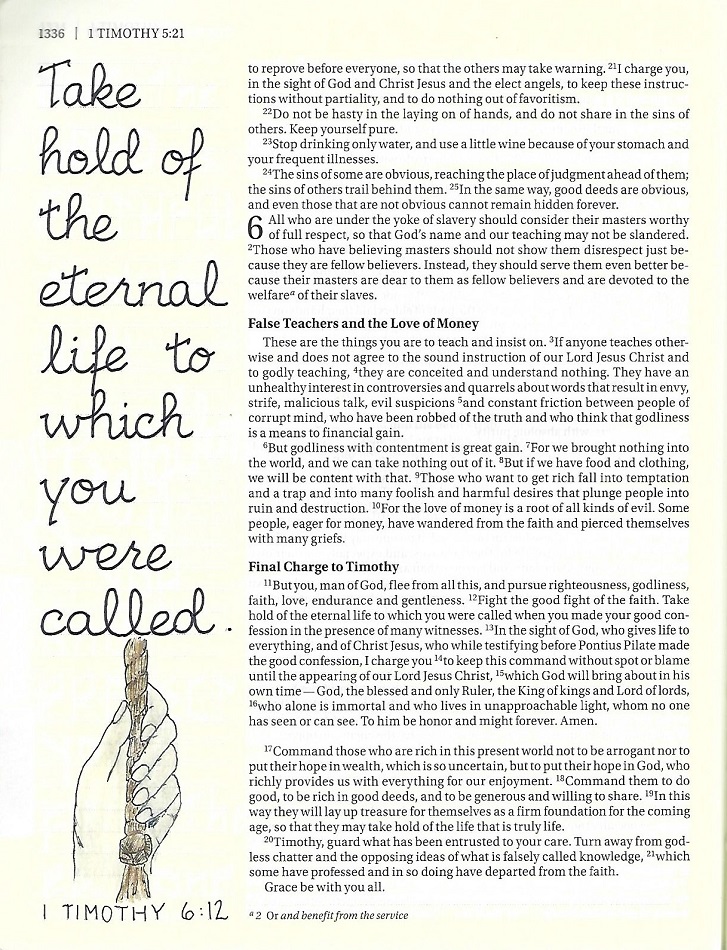
Now it’s time to use the new font in our bibles in journaling a scripture using the word ‘Life’. You will probably have to shrink your letters to fit in your space. Just keep in mind that the x-height is half the overall letter height and you can easily re-size it.

The steps are the same: pencil-ink-erase. We never do go directly to ink in hand-lettering.

I used 1 Timothy 6:12 with an illustration of ‘holding on’.

I hope you are enjoying these weekly wrapups of the lettering tutorials and find occasion to use the alphabets in your own work.

Ddd


Posted by studio3d@ccgmail.net at 11:44 PM PST
Still Thankful
Topic: Bible Journaling

I got a bit behind on my #BeThankfulFor challenge so I did a number of them all at one sitting.

November 13 - #BeThankfulFor Surprises

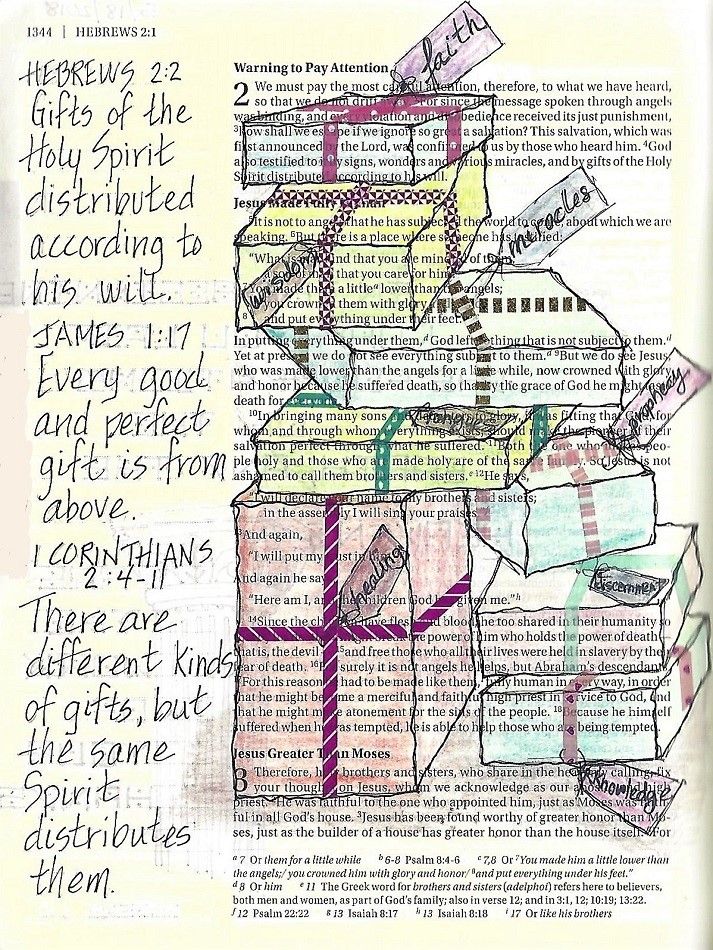
I kept coming back to 'gifts' and pulled up sections of three scriptures to focus on the gifts of the spirits. I used portions that did not list these gifts so I included them as the tags on the presents. I used very narrow washi tape as the ribbon on the gifts.


November 14 - #BeThankfulFor Warmth

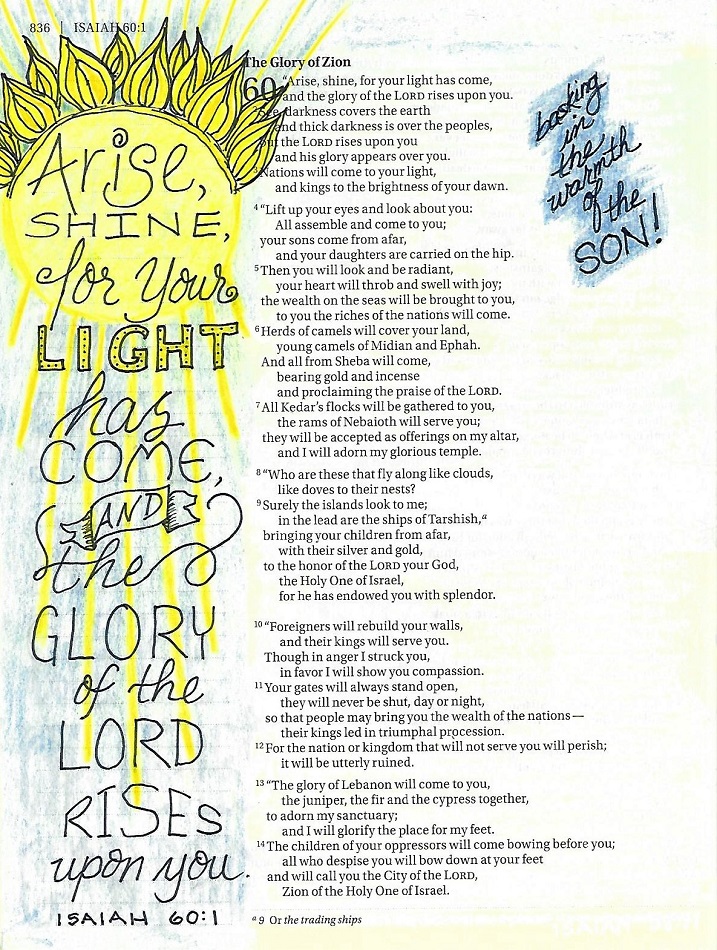
Basking in the Warmth of the Son. I got the general idea for this page off Pinterest but added my own lettering styles and caption.


November 15 - #BeThankfulFor Growth

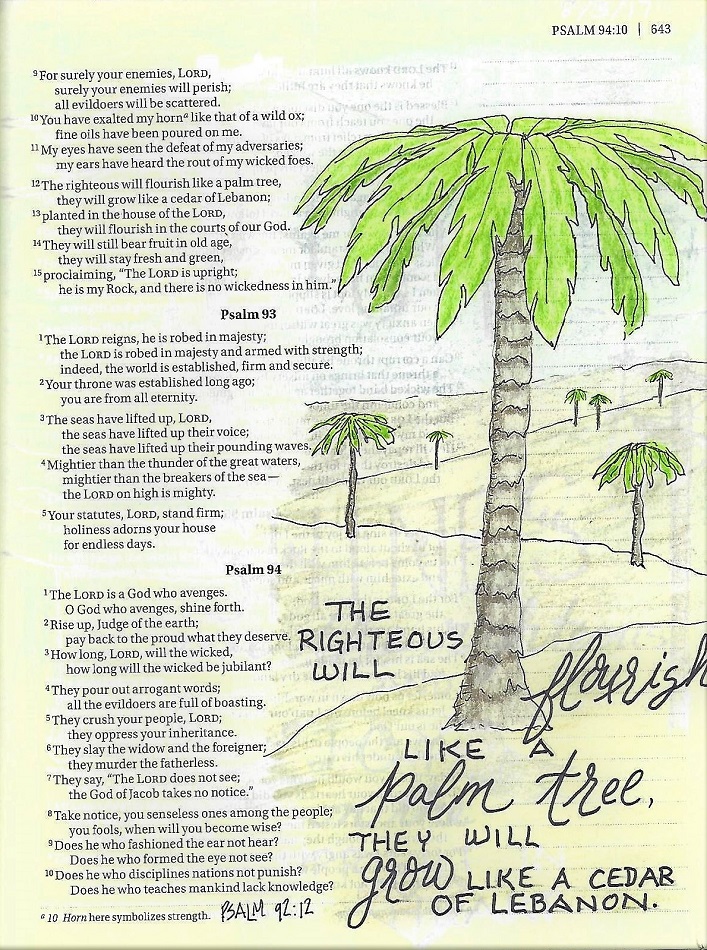
The righteous will flourish like a palm tree, they will grow like a cedar of Lebanon. What better way to grow than in our faith? That is something to celebrate.


November 16 - #BeThankfulFor Water

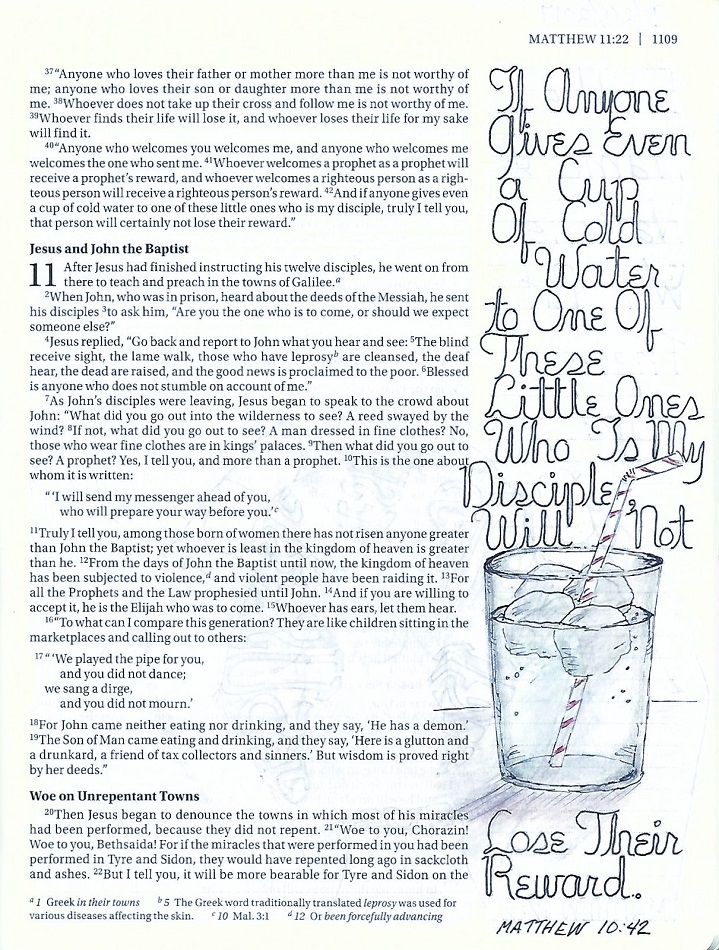
I used this verse with a glass of water in a watercolor painting last July. This time, I found a YouTube video on drawing a glass of ice water (aimed at children). It was SO easy to follow and the results were perfect!


November 17 - #BeThankfulFor Laughter

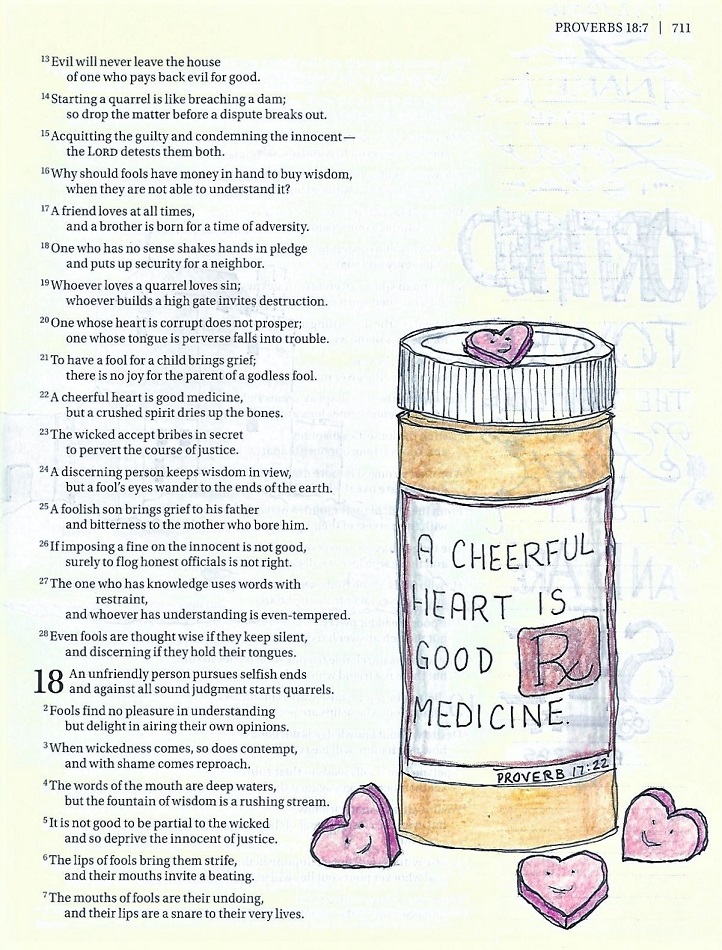
For the many years I read the Readers Digest magazine, there was a column called 'Laughter is the Best Medicine'. I wonder if they knew they were quoting scripture? This layout was inspired by Pinterest but the actual artwork is all mine.


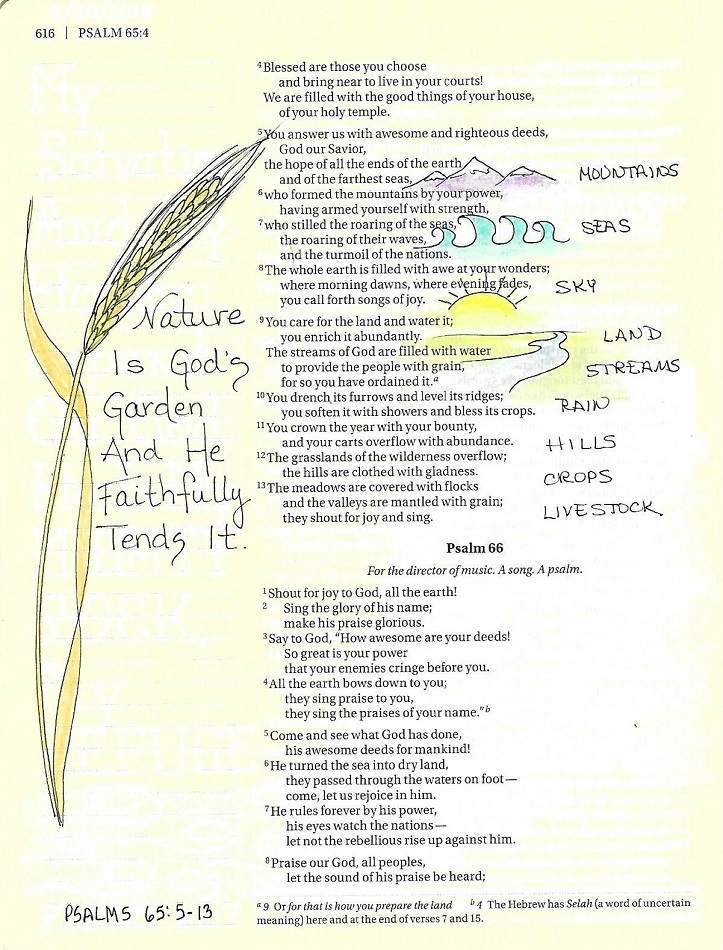
November 18 - #BeThankfulFor Nature

This section of scripture celebrates the whole of creation and reminds us that God still takes care of the earth.


I still have a few days to get caught up but will certainly be finishing out the month with this challenge.

Ddd

Posted by studio3d@ccgmail.net at 10:50 PM PST
Friday, 16 November 2018
Calling You
Topic: Bible Journaling

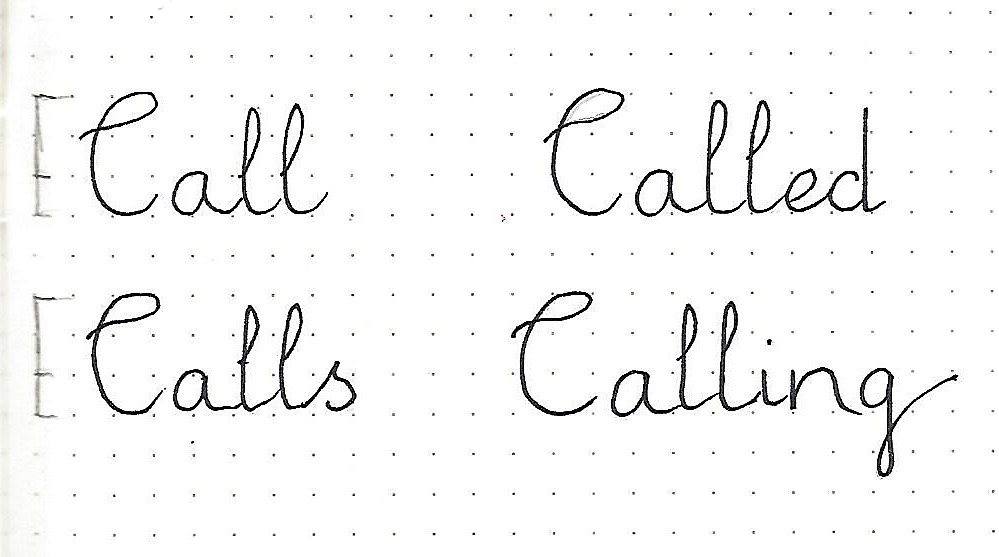
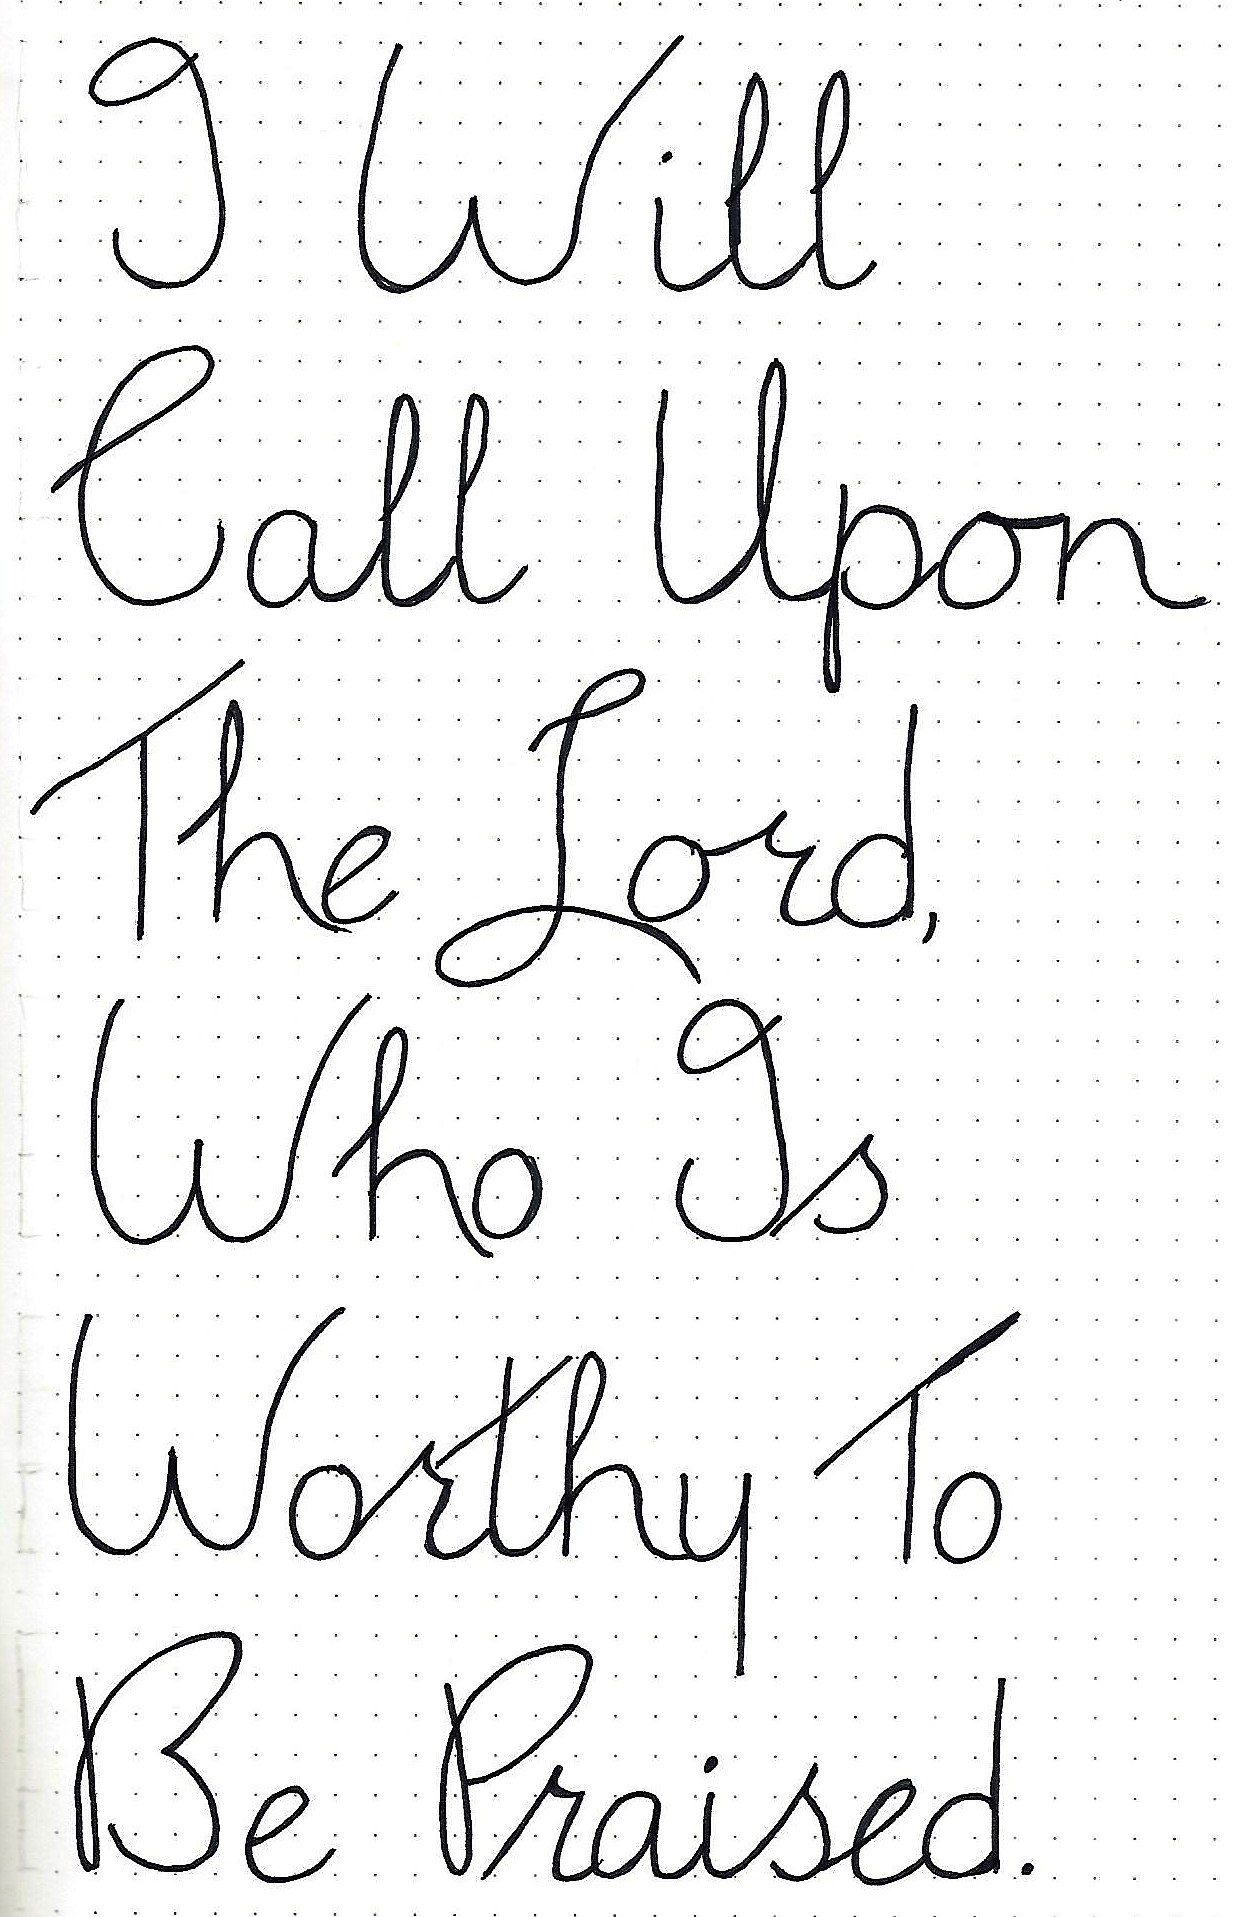
Wrapping up another week of lettering lessons with a new font and the focus word 'called'. We actually used any form of the word 'call' (called, calls, calling) which gave a lot of options in the activities.

Here are the lessons for the week:

CALLED Font – Day 1 – Introduction

The font we will be working with this week mimics a handwriting style in which crossbars and other styling elements are placed at a sharp angle, even though the base letters are very open and upright.

The top curl of the ‘C’ will later be used in the ‘G’ as well.

When we’re learning these initial 9 letters you don’t get the full effect of the font but, trust me, this is a truly elegant script.

Practice today with the focus word ‘Called’ and other forms of the word.

It is SO rewarding to see that members are actually using the lessons to grow in their lettering skills and their bible journaling.


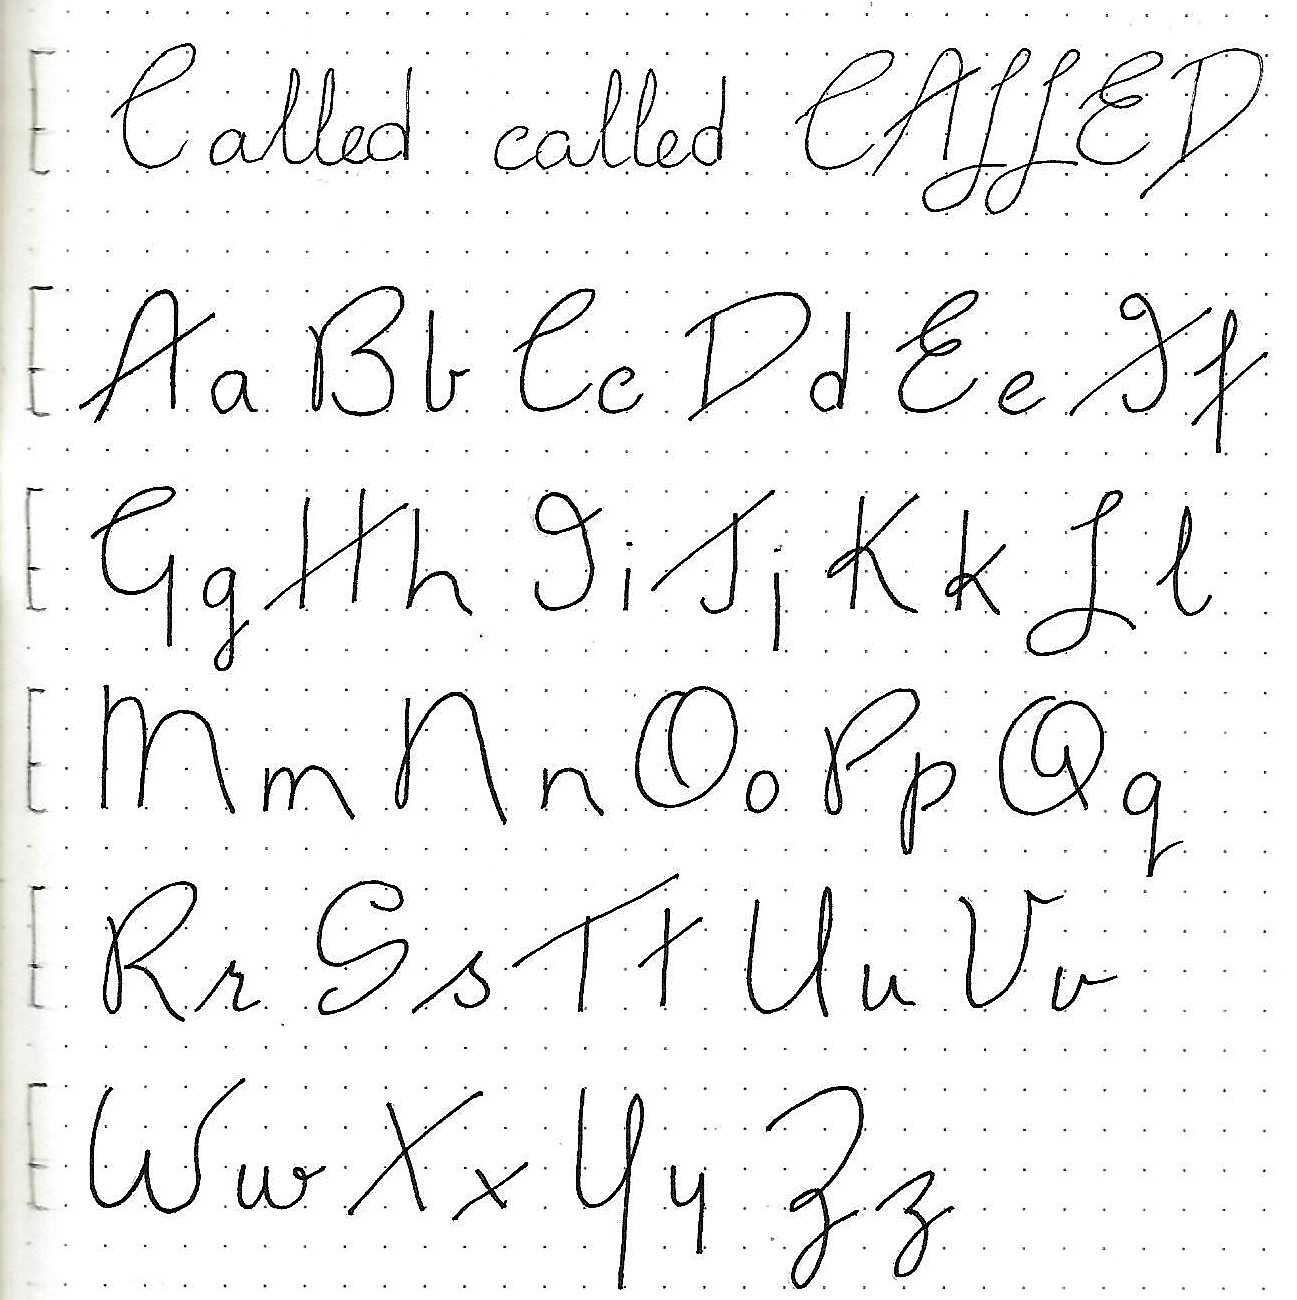
CALLED Font – Day 2 - Alphabet

This is one of those styles that an all-caps word doesn’t look very stylish. But I like to throw them in every now and then as an option and as a way that you can practice the upper case a bit more.

With the full alphabet now revealed let me point out the style features of this font.

Look for that long sharply angled line on the A, F, H, J, K, T and X. Note the common upper curl of the C, E and G. Watch for the wide stance of the h, m and n. The sweeping lines of the B, D, P, R, S and Z also carry the sharp angle that defines foe font.

I really like the styling on the r, s and Q. Oh, that Q!!!

I think you will be very pleased when we get to start using these letters to write up words starting tomorrow, so practice lots so you are familiar enough to write with ease.

Remember, you are making PRACTICE sheets. They won’t look perfect when you start (you don’t think MINE look this good in the beginning, do you!?!?!)


CALLED Font – Day 3 - Music Lyrics

Today, see if you can come up with song lyrics that use a form of the word ‘call’. I use caps on all of the words so I get more practice time on them.

Want some other suggestions for lyrics? How about,

“We're chosen, anointed,
Called out into his light
Shine brighter, lift higher
The name of Jesus Christ”

Or

“Softly and tenderly Jesus is calling
Calling for you and for me”

Or

“When you call on Jesus
All things are possible
You can mount on wings like eagles and soar”

One more:

“This is a call to worship
Let it echo all around the earth
This is a call to bow down
And give God the glory, He deserves”


CALLED Font – Day 4 - Scripture

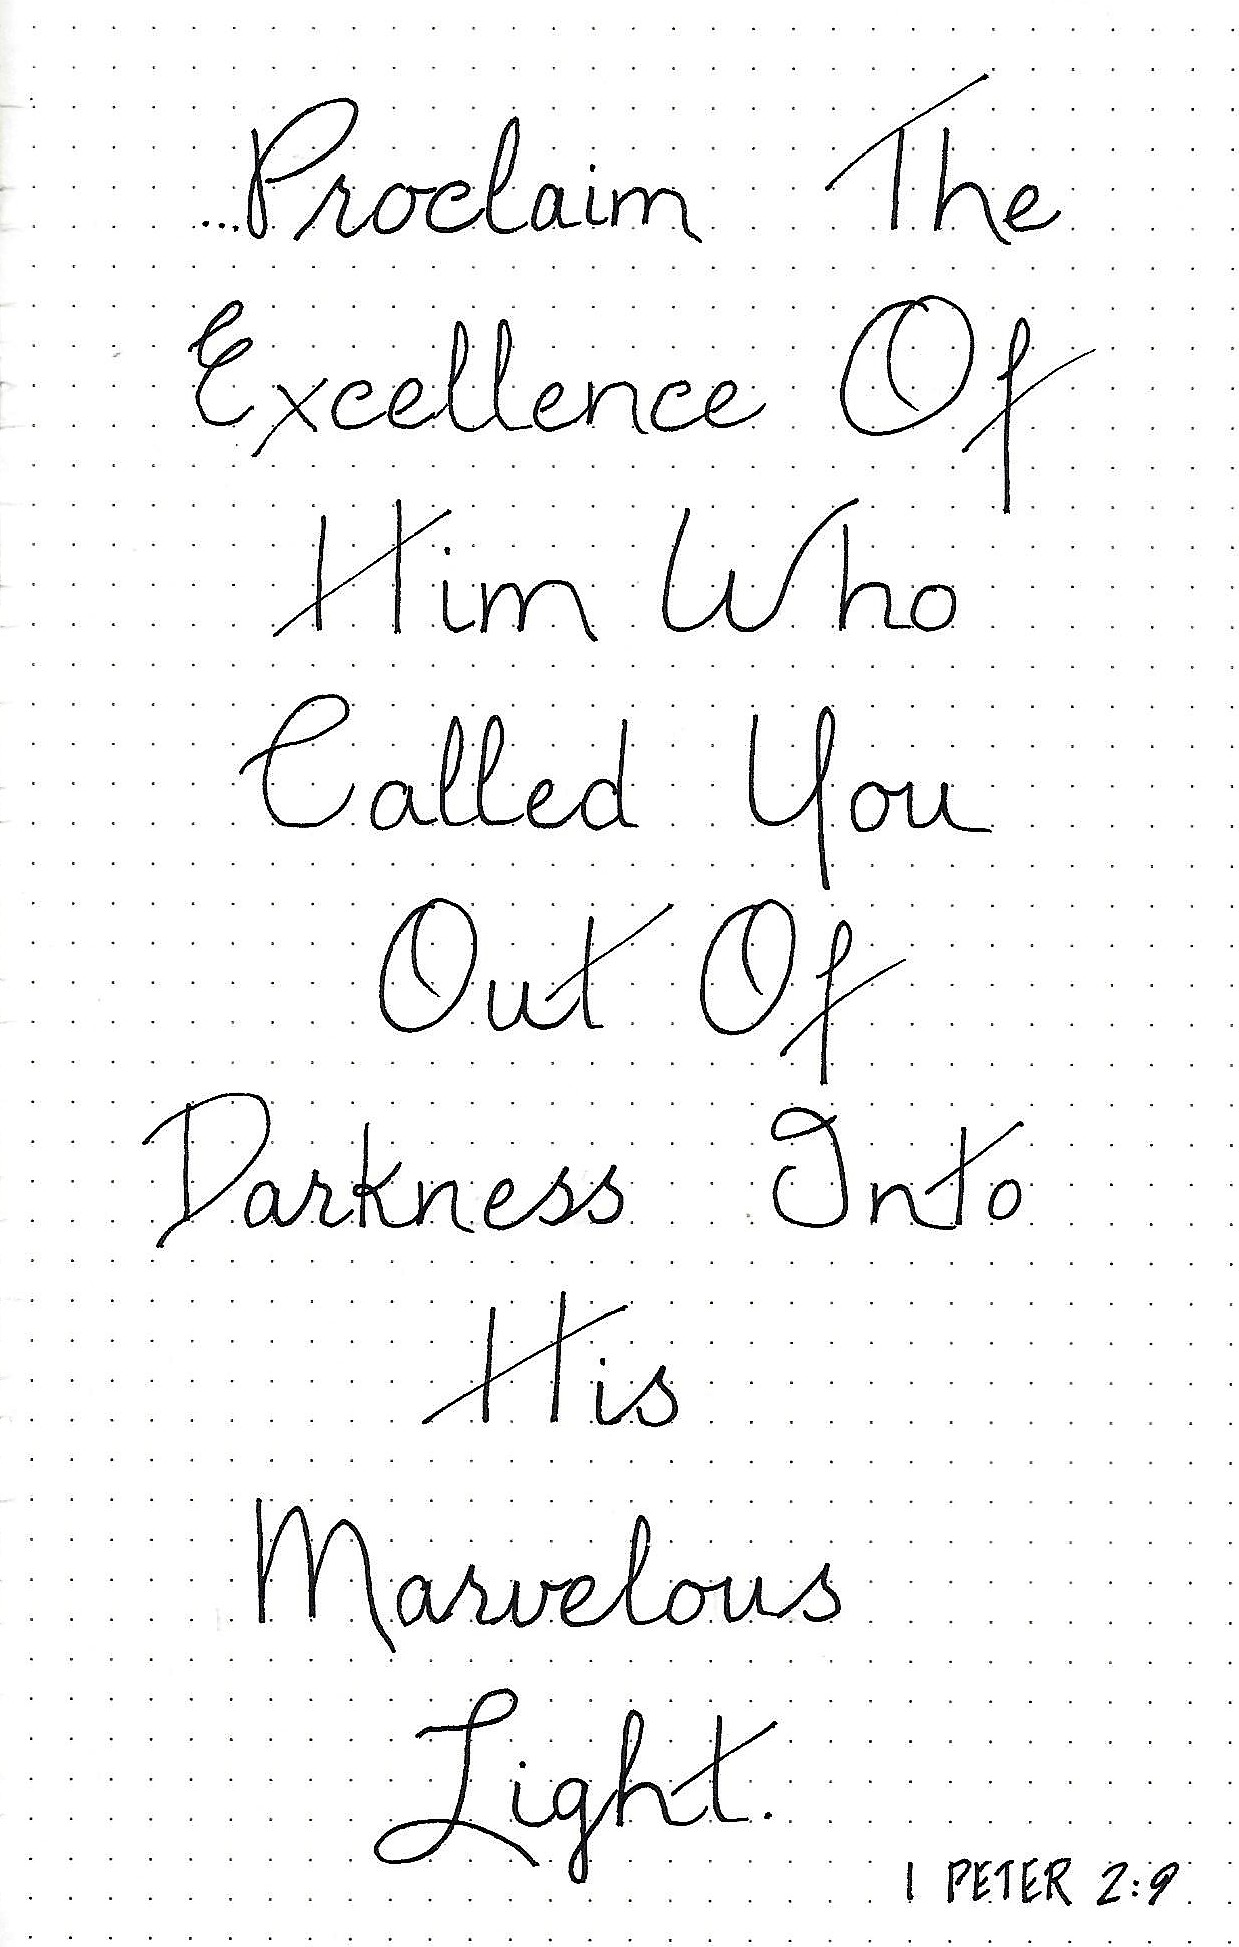
Our Thursday activity is to practice our ‘Called’ font by writing some scripture on paper. The more you practice the easier the letters become. This also gives you a better understanding of letter spacing and joining which makes your lettering flow and look more natural.

I chose 1 Peter 2:9 but some other good choices might be:

Exodus 17:15

2 Chronicles 7:14

Psalm 3:4

Psalm 86:5

Isaiah 55:6

Isaiah 65:24

Luke 5:32

Acts 2:21

Romans 8:28

Philippians 3:14

1 Thessalonians 5:24

1 John 3:1


CALLED Font – Day 5 - In Your Bible

Today is the day we take the new font to our bible for writing a scripture. If a whole scripture in the font seems like too much for you to do, feel free to write just key words using this font and intersperse with plain block lettering for the rest.

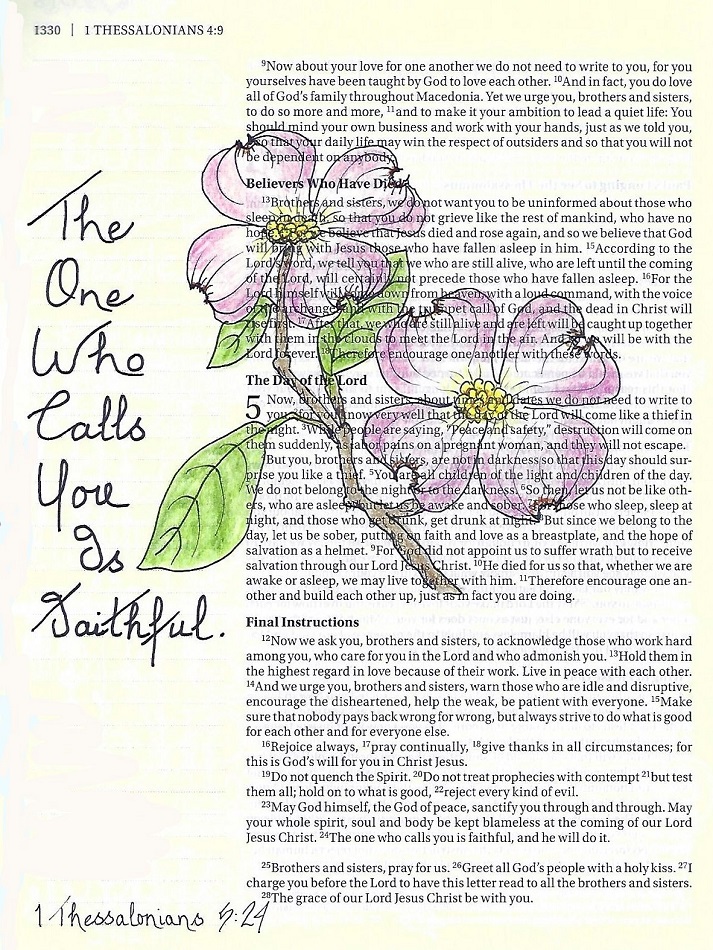
Select a scripture from the suggested list given yesterday. You can include artwork if you choose or go with just the lettering.

I chose to use 1 Thessalonians 5:24 and drew some dogwood flowers.


I hope you are getting some use out of these lettering lessons. Please let me know using the comment link below.

Ddd


Posted by studio3d@ccgmail.net at 10:49 AM PST
Monday, 12 November 2018
Good News
Topic: Bible Journaling

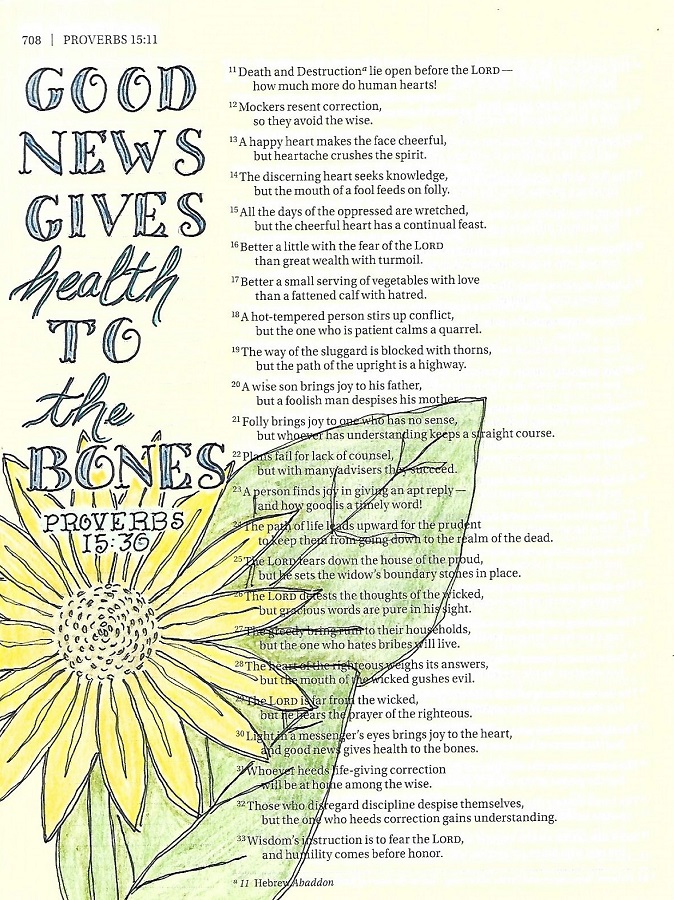
In the #BeThankfulFor challenge the prompt was 'Good News'. Is there any better news than the gospel?

I journaled Proverbs 15:30 using lettering I found in one of my books on hand-lettering styles.

I think that sunflowers are such a cheerful sight so I used one large bloom for the illustration.


All of the lettering and illustration are done with Micron pen and Prismacolor pencils.

Ddd


Posted by studio3d@ccgmail.net at 12:01 AM PST
Saturday, 10 November 2018
New Bible Art
Topic: Bible Journaling

I got a new bible a while back but have just now done a page of journaling in it. The bible is the ESV interleaved version which has a double-sided print page followed by a blank page all the way through. LOTS of room for art.

I wanted to do some designing using different fonts in different sizes to create interest while maintaining the flow and readaability of a long passage.

I did a LOT of sketching to get the lettering right and then transfered it onto the page with graphite paper.

After I traced the text in ink, I went back and worked on a spray of various flowers and used colored pencils on them.


This bible allows me to use a full paage for art and not cover up any of the text in the scriptures.

Ddd


Posted by studio3d@ccgmail.net at 1:00 PM PST
Wednesday, 7 November 2018
More Gratitude
Topic: Bible Journaling

Three more days here for the prompt #BeThankfulFor:

Be Thankful For Inspiration:

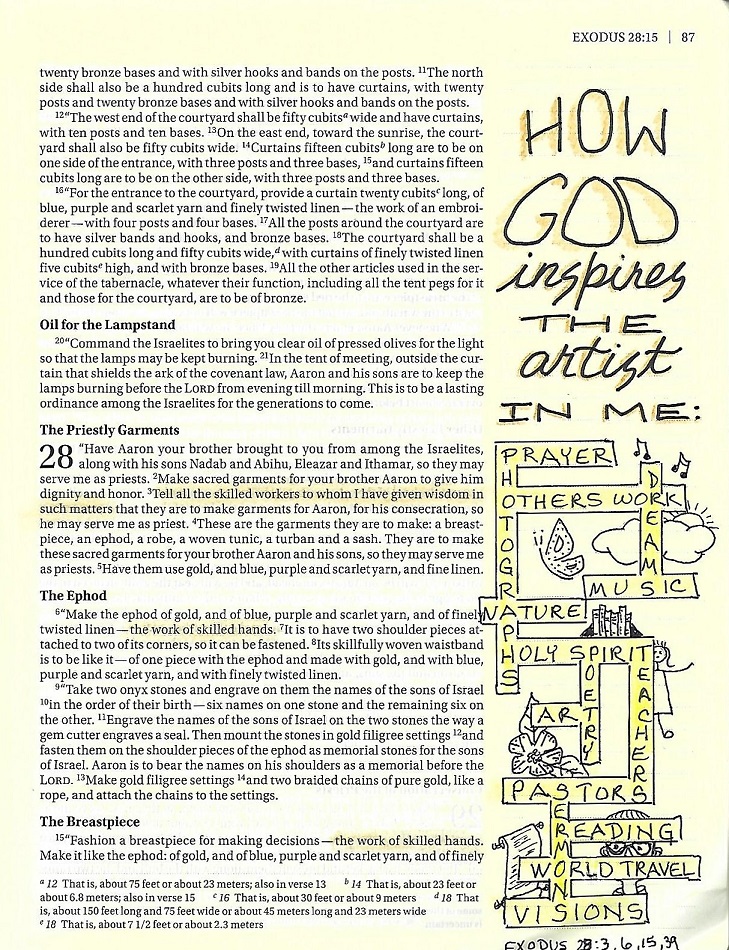
I placed my page in Exodus 28 where the construction and furnishing of the tabernacle were directed to be done by 'skilled craftsmen'. God had given some people specific gifts and they were being called upon to employ those talents in service to Him.

I thought about the talents that God has given me and how He inspires me in using them. I get inspiration from all over. This is my page:


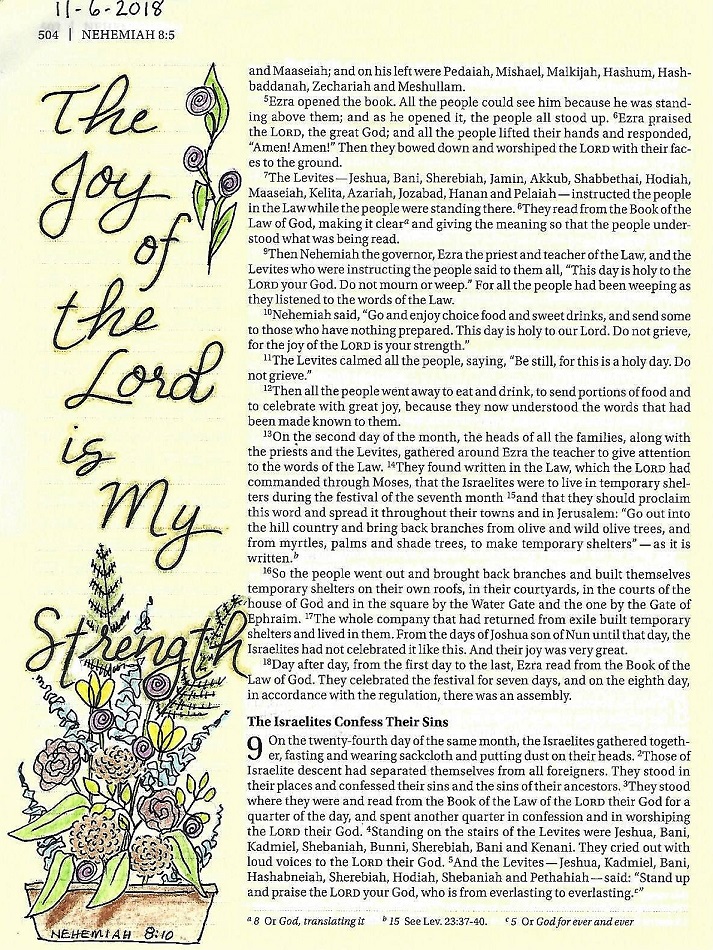
The next prompt was to Be Thankful For Emotions. Well, this was certainly the right week to talk about those but I'm not at all sure that I am thankful to be having these exact emotions. I guess it is enough to understand that our emotions are OK. God understands. Jesus was sad, happy, joyful, angry, compassionate, empathetic - all human emotions.

So I focused on just one: being joyful.


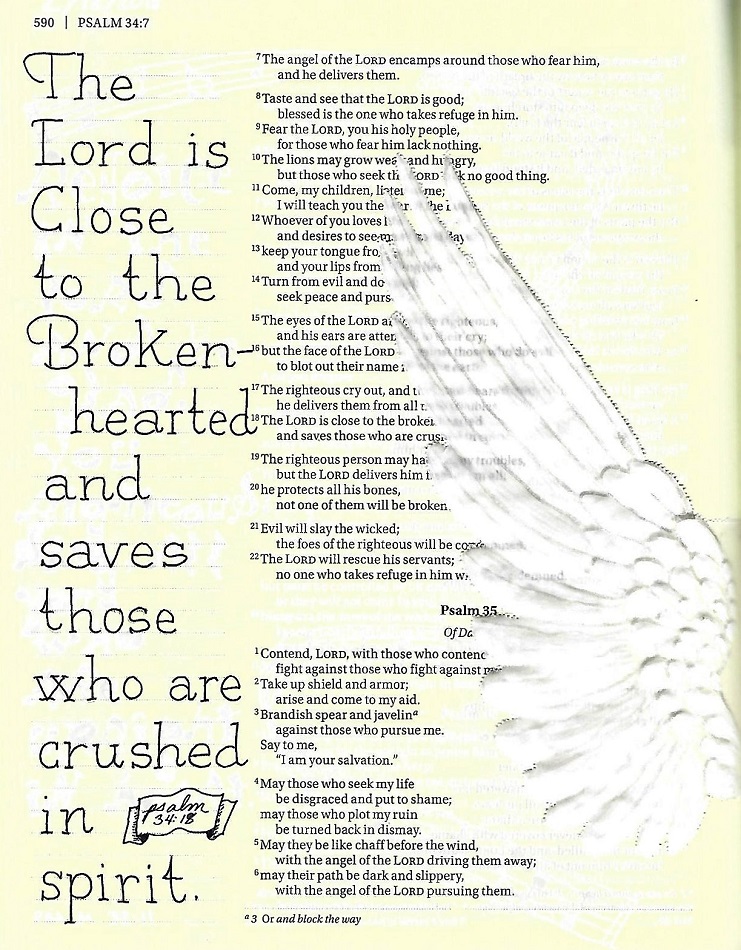
Finally, the next prompt was Be Thankful For Comfort.

Yeah, I kinda needed this right now.


Psalm 34:18 will be my comfort right now.

Ddd


Posted by studio3d@ccgmail.net at 11:27 AM PST
Monday, 5 November 2018
Love Conquers All
Topic: Bible Journaling

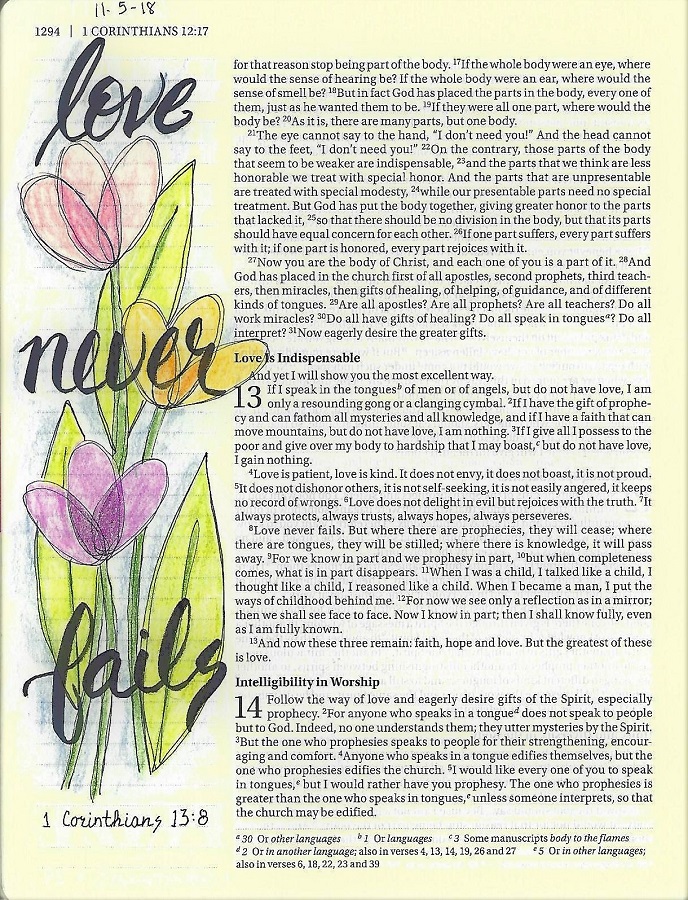
#BeThankfulFor Love. How can you NOT be thankful for love?

I used a tulip drawing technique I learned from a Sandy Allnock video, colored them with PrismaColor Premier colored pencils. and did my lettering right over it with a brush pen.


I used the first part of 1 Corinthians 13:8 as the text.

Ddd


Posted by studio3d@ccgmail.net at 12:01 AM PDT
Sunday, 4 November 2018
Home Sweet Homes
Topic: Bible Journaling

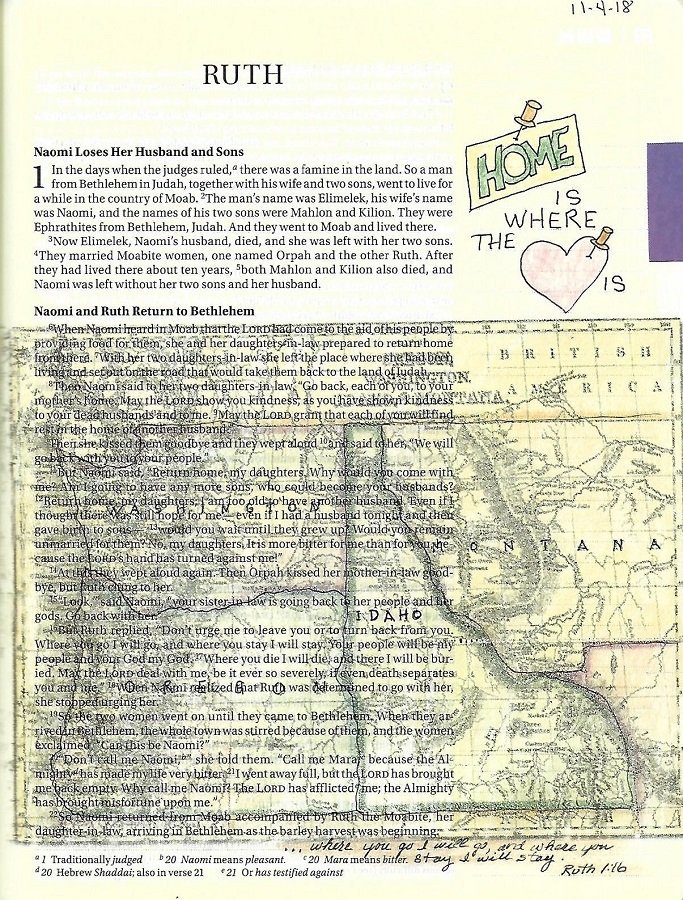
I counted up the places (abodes) where I have lived in my 65 years and came up with a total of 23. In each move it was a matter of going along with family - first my parents then my husband.

In celebrating the #BeThankfulFor challenge today the prompt word was 'Home'.

It seemed appropriate to include my Bible journaling for 'home is where the heart is' in the book of Ruth.

I used a waxed paper transfer technique to put an antique map of the Pacific Northwest onto my page. This includes the four states I have lived in: Montana, Idaho, Washington and Oregon.


I colored my text using colors from the map and then wrote the scripture at the bottom.

Ddd


Posted by studio3d@ccgmail.net at 7:31 PM PDT
Saturday, 3 November 2018
Line Of Sight
Topic: Bible Journaling

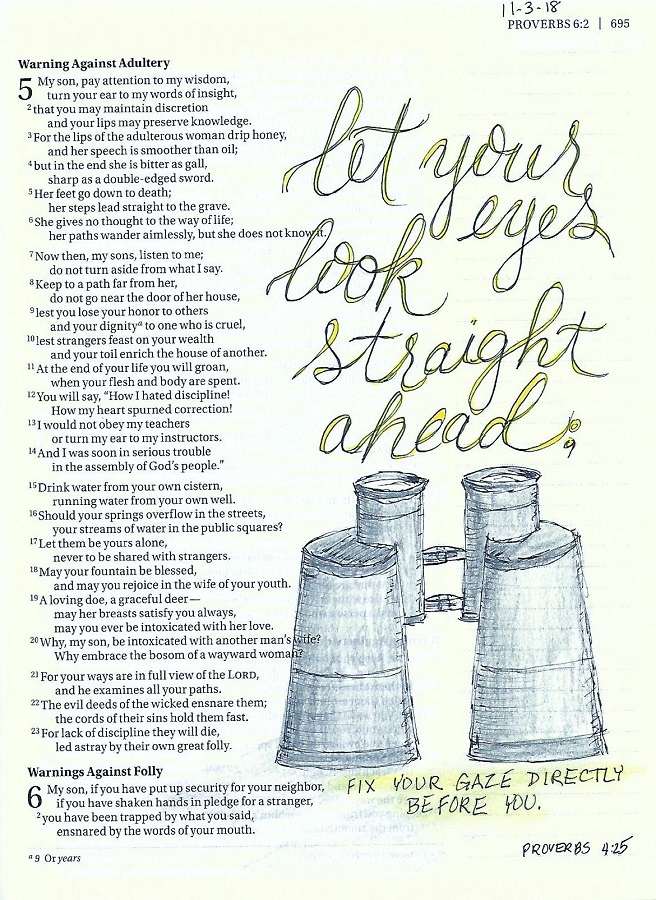
For the third day of the #BeThankfulFor challenge the prompt was 'Senses'. I chose to focus on 'sight' because I think that is the thing I would miss the most if I were to lose it.

What would I do if I couldn't see to read, write, make art, drive, and take photos? I can't imagine.

So I did a Bible journaling page with this focus.


The verse is actually on the facing page but I had already journaled a different verse over there.

Ddd


Posted by studio3d@ccgmail.net at 12:01 AM PDT
Friday, 2 November 2018
Lettering for the Kingdom
Topic: Bible Journaling

We've finished up another week of Lettering lessons with a novelty font and the word Kingdom.

Here are the daily lessons:

KINGDOM FONT - DAY 1 – INTRODUCTION

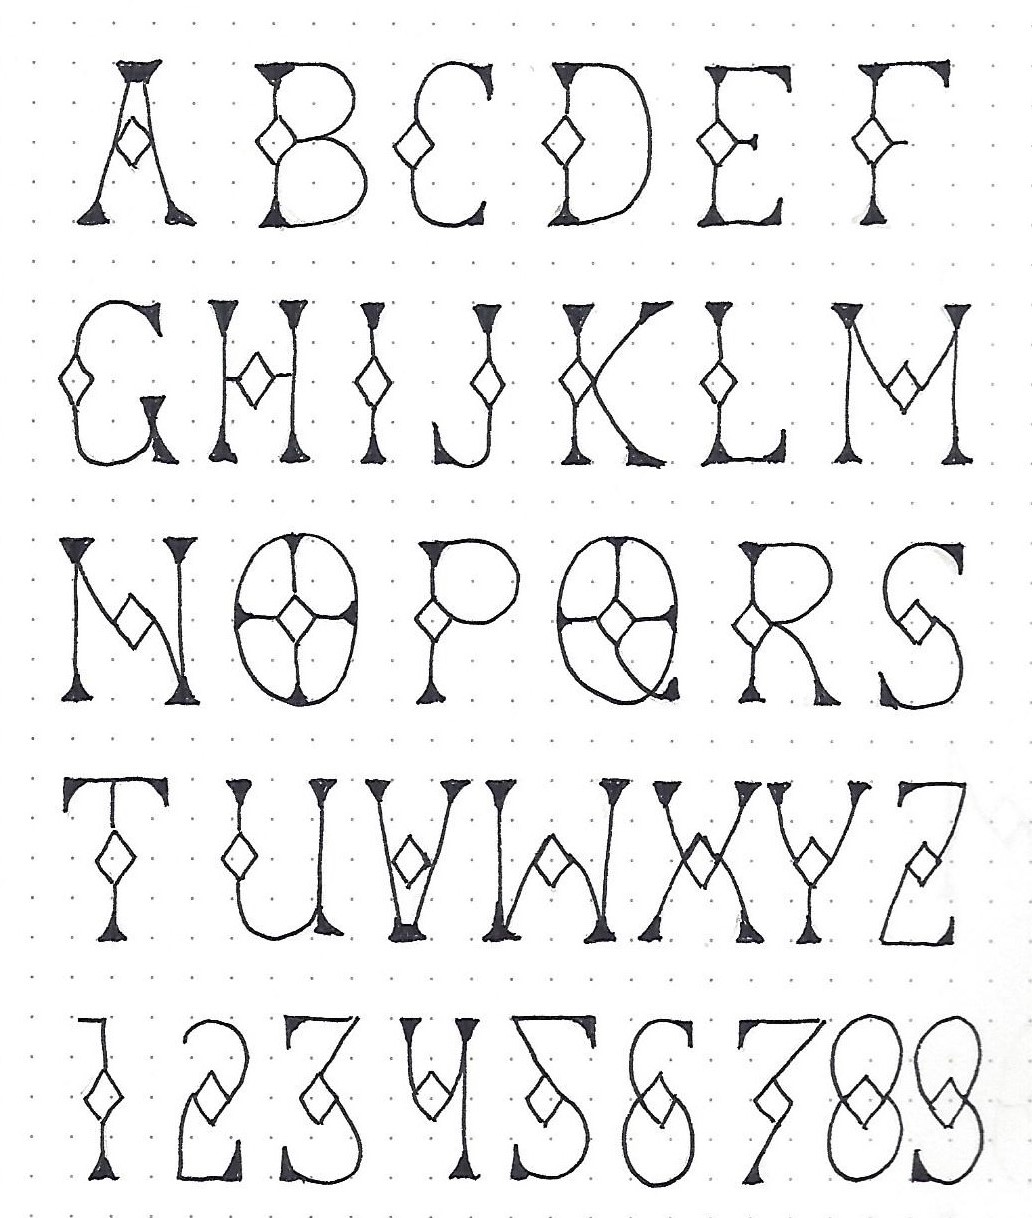
In the novelty print we are learning this week, there is only an upper-case. But this font is truly regal. This is why we will use it for the word KINGDOM.

The letters are all based on a centrally placed diamond. It will need to remain a constant size and be at a consistent location on the centerline horizontally.

Each of the letters also has triangle-shaped serifs.

To get these letterforms just right, here is my process:

·         Use pencil to sketch in the base letter


  • ·         Draw the diamond
  • ·         Ink the diamond
  • ·         Ink the rest of the base letter
  • ·         Ink the serifs
  • ·         Erase the pencil


KINGDOM FONT - DAY 2 - ALPHABET

The art of this style is in the consistency of the diamonds in size, shape and placement. Further beauty is added with consistent size and shape of the feet. Result? Regal lettering!

I am in love with the O and the Q! I included a number set for this font, as well.

Remember the steps:


  • ·         Use pencil to sketch in the base letter
  • ·         Draw the diamond
  • ·         Ink the diamond
  • ·         Ink the rest of the base letter
  • ·         Ink the serifs
  • ·         Erase the pencil


KINGDOM FONT - DAY 3 – ANAGRAM

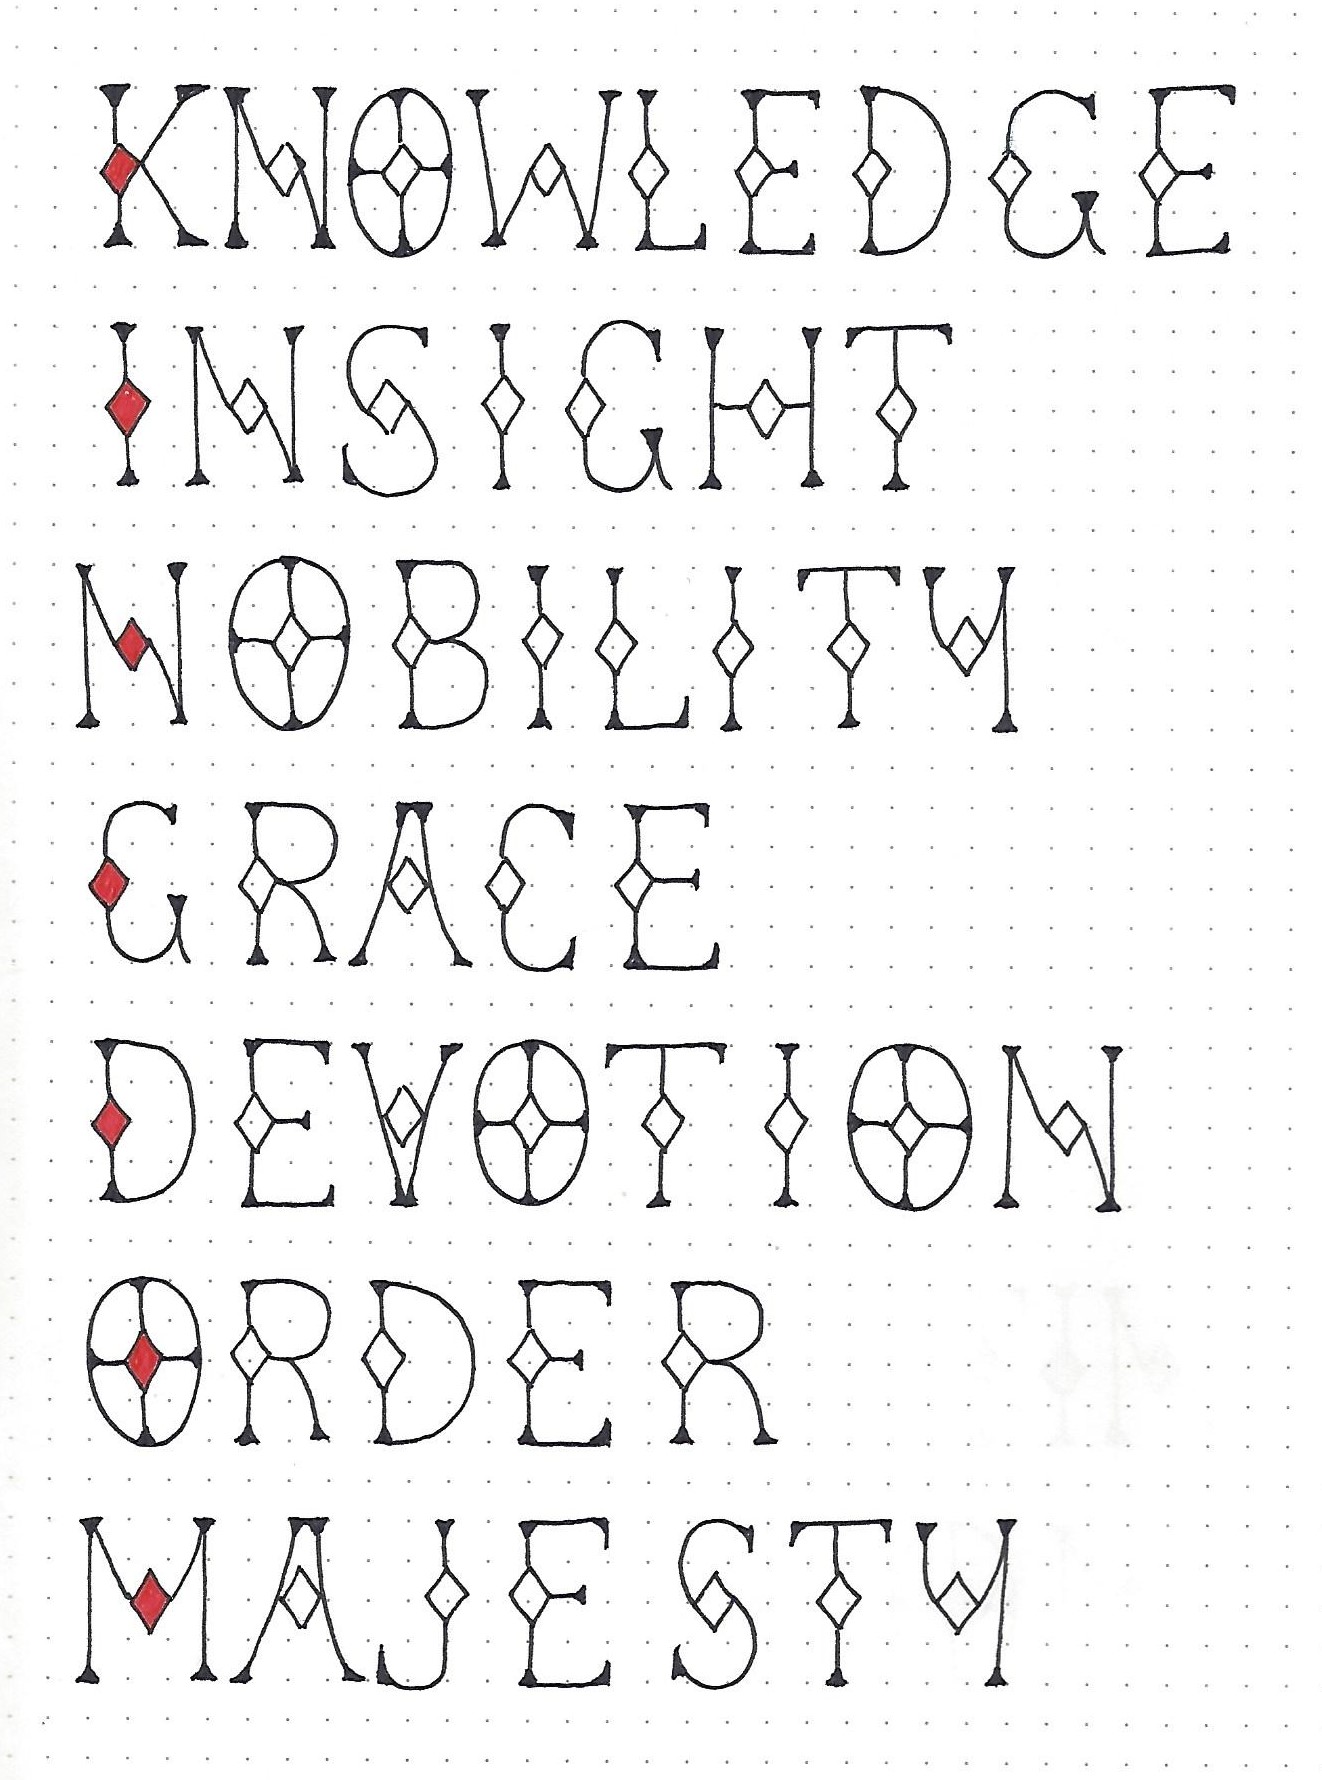
This week I created an anagram off the word KINGDOM using words that describe the kingdom of God.

I used color in the diamonds in the initial letters. This helps define the focus word.

Now, do you see my big boo-boo? I used the number 4 in place of the letter Y! I don’t know how I got off on this track but I managed to do it for the rest of this week’s samples! Good grief! But it doesn’t glare too much, does it?


KINGDOM FONT - DAY 4 – SCRIPTURE WRITING

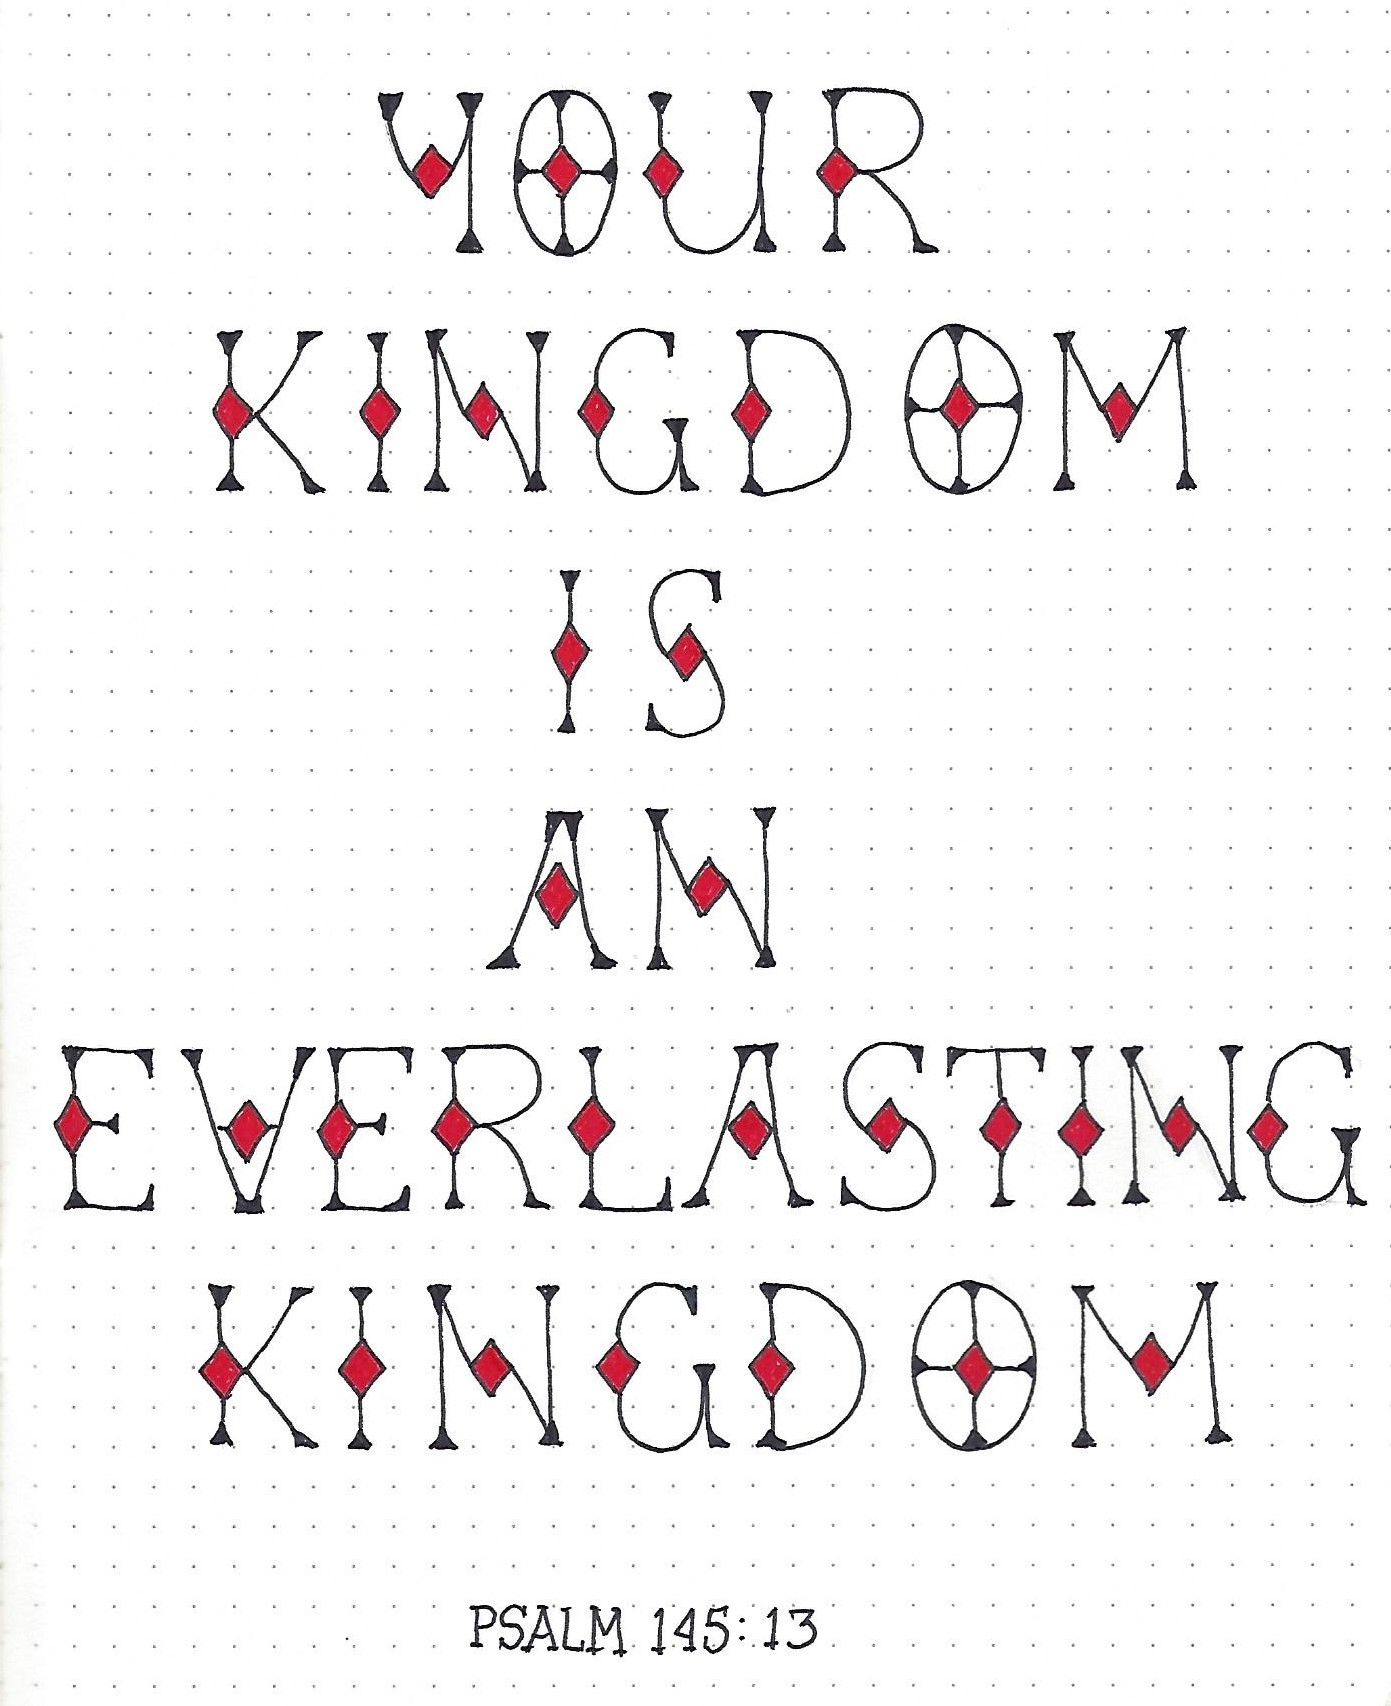
And this page starts with that crazy ‘Y’! Oh well. Now you all know that I am susceptible to messing up, too.

I used the color in all the diamonds throughout and worked on centering all the words to make this piece of scripture a showpiece.

The scripture reference is written with a stripped-down version of the feature font - it has the diamonds left out.

Write a scripture using the new font and the word KINGDOM.


KINGDOM FONT - DAY 5 – TAKE IT TO YOUR BIBLE

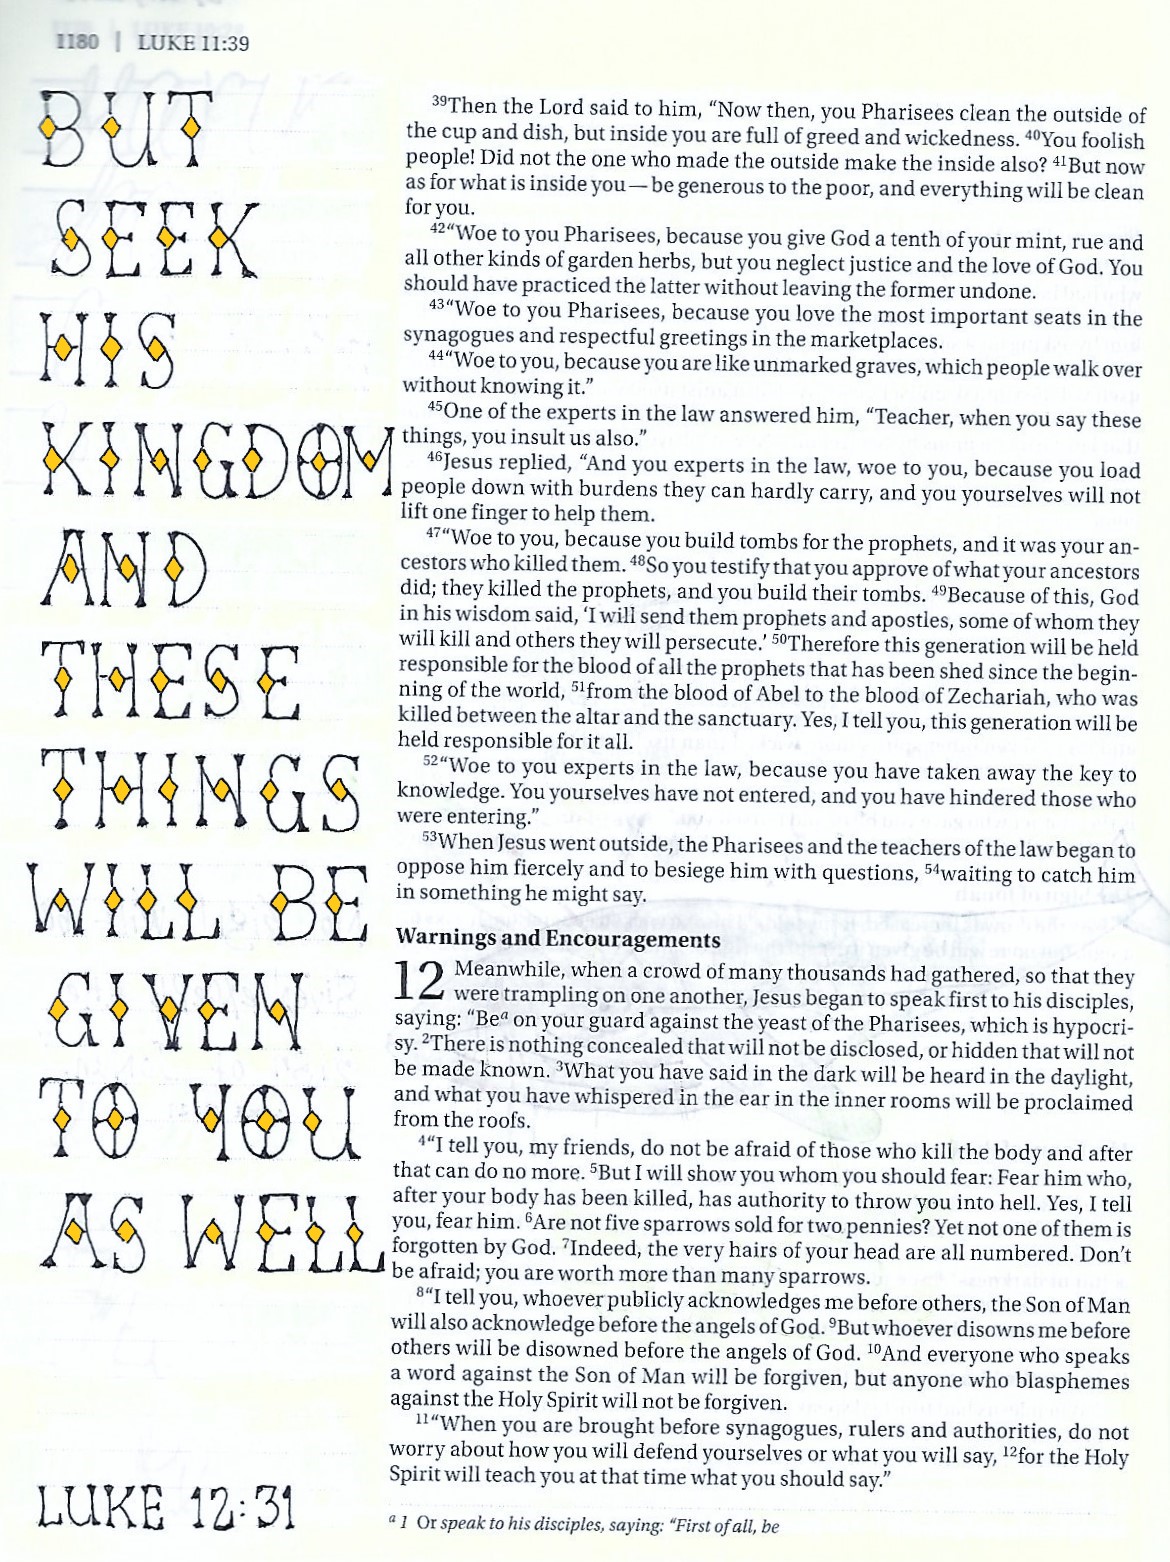
This regal font was used in my Bible and the diamonds filled with gold for the majestic feeling.

Some of these letter forms that have complicated lines are harder to do when scaled down for use in the Bible. But I think this one works pretty well.

Don’t forget the steps to success:


  • ·         Use pencil to sketch in the base letter
  • ·         Draw the diamond
  • ·         Ink the diamond
  • ·         Ink the rest of the base letter
  • ·         Ink the serifs
  • ·         Erase the pencil


That's it for the Kingdom Font.

Ddd 


Posted by studio3d@ccgmail.net at 12:01 AM PDT
Favorite Foof
Topic: Bible Journaling

Continuing with the #BeThankfulFor challenge, the prompt was 'Food'.

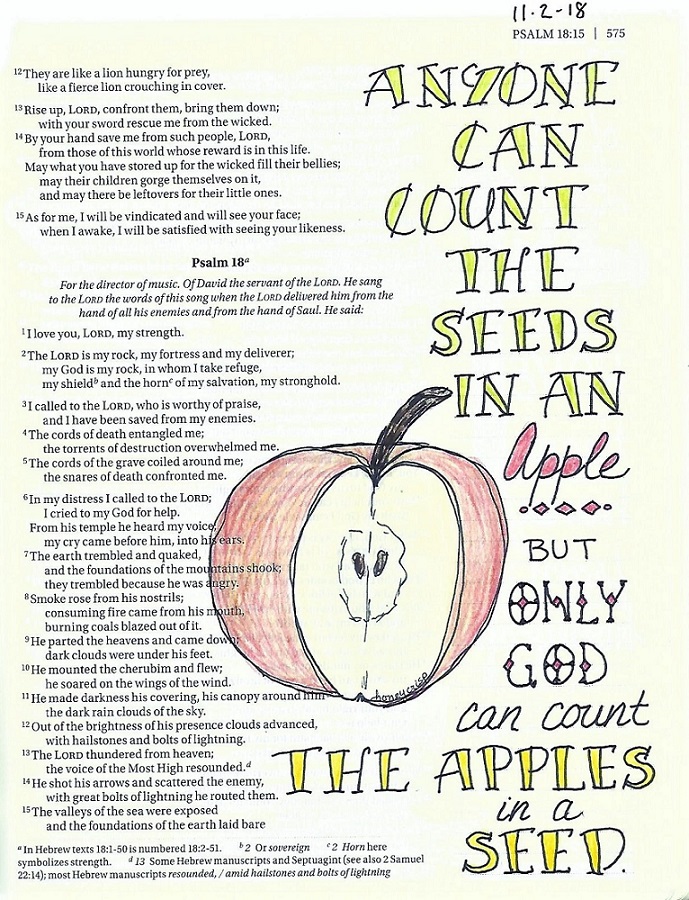
To me there is nothing that beats a Honeycrisp Apple. They are the perfect combination of crunchy, juicy and sweet. I could seriously eat them every day!


I used the prompt to create a Bible journaling page with a quote instead of a scripture even though, on the facing page, it asks God to 'keep me as the apple of your eye'.


Ddd


Posted by studio3d@ccgmail.net at 12:01 AM PDT
Thursday, 1 November 2018
Be Thankful For... Memories
Topic: Art Challenges

Occasionally I come across an art challenge that I want to participate in online. Up to now these have been posted under their particular topic based on the medium (watercolors, sketching, etc.) However, the current one can be in any medium as long as it represents the word prompt.

The theme #BeThankfulFor will run for the entire month of November and I will be trying to participate daily if I can manage it.

So here goes:

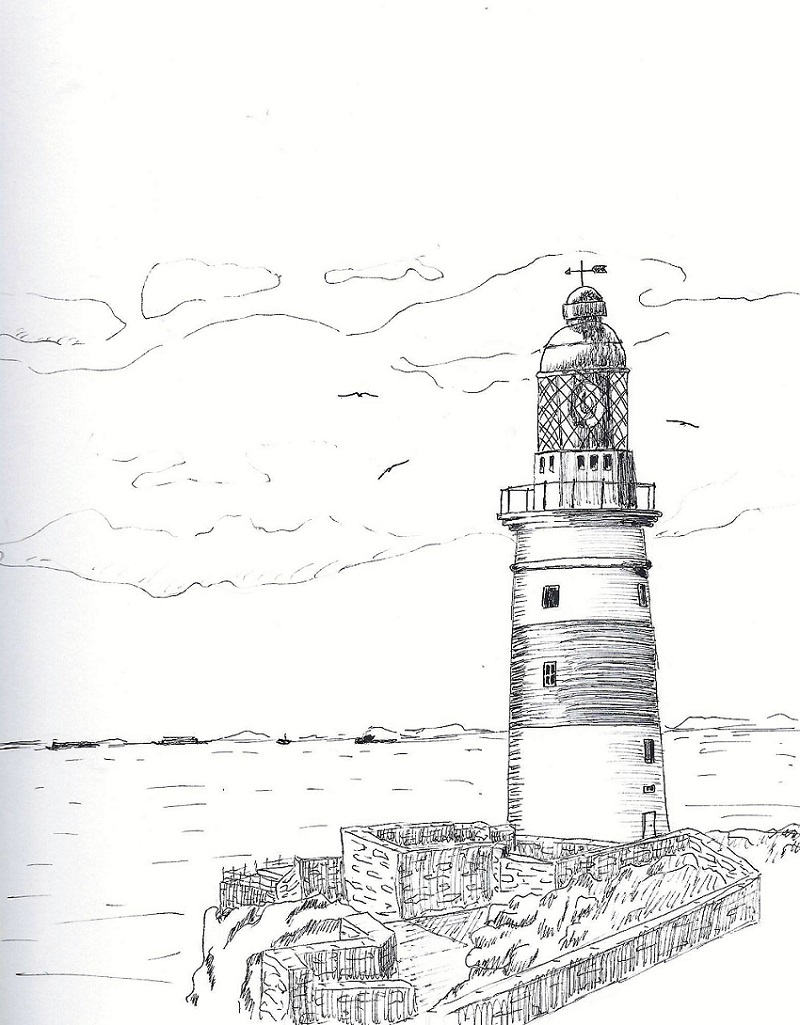
November 1 - #bethankfulfor Memories

"Growing up we used to take vacations at the Oregon Coast because it was inexpensive on a limited income. I fell in love with lighthouses early on. I have never actually been inside one yet, though.

"I love taking photos of lighthouses and this one in Gibraltar was spotted on our cruise in the Mediterranean last year. Because it is so distinctive with its lattice grid it immediately brings back great memories."

Rendered in Micron Pen.


This is the photo in my travel archives on which the drawing is based:


See you again soon.

Ddd


Posted by studio3d@ccgmail.net at 4:54 PM PDT
Wednesday, 31 October 2018
A Perspective On Drawing
Topic: Drawing

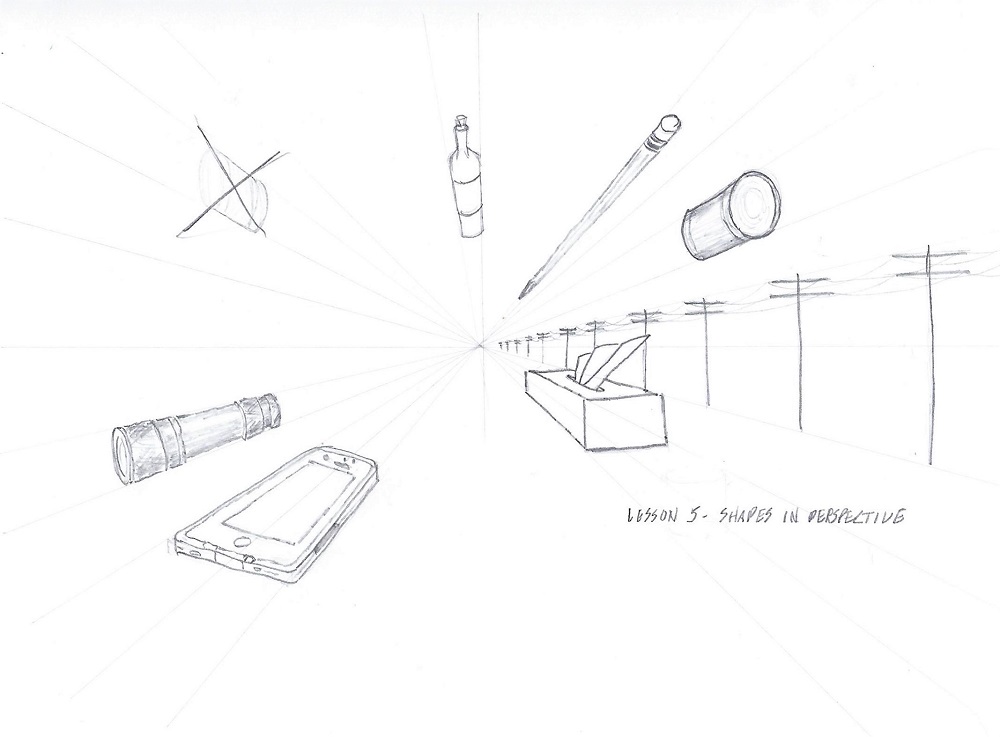
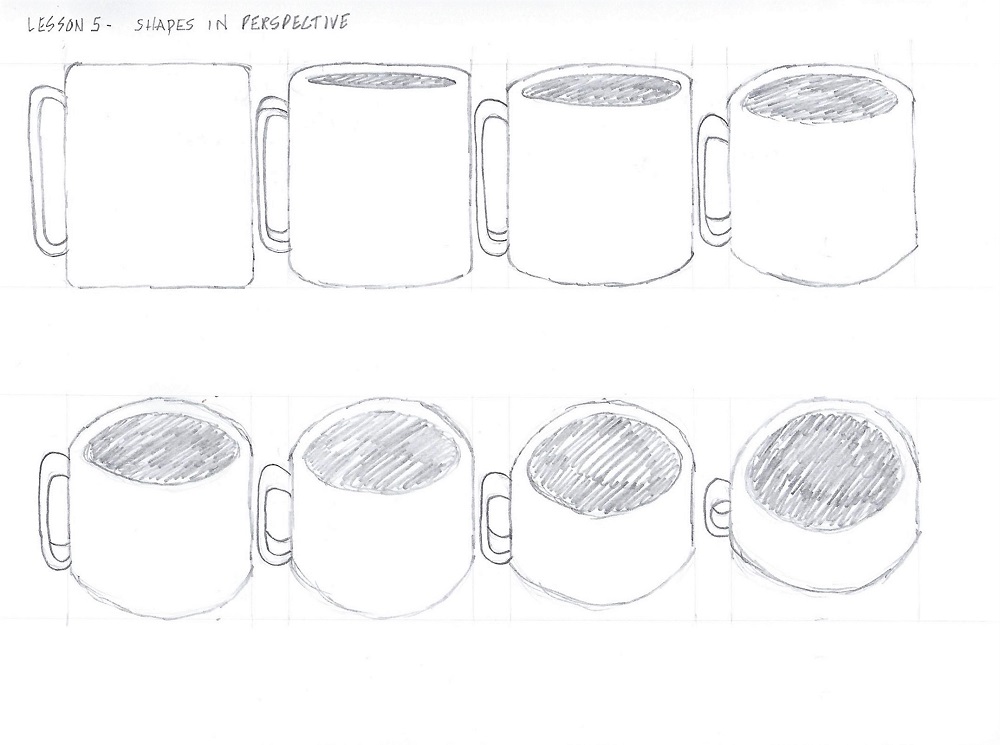
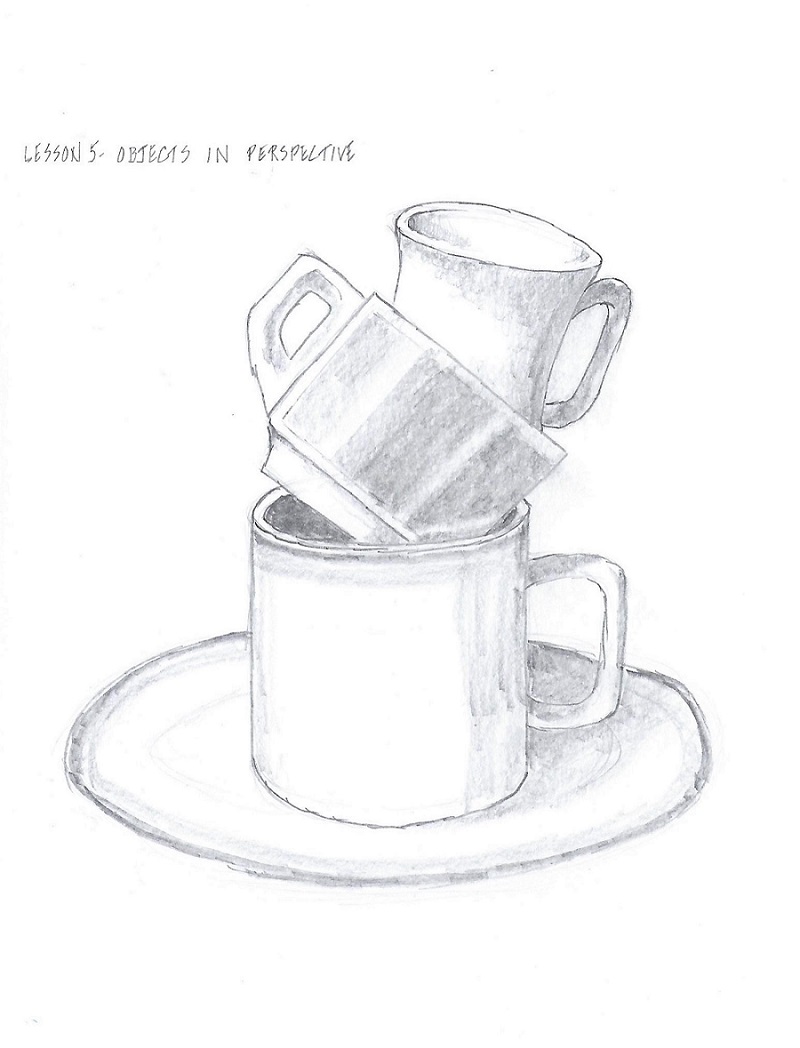
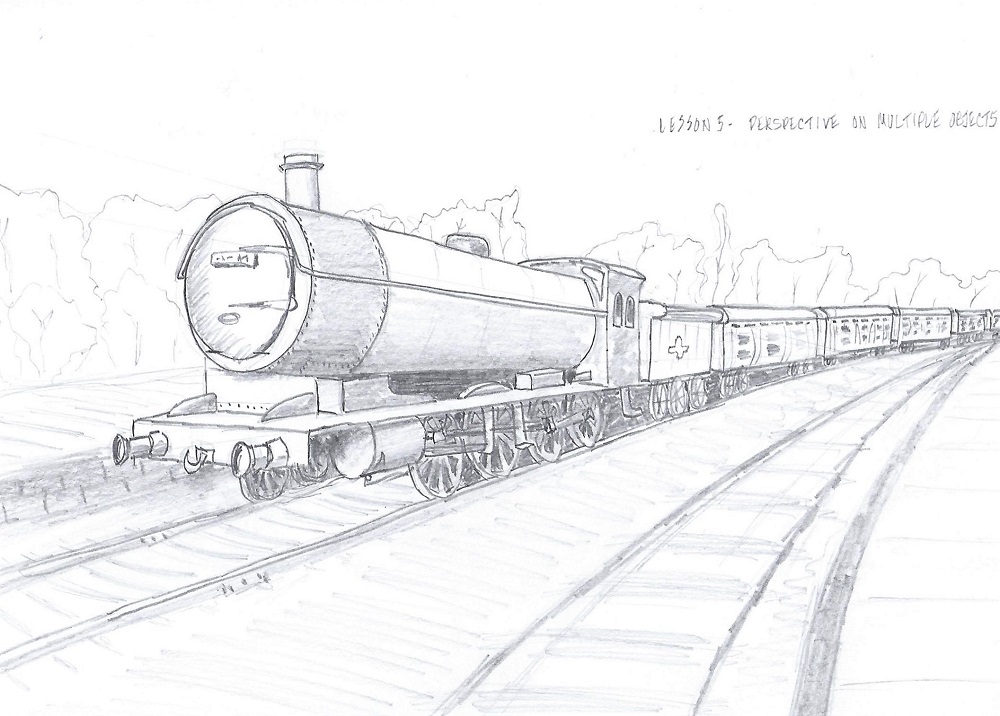
I am SO MUCH enjoying taking this online Drawing 101 class at Art-Classes.com.

I am up to lesson 5 - various shapes and objects in perspective.

These are the exercises and drawings I did:


That train gave me a run for my money!

Ddd


Posted by studio3d@ccgmail.net at 7:24 PM PDT
Saturday, 27 October 2018
Sad To Say
Topic: Multi-Technique

It is always sad when I need to make a sympathy card. This time, our next-door neighbor passed away and sentiments were due to the family.

I had on hand a Dazzles outline floral sticker that I had mounted on a fuscia foil cardstock. This I trimmed down for a starting point. 

I found a piece of white embossed cardstock that I got in a a swap. With a little layering (gold foil cardstock and a white card base) it all came together.

I used a gold Dazzles sticker for the text.


Hope I don't need another for a long time.

Ddd


Posted by studio3d@ccgmail.net at 12:01 AM PDT
Friday, 26 October 2018
The Highs and Lows of Drawing
Topic: Drawing

It didn't take long before I was anxious to move on to the next drawing lesson.

This lesson was on multi-point perspective. Trying to get the angles AND relative sizes correct was hard. The original photo had multiple rooflines below this but I ran too close to the bottom of the page so those partial lines made no sense. The solution - leave them out!

So, here is the drawing for lesson 4:


Done!

Ddd


Posted by studio3d@ccgmail.net at 9:30 PM PDT
Thursday, 25 October 2018
On The Right Path
Topic: Bible Journaling

I put up a new lettering lesson this last week.

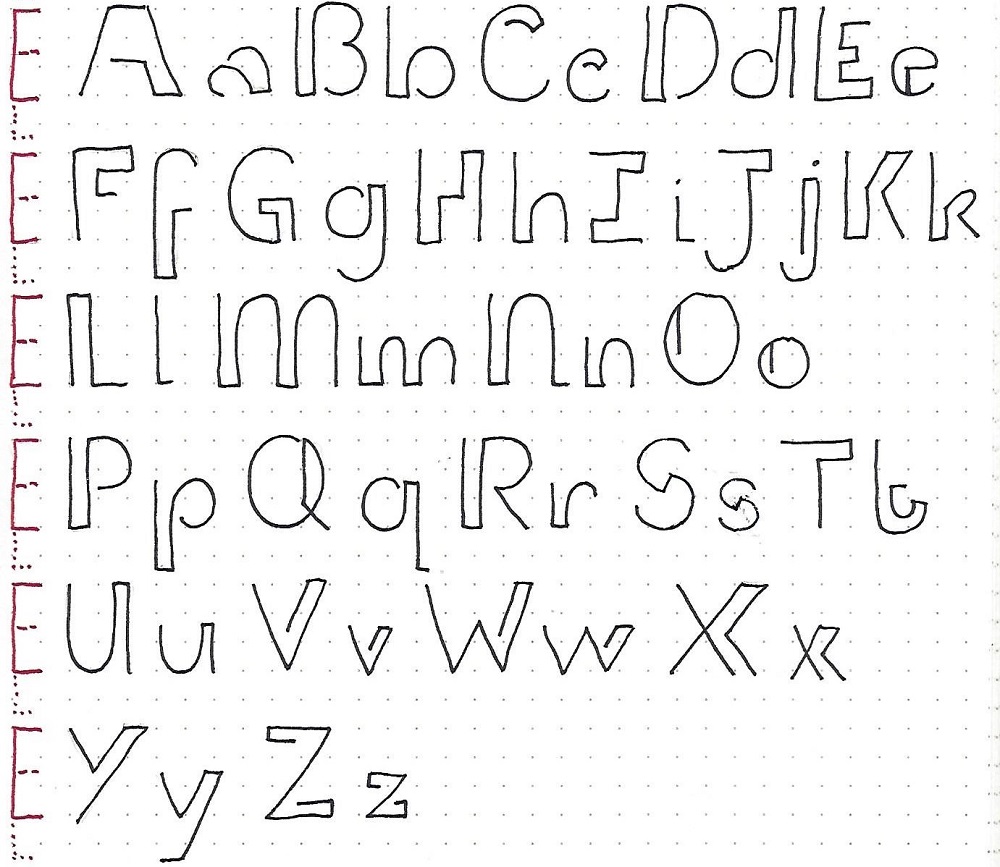
This was a strange little novelty print that has the sort of look of a maze. So I named it PATH and that became the focus of the scriptures chosen to work with. Here are the lessons:

PATH FONT - DAY 1 – INTRODUCTION

This week we are going to do a novelty print that, to me, is reminiscent of a maze. So, we are going to use it for the word PATH.

The scale of this is shown in the red guides on the left side. The x-height is 1/2 of the full letter height and the descender is an equal amount. In this example, the scale is 3 units for the ascender, 1 1/2 for the x-height and 1 1/2 for the descender. The path of double lines is 1 unit.

The thing to watch for in forming the letters of this font is consistency in the spacing of the double line tracks. They can be ‘slightly’ narrower on the lower-case than the upper- but within each case they should remain consistent. In my experience, this is harder on the curves, but you’ll get it with practice.


PATH FONT - DAY 2 - ALPHABET

I used the same scale for this alphabet as on the example yesterday.

Some of these letter forms are just so much fun! Some of them look almost like shadow letters and some look a little 3D. This font is unlike any other we have done.

As we studied yesterday, work on keeping the spacings within the letters consistent.


PATH FONT - DAY 3 – CROSSWORD

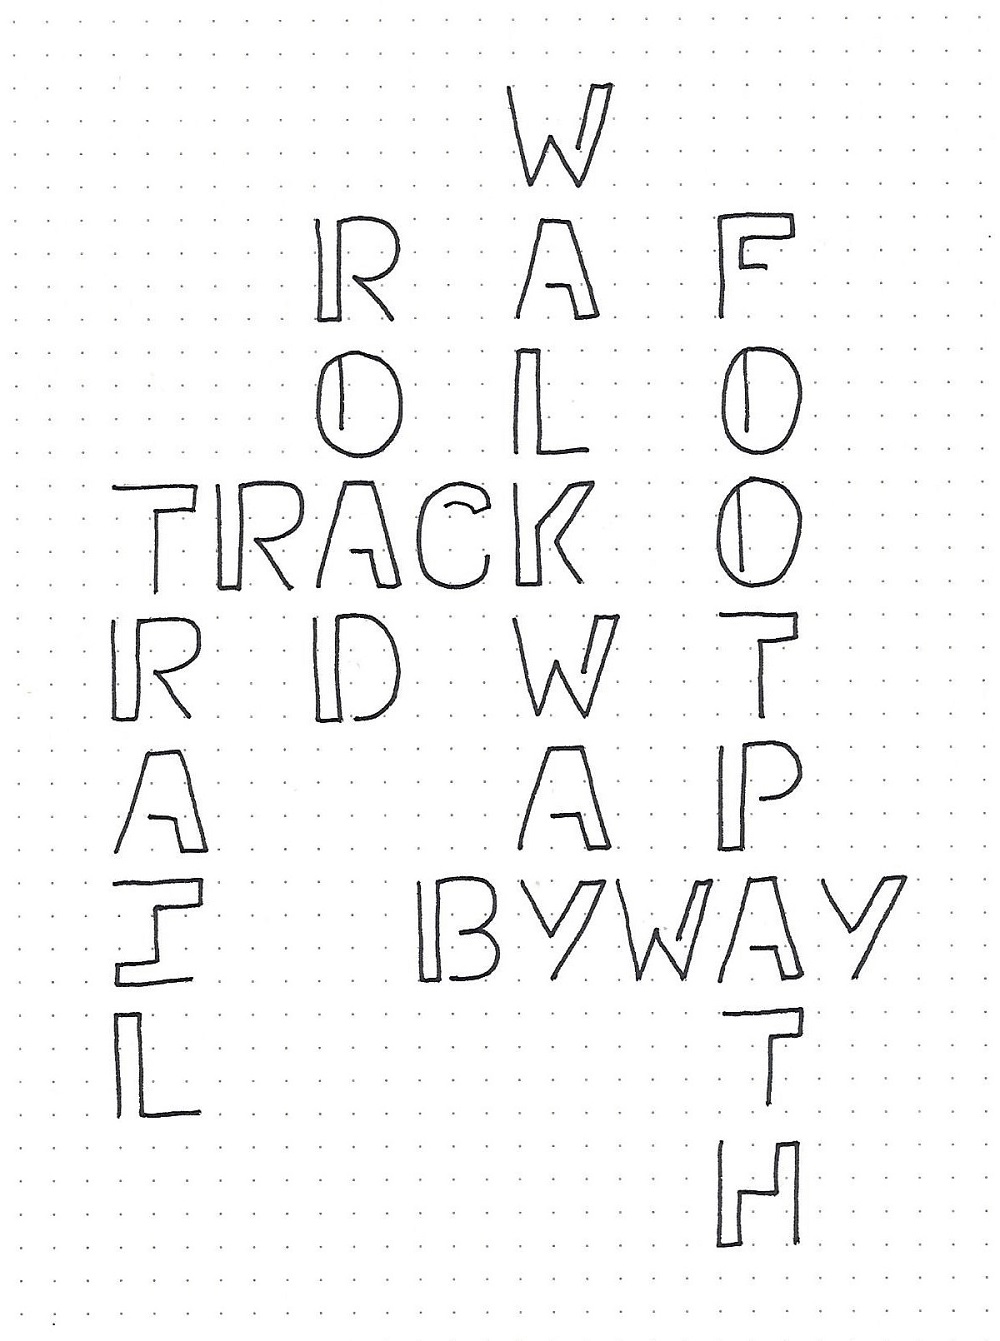
I used all caps to create a crossword of synonyms for ‘PATH’. The benefit to all caps is that the space taken up by each letter (baseline, height and width) is constant which is needed for a crossword.

You can choose to a different activity but I suggest using all caps, too, so you can get a lot of practice on them. When using standard text-writing layout you get less practice on the upper-case letters.

Have fun composing a project.

PATH FONT - DAY 4 – SCRIPTURE WRITING

Today we are going to write a scripture using the Path font. When writing out blocks of text like this I like to use caps on every word.

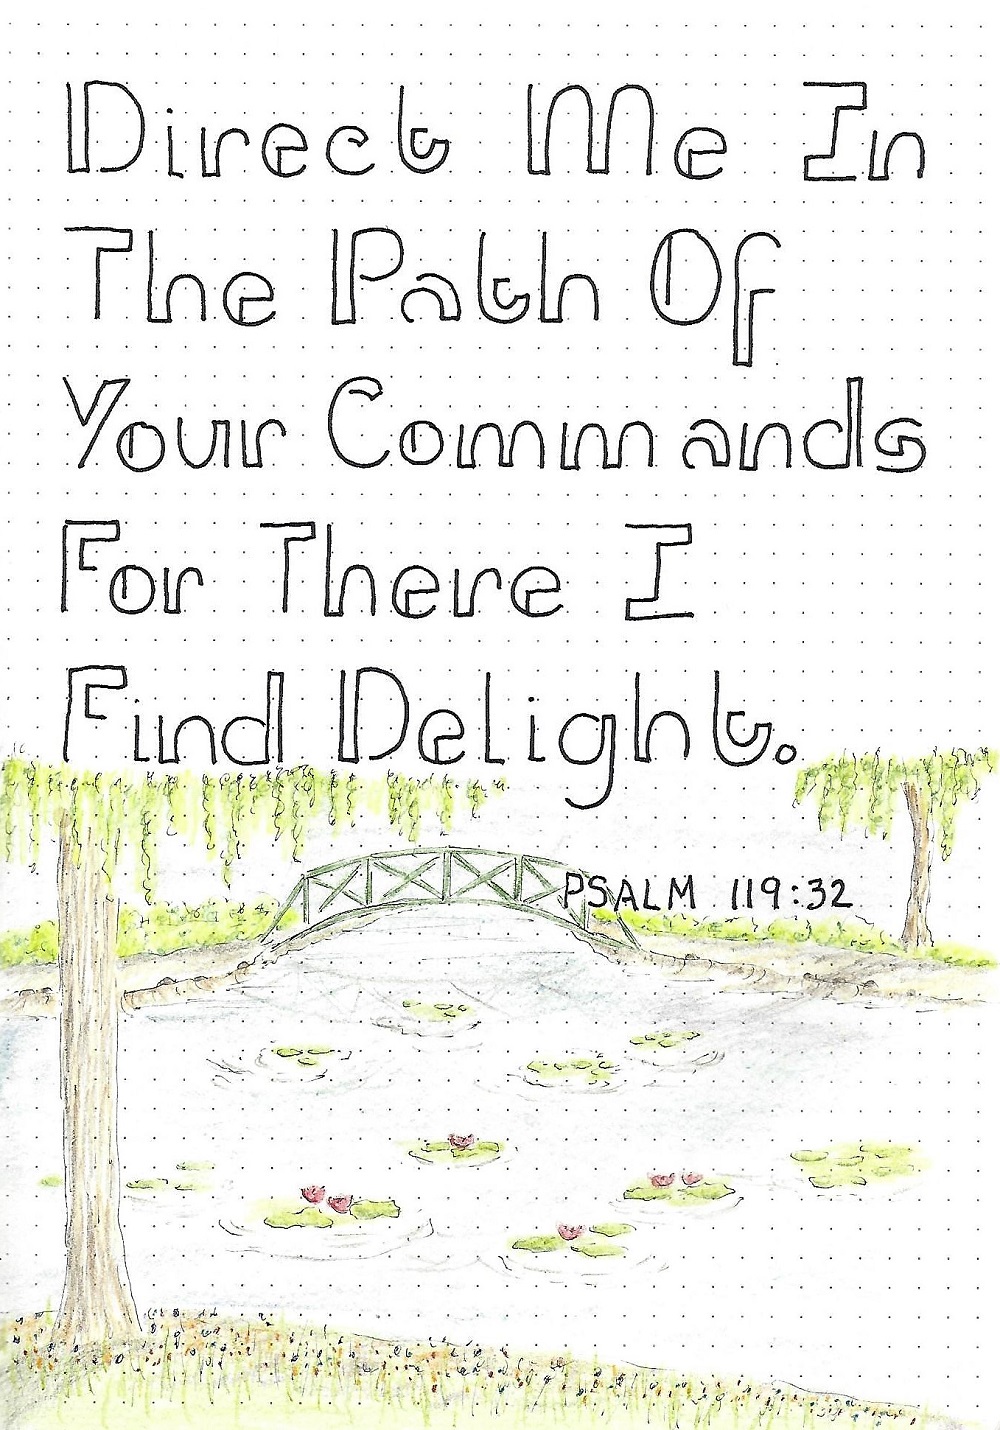
It was fun to use the footbridge from the Drawing Room to illustrate my piece. This was inspired by my recent trip to France and a visit to Monet’s Water Garden at Giverny!

What will YOU be inspired to create?


PATH FONT - DAY 5 – TAKE IT TO YOUR BIBLE

In your Bible, choose a verse that uses the word ‘path’ and use the new font to write it out. You can certainly combine it with other fonts if you choose.

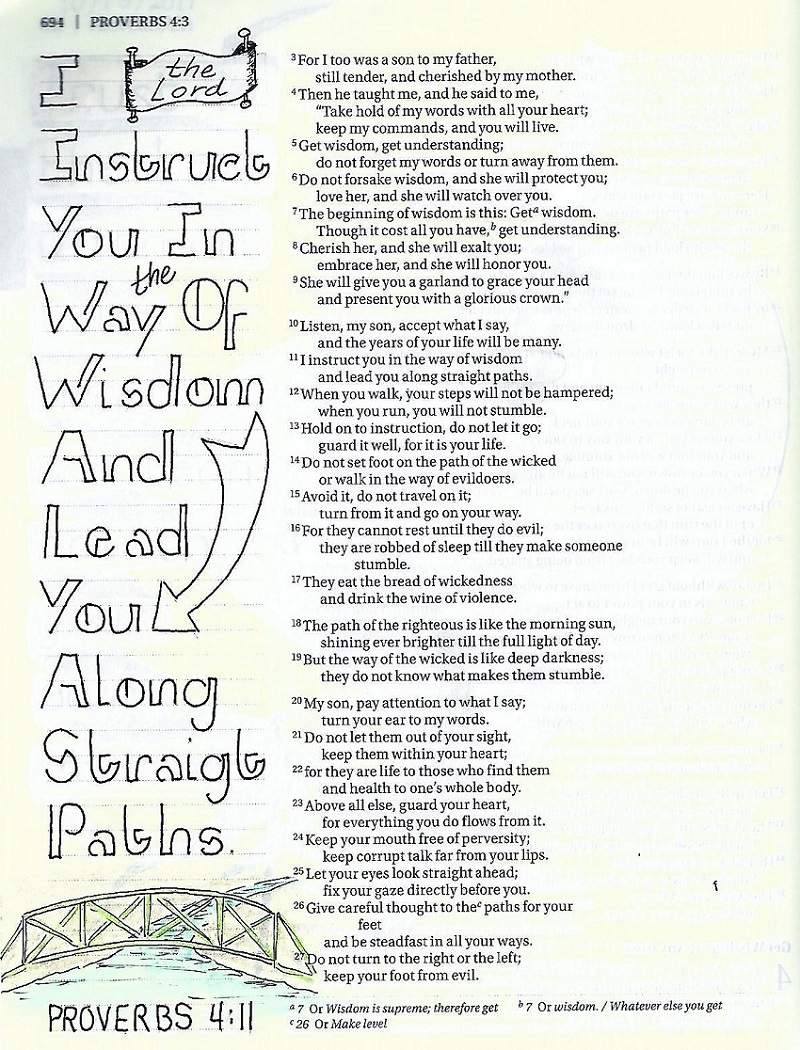
As I am posting this, I suddenly see a typo in the word ‘straight’. I find that I can fix these little errors with a bit of Dry-line white out followed by inking the letters over the top.

I used the footbridge again for this page.


I hope you are getting some use from these lettering lessons???

Ddd


Posted by studio3d@ccgmail.net at 9:42 PM PDT
Wednesday, 24 October 2018
Drawing On My Travels
Topic: Drawing

The next lesson in the Drawing 101 class was on one-point perspective.

I know my own tendency, when working from provided photos and teacher sample drawings, is to base my own drawing too much on the derivitave work. I need to work from a photo with a similar concept but one I have not seen drawn. That way I get original work and learn the lessons rather than just duplicating someone else's work.

So I decided to use some of my own travel photos for reference.

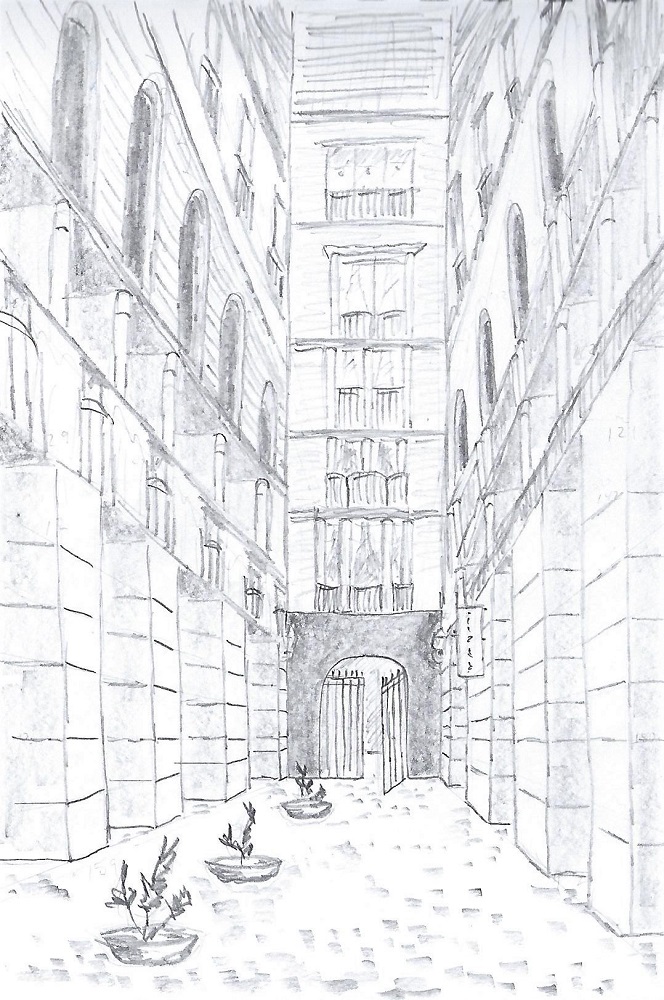
This is a courtyard in Barcelona, Spain where we visited on a cruise a couple of years ago.


I took some liberties with the contents of the various floors on the right and left as those in the photo were boring. What isconsistent with the photo is the angle of view, which was the point of the lesson.

Ddd


Posted by studio3d@ccgmail.net at 3:55 PM PDT
Monday, 22 October 2018
Following Along
Topic: Bible Journaling

Another week of lettering lessons - this time with a 'signage' style. What a lot of fun I had with this one. Here are the daily lessons:

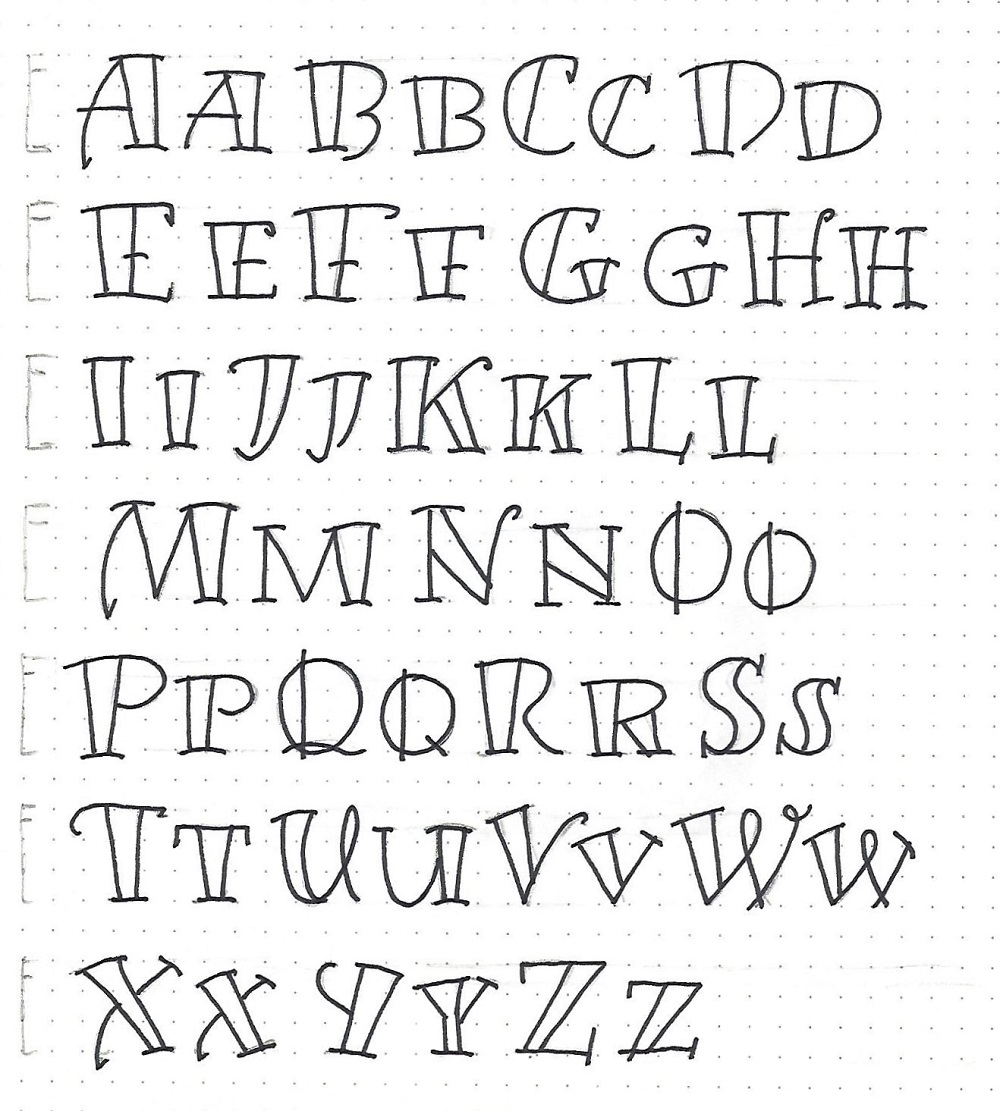
FOLLOW FONT - DAY 1 – INTRODUCTION

The font we are learning this week is of a style that might look good in signage.

The letters feature open spaces that can be colored in for more impact. We’ll get to do that later in the week after becoming familiar with the letter forms.

Remember P-I-E? That’s Pencil-Ink-Erase which we use to work toward our best letter forms.

I hope you have a go at this.

FOLLOW FONT - DAY 2 - ALPHABET

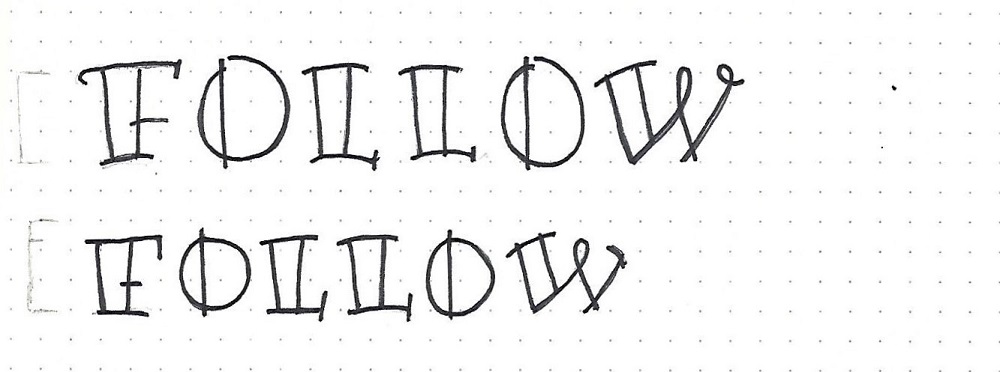
The nod to lower-case in this font is mostly to make smaller versions of the upper-case. There are a FEW cases where there is a difference. However, you can treat these as ‘alternative’ forms for the letters and switch them around.

The ‘A’, ‘M’ and ‘X’ have a variation on the length of the tail. The ‘H’ varies in the serif form as does the ‘K’ the ‘N’, the ‘T’, the ‘V’ and the ‘W’. The ‘Q’ varies in the way the tail is designed. The ‘R’ has a different style for the leg. The ‘U’ has two distinct forms as does the ‘Y’.

You can either decide which one you like of each of these or use them as designed for a distinction between upper- and lower-case. But, for this exercise, I recommend writing them ALL out and then you can make your style choices later.


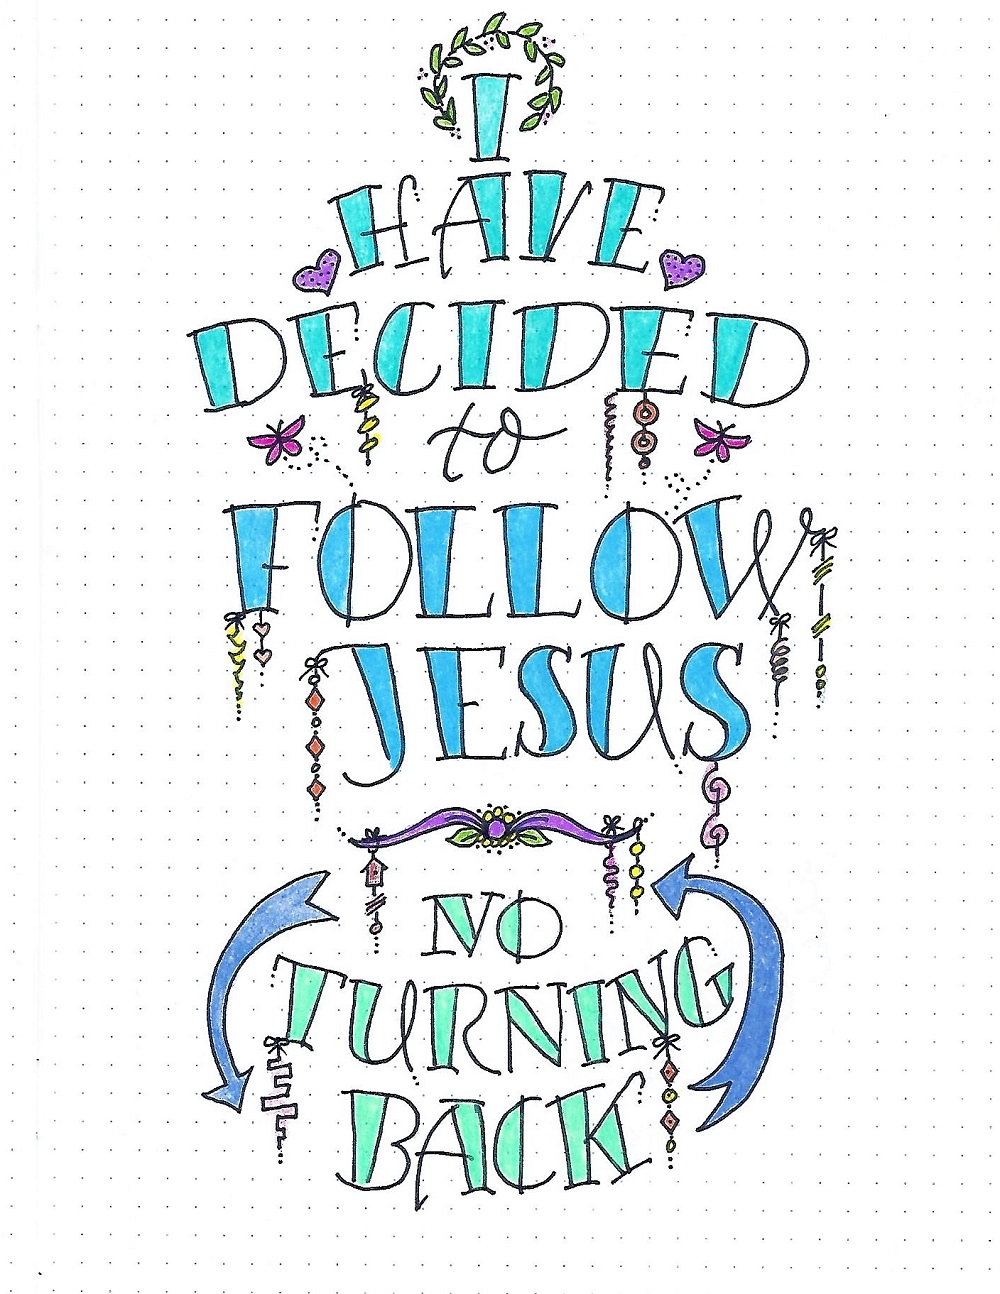
FOLLOW FONT - DAY 3 – SONG LYRICS

Today let’s use our new alphabet to create a display piece and decorate it.

First, draw some slightly curved lines to follow and write your letters along them. You will definitely want to use pencil to sketch in your letters to center the words. Use a mix of sizes for more interest.

Don’t ink until you’ve got everything lined up just as you want. Add dangles, embellishments and color to decorate your piece.

This should be a fun project to complete.


FOLLOW FONT - DAY 4 – SCRIPTURE WRITING

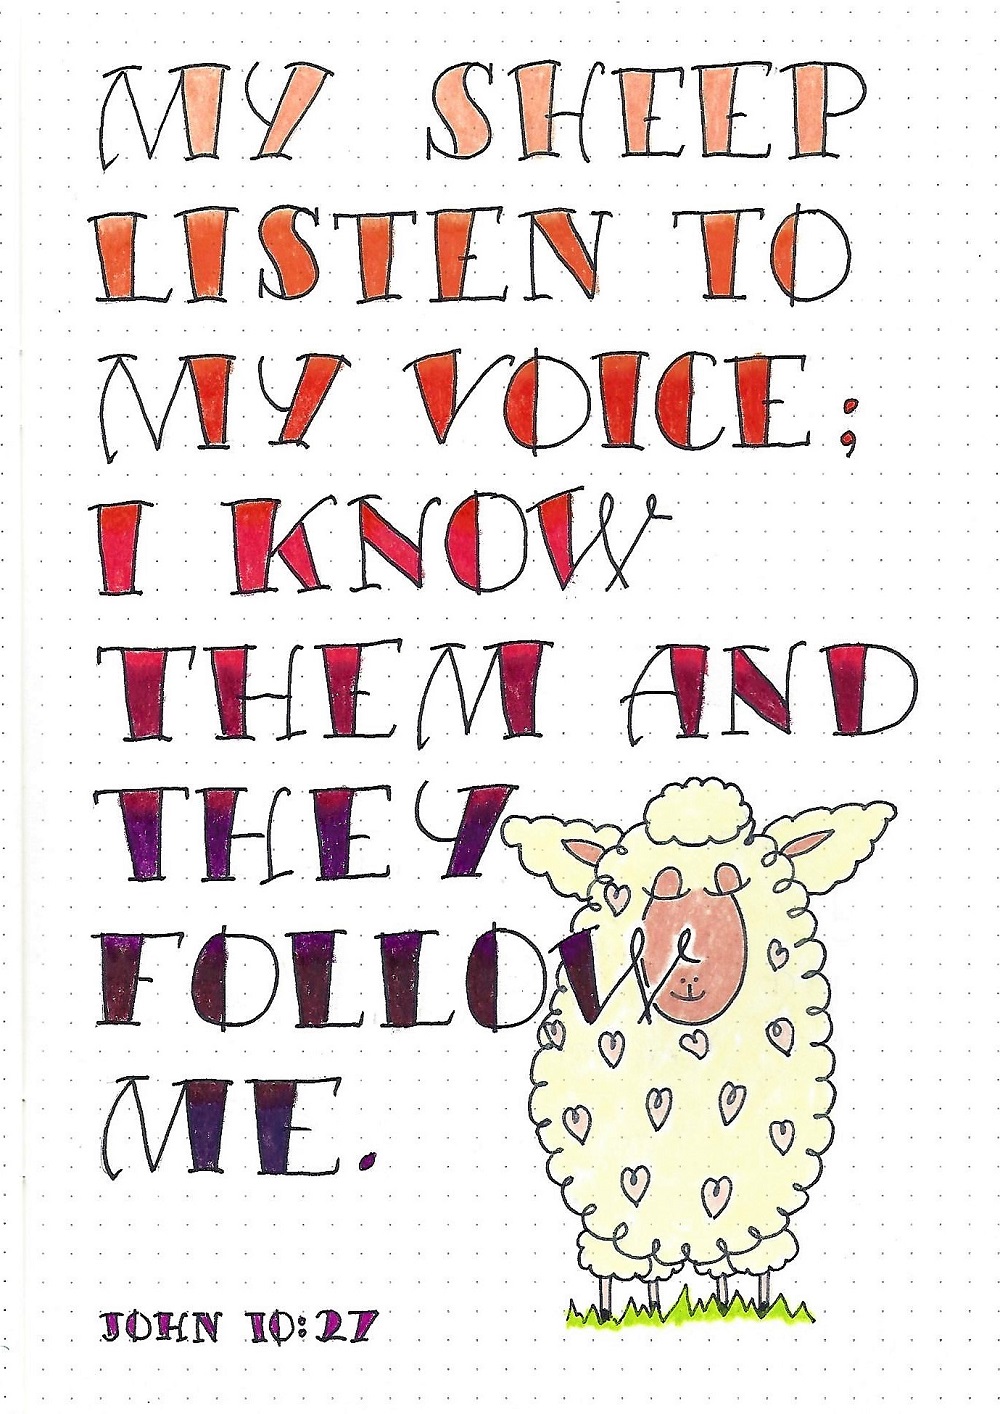
Today we’ll practice the new font by writing a scripture with the word ‘Follow’. For my sample of scripture writing I kept the letter size consistent throughout.

I colored my letters in a gradation of color using colored pencils.

I had fun adding a ‘Baaa-Sheep’ from our Drawing Room lesson from this spring.

Isn’t this a great font for ‘sign-making’?

FOLLOW FONT - DAY 5 – TAKE IT TO YOUR BIBLE

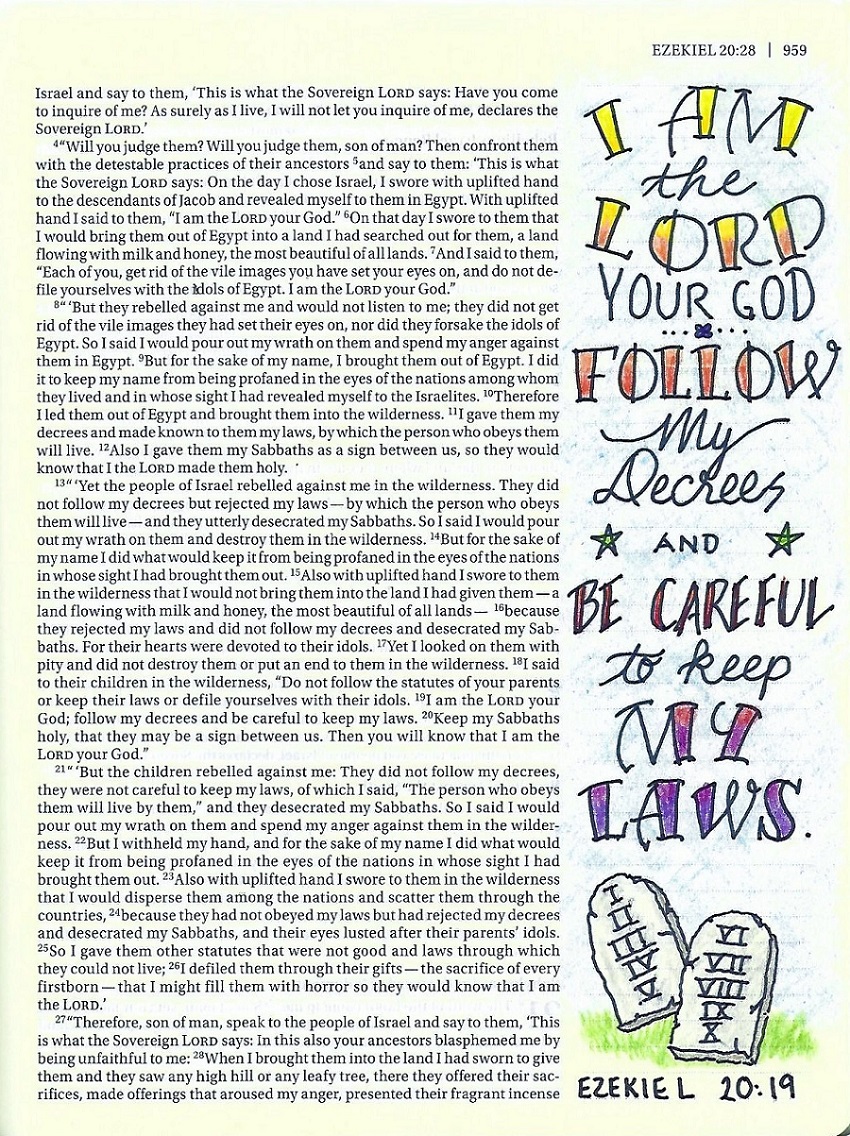
Since the font we are using this week has a lot of ‘presence’ it can stand up to combining with a mix of other fonts. It’s ‘sign-like’ characteristics makes it a natural to make lovely display-pieces.

On this page, I used the curved baselines again, combined with two different print styles and my own handwriting as the script.

I used colored pencils to add a rainbow of color from yellow at the top to purple at the bottom.

I hope you will be inspired to use the FOLLOW font in your own Bible, either by itself or combine with other fonts.

So, that’s it for another week. I hope you find good uses for this font.

Ddd


Posted by studio3d@ccgmail.net at 2:28 PM PDT
Friday, 19 October 2018
Drawn to Drawing More
Topic: Drawing

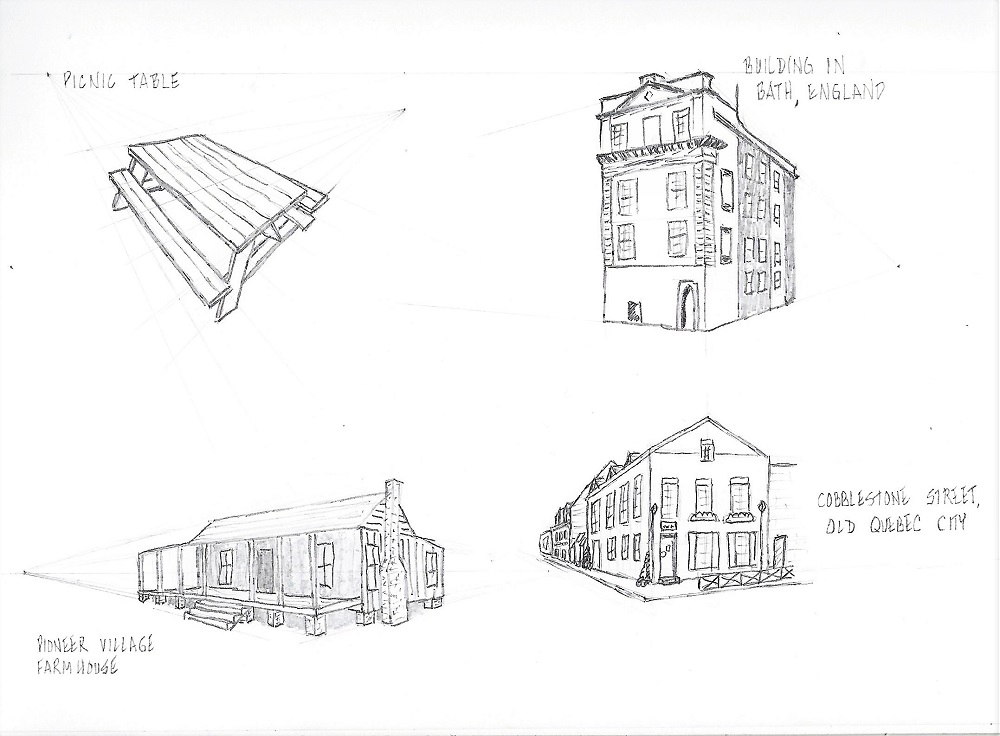
The next lesson in Drawing 101 was on two-point perspective.

First we set up a horizon line and two points on the outer ends. Then we used those reference poits to draw cubes with a mid- low- and high-horizon.


Then we worked from a variety of photos to learn how to turn those 'cubes' into buildings, maintaining the correct perspective. These were sketched.


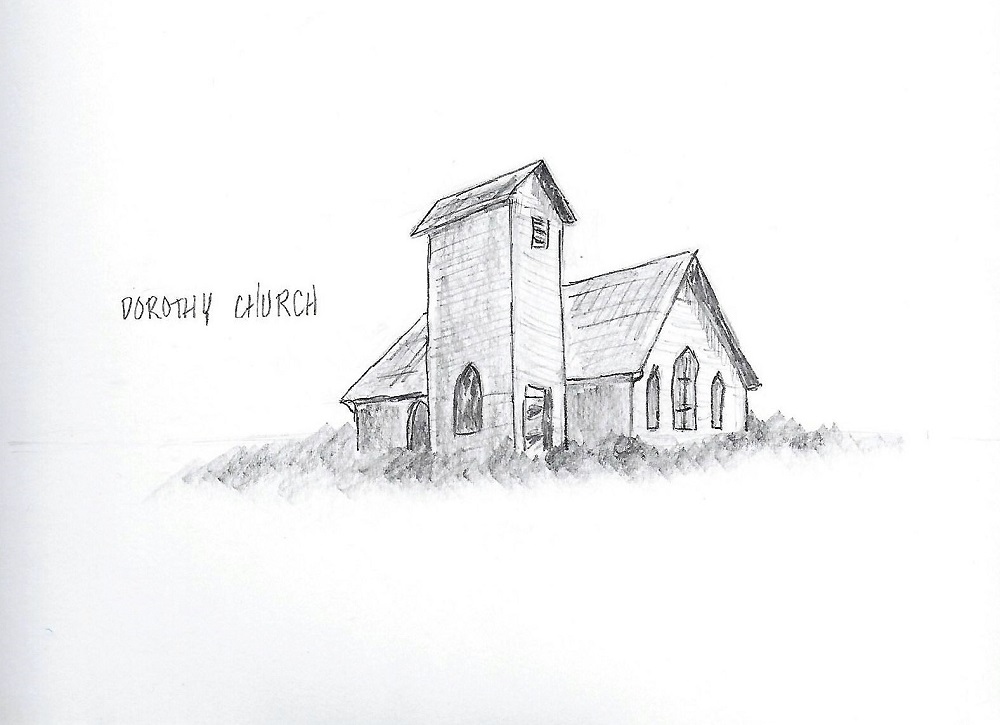
Then there was a final photo from which to make a finished drawing.


I am satisfied with the exercises I did with one exception... the one NOT SHOWN. It was a photo of an interior on which I got one whole wall off kilter. No need to expose you to that!

Ddd


Posted by studio3d@ccgmail.net at 7:51 PM PDT
Wednesday, 17 October 2018
More Drawn to Drawing
Topic: Drawing

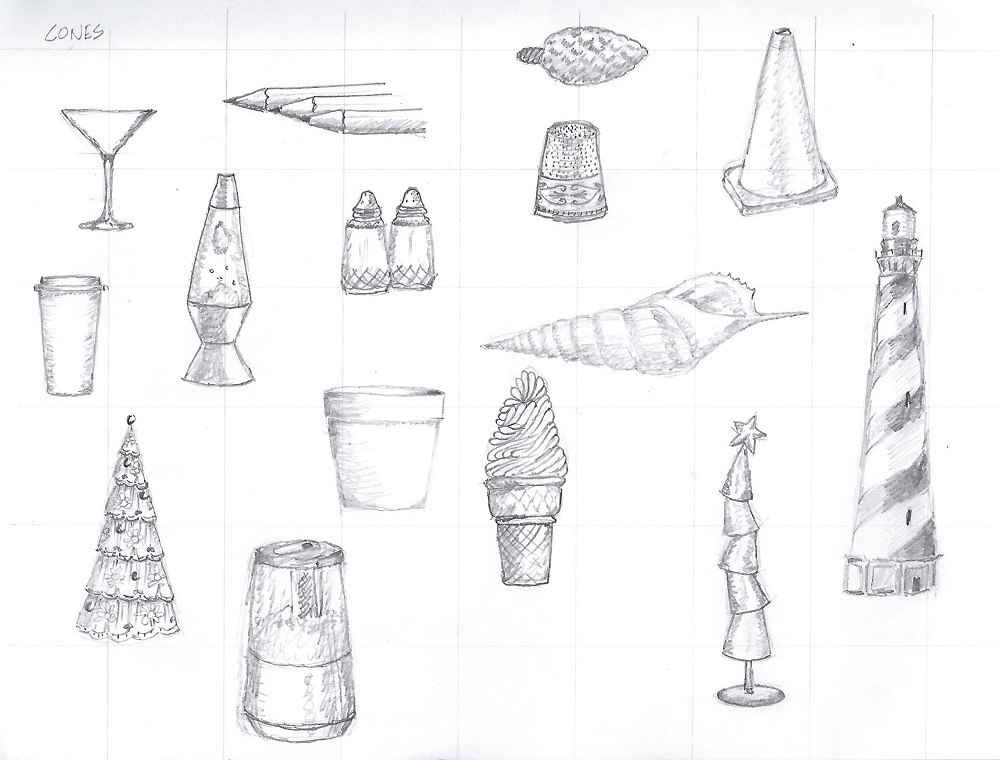
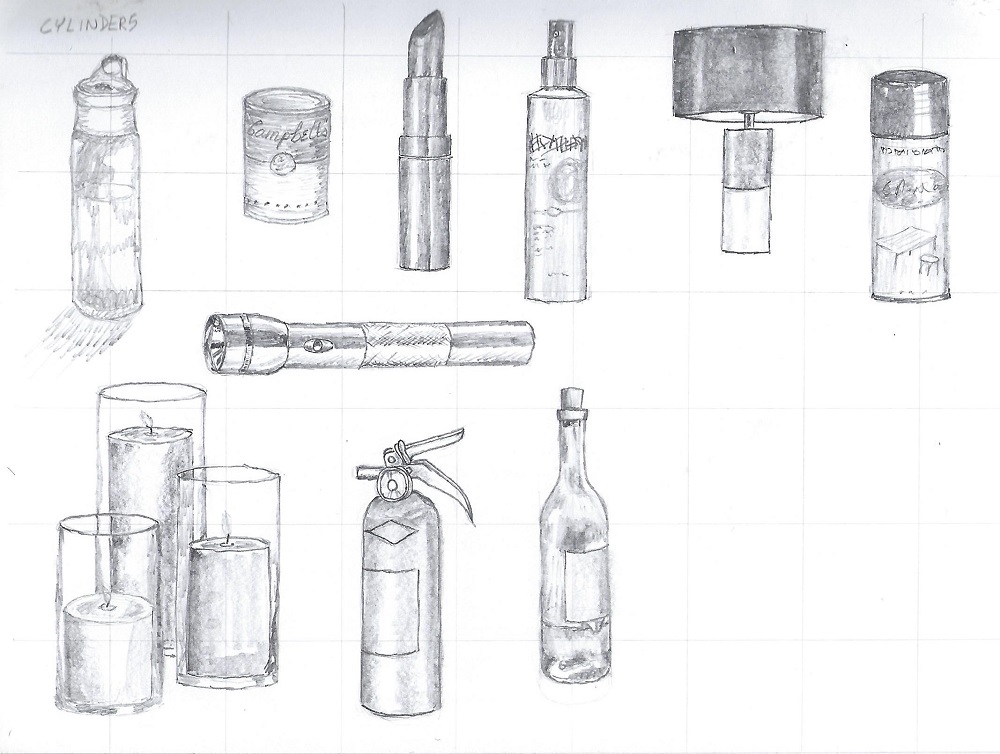
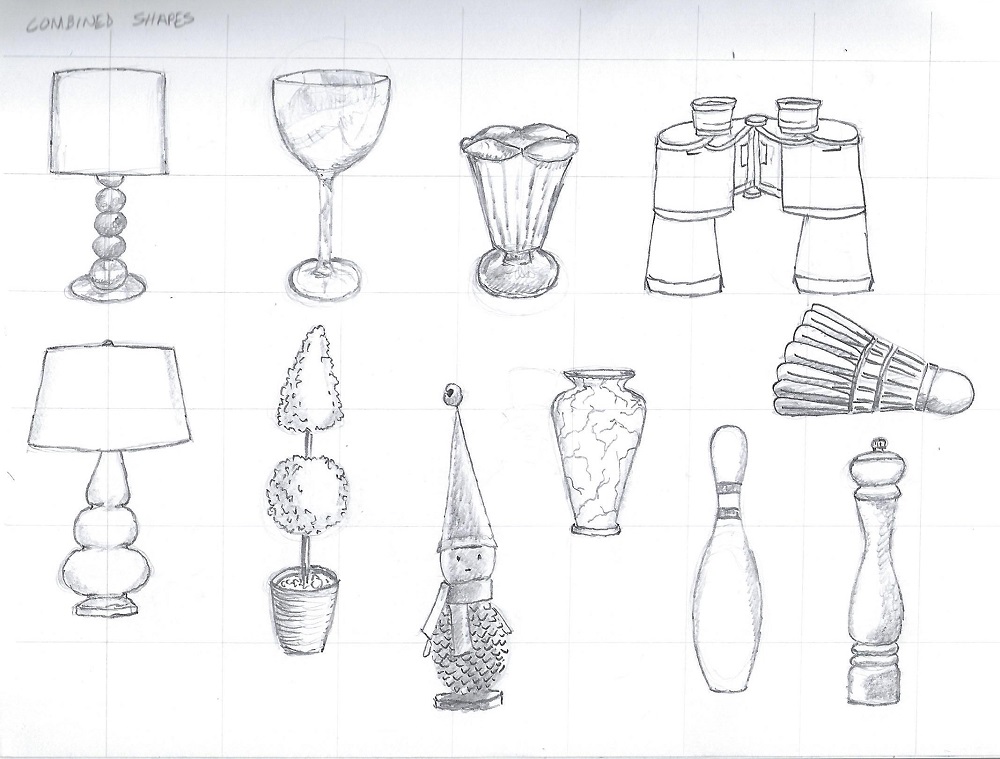
It took me a couple of days but I did find reference photos and objects to draw for the three final pages for Drawing 101, lesson 1.

The first page was 'CONES':


The next was 'CYLINDERS':


And the final page was 'COMBINED SHAPES':


Now we're on to lesson 2 - perspective.

Ddd


Posted by studio3d@ccgmail.net at 2:44 PM PDT

Newer | Latest | Older