Topic: New Work
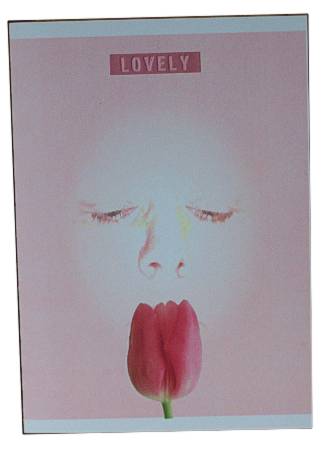
I brought out the face again and this time added a tulip photograph instead of the sticker used before. The text is a sticker.
Posted by studio3d@ccgmail.net
at 6:00 AM PDT
| « | July 2008 | » | ||||
| S | M | T | W | T | F | S |
| 1 | 2 | 3 | 4 | 5 | ||
| 6 | 7 | 8 | 9 | 10 | 11 | 12 |
| 13 | 14 | 15 | 16 | 17 | 18 | 19 |
| 20 | 21 | 22 | 23 | 24 | 25 | 26 |
| 27 | 28 | 29 | 30 | 31 | ||
I brought out the face again and this time added a tulip photograph instead of the sticker used before. The text is a sticker.
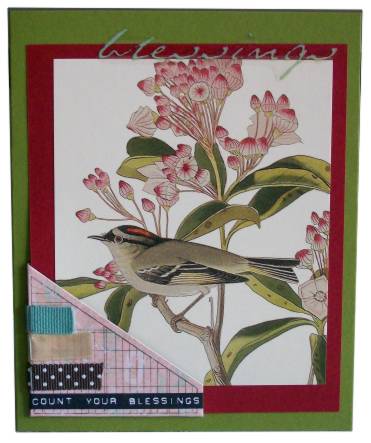
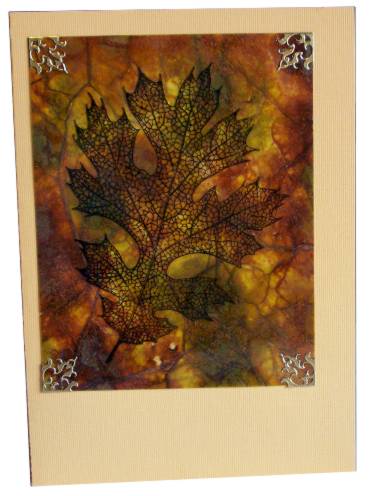
Instead of using this little corner pocket as designed I used it as a corner element on this calendar illustration. The borders of the cranberry cardstock are cut unevenly and serve as a background for a greeting sticker. Green cardstock is used to bring our the background of the leaves.
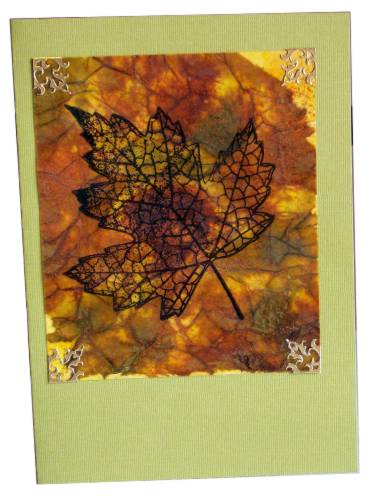
Another calendar illustration has been double-matted with a large border at the bottom to feature the puffy acrylic text sticker.

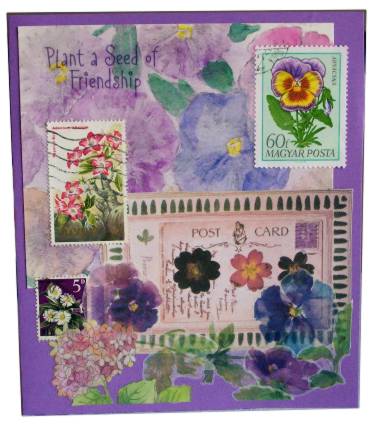
A watercolored stamping of pansies was the jumping-off point for this collage card. Postage stamps echo the theme introduced by the 'postcard' element. Vellum stickers of pansies frame out the bottom border and a plastic text sticker finish it off.
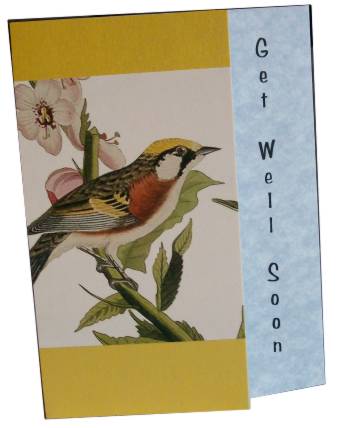
This card folds in from both sides, deeply from the left and narrower from the right. I got the bird illustration from a calendar and mounted on yellow to match the bird.
These two cards are more of the 'caught in crystal' techniques with reinkers. I made these backgrounds while doing the technique for the A-Z challenge but sued different colors and stamp.
Ddd
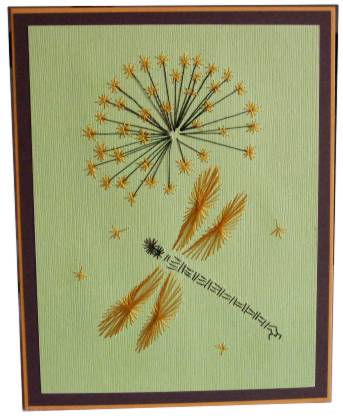
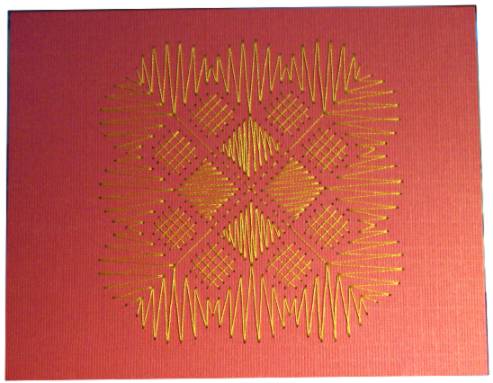
This pattern was stitched up in just two colors which lend this card a 1970s feel. I remember clothing, curtains, and furniture with these sinple color combinations.
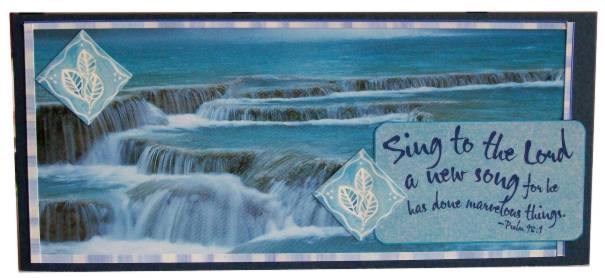
A calendar of waterfalls yielded this illustration which I trimmed with scrapbook border and square stickers. Mounted on dark blue cardstock to match a text sticker which is backed with a sky blue card with rounded edges.
One of my groups put up this challenge - everyone using the same pattern. We all stitched it up with different interpretations. Lisa Burns is the pattern designer.
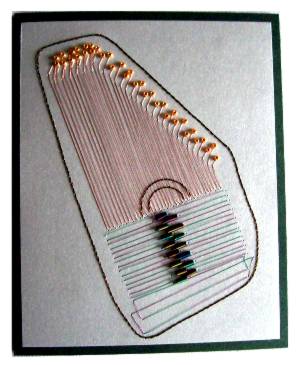
I took a recent opportunity to re-stitch this harpsichord from my own pattern. It uses bugle beads for the slide adjustments and seed beads for the string adjustment keys. I used metallic threads to make the strings liik like metal and brown thread for the edge to suggest wood construction.
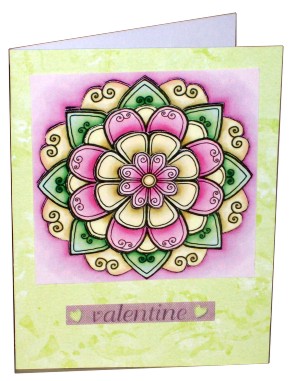
This medallion by Fred-She-Said was fun to put together. The colors are very candy-like and I decided to make a valentine of it.
I used a striped and a dotted scrapbook paper as backgrounds for these 3D pillows. I've done these up and shown them before with a different background.

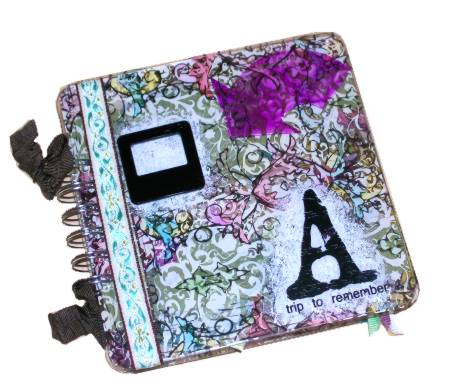
The final project we made with Tim Holtz was this acrylic album. We learned to paint on acrylic with alcohol inks and added a lot of free product.
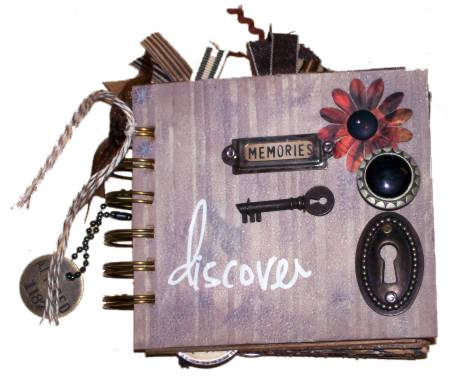
The first project we made with Tim Holtz was a mini scrapbook using Heidi Swapp papers, grungeboard, and tons of free products. I have mine finished off with photos of our trip from home to return, a few bits of ephemera, and journaling in white pen.
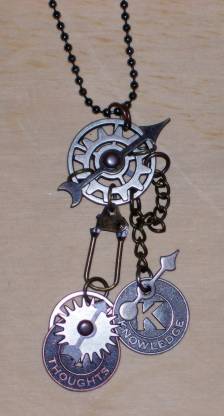
This necklace was made using Ideaology product that Tim Holtz supplied for a workshop. We had a couple of samples but used out imagination to combine the pieces we had been given.
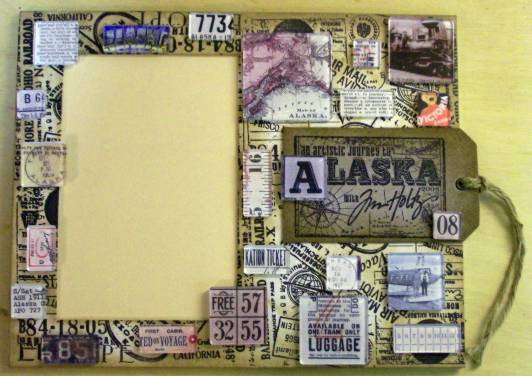
This frame was made on the Tim Holtz cruise. We distressed the pre-stamped background, decorated acrylic Fragments with bits of clip-art with an Alaska theme and attached them on the surface. The grungeboard tag was pre-stamped for us and we distressed and atached it.
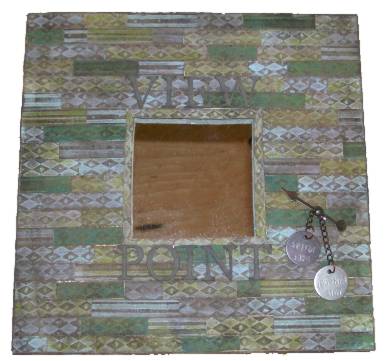
On the cruise with Tim Holtz we made this mirror by covering the wood frame with grungeboard pieces that we had distressed with paint daubers, a scratch tool, and distressing ink. I used some of Tim's Ideaology metal elements for decoration.
In my month-long quest for blog comments I was delighted to see that I had 6 (yes, six) fans!
In addition to my mother and my daughter, four people commented either on the blog or emailed me directly. Three names were drawn and they have been contacted regarding their prizes.
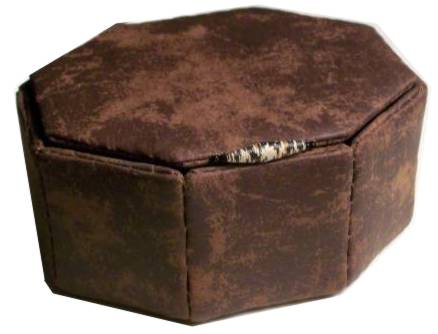
Lois will be receiving this box
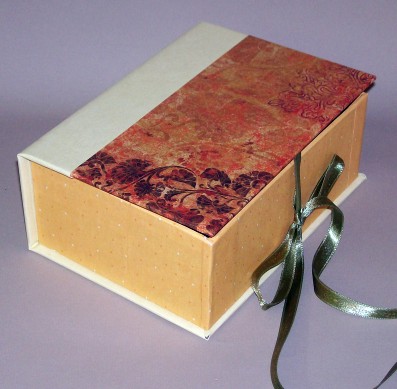
Muffy will be receiving this box
Jill will be receiving this box
Thanks to all
And so, we come to the last entry in the 6-month A to Z self-challenge. After this it will be back to posting whatever, whenever.
Today I made this birthday card. Only the zipper is real (and it does still zip open and closed). All of the other fastenings are rub-ons and the letters are drawn with Sharpie.

When the zipper is opened you can see a Happy Birthday sticker inside the flap.
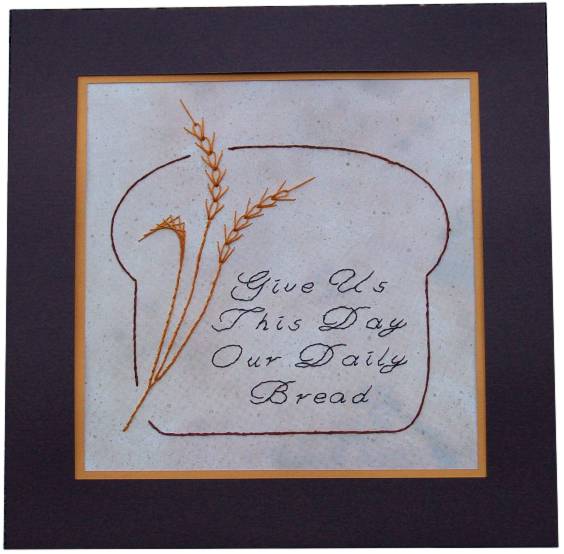
"Yeast' brings to mind 'bread' so I designed this stitching based on that. It is on a 6 x 6 scrapbook paper and double-matted with two 8 x 8 cardstocks in complementary tones. My plan is to frame it.