« August 2010 »
S M T W T F S
1 2 3 4 5 6 7
8 9 10 11 12 13 14
15 16 17 18 19 20 21
22 23 24 25 26 27 28
29 30 31
You are not logged in. Log in
Entries by Topic
All topics  «
3D paperwork
A - Z challenge 5
A - Z challenge 7
A - Z challenge round 4
A to Z challenge round 3
A to Z round 2
A to Z round 6
A-Z round 1
Around the House
Art Challenges
Artist Trading Cards
Backgrounds
Beads
Bible Journaling
Books
Boxes
Collage
Color Challenge
Coloring
cookbook
Die Cuts
Digital Projects
Digital Stamps
Drawing
Dry Embossing
Fabric Stuff
Fantastic Folds
Field Trip
Home Decor
How Does Your Garden Grow?
Hymnal Art
In The Kitchen
In the studio
Jewelry
Lettering
Links
Multi-Technique
Music to Work By
Musings
Nail Art
New Work
Online Class
Other Hobbies
Other Projects
Painting
Paper Embroidery
Paper Piecing
Photo
Pretty Paper
Quilting
Random
reading
Scrap Recovery
scrapbooking
Sewing
Sketch Challenge
Some Backlog
Stamping
Stencils
Stickers
Supplies
Teabag Folding
Techniques
Testing
tips and tricks
Tutorial
Web resources
Welcome to my Blog
Work By My Friends
workflow
Writing
Blog Tools
Edit your Blog
Build a Blog
RSS Feed
View Profile
Group One
In & Out of Studio 3D
Sunday, 1 August 2010
Memory of Trees
Topic: Collage

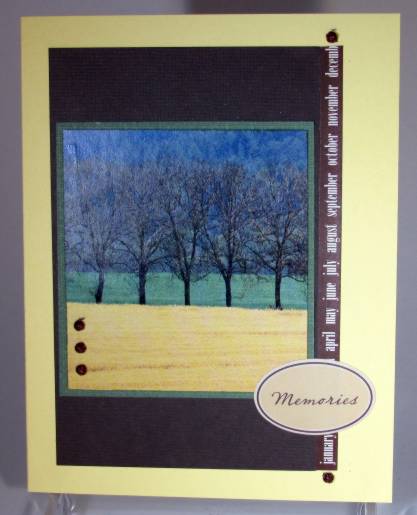
Remember the field and trees images I used some time ago? Well, I had one left in my scrap pile so I pulled it out for this card. Three colors from the image are echoed in the backgrounds. I added a text strip and an oval 'memories' sticker.

Glittery raised dots enhance the layout.

NOTE: The color is washed out in this photo. They are much brighter in person.

Ddd


Posted by studio3d@ccgmail.net at 6:00 AM PDT
Saturday, 31 July 2010
Kraft-y Friend
Topic: Stamping

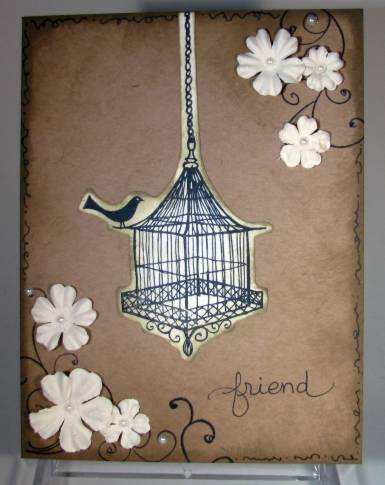
Ohhhh, I like this best! Of all the birdcage images I have used lately, this turned out the best.

I used two distress inks to tone the image more like the background and glued it on. To the opposing corners I stamped simple scrolls and adhered paper flowers. The flowers got self-stick pearls and the card got three more on the scrolls.

I used the distress inks to tone the edges of the kraft cardstock and then added a single line doodle around the edge. Lastly, I penned in the 'friend' text.

Ddd


Posted by studio3d@ccgmail.net at 6:00 AM PDT
Friday, 30 July 2010
Rose Cross
Topic: Paper Embroidery

Stitched on purple with irridescent lavender thread. I rounded the corners and added to yellow folded card base with rounded corners.

I added rose vine peel-offs to the cross, corners, borders and then trimmed up some punched butterflies and used peel-offs on those as well.

NOTE: The color on this image is WAY off. The actual card is Easter Egg purple rather than blue as it appears.

Ddd


Posted by studio3d@ccgmail.net at 6:00 AM PDT
Thursday, 29 July 2010
Cross and Violets
Topic: Paper Embroidery

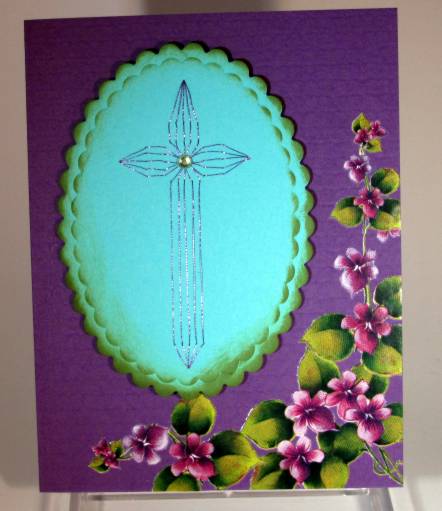
This simple cross was stitched with purple metallic thread. I used a scallopped nestability to cut and impress the oval. Once I selected the background color of cardstock and chose the violets rub-ons, I realized I needed some green in the image. This I added using a distress ink pad.

I mounted the oval with foam tape and added a single green rhinestone to the center.

Ddd


Posted by studio3d@ccgmail.net at 6:00 AM PDT
Wednesday, 28 July 2010
New Housing
Topic: Stamping

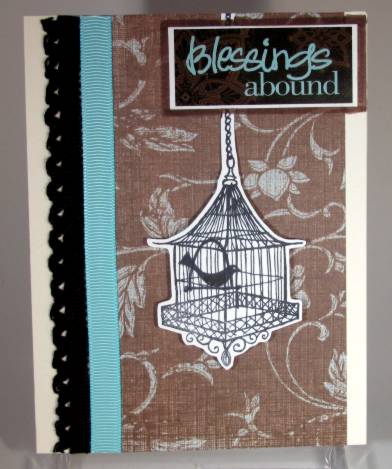
Our little bird has moved house - smaller quarters!

This background is the reverse side of the printed cardstock from yesterday's card. I added a crocheted lace and a grosgrain ribbon on the left and added a sticker greeting at the top.

Again, I popped up the cage 3D on foam tape, but I did not curl this one.

Ddd


Posted by studio3d@ccgmail.net at 6:00 AM PDT
Tuesday, 27 July 2010
Bird on a Wire - or a perch
Topic: Stamping

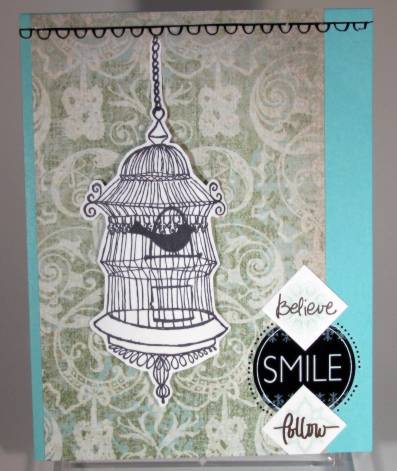
Trying some different designs to use these stamped birdcages. In this case, I cut close to the image and curled the edges slightly back to make it look three-dimensional. It is mounted to the background (printed cardstock) with foam tape.

I chose the folded cardstock to pull out the color from the background and added a round rub-on and two appropriately colored stickers.

The rub-on border at the top was added to give the birdcage something to hang on. The chain is glued flat to the background instead of raising it 3D like the cage itself.

Ddd


Posted by studio3d@ccgmail.net at 6:00 AM PDT
Monday, 26 July 2010
Plum, Purple, Iris
Topic: Scrap Recovery

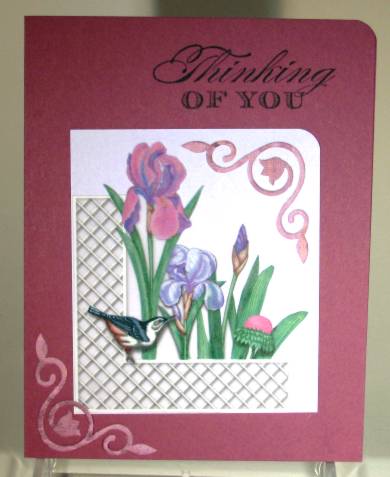
The only thing not scrap on this card is the iris and lattice. They were cut from a partial sheet of printed parchment. I then used glue dots to mount on the light purple background, rounded the corner and mounted on the folded card.

I rounded the upper right corner of the card and stamped the greeting. Then I added the two corner brackets, the leftovers from Cuttlebug die-cutting.

Ddd


Posted by studio3d@ccgmail.net at 6:00 AM PDT
Sunday, 25 July 2010
Hit Parade
Topic: Photo

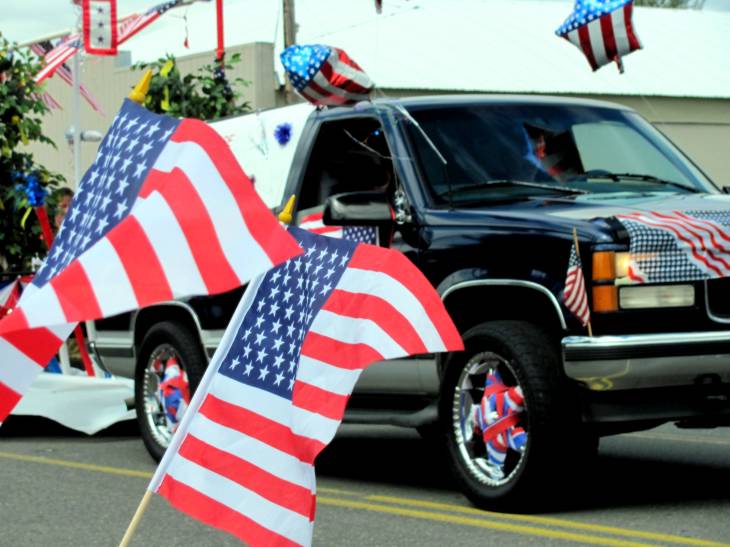
Love visiting small-town America on a holiday. We sat roadside for the 4th of July parade in such a town near our farm (after the pancake breakfast and before the spectacular fireworks show).

This was my favorite parade photo - really highlights the meaning of it all:

I especially love the red, white, and blue wrapping on the 5-spoke wheel covers - turning them into big stars. Clever!

Ddd


Posted by studio3d@ccgmail.net at 6:00 AM PDT
Saturday, 24 July 2010
Symbolic
Topic: Photo

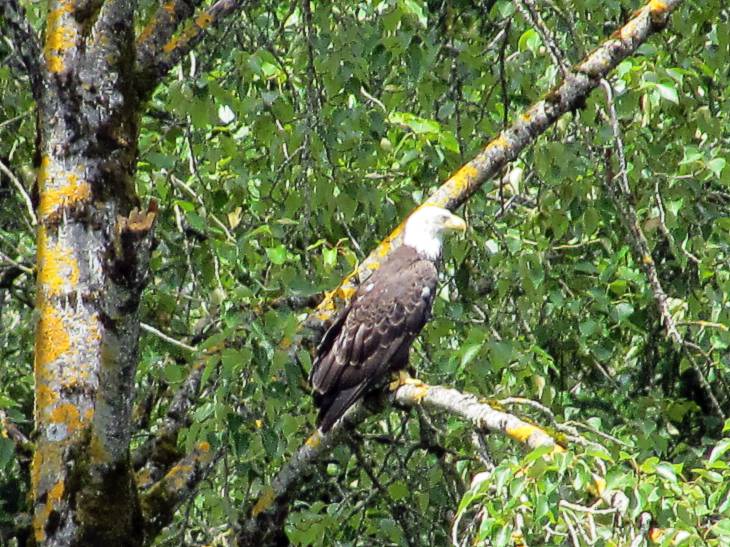
As we sat on the bank of the river (at our farm) on the 4th of July, this amazing bald eagle swooped in and lit in the trees on the opposite bank. He stayed long enough for me to go back to the camper for my camera, return to the bank, and take a series of shots before he took flight up the river.

What a beautiful sight! Thank you, to our national bird for this Independence Day visit.

Ddd


Posted by studio3d@ccgmail.net at 6:00 AM PDT
Friday, 23 July 2010
Sometimes You Just Feel Blessed...
Topic: Photo

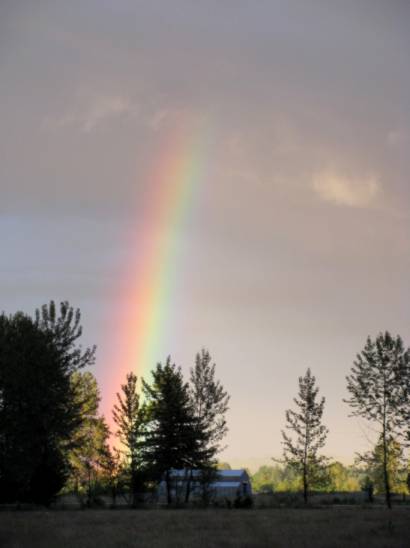
...to be in the right place at the right time. In this case, it was being down on the farm at about 6 pm when this rainbow dropped from the sky.

Isn't that awesome?

I'm hoping this is God's promise that the rain is over for the summer. We've had quite enough, thank you.

Ddd


Posted by studio3d@ccgmail.net at 6:00 AM PDT
Thursday, 22 July 2010
Stand Up and Be Counted
Topic: Stamping

As assigned - make a stand-up card. My dimensions are not as per the original design but I made it work like I wanted to. There are Z-fold wings on each side that fold to the back. The card then stands on its own.

For this birdhouse image I drew in light vertical lines to look like wallpaper. They get washed out in the photo, though. The center panel of the card was Cuttlebugged for texture and then the center aperture cut out with Nestabilities. The white stamped piece is actually mounted on the back to show through the aperture.

I slit both sides to feed ribbon through and tied a bow off center. This is a counterbalance to the stamped greeting tag in the upper left. That tag is mounted with foam dots.

Ddd


Posted by studio3d@ccgmail.net at 6:00 AM PDT
Wednesday, 21 July 2010
Gift of Children
Topic: Paper Embroidery

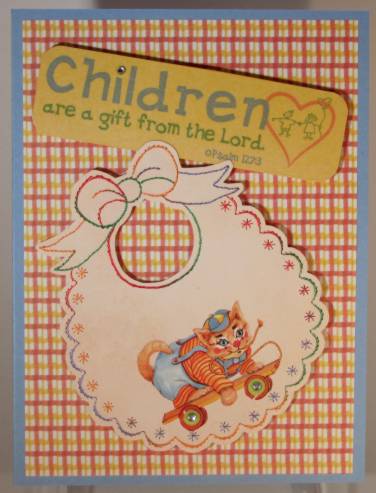
Back with the bib pattern. For this one I used a verigated thread and then picked up the same colors in the decorative sticker and the background paper. This paper is more from the 'scrapbook page-a-day' calendar.

I had another of the vellum text stickers and placed it on yellow cardstock before trimming out. Since the pink heart matched the paper this time I did not cover it with a flower!

I mounted the bib and text on foam dots and then added rhinestones to the skateboard wheels and the dot on the 'i'.

Ddd


Posted by studio3d@ccgmail.net at 6:00 AM PDT
Tuesday, 20 July 2010
Golden Roses
Topic: Paper Embroidery

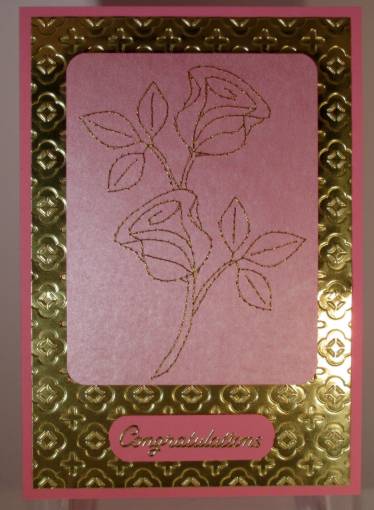
I stitched up these roses in gold metallic thread thinking they would make a great card for a 50th anniversary. When I ran across the super-shiny gold cardstock I was really excited to get this put together.

I ran the gold through the Cuttlebug folder for texture and mounted the stitched panel on foam dots. The gold peel-off greeting was added to a piece of cardstock that matches the folded base card.

So hard to photograph metallics, this is much brighter in person.

Ddd


Posted by studio3d@ccgmail.net at 6:00 AM PDT
Monday, 19 July 2010
Aged Leaves
Topic: Paper Embroidery

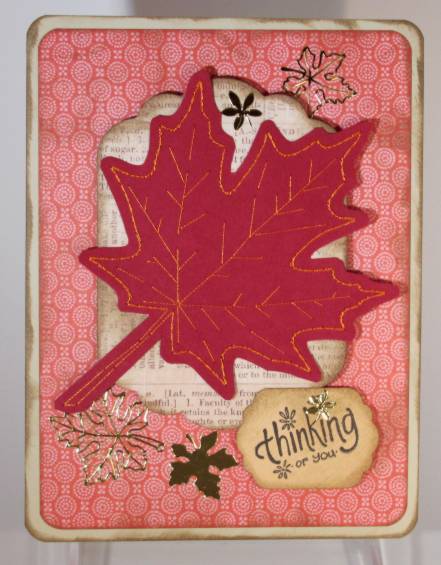
I started with the leaf stitched on burgundy cardstock with orange thread. Next I chose the background paper and then the 'definition' cardstock. Some cutting, trimming, corner punching, layering, and the addition of a text tag and some gold peel-off leaves and ...

... this is what you get.

Ddd


Posted by studio3d@ccgmail.net at 6:00 AM PDT
Sunday, 18 July 2010
Make a Wish
Topic: Stamping

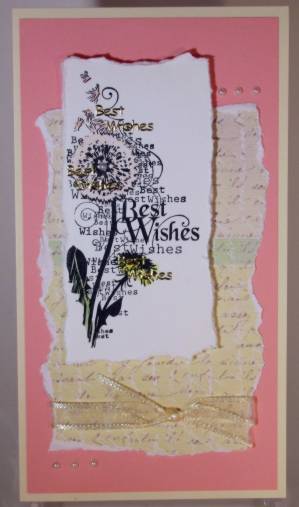
Here is another of the stamps from the set with text embedded in the flower image. I kept the coloring very soft on this to reflect what one would find on the seed head itself.

The image was torn out to keep the casual feel and I also tore the background paper which also got a sheer ribbon tie. The pink layer and the printed background are layered flat and the stamped image is on foam dots.

I added sticky pearls to the center of the seed head and to the upper right and lower left of the card front. "Best Wishes" in gold peel-off stickers are added to the text in three places.

Ddd


Posted by studio3d@ccgmail.net at 6:00 AM PDT
Saturday, 17 July 2010
Refreshingly Simple
Topic: Scrap Recovery

This image came from a recent travel brochure and I stamped the greeting right on the picture. The layers are all colors pulled from the photo.

I sliced the folded edge enough to thread a ribbon through and helf the ends in place with an adhesive-backed silk flower.

It took about as long to explain it as it did to make it. So simple.

Ddd


Posted by studio3d@ccgmail.net at 6:00 AM PDT
Friday, 16 July 2010
Birdhouse on a Branch
Topic: Stamping

When I bought this stamp set of birdhouse images I expected it to be really neat to work with. But I soon realized that stamping the birdhouse on white and mounting it on color makes it look goofy. One would normally see through the bars to the background.

So for this one I used colored pencils to mimic the background color in the image and trimmed close around the birdhouse and chain. The backing piece was cut out with Nestabilities label 11 and embossed with a Cuttlebug folder, using only a portion of it for the top and another part for the bottom.
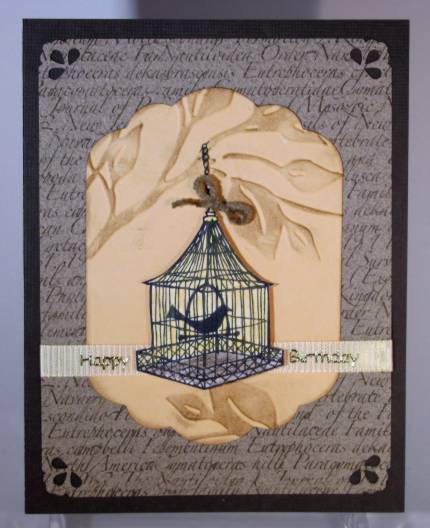
The piece was then brushed lightly with distress ink to bring up the texture more. I added a piece of calligraphy behind it and corner punched to mimic the edges of the centerpiece. A ribbon was added as a carrier for the gold peel-off greeting stickers.

I stacked chololate cardstock base, calligraphy, leafy piece and them popped up the birdhouse on foam dots. As a final touch I tied a bow in some soft cord to make it look like the birdhouse is tied to the chain.

Ddd


Posted by studio3d@ccgmail.net at 6:00 AM PDT
Thursday, 15 July 2010
You Make Me Smile
Topic: Stamping

Back to stamping today...

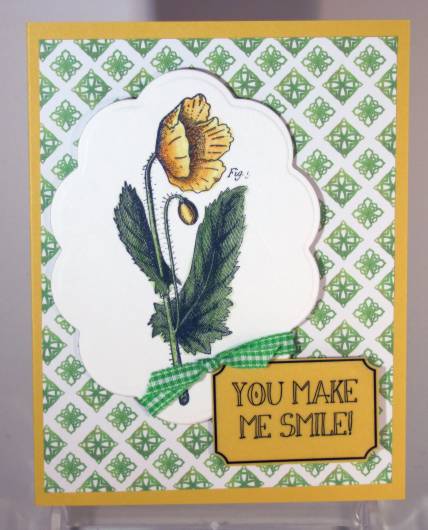
It's been a while since I used this Anna Griffin stamp. Love it! I colored it with watercolor pencils and blended with an aqua-brush. I picked up a new Nestability die that is not a small of scallops as my usual one. I like this for a more elegant feel.

The background paper is from an old 'scrapbook page-a-day' calendar. I tied on a ribbon and then added a clear sticker that is placed on the same cardstock as the base card and trimmed around.

Both the stamped image and the text sticker are on foam tape for dimension.

Ddd


Posted by studio3d@ccgmail.net at 6:00 AM PDT
Wednesday, 14 July 2010
Yellow Bib
Topic: Paper Embroidery

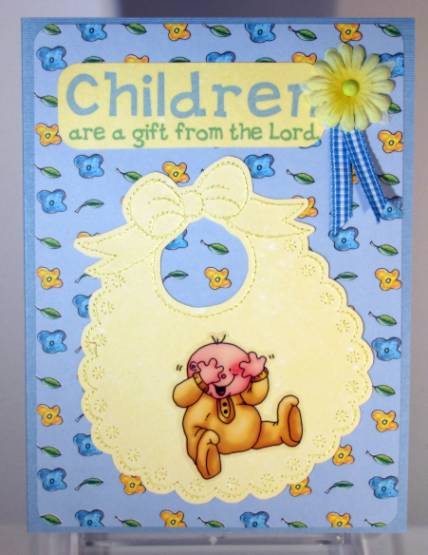
The stitching on this bib looks better in real life as the photo does not give the full impace of the yellow on yellow. I trimmed around the outline and added a sticker to the bib.

I found some great printed paper for the background and added a vellum text sticker. That sticker had a pink heart on the right which did not reflect the color scheme at all so I popped on the yellow flower and tucked in a fold of checkered blue ribbon to 'give it a reason for being there'.

This turns a 'frilly' bib into something a baby boy might wear.

Ddd


Posted by studio3d@ccgmail.net at 6:00 AM PDT
Tuesday, 13 July 2010
Light the Candle
Topic: Stamping

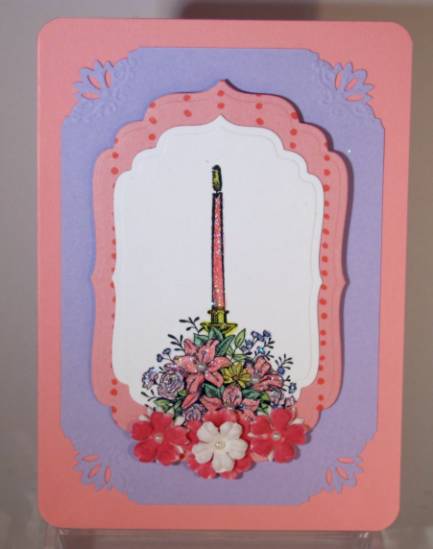
Back to the studio today. I did some more stamping and colored with watercolor pencils and aqua-brush. Then I used two different Stickles to color the image and added sticky pearls to the lily centers.

Layers of card are either cut with Nestabilities or given punched/embossed corners and then mounted directly or raised on foam dots for variety.

As a last touch I colored some paper flowers and layered them at the bottom of the image. These got sticky pearls in their centers like the stamped ones.

Ddd


Posted by studio3d@ccgmail.net at 6:00 AM PDT

Newer | Latest | Older