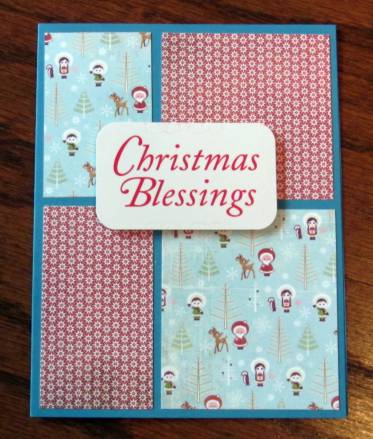
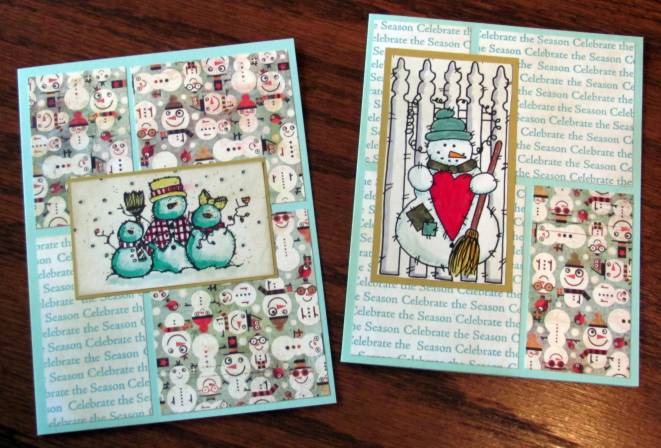
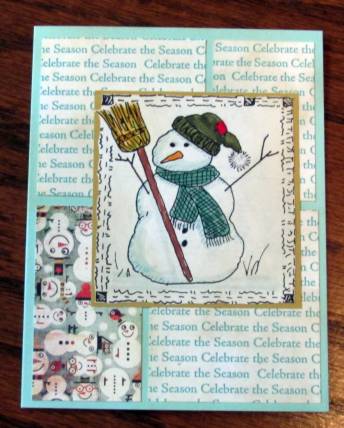
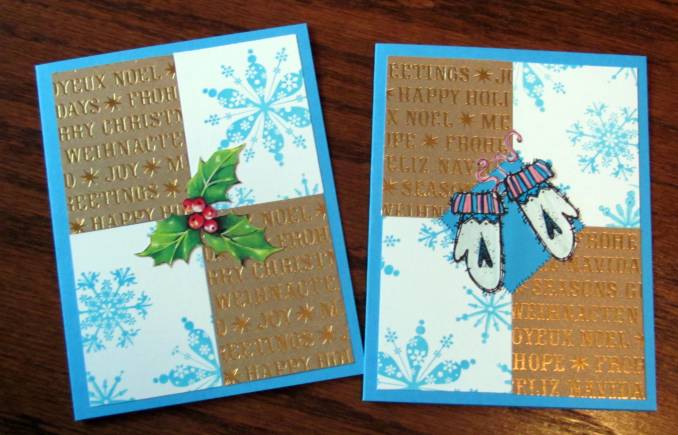
Topic: Multi-Technique
I had several papers that were predominantly pink and combined them in a variety of configurations while keeping the folded base cards all pink.
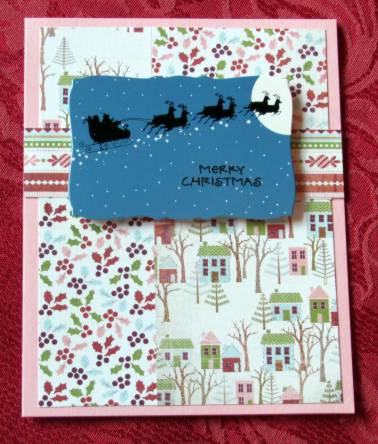
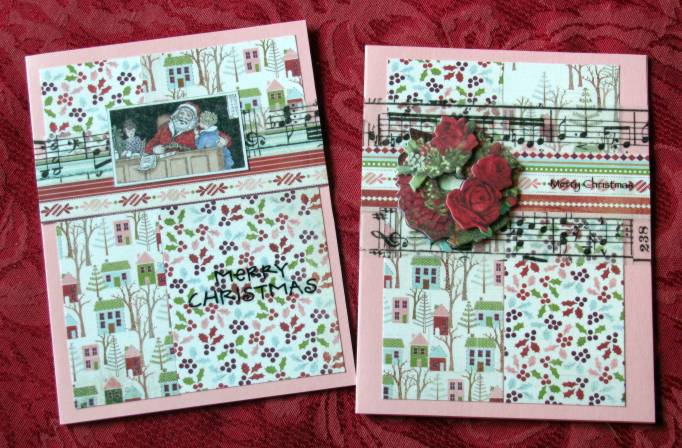
These first three all use a holly print and a village and I added a strip of multi-patterned stripe crosswise. On the first card I cut a night sky scene from an old card to place Santa above the village. This is popped up on foam tape and I added a clear sticker greeting.
On the next one I added a piece of the musical tissue tape and a color clip-art of Santa with kids. The lower greeting is a clear sticker. Then for the last one I added two strips of tissue tape and a 3D sticker wreath. There is a clear sticker greeting to the right of the wreath.
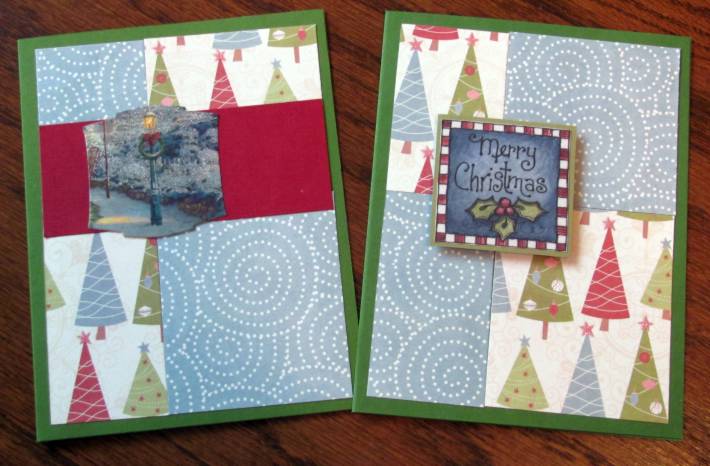
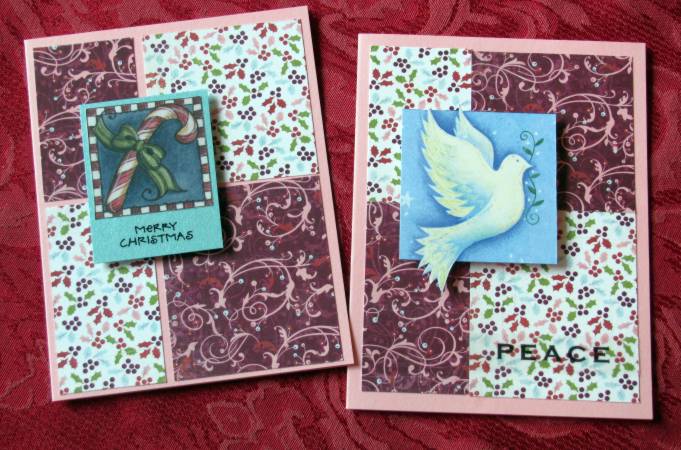
With a different paper combination (kept the holly and added a dark swirl paper) I cut out an image from the page-a-day calendar and backed it with a shimmery paper matching the blue in thepapers. This was popped up on foam tape and a clear sticker greeting was added. Then for the second card I cut an image from an old card, popped it up on foam tape and added Stickles glitter to the wings and tail fo the dove. The greeting on the lower right is a clear sticker.
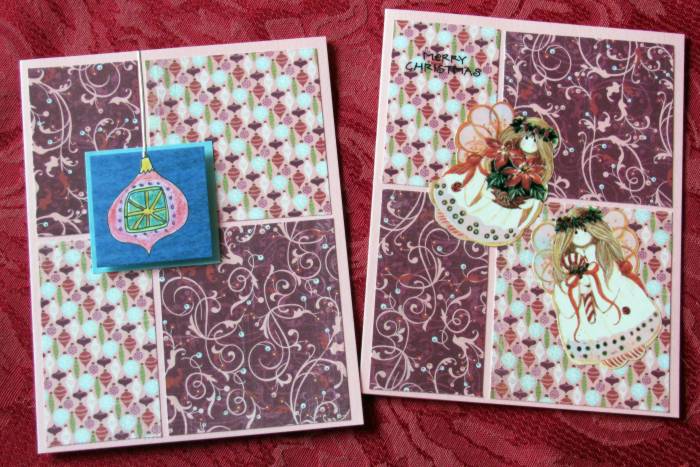
For the next set I kept the dark swirl paper and added an ornament print. The ornament on the first card is from the page-a-day calendar and is mounted on foam tape over the backing square. I used a thin gold border sticker to create a hanging thread. The other card has two irridescent angel stickers and a clear sticker greeting.