Topic: Stickers
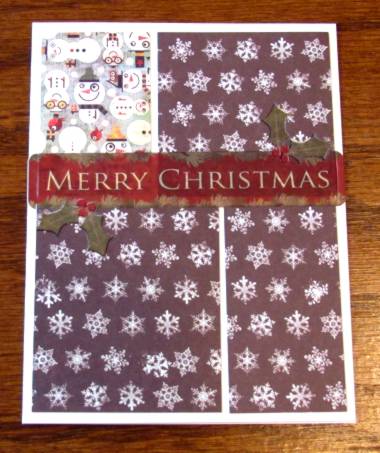
WAY overpoweringly busy background! So what could I do but go very simple on the embellishments? All I added was a greeting and two holly sprigs in clear stickers.
Posted by studio3d@ccgmail.net
at 6:00 AM PST
| « | December 2011 | » | ||||
| S | M | T | W | T | F | S |
| 1 | 2 | 3 | ||||
| 4 | 5 | 6 | 7 | 8 | 9 | 10 |
| 11 | 12 | 13 | 14 | 15 | 16 | 17 |
| 18 | 19 | 20 | 21 | 22 | 23 | 24 |
| 25 | 26 | 27 | 28 | 29 | 30 | 31 |
WAY overpoweringly busy background! So what could I do but go very simple on the embellishments? All I added was a greeting and two holly sprigs in clear stickers.
This very busy print looked a little less so when turned on its side. It also made the perfect line to set the post for this Christmas carousel animal sticker. I gave him a strip of musical tissue tape to stand upon and added ribbon, star and jingle bell stickers from the same sheet as the bear.
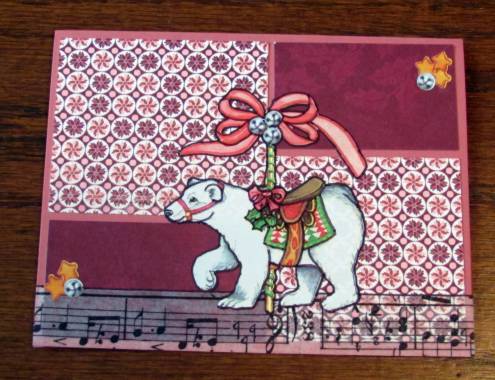
Too little contrast between the sticker and background so I used a Sharpie marker to draw around it, and then to enhance the sticker details.
Ddd
Little bits of the printed cardstock are glittered making a perfect setting for the street scene cut from the front of an old card. I mounted the scene on a shimmer golden paper and popped it up on foam tape.
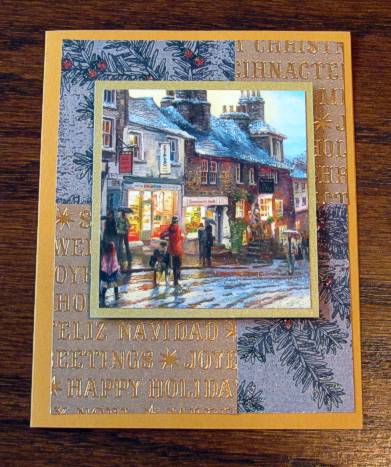
The yellow-gold folded card base makes the windows seem to glow.
Ddd
The print used today is actually a scrapbook paper rather than a cardstock. It started out as a 12 x 12 also, where most of them have been from 6 x 6 pads.
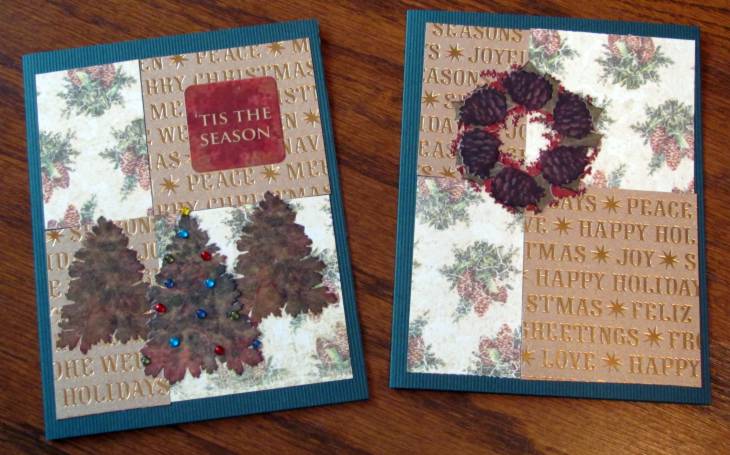
These card bases are forest green! I have no idea how the camera can change the color of those and leave the matching images in the paper alone.... In any case, For these two I used some of the clear stickers. On the left one I used the greeting sticker and three trees. To the center tree I added tiny self-adhesive rhinestones as lights. The card on the left got a layered wreath with pinecones added.
These both got cardstock sticker tags and I added snippets of ribbon. On the left I used a rub-on greeting and on the right I added a thick acrylic sticker.
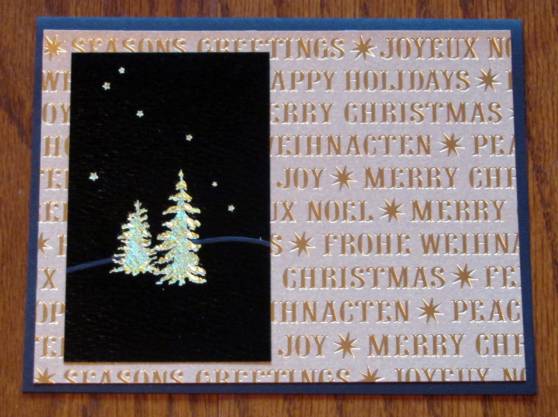
Oh so simple. I had this stamped snowflake panel left over from last year. It has been mounted to a teal folded card base. The bottom panel is from an old card. I rounded the top corners, popped up the upper edge on foam and stuck the lower edge with glue dots.
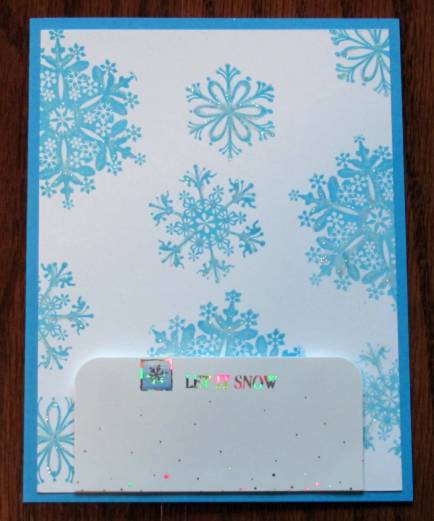
You can't see it in the photo but the blue stars are covered in Stickles, creating sparkle and shine.
Ddd
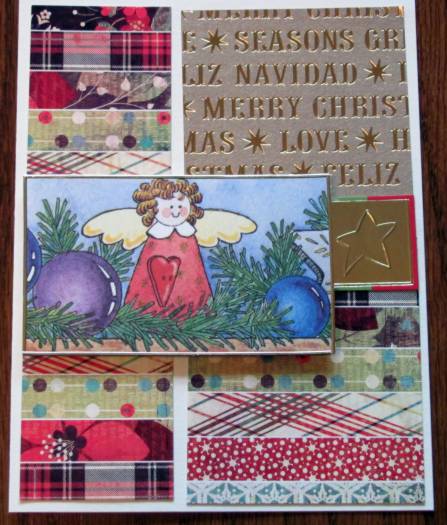
The covers of scrapbook paper pads can provide useable card elements. That is the case with these blocks of print I cut from one such cover. I added some of the gold tone-on-tone metallic to break it up a little. The angel scene is cut from the scrapbook paper that yielded the stockings. I popped it up on foam and I got the star from an old card.
Ddd
A printed paper provided the brick wall and made me think of the fireplace mantle. So I cut a stocking from another scrapbook paper and attached it to the wall. I used fine black marker to add faux stitching creating another level of detail.
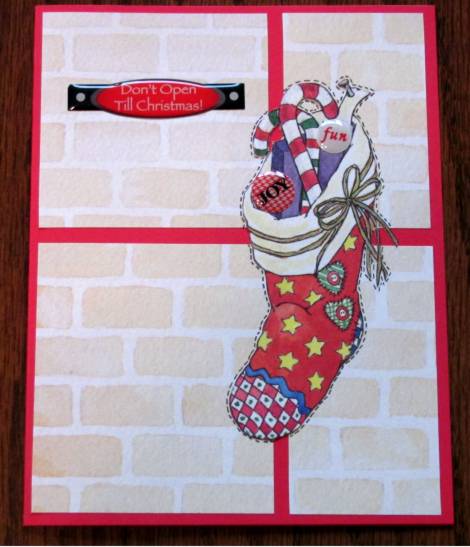
The text is a puffy acrylic sticker.
Ddd
Odd colors on this printed cardstock made it hard to find elements to use. I went with a black folded card base and then chose to use a bit of contrast with the fine green and brown stripe.
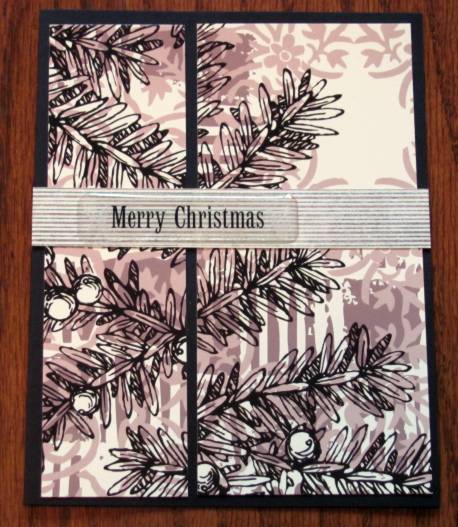
The text is provided with a clear acrylic sticker.
Ddd
I have had the sticker frame on this card for years. Then I ran across this illustration of decorated trees and it was perfect. I cut it down considerably so it would fit in the frame. I added Stickles to the trees in the border and to the ornaments in the trees.
The text is a clear acrylic sticker.
Ddd
1/2-inch stripes cut from a scrapbook pad create a background on green scrapbook paper. Over this I placed an ornament cut from an old card, popped up on foam. I attached a hanging string made with gold peel-off border.
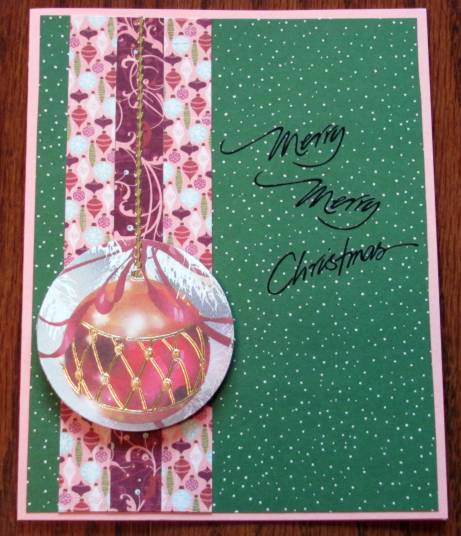
I cut apart multiple rub-on greeting to create the text for this card.
Ddd
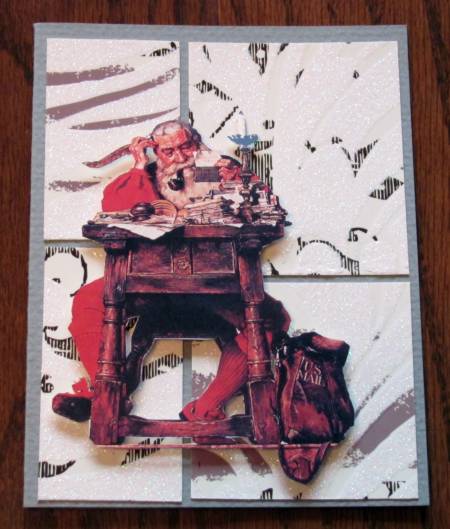
Glittery printed heavy-duty cardstock sets a swirling backdrop for Santa, trying to figure out his 'naughty and nice' list. This is a Rockwell illustration clipped from an old advertising flyer. I popped it up on foam tape for dimension.
Ddd
The Santa and Reindeer strip came from an old Christmas card. I backed it with panels of printed cardstock that bring out various colors from the illustration.
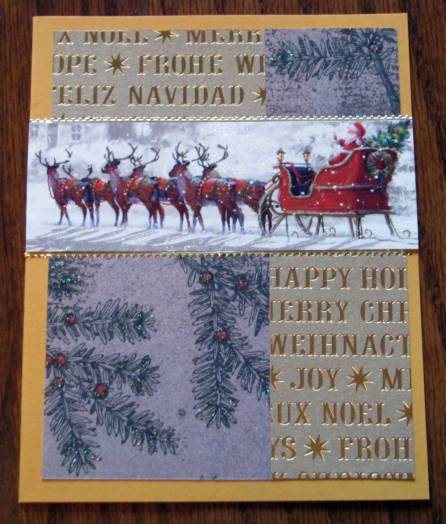
I bordered the top and bottom of the illustration with gold peel-off borders.
Ddd
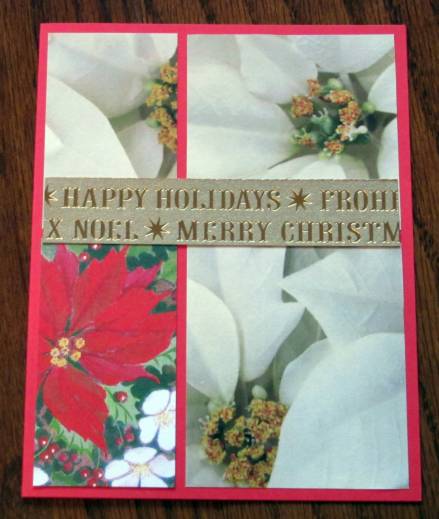
These white poinsettias are from a print-it-yourself scrapbook paper and the red one is from an old Christmas card. I mounted on a red card base and added a strip of the gold text cardstock.
I had more of the tone on tone gold metallic and added a strip to this pinkish grid card. Several months back I picked up a book at the used book store to tear apart. It was all these country painted panels with patterns for them. I cut a part of one of the illustrations and bordered it with some of the darker print.
Ddd
These scrapbook papers were from a pad I used last year. I used a black card base so it would match the greeting panel which is cut from the same card as those tree groupings I recently showed.
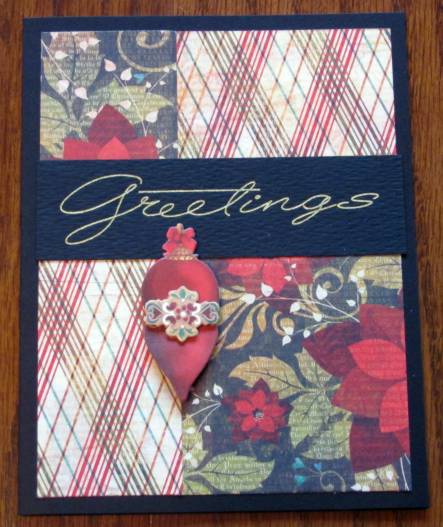
The 3D ornament sticker was salvaged from an old card.
Ddd
At long last I get to share the last grand-child's quilt! I finished this up the first week of August so I could enter it in the County Fair but had to wait for the little miss'es birthday before posting for the whole world to see (Including her).
This is all constructed of one line of fabric called 'Fairy Frost' and has the most wonderful glimmery over-printing to it. She really likes 'bling' so I selected a pattern that works up looking like faceted stones. I used 'triangulations' software and paper to construct the triangle pieces which made them go together smoothly and accurately. The main body is quilted with stitch in the ditch but I designed my own free-motion design for the outer border and stitched through thin paper which was then torn away. Those swirls were used as a guide to applying heat-set rhinestones which really brings the bling.
Here is the wide view:

And a close view of the fabrics:

And a view of the border with the bling:

As are the rest of the quilts, I'm sure this will be a big hit.
Ddd
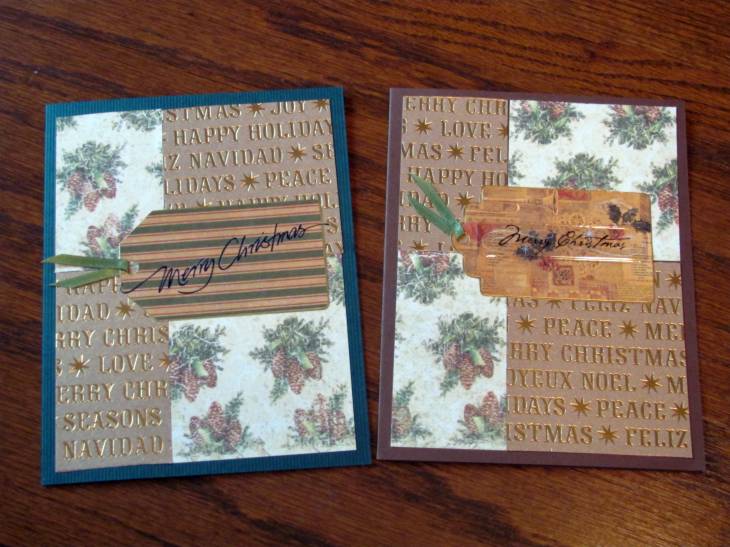
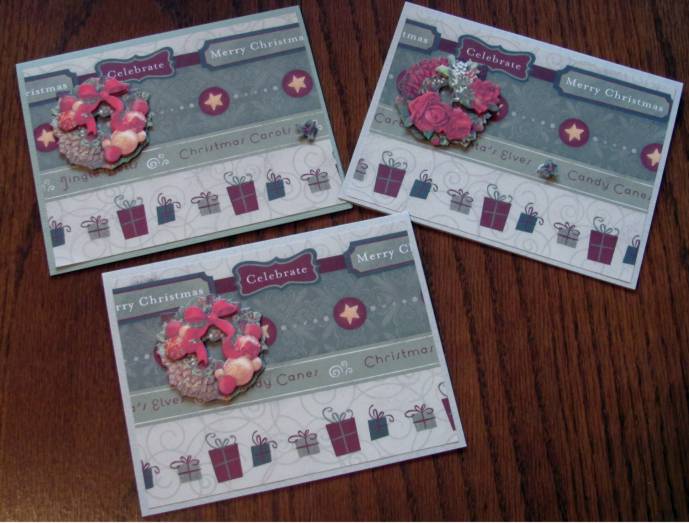
From a single sheet of scrapbook paper I was able to get 6 cards with border prints. Because of the busyness of the print not much embellishment was needed.
For this grouping I used 3D wreath stickers.
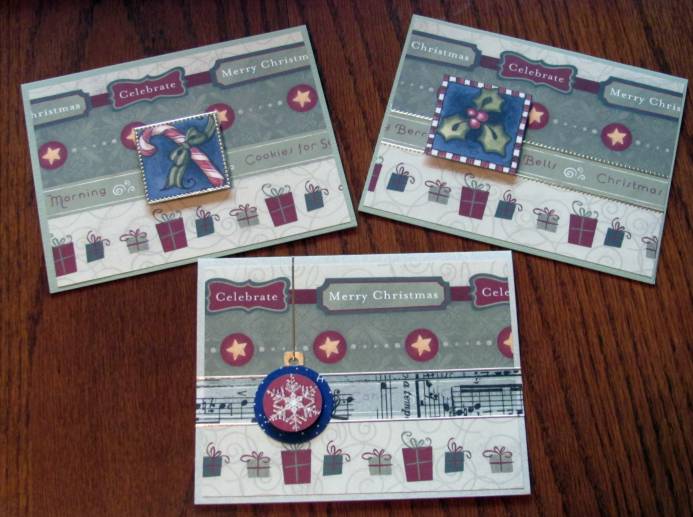
The two square elements on these cards are cut from a page-a-day calendar. I bordered one with gold peel-off borders and popped both up on foam tape. On the other card I added a strip of music-printed tissue tape, bordered it with gold peel-off borders and then created a little element by cutting a card front with a tag punch. I colored the top gold, punched a snowflake and popped it up on foam. At the last I added a gold peel-off border as a hanging string for the ornament.
Ddd
From a sample Christmas card I harvested two groupings of trees. The first I mounted on a tone on tone gold printed cardstock. This is on a black folded card base making a really elegant card.
For the other one I cut a frame from a printed cardstock and mounted these over a dark green card base.

Ddd
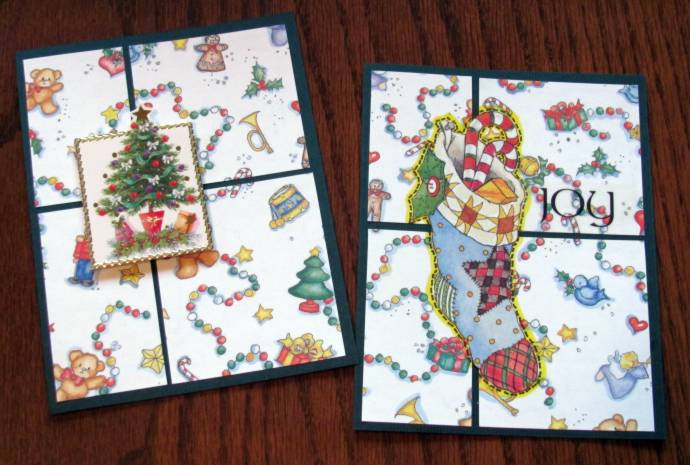
I had a single sheet of this scrapbook paper printed with toys, gifts and other holiday symbols. I used a dark card base for contrast and found two different elements to place on them.
On the first I used a piece I trimmed off the front of one of last year's cards. I trimmed around it with gold peel-off borders and popped it up on foam tape.
On the second one I cut a stocking from another scrapbook paper and glued it on. Then I drew faux stitching around it and found there was not enough contrast. So I added a yellow border and then applied the clear text sticker.
I got a sample pack of papers from a company years ago and recently pulled out some to use. I found they had included two sheets of a Christmas letterhead and I simply cut the upper left corner to fit on a cream folded card base. This left a blank space below the scroll so I added a rub-on greeting.
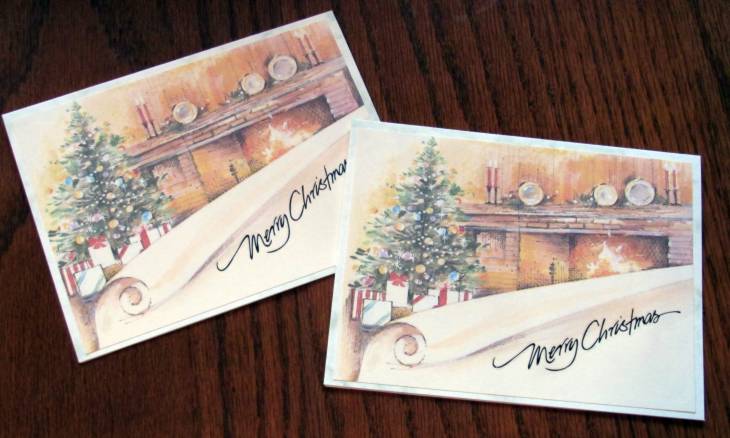
I think it looks like it was hand written on like one would sign their Christmas letter.
Ddd
