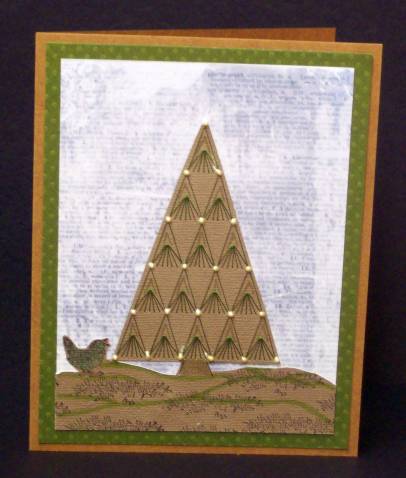
Topic: Paper Embroidery
Assignment: create a paper embroidery card for Christmas using silver and gold
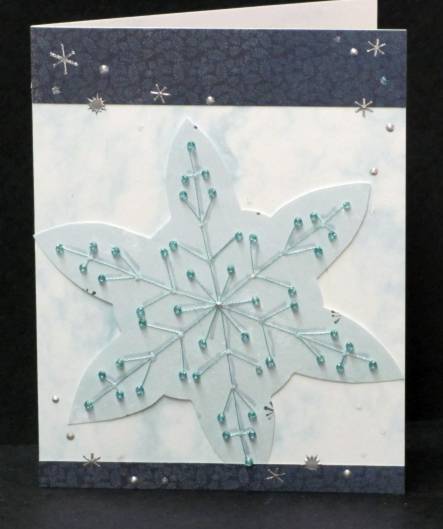
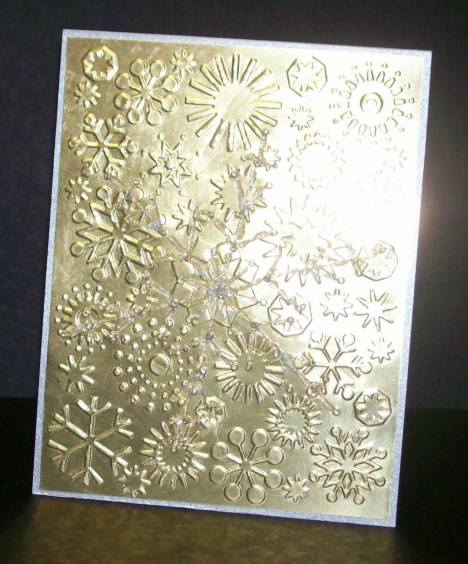
Well, these colors do NOT photograph well at all and are, in fact, difficult to work with in real life. I started with a mirror-finish gold cardstock and embossed with a snowflake Cuttlebug folder. Then I pricked out and stitched a large snowflake in silver thread. It did not show up until I had stitched over it in 4 thicknesses of thread! Then I stitched on silver beads. After mounting on brushed silver card base I still wasn't impressed with the contrast so I went over all the stitching with 'diamond' Stickles.
Here's a closer look at the stitched snowflake:
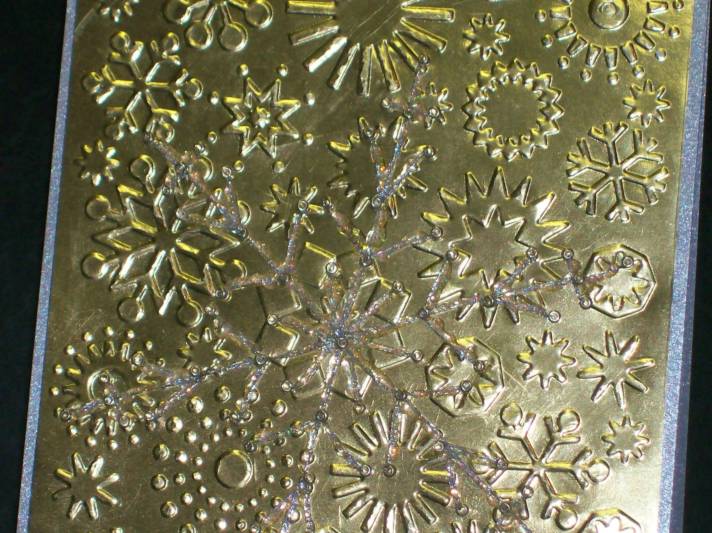
I think it looks like it is made of ice.
Ddd
Posted by studio3d@ccgmail.net
at 12:01 AM PST