White Out
Topic: Stencils
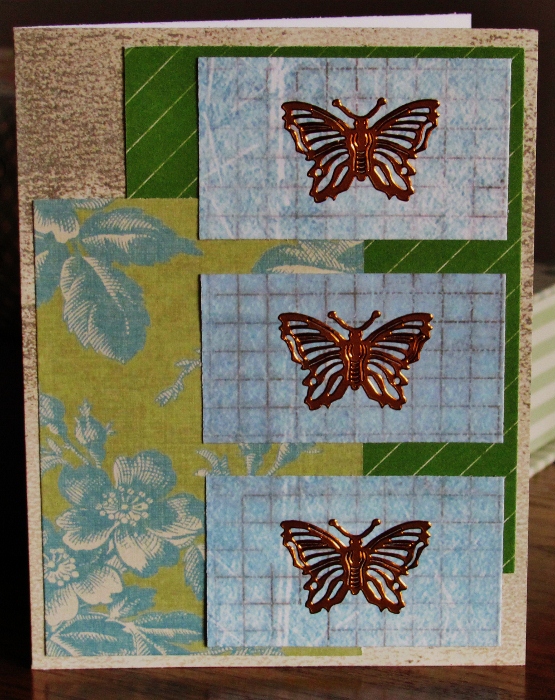
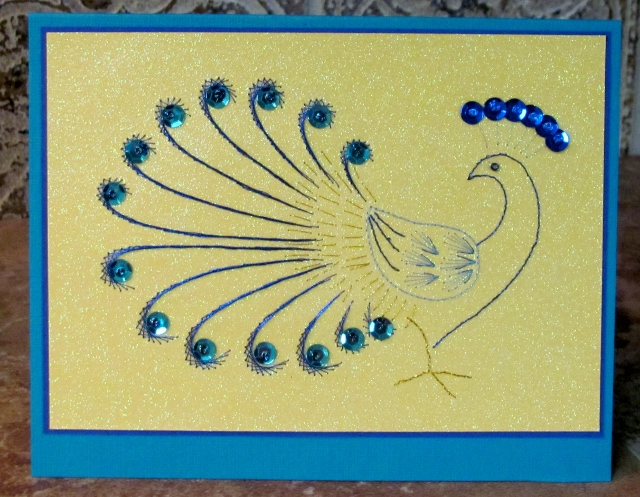
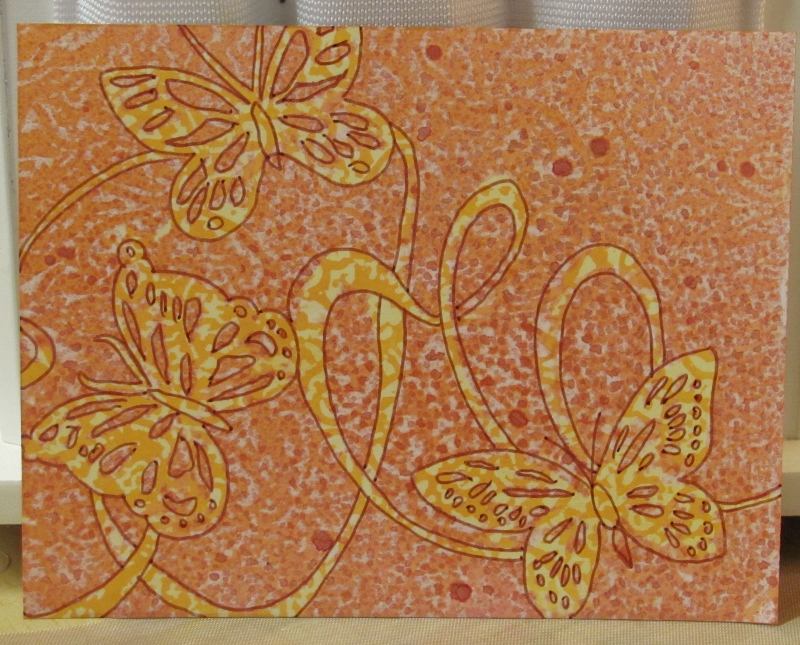
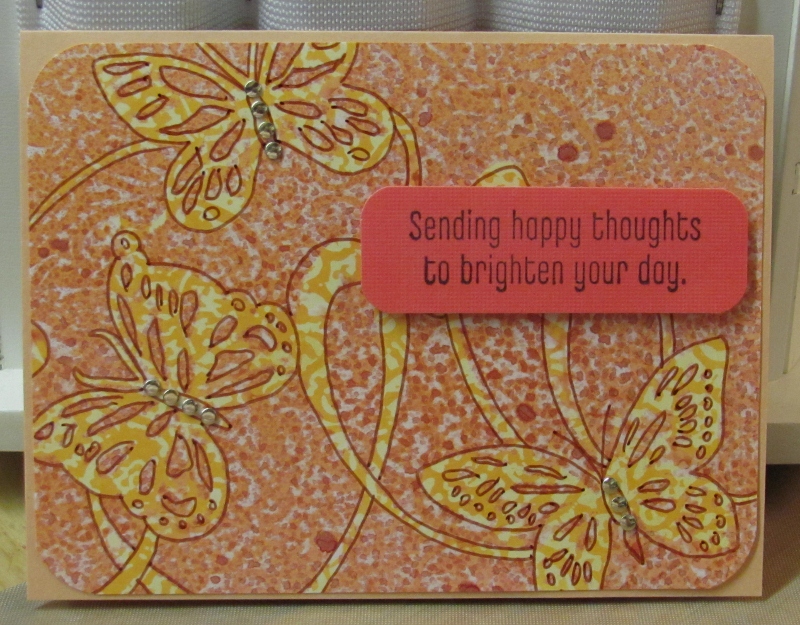
I picked up another couple of stencils and just had a chance to use them. Today I'll feature the butterfly stencil. Unlike the others I have used this one makes the feature item the blocked out area, leaving the background open to take coloring. It covers a 6 x 6 area.

I got out some of the waxed paper Cuttlebug cardstock I had left over from the first session I used it for. First I tried using Distress ink on one and then laid the stencil on and sprayed with shimmery mists. It did not make enough contrast for me so, after drying it, I outlined the stencil with a brown fine-line Sharpie.
To turn it into a card I just rounded the corners and added it to a tan card base. Then I selected a pre-stamped greeting, rounded the corners and popped it up on foam tape. I added bodies of 'nail head' stickers.
While the spray was still on the stencil I turned it over and pressed it to another background covered with Distress inks. This was missing some of the outline so I used a red Sharpie to freshen the lines a bit
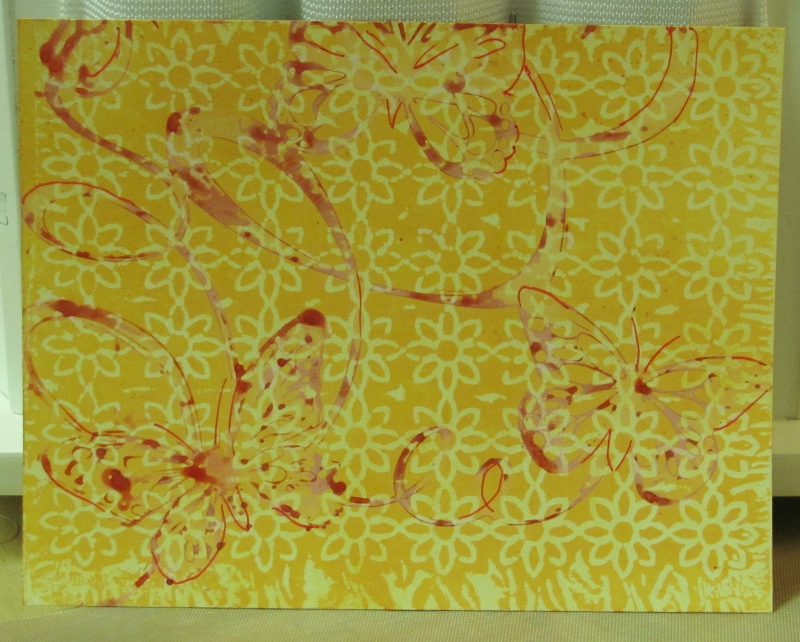
I used the corner rounder on the front as well as the red card base and added a stamped banner along with three red half-pearls.

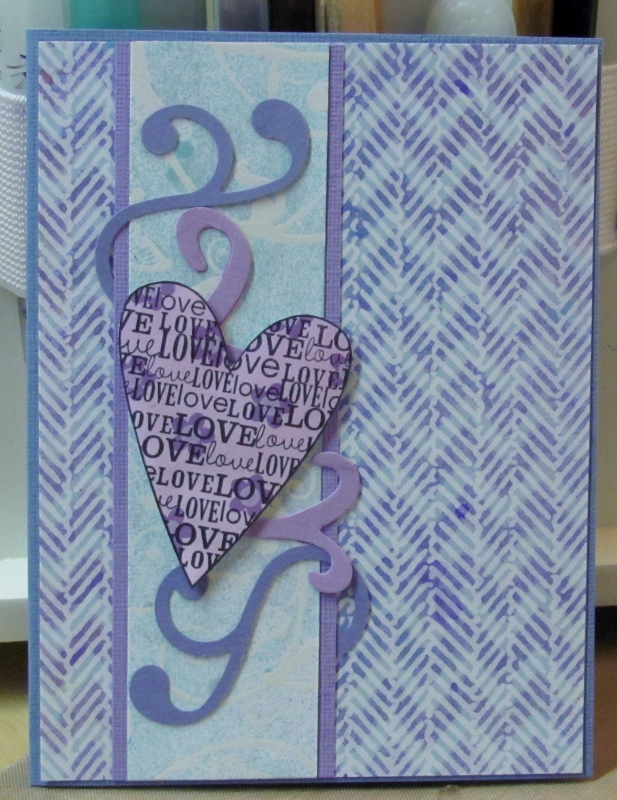
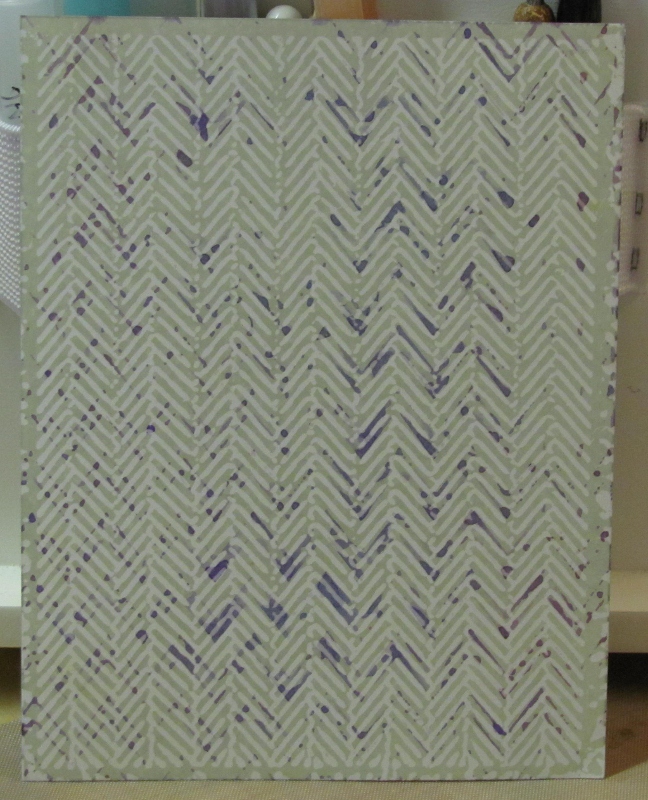
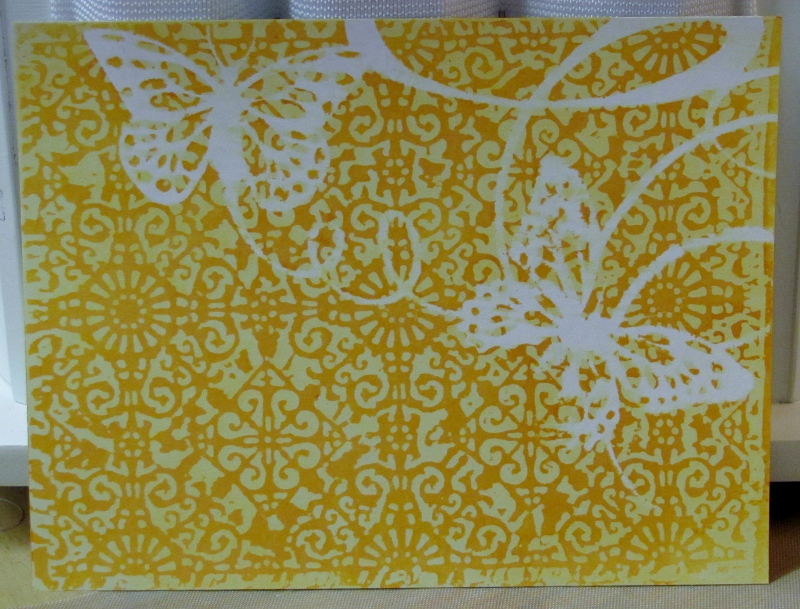
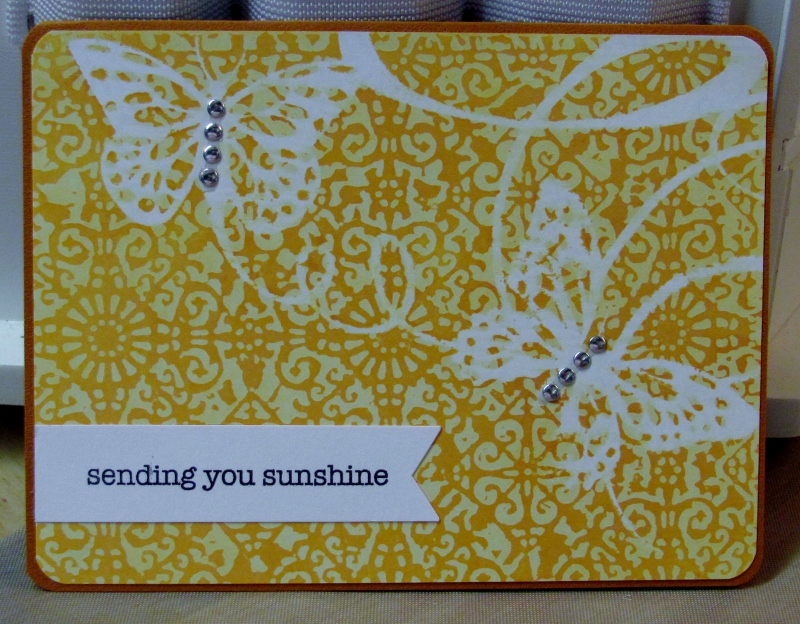
Then I switched up methods and laid the stencil on the background and held it in place while rubbing Distress ink over and through it. I love the white pattern this leaves!
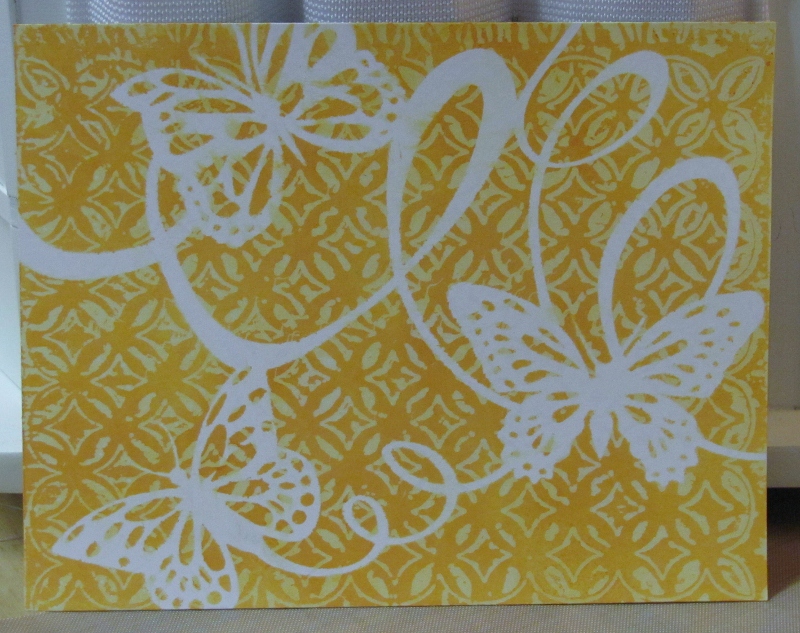
For the card I used the corner rounder again on both the front and the brown card base. The finishing touch is nothing more than a stamped greeting, cut out and mounted on the card face.
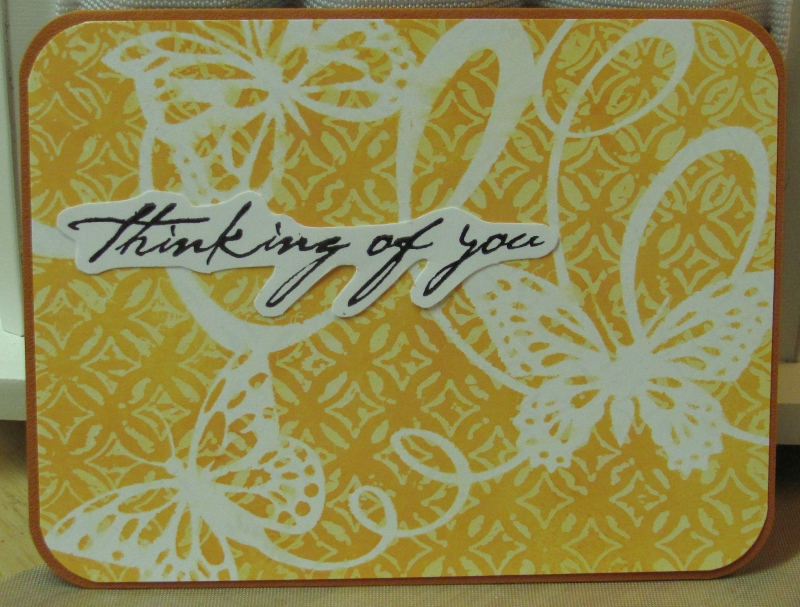
This one is done exactly like the last one with the stencil moved to create more background color
Like the last one this got a brown card base and rounded corners. I gave these butterflies nail head bodies and craeted a banner from a pre-stamped greeting.
I like this new stencil!
Ddd
Posted by studio3d@ccgmail.net
at 12:01 AM PDT
Updated: Thursday, 13 September 2012 11:13 PM PDT