« October 2012 »
S M T W T F S
1 2 3 4 5 6
7 8 9 10 11 12 13
14 15 16 17 18 19 20
21 22 23 24 25 26 27
28 29 30 31
You are not logged in. Log in
Entries by Topic
All topics  «
3D paperwork
A - Z challenge 5
A - Z challenge 7
A - Z challenge round 4
A to Z challenge round 3
A to Z round 2
A to Z round 6
A-Z round 1
Around the House
Art Challenges
Artist Trading Cards
Backgrounds
Beads
Bible Journaling
Books
Boxes
Collage
Color Challenge
Coloring
cookbook
Die Cuts
Digital Projects
Digital Stamps
Drawing
Dry Embossing
Fabric Stuff
Fantastic Folds
Field Trip
Home Decor
How Does Your Garden Grow?
Hymnal Art
In The Kitchen
In the studio
Jewelry
Lettering
Links
Multi-Technique
Music to Work By
Musings
Nail Art
New Work
Online Class
Other Hobbies
Other Projects
Painting
Paper Embroidery
Paper Piecing
Photo
Pretty Paper
Quilting
Random
reading
Scrap Recovery
scrapbooking
Sewing
Sketch Challenge
Some Backlog
Stamping
Stencils
Stickers
Supplies
Teabag Folding
Techniques
Testing
tips and tricks
Tutorial
Web resources
Welcome to my Blog
Work By My Friends
workflow
Writing
Blog Tools
Edit your Blog
Build a Blog
RSS Feed
View Profile
Group One
In & Out of Studio 3D
Thursday, 1 November 2012
Picture This - On a Card
Topic: In the studio

We're back to 'inspirations' today. I have collected many photos that I use (or plan to use) as inspiration for cards. I chose them for their patterns, colors, layout, or just because I like them. Sometimes I get inspired by a single element in the photo and sometimes try to replicate the design as closely as possible. Some of these I have shown along with their resulting cards on this blog.


Whew! That's a lot of inspiration!

Ddd


Posted by studio3d@ccgmail.net at 12:01 AM PDT
Wednesday, 31 October 2012
Creepy Green
Topic: Other Hobbies

Halloween has come again and we were off the other nite to a costume party. We always try to go as a 'couple' with costumes that are tied to one another and this year was no exception. We decided to go as Shrek and Fiona.

Hubby shaved his head for the green face paint and I made him 'ears' of green felt mounted on a green child's headband. Tan pants and black boots were topped with a white long-sleeved tee. He wore his belt on the outside and I made his cut-down vest out of an old black sweatshirt. I cut away the sleeves and neck and shortened it before  binding all the edges with bias tape. The ends of the bias tape were used to tie the vest closed.


I made more of my costume by using a satin fabric to sew a dress based on a pattern for a peasant blouse. I simply lengthened it and then used some decorative trim as a tie to create an empire waist. I created the headpiece by coloring the stones on a child's crown with alcohol inks (they started out purple) and attaching the 'ears' made from green felt with hot glue. I sprayed red coloring in my hair and used green face paint (horrible stuff - always turns out blotchy). Simple black shoes were all that it needed for completion of this outfit.


Happy Haunting!

Ddd


Posted by studio3d@ccgmail.net at 12:01 AM PDT
Tuesday, 30 October 2012
Inspirations
Topic: In the studio

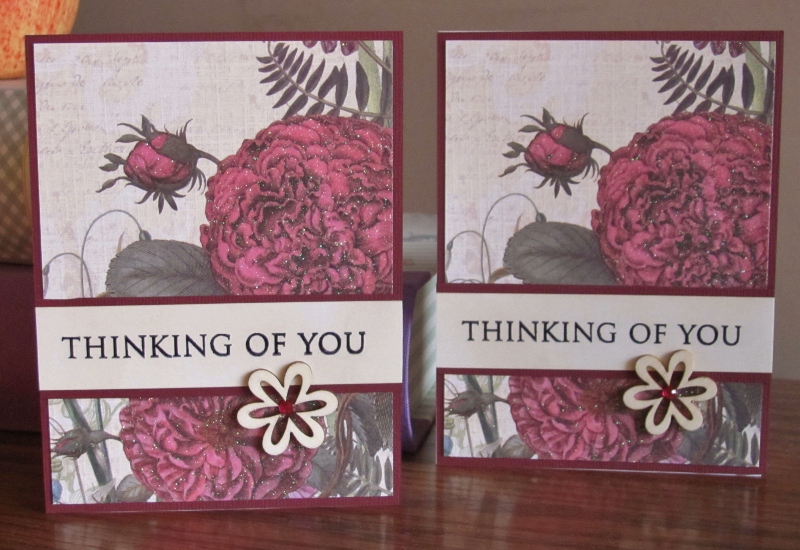
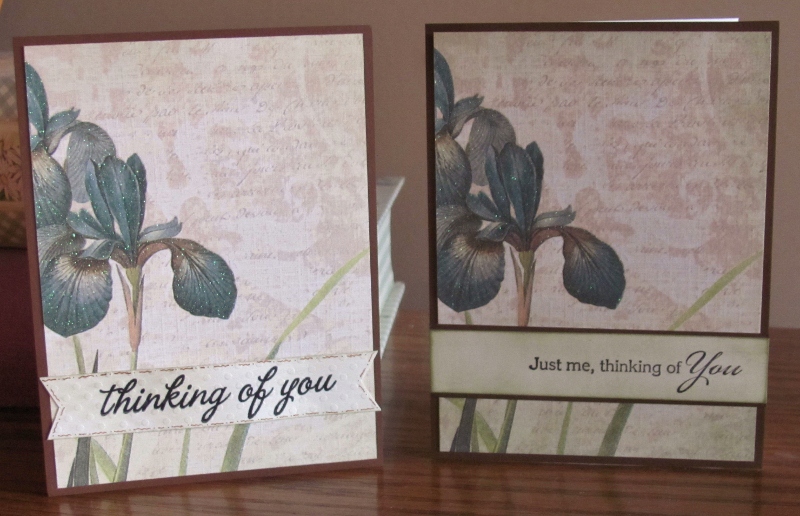
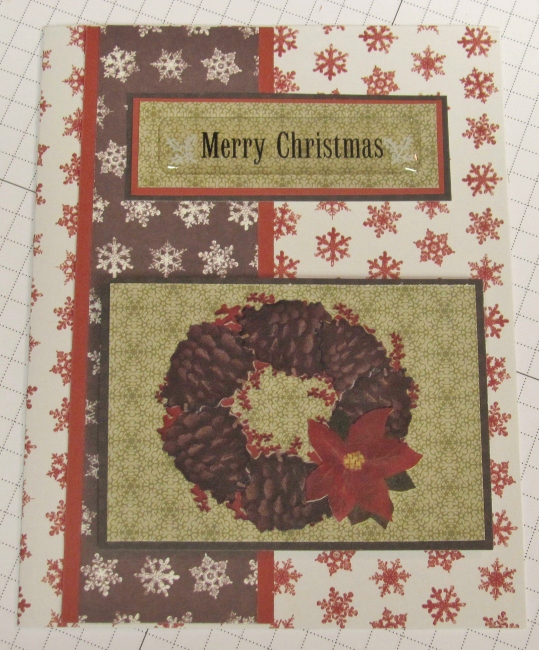
Lacking any new work to show today I thought I'd answer a question that has not been asked... "Where do you get inspiration?"

Much of the time the materials at hand - stamp images, clip art, papers, etc - inspire me but I also use challenges and references on a variety of websites and blogs as a jumping-off point for projects. In many cases I have printed 'catalogs' of these inspirations and can thumb through them to find ideas to work from.

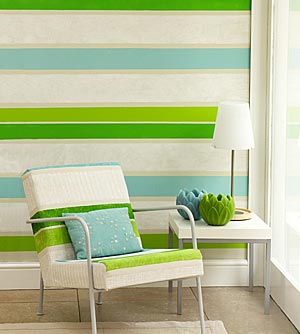
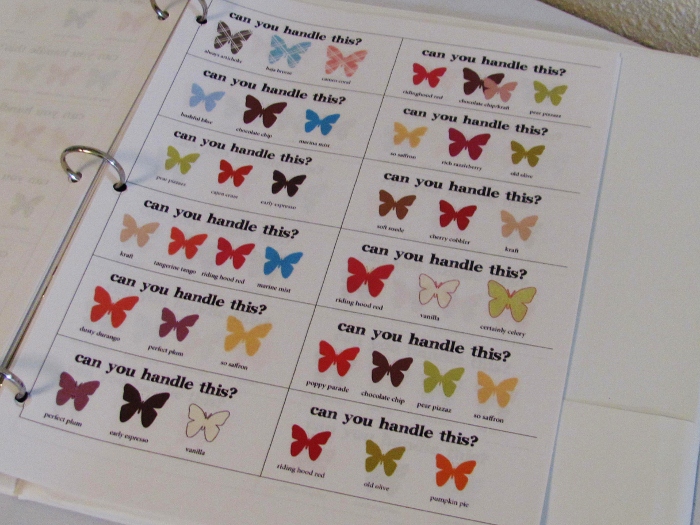
One of these is a catalog of color challenges. I have a section for the color challenges I have created:

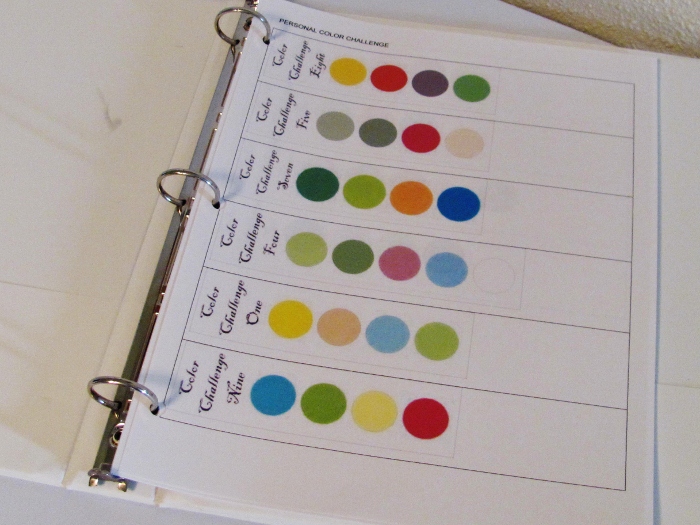
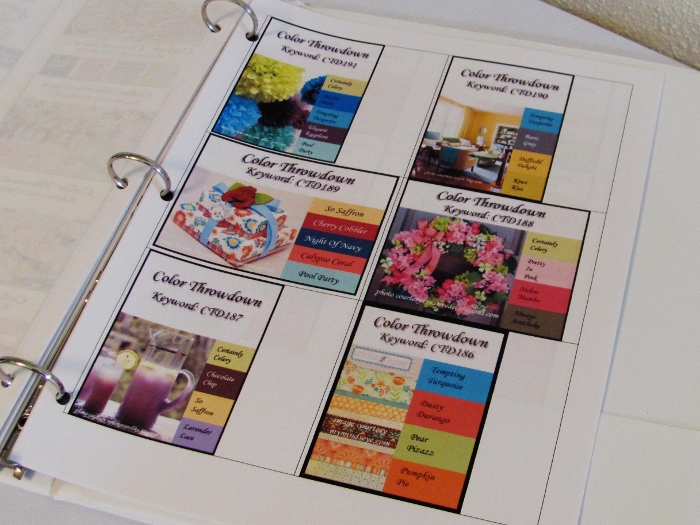
A section that includes the full run of challenges from Color Throwdown blog includes their variety of presentation methods as well.

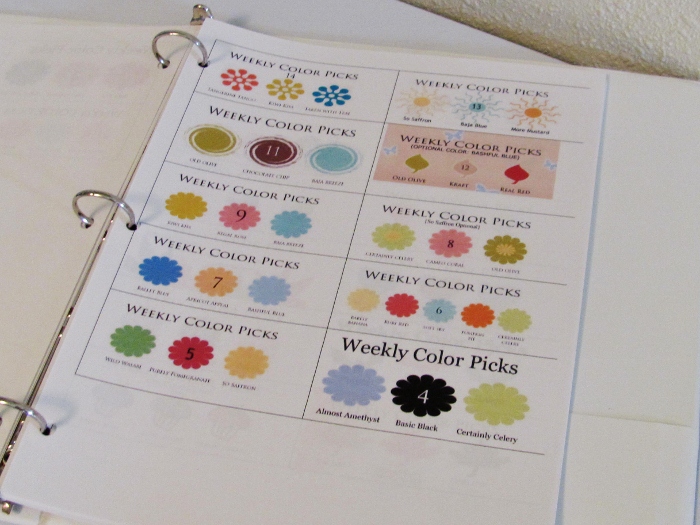
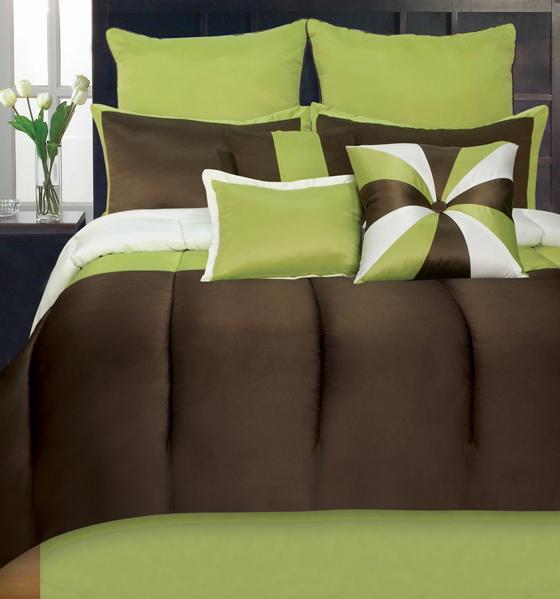
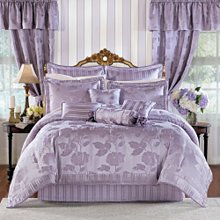
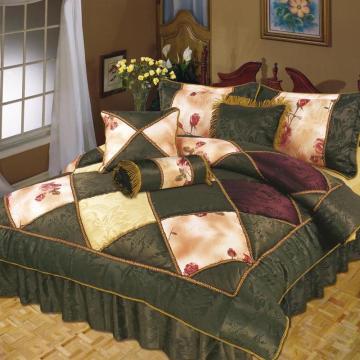
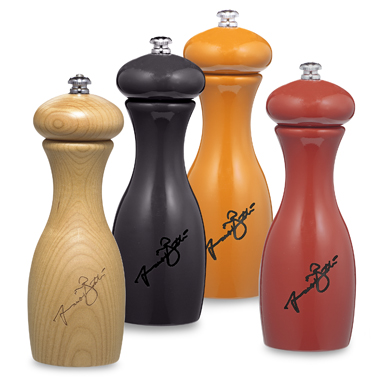
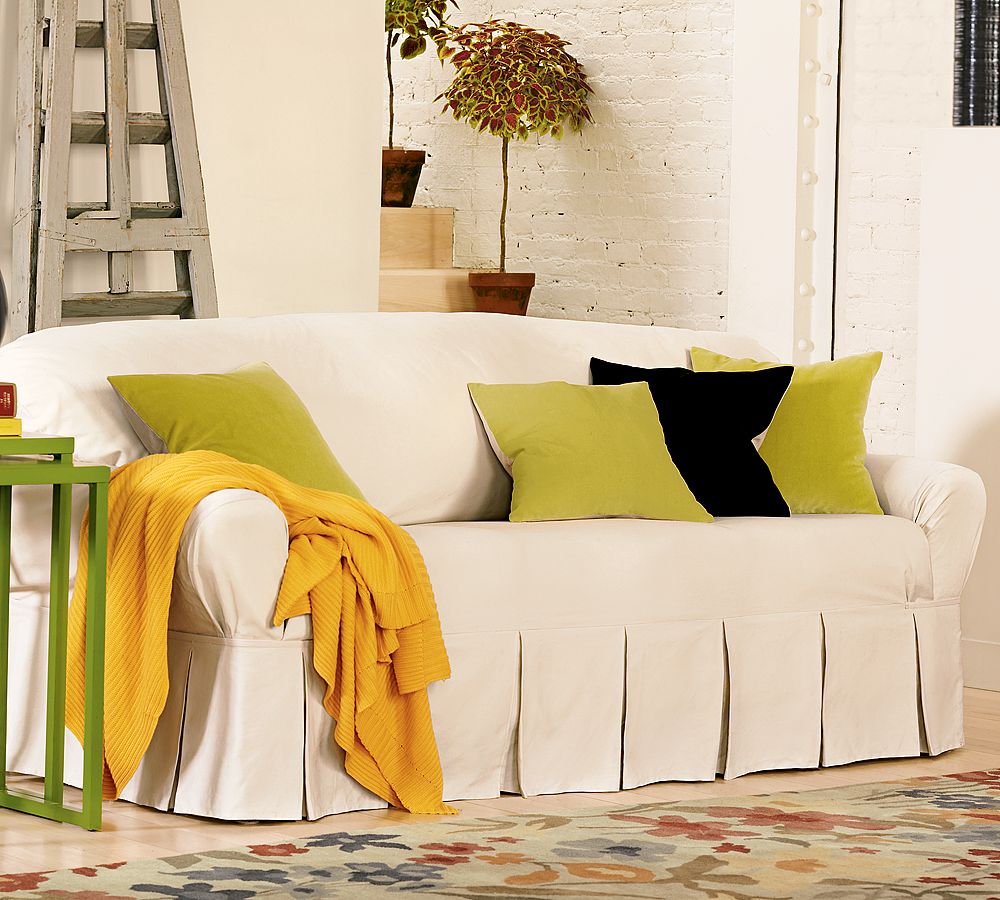
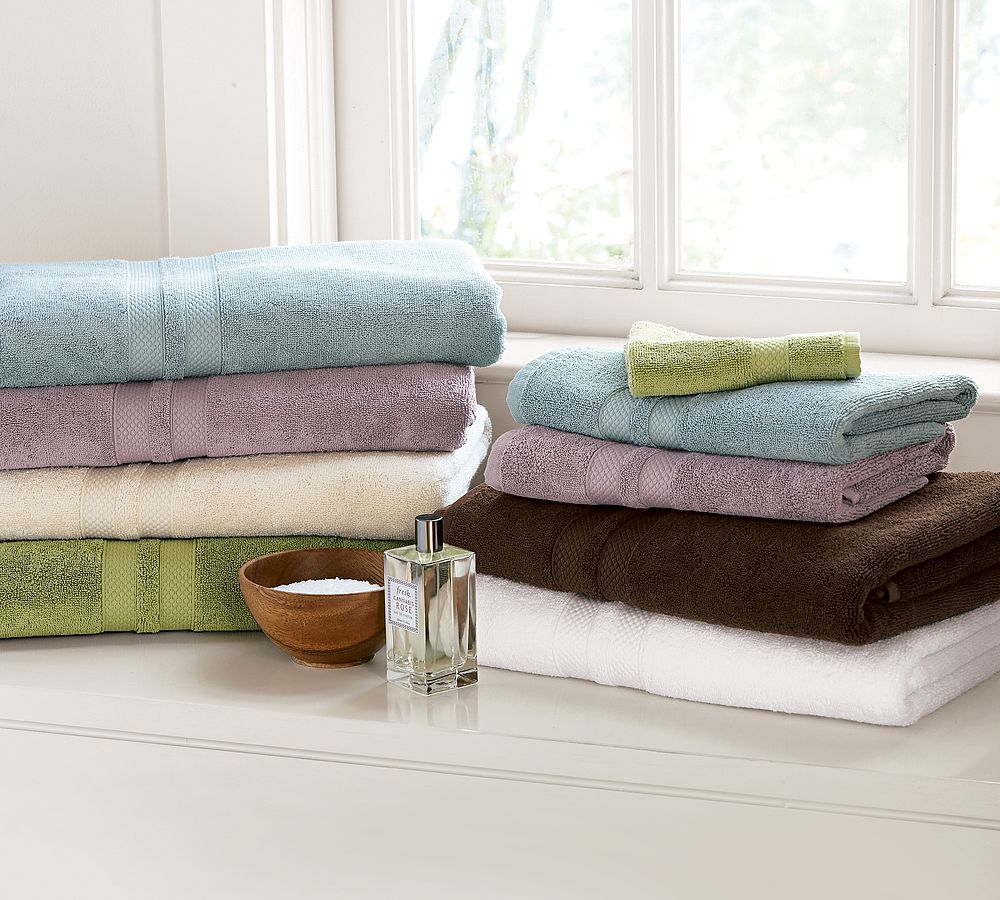
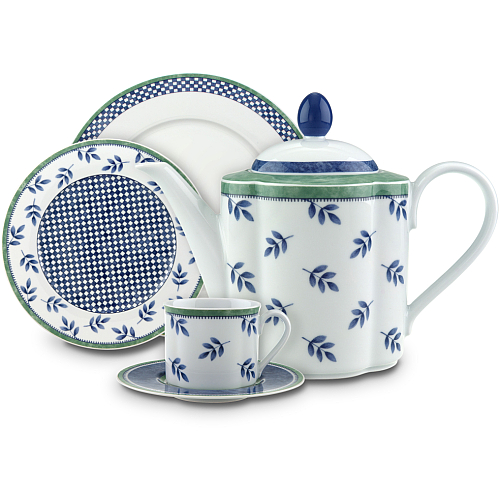
I like this new way as they show you the picture that inspired them to choose that color combination


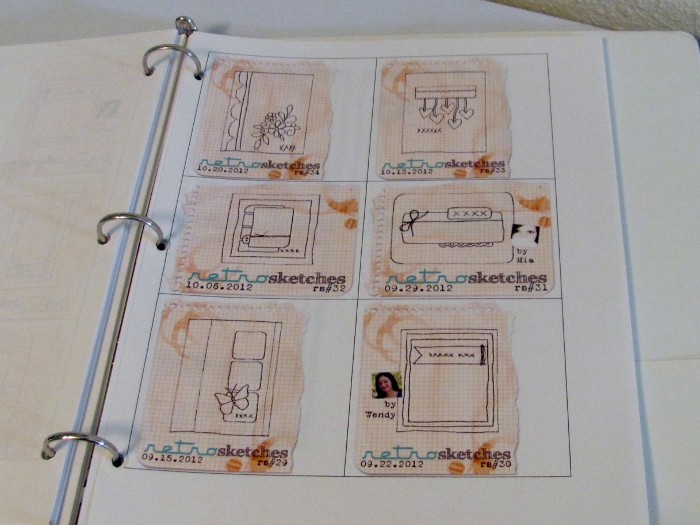
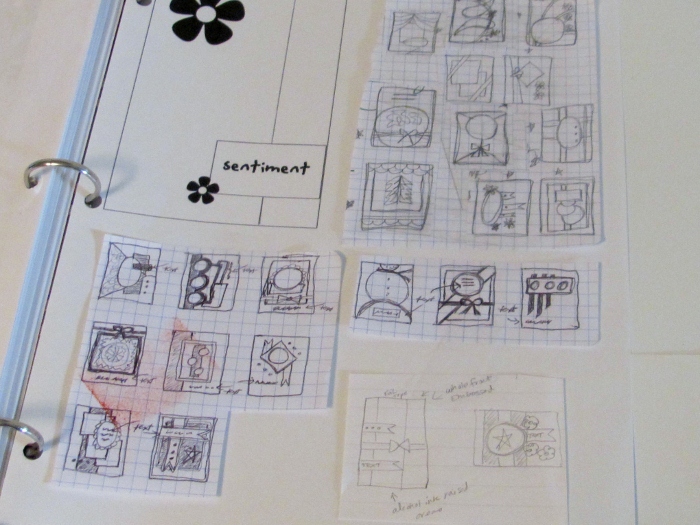
I also have a catalog of card sketches. This has all the Operation Write Home sketches,,,

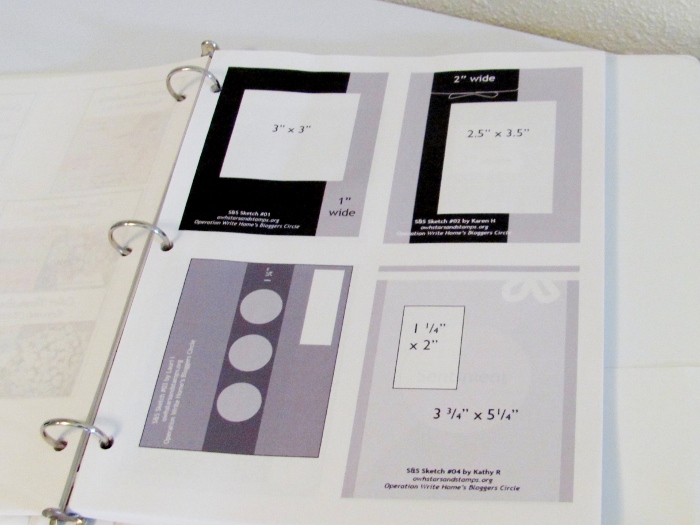
Card Positioning Systems (which is now discontinuing)


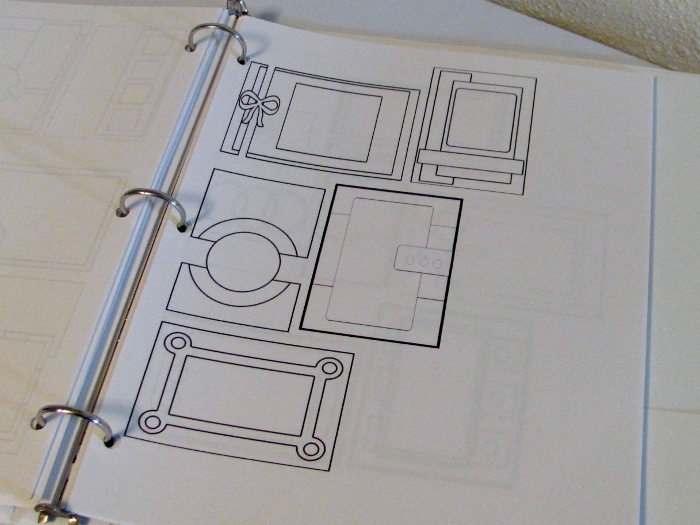
A blog called RetroSketches


And my own sketches


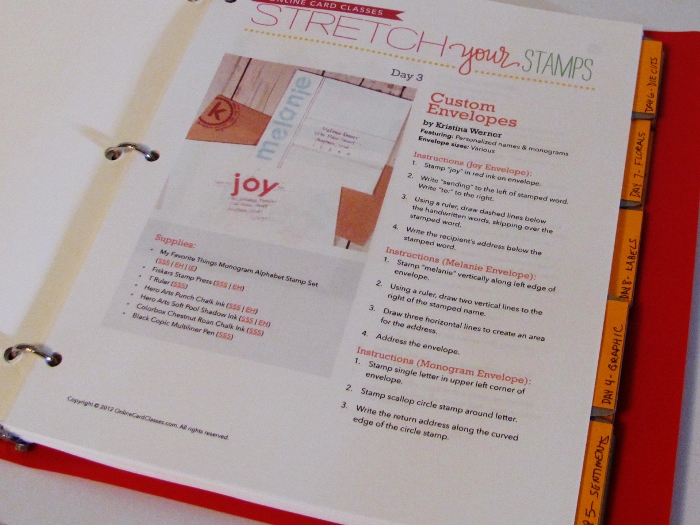
For stamping inspiration I have the binder of instructions and classes from the recent class Stretch Your Stamps.


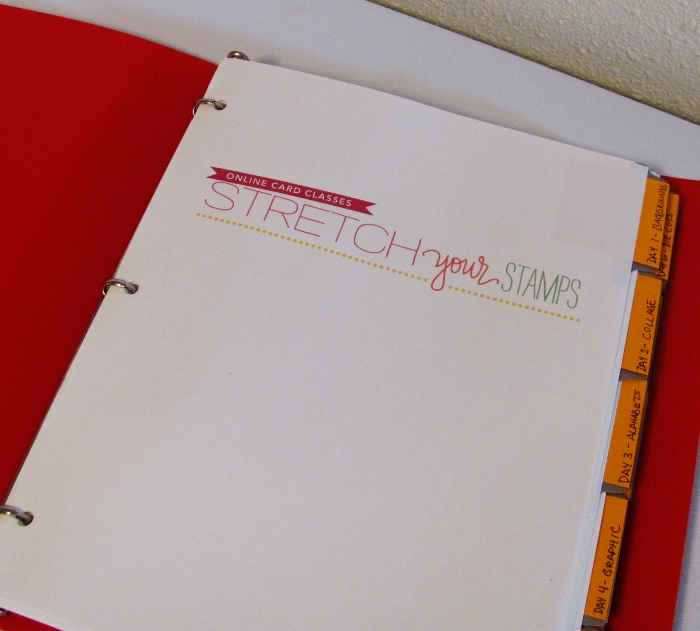
This includes 12 classes focusing on different categories of stamps and the miriad ways to use them.

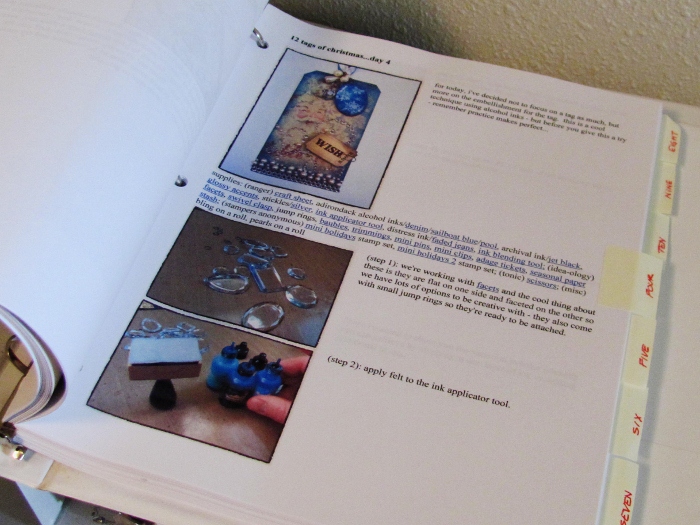
I have TWO binders of Tim Holtz 12 Tags of Christmas series. I formatted each lesson into a Word document to save paper and printed them all up.


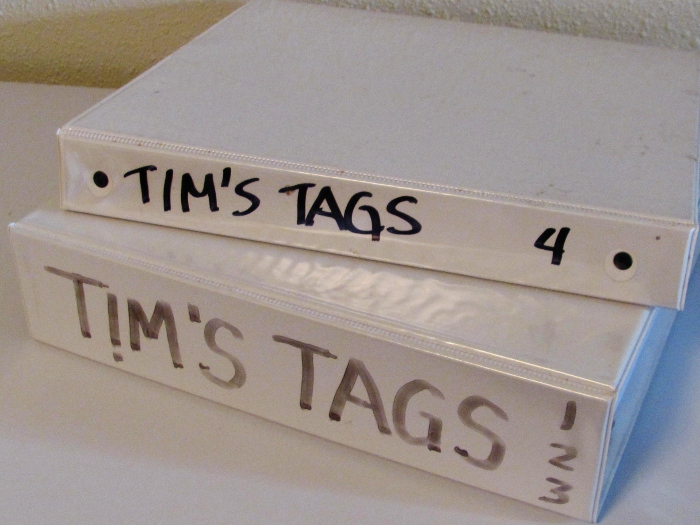
All of the ideas can be translated to cards and other projects. Tim uses mostly his own brands of products so there are lots of ideas on using Ranger, Adriondak, Stampers Anonymous, Alterations, etc.


I also have reference books on card making, stamping and other paper crafts to use as inspiration.

So many Ideas - so little time!

Ddd


Posted by studio3d@ccgmail.net at 12:01 AM PDT
Monday, 29 October 2012
Cherry Bird
Topic: Backgrounds

This is the last of these botanical background prints for a while.

Today I used again one with the lattice background. This one comes with a sweet bird perched on a cherry branch. On the left I cut the sentiment into a little tag, punched a hole in it and tied a bow with a bit of twine. I used the craft knife to cut around the toes of the bird's foot and tucked the tag under to make him hold onto it.

On the right I rounded the corners of a stamped sentiment and backed it with soe red to match the cherries. I popped it up on foam tape and tucked two snippets of colored paper underneath.

Ddd


Posted by studio3d@ccgmail.net at 12:01 AM PDT
Sunday, 28 October 2012
Roses and Dragonflies
Topic: Backgrounds

This botanical paper is just Yummy! I love the big pink rose and the overall vintage feel of all the blooms. That lattice background is especially nice.

The treatment is similar on both the samples with just a bit of difference in the sentiment. The one on the left has a plain pink stamped sentiment backed with a crackle-finish paper and a solid that matched the mounting of the main card.

The one on the right has a sentiment with a subtle floral background and is backed with a tiny chevron paper and a solid.

Both cards have two outline dragonfly stickers upper right and a small solid dragonfly sticker on the sentiment.

Ddd


Posted by studio3d@ccgmail.net at 12:01 AM PDT
Saturday, 27 October 2012
Berry-licious
Topic: Backgrounds

This botanical print has an open area built in for the sentiment. I used different scripts for the sentiments but used the same paper to stamp them on, rounded the right ends and used the same mounting treatment. I used the craft knife to slice around the lower edge of the leaf and tucked the sentiment strip underneath.

Each got one of the butterfly stickers on the lower right.

Ddd


Posted by studio3d@ccgmail.net at 12:01 AM PDT
Friday, 26 October 2012
Seeing Double
Topic: Backgrounds

Two blooms, Two copies, Same treatment. Don't know why I bothered to photograph them both!

The sentiment was toned with distress ink and bordered to match the background border. I added a laser cut wooden flower and placed a rhinestone in the center.


Feel like you're seeing double?

Ddd


Posted by studio3d@ccgmail.net at 12:01 AM PDT
Thursday, 25 October 2012
Oooooh, Shiny!
Topic: Backgrounds

This is another of those papers that has a glittery finish on the flowers.

On the left I did a creative mounting of the sentiment and placed it at the top of the illustration. The mounting matches the bordering color.

On the right I cut a flag end on the right of the sentiment and toned it with distress ink. I used some distress on the upper right of the background as well.

Very simple, but these backgrounds don't need much.

Ddd


Posted by studio3d@ccgmail.net at 12:01 AM PDT
Wednesday, 24 October 2012
View Point
Topic: Backgrounds

This is the other half of the background cardstock shown yesterday. I love this low viewpoint of the flowers.

On the left I cut a preprinted sentiment like a cloud and outlined it in a fine line of black. I used the craft knife to slice along the flower and leaf and tucked the cloud behind them. I added three of those butterfly stickers.

On the right I used distress ink to darken a yellow stamped sentiment and then trimmed it out, mounted it and added the butterfly on the upper edge of it.

Ddd


Posted by studio3d@ccgmail.net at 12:01 AM PDT
Tuesday, 23 October 2012
Daisy Fields
Topic: Backgrounds

I am loving the corner treatments on the 12 x 12 cardstock pads I had in stock and cut up.

Today (and tomorrow) I am using one with a border of daisies as viewed from a low angle. Really nice background treatment for the sky area in an unexpected tone.

For the top one I rounded the bottom corners of the sentiment, toned it with distress ink and bordered it with chocolate brown. The printed panel was mounted on orange and then the sentiment was mounted and orange brads added for accent. I also added a little butterfly sticker.

For the bottom one I staped the sentiment on a yellow plaid paper and backed it with orange like the background. I used my craft knife to slice along the edge of one of the flowers and tucked the sentiment behind it. This also got one of the butterfly stickers.

Ddd


Posted by studio3d@ccgmail.net at 12:01 AM PDT
Monday, 22 October 2012
Wild Iris
Topic: Backgrounds

There were two pieces of each patterned paper in the botanical pack I used for backgrounds. In some cases they are treated identically but in some I made slight variations.

This blue iris is covered in a glittery finish so it really does not want a lot of detail to compete with it. On the left I tinted a prestamped sentiment with a bit of green distress ink, cut flag ends and did a thin doodle line around it. The center is up on foam tape and the ends are attached directly to the background. On the right I tinted the sentiment with green and bordered it with some brown.

Both of the card faces are tinted with green at the edges and backed with chocolate brown.

Ddd


Posted by studio3d@ccgmail.net at 12:01 AM PDT
Sunday, 21 October 2012
I Must Be Cookoo
Topic: Backgrounds

Another of the 12 x 12 sheets had a tight corner grouping with an open tag space. I added a brad to the clock center, threads to the centers of the printed buttons, added a real button with thread knotted in it, and a pre-stamped sentiment bordered with some cute gingham paper scrap.


A chocolate brown paper is used to border the piece.

Ddd


Posted by studio3d@ccgmail.net at 12:01 AM PDT
Saturday, 20 October 2012
All In Their Places With Bright Shining Faces
Topic: Backgrounds

A few weeks ago I reported on cutting up several pads of 12 x 12 cardstock for future use on cards. Some of that was printed with corner elements or background elements that only needed a bit of this and that to become a completed card.

The future is NOW! I pulled out some that inspired me and went to work on them.

Today's card uses the portion of one of Tim Holtz's papers that is imprinted with clock faces. None of them had hands so I used stamps to add them and then added brass brads in their centers. The sentiment is a pre-stamped one, cut with a flag end and distressed with 'old paper' ink to bring it to the same tonal range as the background.


A backing of chocolate brown paper frames it out.

Ddd


Posted by studio3d@ccgmail.net at 12:01 AM PDT
Friday, 19 October 2012
Get In Line
Topic: Paper Embroidery

The pattern challenge for October on one of the paper embroidery lists was one I already had in my files of free patterns. I had never stitched it though so this was a move in the right direction. I pricked it out on two-toned chocolate swirl cardstock and stitched in a golden yellow. After stitching I went to my stock of 3D elements and found one with the same chocolate and golden yellow colors in it. Not only that, it was a linear element so It fir perfectly with this border layout.

The 'tab' is an extra element from the 3D sheet that I stamped for this space.

Ddd


Posted by studio3d@ccgmail.net at 12:01 AM PDT
Thursday, 18 October 2012
His to Hold
Topic: Quilting

This is the companion quilt to the one shown yesterday. That was for the young lady and this is for the young man. I made this one from another arrangement of the Disappearing 9-Patch layout using scraps of nature fabrics - leaves, vines, pinecones, etc. I wanted to have a quilt that he could grow up with instead of one he would outgrow.

This is also 50 x 50, the same size as the last one. Since they are going to the same family I wanted them to be 'equal'. (Yeah, I'm a Mom, too).

Ddd


Posted by studio3d@ccgmail.net at 12:01 AM PDT
Wednesday, 17 October 2012
Come Snuggle
Topic: Quilting

I made his and hers quilts for a couple of children that they could use to snuggle with their mom on the couch. For the girl's quilt I used scraps floral scraps from a quilt I am in the middle of constructing for someone else. I even used the same basic layout - a mix of 9-patch and large blocks set on point.


This is about 50 x 50 inches.

Ddd


Posted by studio3d@ccgmail.net at 12:01 AM PDT
Tuesday, 16 October 2012
Just Try a Little Sample
Topic: Quilting

When I was making the quilt I called Celtic Dreams I thought I had a better way to construct the blocks - by using strips instead of paper piecing. Um...not so much. It was impossible  to keep the strips uniform and they did not fit together right. I mucked around with it enough to complete three blocks - what would have been the centerpiece of the larger quilt. But in the end it was just too loosey-goosey for me and I couldn't deal with the mis-matching of the corners. I also couldn't imagine trying to do the rest of the quilt that way - fudging, shifting, and cheating my way through the whole thing.

So I set that center set of blocks aside and started over with the quilt and did it with paper piecing as it was supposed to have been done in the first place. Fast-forward six months and I used up the scraps to add corners and borders and backed it with another large scrap. I added a hanging sleeve and turned this into a wall hanging for my fireplace.

I joked that I should name this one 'From a Distance' because it is best viewed from there!

Ddd


Posted by studio3d@ccgmail.net at 12:01 AM PDT
Monday, 15 October 2012
Formula Two
Topic: Sketch Challenge

This is day two of the Christmas cards created with the cutting formula provided by Club Scrap at http://clubscrapcreates.blogspot.com/2012/10/owh-sketch-90-had-babies.html

We were left with a patterned card base, two patterned blocks in different sizes and a strip. NONE of these follow the provided sketch!

By using the smaller blocks on two of yesterday's cards I ended up with two larger blocks for today's cards. This one I turned on it's side and decorated with three angel stickers. Then the strip wasn't big enough to hold my greeting sticker so I mounted it on something else and popped it up on foam.

This one also went on its side so I would have room for the foil "MERRY" stickers. I went casual on the placement, repeating at the top and bottom. Then I used the companion foil sticker on the long strip and mounted it with foam tape.

This one actually uses the two blocks from the sketch but, amazingly, I didn't use them in the specified alignment. Imagine that! I backed them with cream cardstock to define them and added a clear sticker to each. The left one is popped up on foam tape. The bow is a punch shape with details in marker.


And then there is the cleaning up of the scraps. I used the patterned card base, the smallest block, the strip and a bunch more strips left over from where I had left them off of other cards. The greeting block and all the poinsettias are clear stickers.


So there you have it... cut once, add a couple packages of stickers and some tape, foam tape and make 8 cards in a snap! Thanks Club Scrap. That filled my Christmas box to OWH and it is outta here.

Ddd


Posted by studio3d@ccgmail.net at 12:01 AM PDT
Sunday, 14 October 2012
Formula One
Topic: Sketch Challenge

While not REALLY a challenge, on World Card Making Day, Club Scrap posted another formula for cutting multiples of an OWH sketch. Chrck out their post here http://clubscrapcreates.blogspot.com/2012/10/owh-sketch-90-had-babies.html

The bonus was that they included a sketch to use up the scraps that the cutting formula produced.

I needed some more Christmas cards to send to OWH with my latest package and I already had the papers out from recent projects so I jumped right into this.

Today I will show the four cards produced with the sketch and tomorrow will be the four resulting from the scraps. Ready?

I really love this plaid cardstock! I used three more subdued prints in contrast to it and decorated with foil stickers.


And the sketch went off track just that fast! LOL! I turned this one on its side and moved the smallest band for an orientation that suited the 3d sticker I had. Then I added clear stickers for the corner treatments.

And to get further off track, I replaced the smallest block with a clear sticker tag, mounted to cardstock and raised up on foam. All the elements are bordered with green and three 'joy' stickers in different styles decorate the tag.


This really IS the same sketch! I dropped the large panel out of this one and added another small panel at the top. All the panels are bordered in reds and browns to define them. I added a thick acrylic sticker to the top panel and layered a wreath, pinecones and poinsettia clear stickers to the bottom panel.

A sketch is just a suggestion, isn't it?

Ddd


Posted by studio3d@ccgmail.net at 12:01 AM PDT
Saturday, 13 October 2012
Oh Christmas Tree
Topic: Paper Embroidery

One last paper embroidery card for the 2-a-month challenge. This is actually for November but I needed to get it in my box for OWH so did it early. I also only made one.

This is another free pattern (the kind I love best) and it is very stitching intensive. I used a tan dotted paper and stitched with dark red and green. The star and the T (cross) are stitched in metallic gold thread.


I rounded the corners to reflect the curves in the stitching and mounted on bright yellow cardstock with rounded corners. This pulls out the gold stitching.

Ddd


Posted by studio3d@ccgmail.net at 12:01 AM PDT

Newer | Latest | Older