« May 2013 »
S M T W T F S
1 2 3 4
5 6 7 8 9 10 11
12 13 14 15 16 17 18
19 20 21 22 23 24 25
26 27 28 29 30 31
You are not logged in. Log in
Entries by Topic
All topics
3D paperwork
A - Z challenge 5
A - Z challenge 7
A - Z challenge round 4
A to Z challenge round 3
A to Z round 2
A to Z round 6
A-Z round 1
Around the House
Art Challenges
Artist Trading Cards
Backgrounds  «
Beads
Bible Journaling
Books
Boxes
Collage
Color Challenge
Coloring
cookbook
Die Cuts
Digital Projects
Digital Stamps
Drawing
Dry Embossing
Fabric Stuff
Fantastic Folds
Field Trip
Home Decor
How Does Your Garden Grow?
Hymnal Art
In The Kitchen
In the studio
Jewelry
Lettering
Links
Multi-Technique
Music to Work By
Musings
Nail Art
New Work
Online Class
Other Hobbies
Other Projects
Painting
Paper Embroidery
Paper Piecing
Photo
Pretty Paper
Quilting
Random
reading
Scrap Recovery
scrapbooking
Sewing
Sketch Challenge
Some Backlog
Stamping
Stencils
Stickers
Supplies
Teabag Folding
Techniques
Testing
tips and tricks
Tutorial
Web resources
Welcome to my Blog
Work By My Friends
workflow
Writing
Blog Tools
Edit your Blog
Build a Blog
RSS Feed
View Profile
Group One
In & Out of Studio 3D
Thursday, 2 May 2013
Sweet Treat
Topic: Backgrounds

More with the daisy... I loved the cheerful look of this background after coloring it and wanted to keep that light-hearted spirit going. I did this by spreading the daisies apart to expose more of the background and by using a fun sentiment in a casual font.

Black border reinforces the stamping and a pink card base reinfordes the dots in the background.

Ddd


Posted by studio3d@ccgmail.net at 12:01 AM PDT
Wednesday, 1 May 2013
Bright Birthday
Topic: Backgrounds

The color combination on this card almost looks like neon ink! I LIKE! It is still a combination of a distress ink colored waxed paper background over which a Staz-on stamped image is colored with distress markers.

In this case I spread the flowers out around a stamped sentiment and bordered it with black to reinforce the line images.

I used a card base that matched the background for contiuity.

Ddd


Posted by studio3d@ccgmail.net at 12:01 AM PDT
Tuesday, 30 April 2013
Dusty Daisies
Topic: Backgrounds

I wasn't sure what I was going to do once I colored up this background with such a bright purple. Once I pulled out the large daisy stamp, though, I knew I was on the right track. I used dusty purple and rose to color in the petals and centers. YUM!

Rose was selected for the card base to reinforce the flower centers.

The sentiment is constructed from a multi-word set that lets you mix and match for a variety of text.

Ddd


Posted by studio3d@ccgmail.net at 12:01 AM PDT
Monday, 29 April 2013
Three More Thoughts
Topic: Backgrounds

In the stamp set I used yesterday there is a second graphic flower. I decided to use that one for the card today.

The background was very soft and subdued and these flowers are casual so they made a restful combination. By using the black bordering and a sand colored card base I kept it monochrome.

As a finishing touch I placed 5-petal paper flowers in the center of each and anchored them with a black rhinestone.

Ddd


Posted by studio3d@ccgmail.net at 12:01 AM PDT
Sunday, 28 April 2013
Blocky Blooms
Topic: Backgrounds

With a busy pattern in the background I selected a more graphic type of stamp for the flowers. I colored in the open areas with distress markers and stamped a sentiment in the open area.

Behind the fine black border I added a golden card base to echo the color in the flower centers.

Ddd


Posted by studio3d@ccgmail.net at 12:01 AM PDT
Saturday, 27 April 2013
All Smiles
Topic: Backgrounds

This background turned out a little busy so I wanted to use a little boldness to bring the focus back to the sentiment.

I stamped the sentiment on a white punched circle from the scrap pile. Then I used distress ink to color the edges to match the background. a fne line marker was used to draw in some faux stitching. I had some die-cut swirls o hand so I tucked them around the circle and glued them down.

I fiinished off each of the swirls with a teal rhinestone and added one more to dot the I.

Ddd


Posted by studio3d@ccgmail.net at 12:01 AM PDT
Friday, 26 April 2013
Row Houses
Topic: Backgrounds

With this background I colored with a blue distress ink first. Since I had the house out from yesterday I used it again, stamping three times across the page. I used a fine line Sharpie to draw in architectural and siding details. I used distress markers to color in the houses and Staz-on ink to add the sentiment.

Black bordering over violet card base brings the color in to match the center house.

Ddd


Posted by studio3d@ccgmail.net at 12:01 AM PDT
Thursday, 25 April 2013
Thinking Of Home
Topic: Backgrounds

The background for this was so angular that I wanted to reinforce that look. So I used the house stamp and colored it in with markers. I stamped sentiments foloring the angles of the roof and wrapped around the bottom corner. The large word has some oen area graphics embedded so I colored them with marker as well.


A black border over a bright orange folded card base frames it out.

Ddd


Posted by studio3d@ccgmail.net at 12:01 AM PDT
Wednesday, 24 April 2013
In The Woods
Topic: Backgrounds

I had two more of the woodgrain waxed paper backgrounds made up so worked them up with the same general technique for two cards today. I had the set of skeleton leaves out for yesterday's card so I stamped three different ones as borders around the card. I used Staz-On ink for this so it would not smear when coloring. Each leaf type was colored with a different distress marker.

These panels were trimmed and bordered with black over a raspberry card base.

In each case I stamped a sentiment on green, rounded the corners, bordered in black.

In both cases the sentiment block is raised on foam tape.

Ddd


Posted by studio3d@ccgmail.net at 12:01 AM PDT
Tuesday, 23 April 2013
Treestand
Topic: Backgrounds

Back with more of the waxed paper backgrounds. This time I had woodgrain that I colored with distress ink in brown over all. Then I stamped a stand of trees at the bottom edge. They weren't wuite dense enough so I overstamped them with a skeleton leaf. Not noticable in detail but increases the density.

I used golden marker to color over the tree shapes, green over the ground, yellow over the knothole to turn it into a moon, and blue over the rest of the sky.

Hmmm, that photo is a little dark.

Anyway, I bordered with black over a lemon yellow card base and added a strip of yellow card with a stamped greeting.

Ddd


Posted by studio3d@ccgmail.net at 12:01 AM PDT
Thursday, 18 April 2013
Flowers Are A Treat
Topic: Backgrounds

I tried using two blues and two greens to make the diamonds look dimensionsl on this background. It left too much space between the blocks so I filled the spaces with Mustard distress pen and it blended everything into a multi-toned green.

That was pretty boring so I got out a large floral stamp and covered the surface with the bloom. A green cardstock was selected for the text block and backed with black. Three strands of green twine were added and secured with a knot.

I bordered the floral panel with black and popped the sentiment block up on foam tape.

Ddd


Posted by studio3d@ccgmail.net at 12:01 AM PDT
Wednesday, 17 April 2013
Be Loved
Topic: Backgrounds

I got out the heart waxed paper background and colored it up in three vibrant pinks/reds. I stamped a sentiment on pink and backed it with red, creating a flag end.

Some dark pink twine was looped around the front twice and knotted.

Ddd


Posted by studio3d@ccgmail.net at 12:01 AM PDT
Tuesday, 16 April 2013
Butterscotch Background
Topic: Backgrounds

The argyle pattern of this waxed paper background turned out well in mustard yellow and gathered twig distress inks. They blended to a nice butterscotch. I wanted to see lots of the background so I banded a sentiment in brown and mounted it low on the card front.

I had some diecut swirls in a butterscotch cardstock so added them around the sentiment. I went in with a fine line brown marker and added some detail work around the ends of the swirls making them look paisley.

A brown rhinestone was added to each paisley end.

Ddd


Posted by studio3d@ccgmail.net at 12:01 AM PDT
Monday, 15 April 2013
Simple Hello
Topic: Backgrounds

Sice I had the waxed paper backgrounds out for the last few projects I decided to just keep playing with it.

I combined yellow and blue inks on this background whick blended up to a nice green. I used a dark green card base and stamped the greeting directly on the background using Staz-On.

I attached three paper flowers with glue dots and placed a black rhinestone in the center of each.

Ddd


Posted by studio3d@ccgmail.net at 12:01 AM PDT
Monday, 18 February 2013
Buttoned Up Birds
Topic: Backgrounds

The  circular elements on this waxed paper background provided a perfect layout to add button stickers down the left side. I placed one button in each circle and then layered another button over the top of each, popped up on foam tape. The yellow illustrated panel is a sticker tag that fit perfectly. But it had white birdcages on it that did not show up well. I used a fine-line pen in brown the trace them out. Then I stamped the text in the center, bordered it and mounted it on foam tape.

I used second and third generation stamping to repeat the text on the background and added two coppery puffy hearts over the tiny stamped ones.

Ddd


Posted by studio3d@ccgmail.net at 12:01 AM PST
Sunday, 17 February 2013
Countin' Flowers On The Wall
Topic: Backgrounds

I'm still searching for the perfect use for the brick embossing folder - I don't think I found it today either.

I used it for a waxed paper background and colored with fired brick. Then I ran it back through the folder to raise the bricks. Next I used gathered twigs distress ink to darken the bricks. Hmmm. I went looking for feature elements and came up with these metal-rimmed tags in two colors and two sizes. The two reds are mounted with large glue dots and the pewter is mounted on foam tape.

The camera did NOT like focusing on this card!

I added silver peel-off greetings inside the tags and two silver borders across the bottom of the card.

Ddd


Posted by studio3d@ccgmail.net at 12:01 AM PST
Saturday, 16 February 2013
Sunshine And Flowers
Topic: Backgrounds

This waxed paper background of daisies got colored up with bright yellow Distress Ink for a cheery spring card. I found some sunflower stickers in graduated sizes and layered them. Then I added some diecut white corner brackets for framing and rounded two opposing corners.

I found a thick acrylic heart sticker with text and a daisy and placed that in the lower right of the floral grouping.

Ddd


Posted by studio3d@ccgmail.net at 12:01 AM PST
Friday, 15 February 2013
Just Because of Roses
Topic: Backgrounds

The waxed paper background on this card is very subtle in coloring so I chose to feature pastel rose stickers for the focal. I added some antique script tissue tape as borders.

A nice script text peel-off sticker in gold provides a sentiment.

Ddd


Posted by studio3d@ccgmail.net at 12:01 AM PST
Thursday, 14 February 2013
Hearts-A-Plenty
Topic: Backgrounds

Can't let Valentine's Day go by without featuring a little love!

I used a waxed paper background (created Two diecut white corner brackets are featured in the corners and 3D peel-off heart stickers flutter through the center. I added a red puffy heart to each gold heart center.

A gold peel-off greeting rests on the lower corner bracket.

Ddd


Posted by studio3d@ccgmail.net at 12:01 AM PST
Wednesday, 13 February 2013
Lottsa Poppies
Topic: Backgrounds

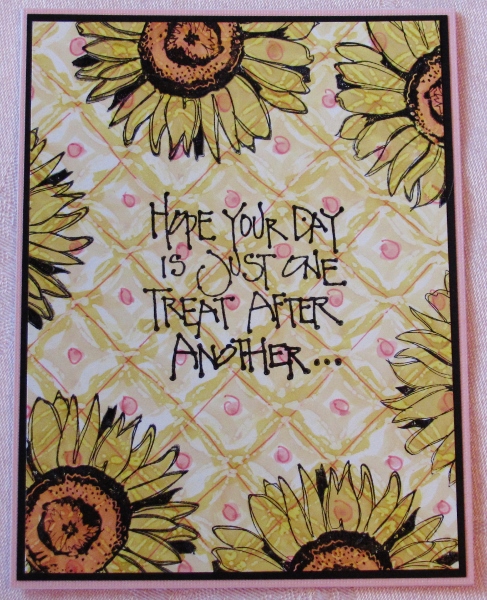
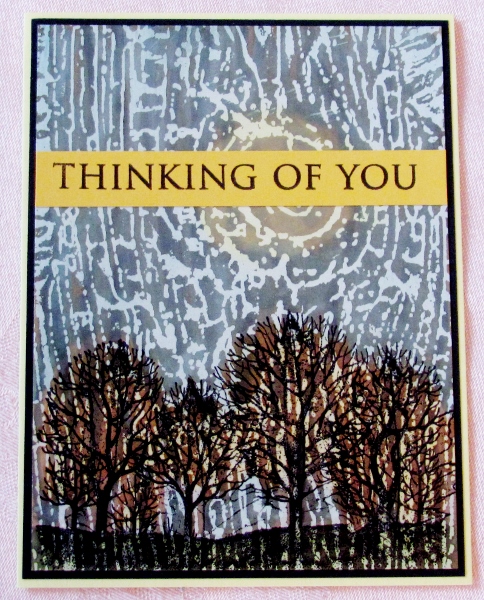
I pulled out the rest of the diecut poppies cardstock and decided to just use it all up in one session. I chose a variety of card bases from cream to golden and used a variety of stickers to decorate their fronts.

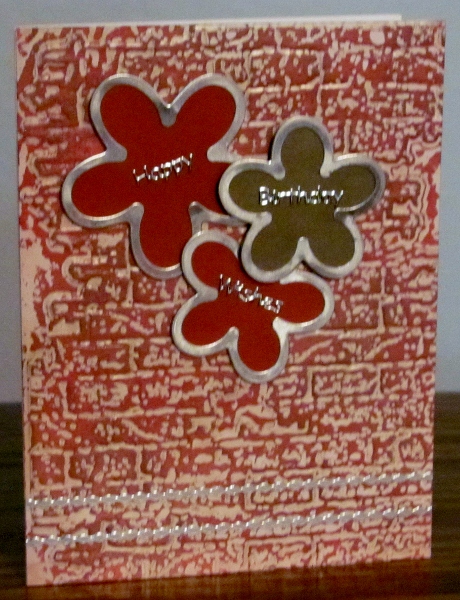
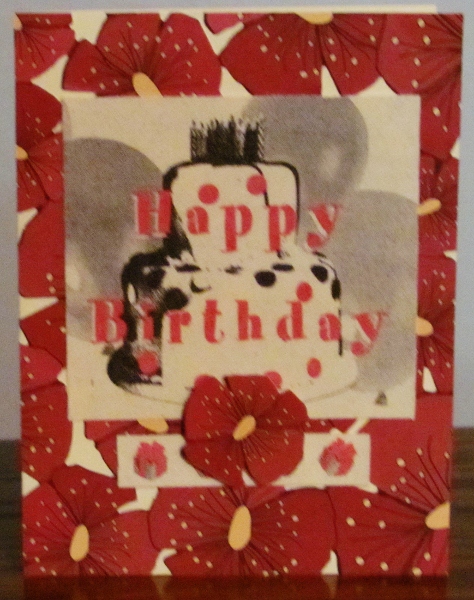
This first one uses two canvas stickers with a birthday theme. I also cut out one of the extra poppies and featured it up on foam tape.

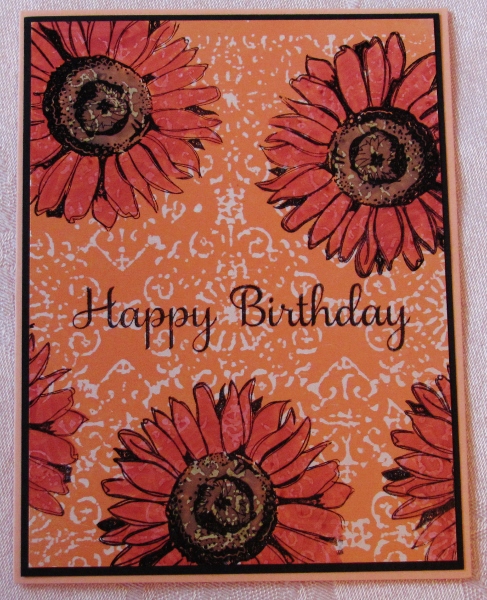
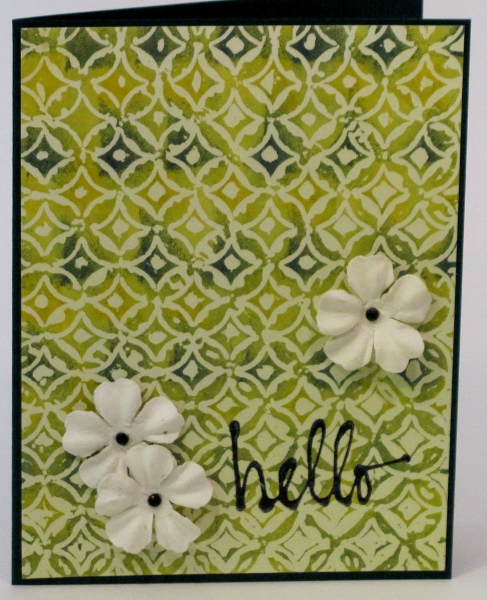
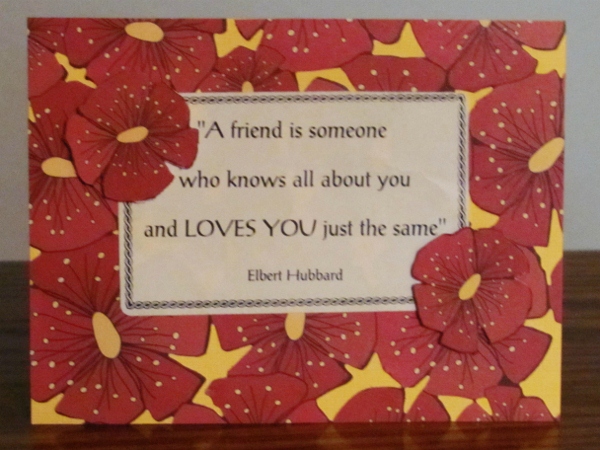
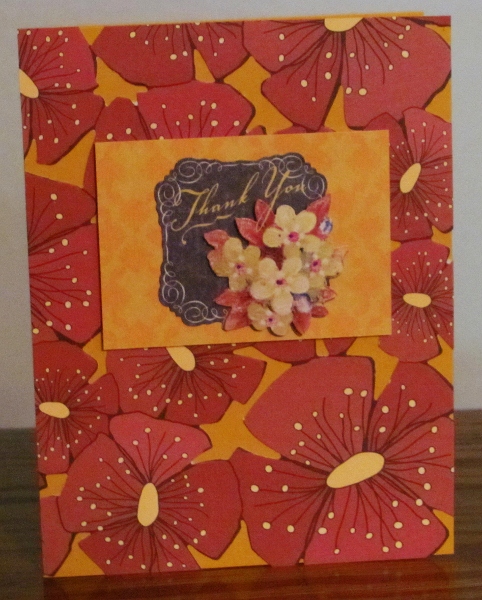
This next one uses a large text sticker and two popped up flowers.

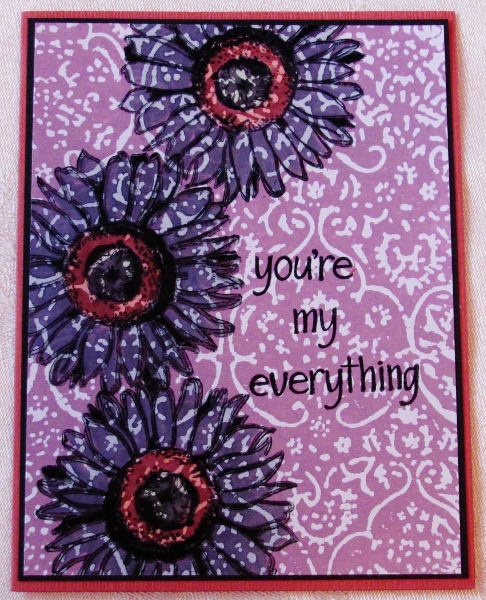
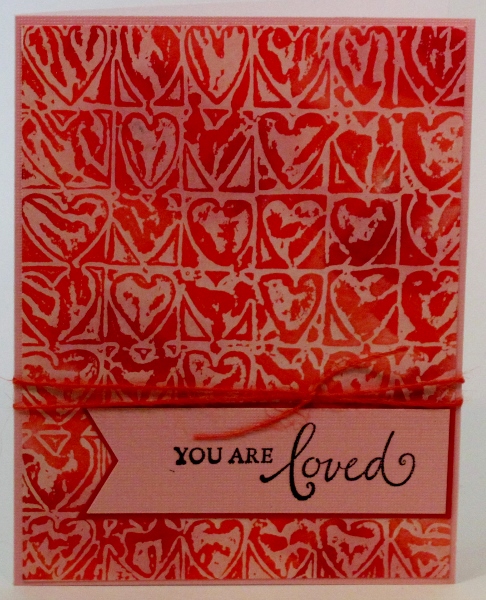
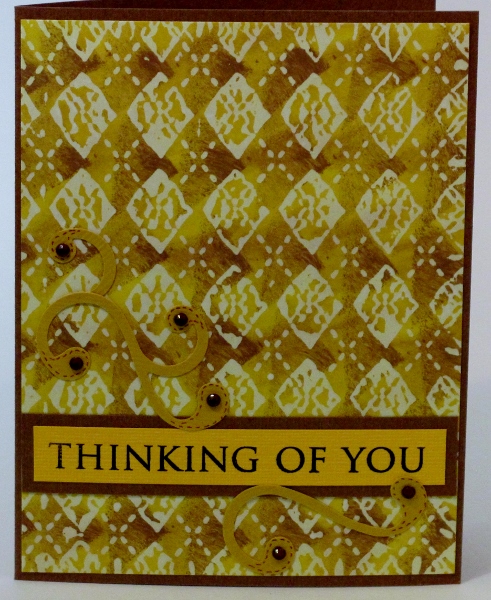
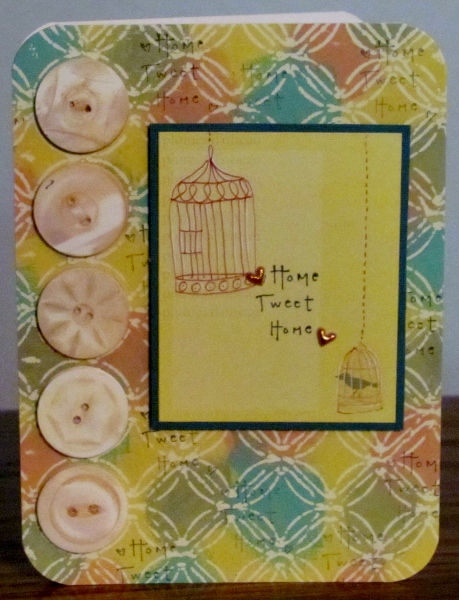
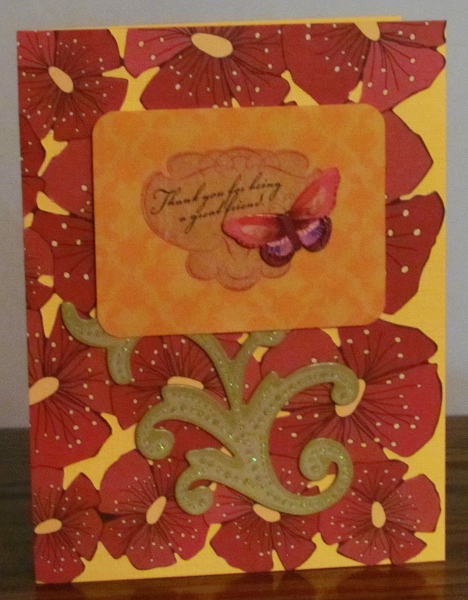
Three of the cards use a bright patterned paper ounted on foam and feature text/graphic stickers over that.

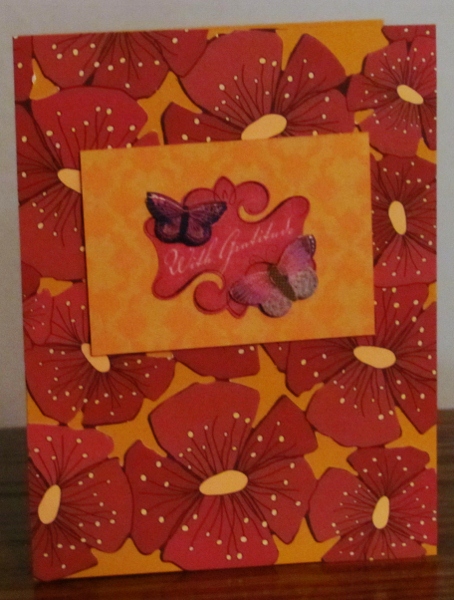
The third also has a chipboard swirl.

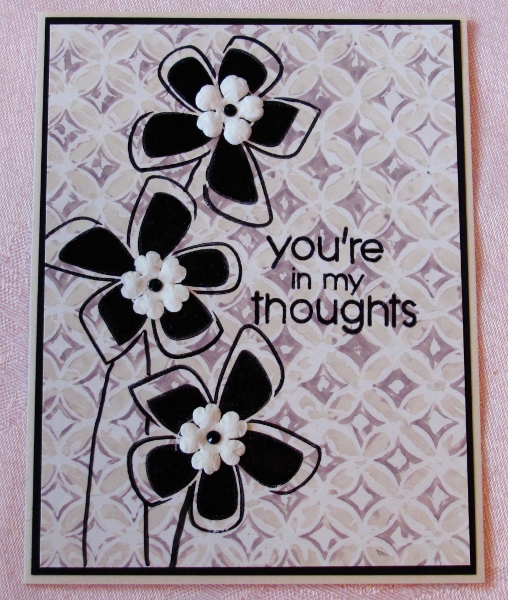
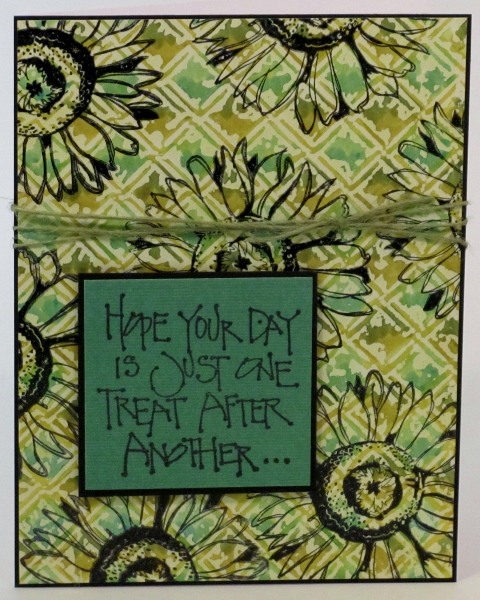
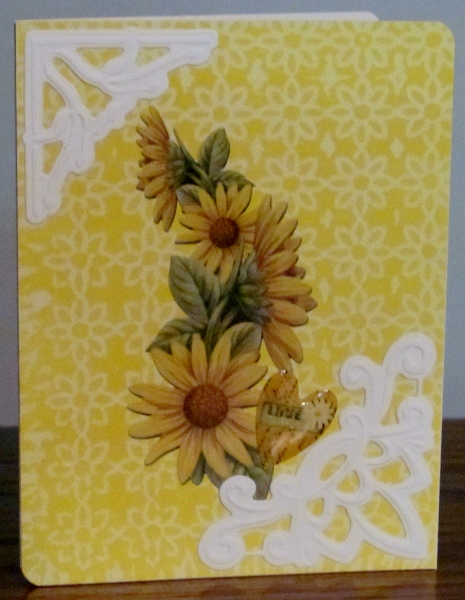
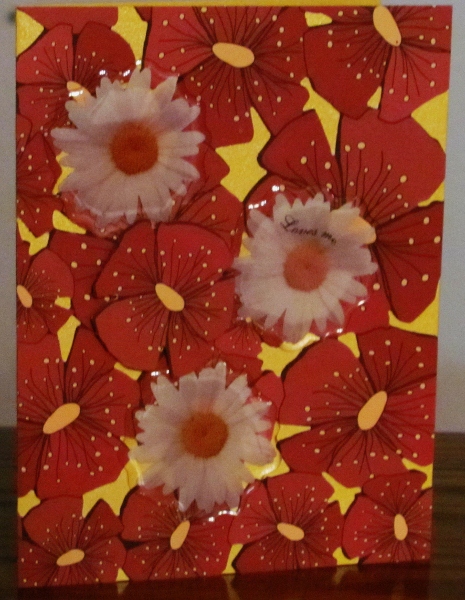
Next I used three tick acrylic stickers of daisies and one of the trimmed out poppies.

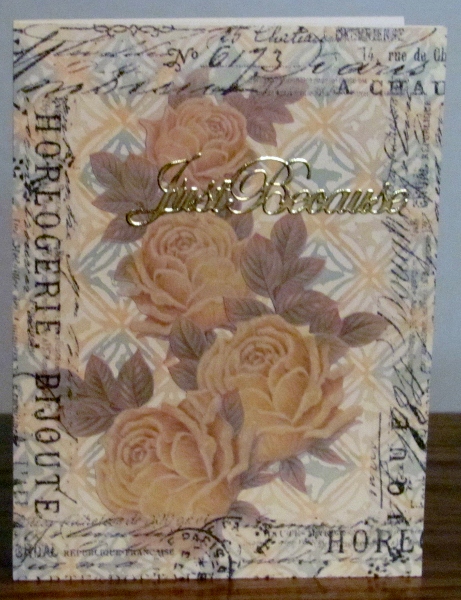
And, finally, liberal use of gold peel-off stickers including borders and a church window.

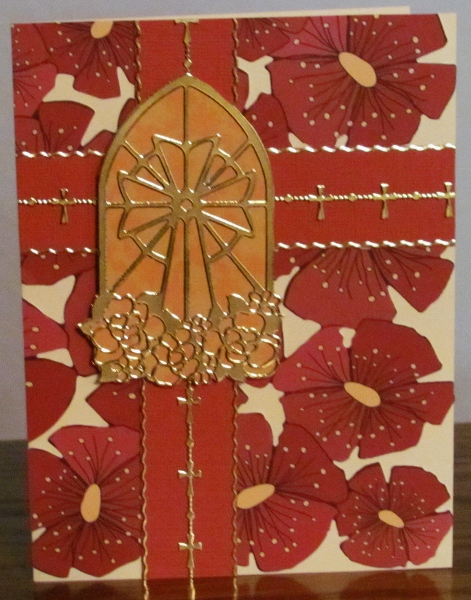
Quite a bit of variety from those two 12 x 12 diecut sheets.

Ddd


Posted by studio3d@ccgmail.net at 12:01 AM PST

Newer | Latest | Older