« October 2013 »
S M T W T F S
1 2 3 4 5
6 7 8 9 10 11 12
13 14 15 16 17 18 19
20 21 22 23 24 25 26
27 28 29 30 31
You are not logged in. Log in
Entries by Topic
All topics  «
3D paperwork
A - Z challenge 5
A - Z challenge 7
A - Z challenge round 4
A to Z challenge round 3
A to Z round 2
A to Z round 6
A-Z round 1
Around the House
Art Challenges
Artist Trading Cards
Backgrounds
Beads
Bible Journaling
Books
Boxes
Collage
Color Challenge
Coloring
cookbook
Die Cuts
Digital Projects
Digital Stamps
Drawing
Dry Embossing
Fabric Stuff
Fantastic Folds
Field Trip
Home Decor
How Does Your Garden Grow?
Hymnal Art
In The Kitchen
In the studio
Jewelry
Lettering
Links
Multi-Technique
Music to Work By
Musings
Nail Art
New Work
Online Class
Other Hobbies
Other Projects
Painting
Paper Embroidery
Paper Piecing
Photo
Pretty Paper
Quilting
Random
reading
Scrap Recovery
scrapbooking
Sewing
Sketch Challenge
Some Backlog
Stamping
Stencils
Stickers
Supplies
Teabag Folding
Techniques
Testing
tips and tricks
Tutorial
Web resources
Welcome to my Blog
Work By My Friends
workflow
Writing
Blog Tools
Edit your Blog
Build a Blog
RSS Feed
View Profile
Group One
In & Out of Studio 3D
Saturday, 19 October 2013
Take Note of Color
Topic: Coloring

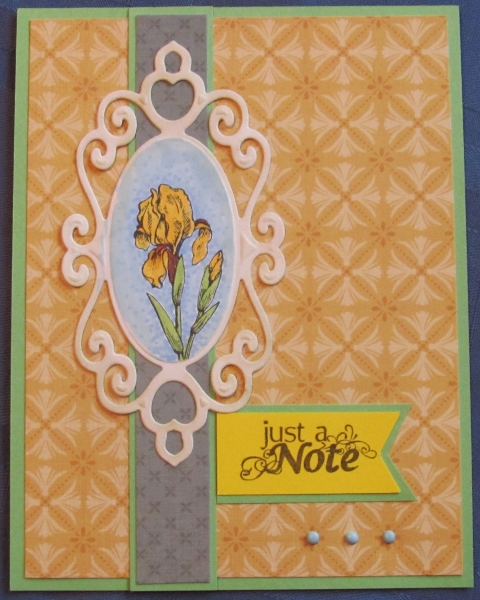
For the card today I went back to the Cosmo Cricket 6x6 pad to feature a diecut medallion I had stamped and colored with the custom palette.

After blocking the scrollwork I stamped the iris with a Stampin' Up stamp. I did the background in a new technique - dotting in close around the flower with a medium blue then coloring over this with the lightest blue. I like the result and will definately use this technique again.


I used green bordering to pull out the leaf color and a yellow sentiment, cut to a flag shape, to echo the flower. Three tiny blue brads echo the blue sky.

Ddd


Posted by studio3d@ccgmail.net at 12:01 AM PDT
Friday, 18 October 2013
Thanks For the Birds
Topic: Coloring

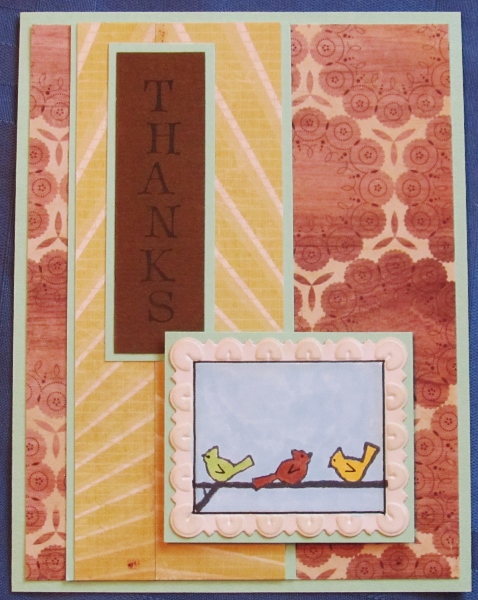
I still had a bin of the diecut medallions and used black ink to stamp the centers. They were on white cardstock and since the Cosmo Cricket line does not have any white in it I used Old Paper Distress Ink to tone the edges to a cream color.

I blocked off the fancy borders with removable tape before stamping three birds on a branch. These were colored with the custom palette. When I went looking for backing papers I found that a couple from one of the other recent lines I was playing with actually went better with this illustration.


The yellow stripes echo the right bird, the sentiment echoes the center bird and the bordering papers echo the left bird.

The illustration block is popped up on foam tape.

Ddd


Posted by studio3d@ccgmail.net at 12:01 AM PDT
Thursday, 17 October 2013
Stickers From Cosmo
Topic: Coloring

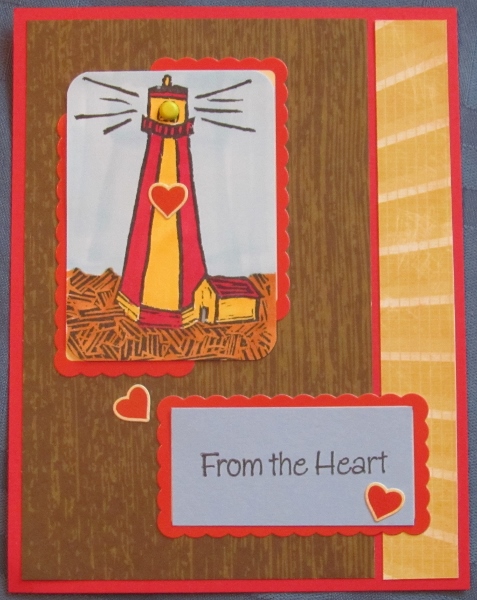
I had this hand carved lighthouse in my bin to color and decided to do it up pretty brightly. None of the papers from the Tea Time for Two kit really went with it so I pulled a woodgrain from the scraps bin and added a strip from one of the other recent pads to mimic streaks of light.


After I chose the blue sentiment strip I went looking for a way to tie the elements together. To the rescue was the sticker sheet in the Cosmo Cricket kit! There are three sheets of stickers and each had a scalloped rectangle. I used one under the sentiment and two for opposing corners on the illustration.

The sentiment led me to use three more stickers from the sheet - the hearts. I also added a yellow brad to serve as the light in the tower.

Ddd


Posted by studio3d@ccgmail.net at 12:01 AM PDT
Wednesday, 16 October 2013
Paper Kit and Fishing Digi
Topic: Coloring

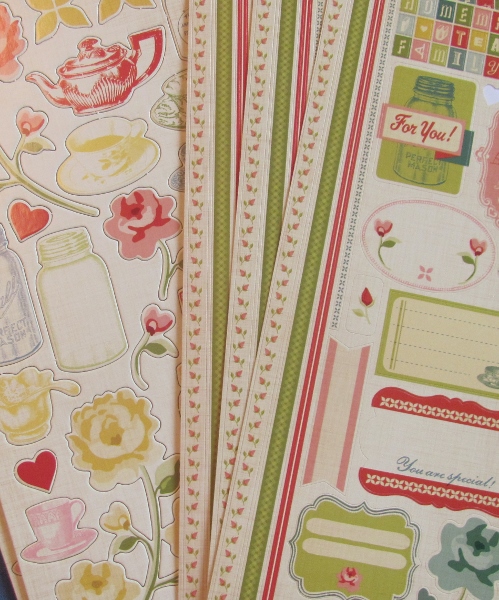
I have one more new paper kit to play with and I approached this one completely differently. The kit is one I got for my birthday and it includes a pack of 12x12 papers, scaled down patterns for 6x6 papers, tags, chipboard diecuts and stickers. This set is by Cosmo Cricket and is titled Tea Time for Two.


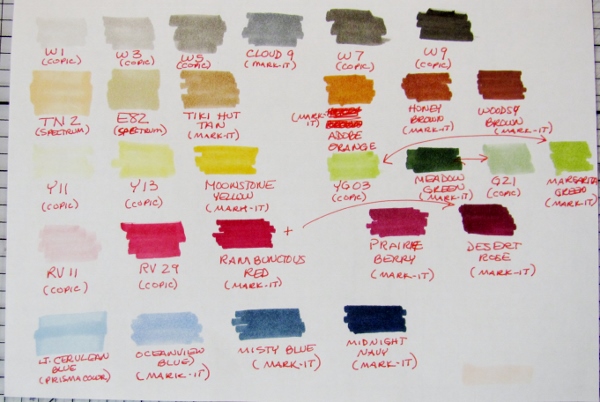
My approach was to use one of the 6x6 papers that featured stripes of several of the designs to view the entire color palette of the line. Then I got out my alcohol marker color reference cards to find all the matches for the papers. I created a special color chart using only these colors and pulled the markers from the bins to restrict myself to using only these.


You can see on the chart I placed them in color range groups and labeled them with the color code (number or name) as well as the brand, for ease in finding the one I wanted to use.

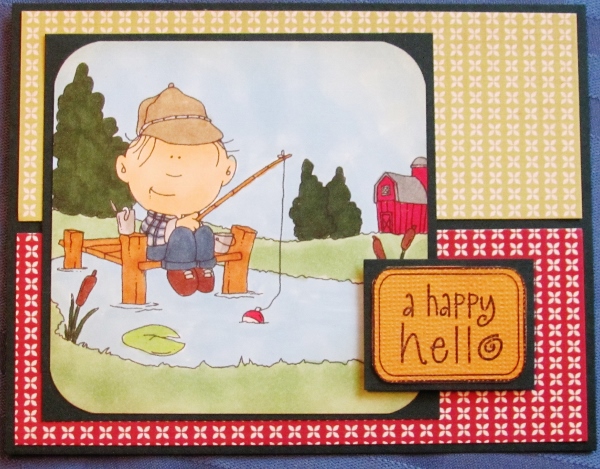
I started by pulling a digital image from my bin and coloring it using the custom palette. Then I selected a couple of papers from the line to mount it on. Look how nicely the colors coordinate! I added a sentiment stamped on a piece that matched the color of the dock.


The sentiment is popped up on foam tape and I used forest green as a bordering color to go with the evergreen trees in the illustration.

I will be coloring lots more images with this palette to use on cuts from the 6x6 pad.

Ddd


Posted by studio3d@ccgmail.net at 12:01 AM PDT
Tuesday, 15 October 2013
And Then There Were Three
Topic: Pretty Paper

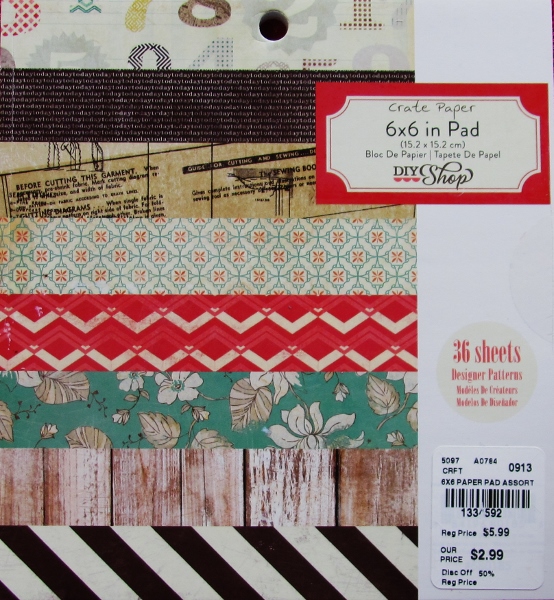
I needed just three more cards to round out a box of 40 to go to Operation Write Home so I decided to break out the third of the 6x6 pad I picked up at the Tuesday Morning store.

This one is a Crate Paper set called DIY Shop. It has rulers, wood grains, typewriter, vintage florals, music, ledger and sewing patterns.

For two of the cards I started with a number background and the third uses a burst. I selected a ruler paper and a couple of small patterns to mix and match with these. All of the cards got brown bordering papers, although each is a different shade.

When I got this far I went looking for a diecut of Happy Birthday and discovered that I don't even have one! WHAT? So I went with Celebrate instead. There was going to be a lot of open space and all of the cards has a bit of muted red so I pulled some cardstock of that tone and hand cut two balloons for each card. I attached twine to the back of them and tied a knot near the bottom. the tails were then tucked and adhered on the back.

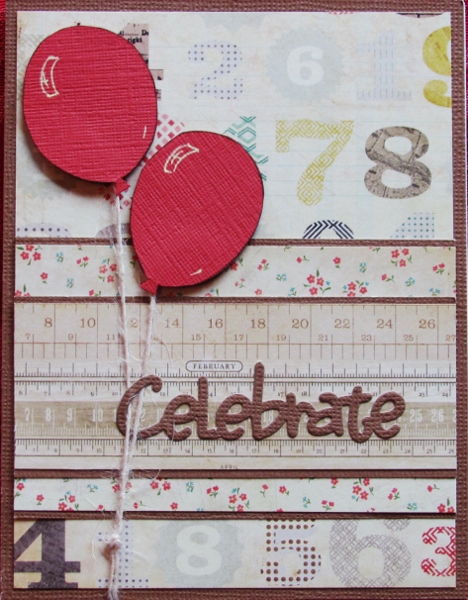
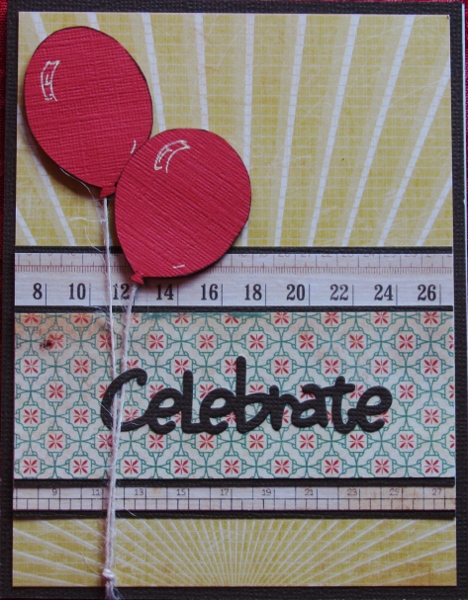

Finishing details included catching the C of the diecut word in the balloon strings before gluing it down, popping the balloons up on foam tape and adding some balloon highlights with gel pen.

With the generic text these can be used for birthday, anniversary, gradulation, or any other achievement.

Ddd 


Posted by studio3d@ccgmail.net at 12:01 AM PDT
Monday, 14 October 2013
Snippets And Then Some
Topic: Coloring

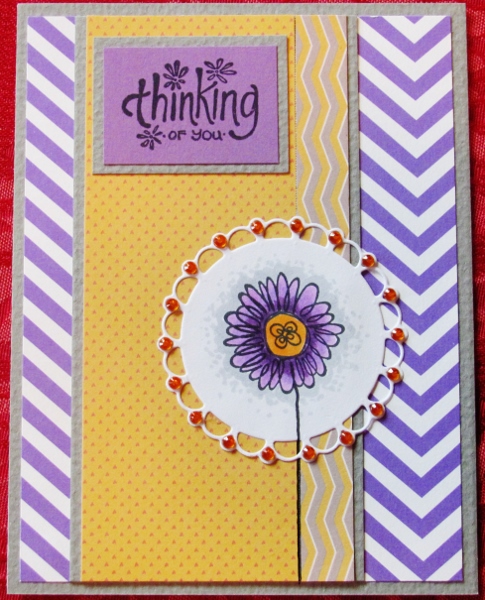
Oh what fun it was to create today's card. I started with the stamped image in the diecut and colored with some bold purple and orange. I picked two papers from the Snippets Collection pad but there was no purple in the pad so I pulled some chevron papers from another set to use.


I reached back to the orange flower center to get the rhinestone color for the bling around the diecut.

Grey bordering used throughout softens the look slightly.

Ddd


Posted by studio3d@ccgmail.net at 12:01 AM PDT
Sunday, 13 October 2013
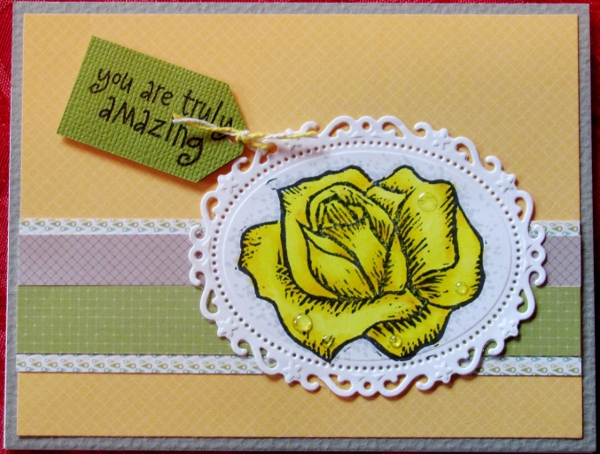
Truly Amazing Rose
Topic: Coloring

Oh look! The same diecut, the same image - wait... this is way different.

I went with bold yellow coloring for the rose and grey dots for background. Soft colors for the backing papers give the rose an elegant resting place.


I pulled th green from one backing paper into the stamped sentiment which I cut into a tag, punched and tied to the diecut with yellow and white twine.

Ddd


Posted by studio3d@ccgmail.net at 12:01 AM PDT
Saturday, 12 October 2013
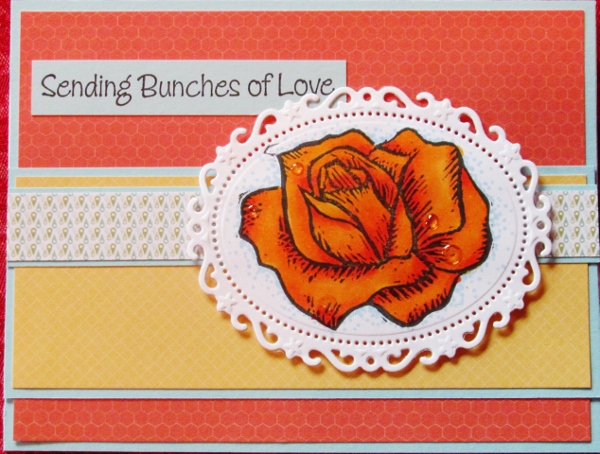
Orange You Glad I Did Another Rose
Topic: Coloring

This oval diecut was just the right size to stamp my large carved rose. I colored this one up in tones of orange and added the blue dot background and the dew drop stickers on the petals. Yummy!


With such a bold image I kept the supporting papers pretty calm. This allows the image to be the true star.

Ddd


Posted by studio3d@ccgmail.net at 12:01 AM PDT
Friday, 11 October 2013
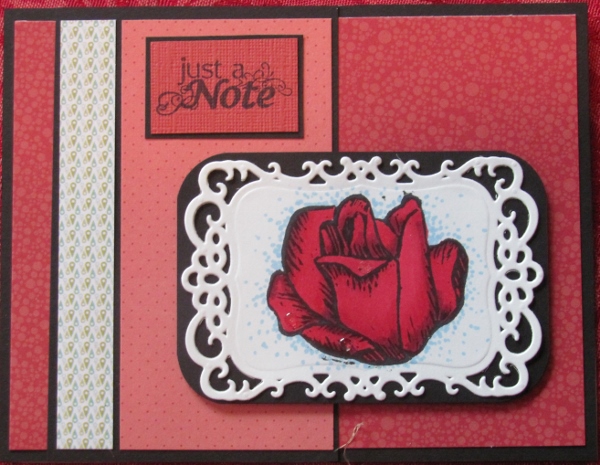
One Red Rose
Topic: Coloring

Ooooh, I love this die cut shape (all these fancy ones I've been using were given to me as a gift) and used my medium-sized handcarved rose as the feature image.

Nothing like a velvety red rose, is there? I added some 'dew drop' stickers to the petals and blue dot sky background.


I vascillated on a bordering color until I picked up the black and WOW! I love this black, red and white combo.

Ddd 


Posted by studio3d@ccgmail.net at 12:01 AM PDT
Thursday, 10 October 2013
Ruby Throat
Topic: Coloring

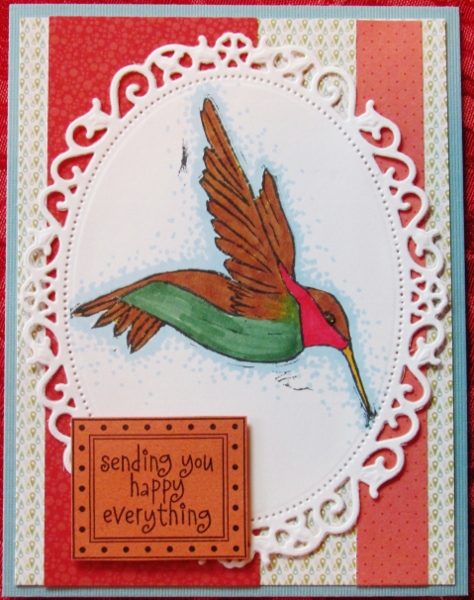
This large die cut allowed me to select another large image to stamp. So I used my hand carved hummingbird. Colored with Copics, I used light blue dots to represent the sky.

The roses run toward the brown in this which supports the sentiment block. I used some patterned paper with blues and greens that pick up  elements of the bird's coloring.


A blue base card is enough without adding borders to all the patterned papers throughout.

Ddd 


Posted by studio3d@ccgmail.net at 12:01 AM PDT
Wednesday, 9 October 2013
Rose on Roses
Topic: Coloring

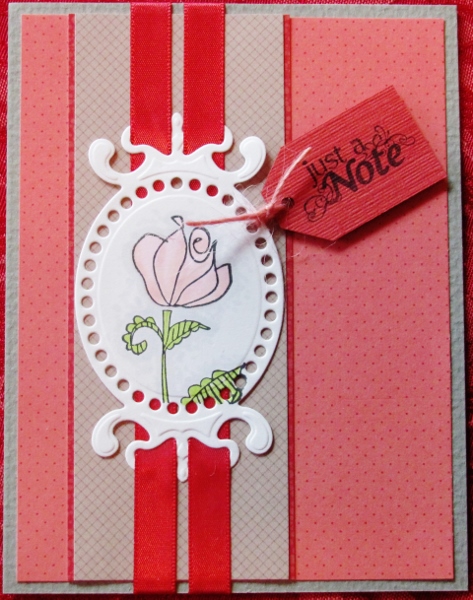
This stamped rose appeared in duplicate the other day, but I gave this one a soft pink coloring. A light grey dotted background set the tone for choosing one backing paper and the base card. I went with multiple 'rose' papers for the theme.


The lacy border of the diecut was masked at the bottm to keep it free of the ink and then I wove ribbon through two of the slots to attach the image to the backing.

I stamped the sentiment on another rose paper and cut it like a tag. A pink twine tied through the tag and a part of the diecut adds a bit of whimsy.

Ddd


Posted by studio3d@ccgmail.net at 12:01 AM PDT
Tuesday, 8 October 2013
Big Bold Beautiful
Topic: Coloring

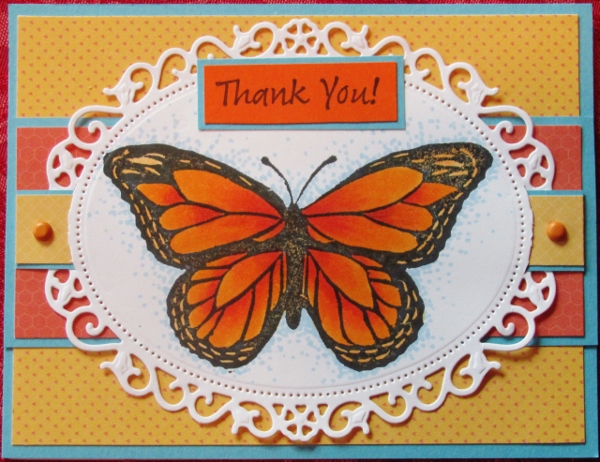
I stamped one of my hand carved images for the card today. I had fun blending the shades in this image and I love the result. I used libht blue to dot the background.


I did a little slice in the lacy border of the diecut to weave some of the papers through. These I held to the background with orange brads.

An orange sentiment block was bordered in blue to match the other borders on the card.

Ddd


Posted by studio3d@ccgmail.net at 12:01 AM PDT
Monday, 7 October 2013
Two Peace Roses
Topic: Coloring

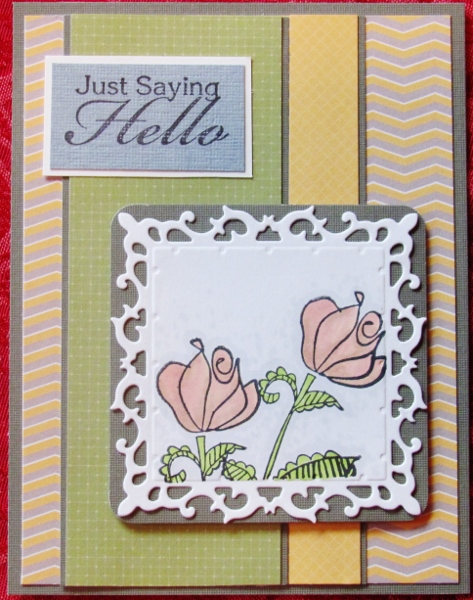
For today's card I used that temporary tape to block out the border again before stamping the image. I actually stamped the image twice and colored with Copics. I created the background with dots of cool gray marker.


I was surprised how well the peach in the roses went with the yellow and gray chevron paper. Dark gray bordering unifies it all, but I didreverse this in the sentiment where the stamping is on the gray and white was used to border it.

Ddd

Posted by studio3d@ccgmail.net at 12:01 AM PDT
Sunday, 6 October 2013
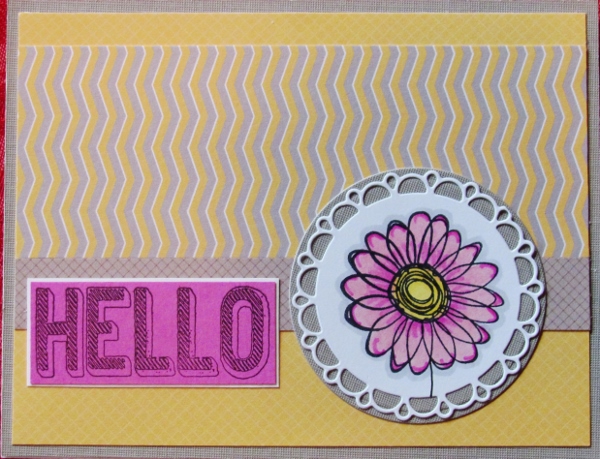
A Sketchy Hello
Topic: Coloring

Backing papers for this diecut pick up the flower center and the gray dotted background. The thin lacy border of the diecut is echoed in the thin white line in the chevron. I cut a round grey diecut to back the lacy one.

The red-violet sentiment matches the petals of the flower.

Ddd


Posted by studio3d@ccgmail.net at 12:01 AM PDT
Saturday, 5 October 2013
High Ho Hibiscus
Topic: Coloring

On the diecut featured today I used temporary tape to block off the lacy part before stamping to keep the image contained. The background on this one was made with dots of light blue marker. A blue scalloped diecut was added behind the stamped one and that same blue was used for bordering.


Contrary to appearances, the large background, the sentiment and the leaves are ALL a lovely spring green.

BAD CAMERA!

Ddd


Posted by studio3d@ccgmail.net at 12:01 AM PDT
Friday, 4 October 2013
Just A Little Snippet
Topic: Coloring

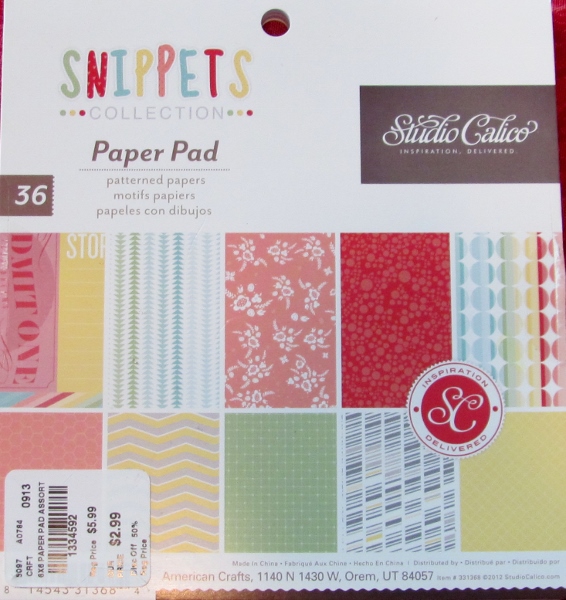
I picked up another 6x6 paper pad at the Tuesday Morning store. This one is by Studio Calico and is called 'Snippets Collection'.


It made the perfect foil for a stack of of images I had colored. Here's what they all have in common: Snippets papers, fancy diecuts, images stamped on the diecuts with Momento Tuxedo Black ink, images colored with Copic and/or Bic Mark-It alcohol markers.

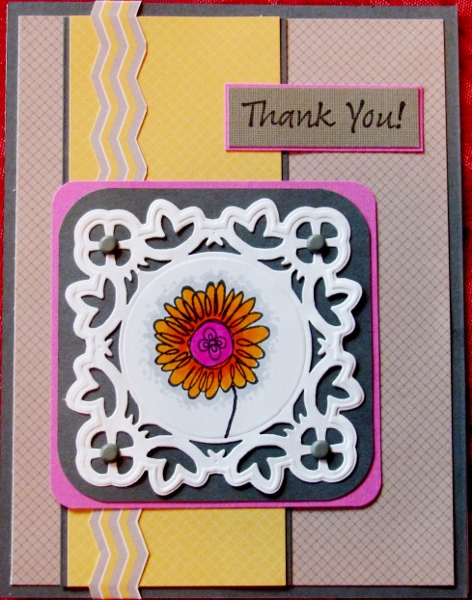
Today I used a diecut with a very fancy border. I stamped the center with a clear stamp of a sketchy flower and added a stem. For the flower background I used a cool grey marker to add dots, working from solid to sparsely spaced.


Three papers from the pad were used along with dark grey and a bit of red-violet to pick up the flower center color.

I added grey brads at the four corners of the diecut.

Ddd


Posted by studio3d@ccgmail.net at 12:01 AM PDT
Thursday, 3 October 2013
End Cuts
Topic: Pretty Paper

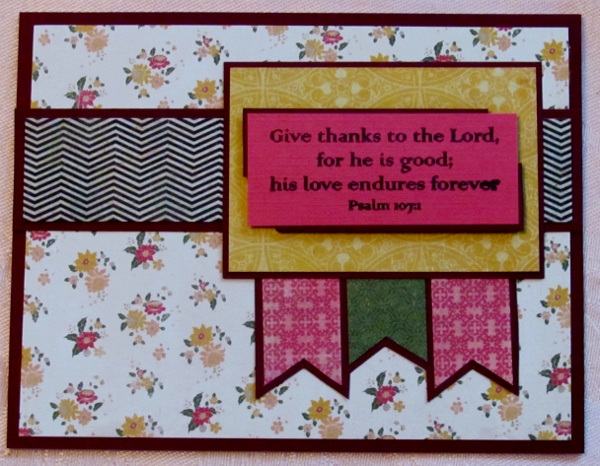
FINALLY, the end of the card pieces I cut from the Paper Crate 'Random' 6x6 pad. I've only used half of the pad, too (minus the whole 4 sheets of plain paper with only a black border around the edge). I lost count of how many cards I completed from these cuts, though.

For the card today the result looks feminine and sweet. I used a plum color to pull it all together.


The scripture sentiment uses a bordering treatment with offset corners to add more interest.

Ddd


Posted by studio3d@ccgmail.net at 12:01 AM PDT
Wednesday, 2 October 2013
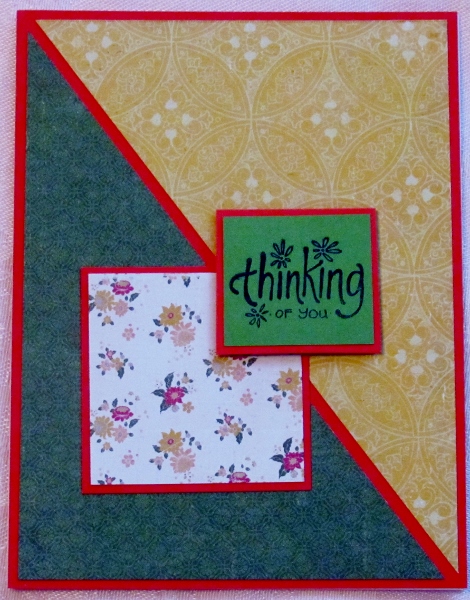
Thinking On The Diagonal
Topic: Pretty Paper

After all the busy cards I've been creating out of the 'random' paper pack today's entry seems to fall pretty flat. I guess if it is viewed on its own it is 'okay' but certainly not up to my usual standards.


The red bordering color saves the piece but I may have to go back and add more elements to dress this up.

Ddd


Posted by studio3d@ccgmail.net at 12:01 AM PDT
Tuesday, 1 October 2013
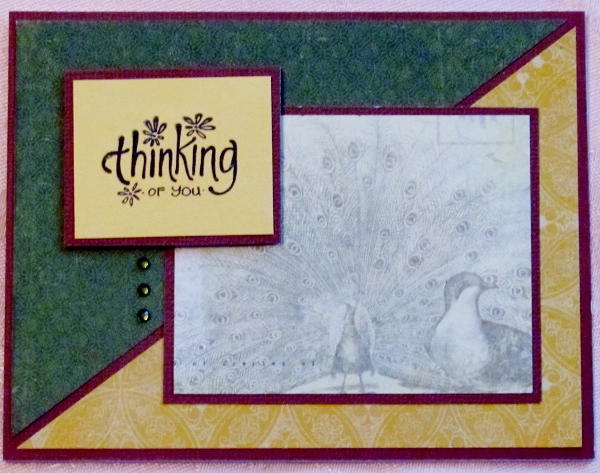
Random Peacocks
Topic: Pretty Paper

With a couple of papers cut on the diagonal I came to a standstill. Back to the scrap bin where I found this awesome cut from another set of papers. Great subtle peacock print, huh?


A coordinated sentiment block was bordered in the same brown as the peacocks and the base card and then I added three sticky-back rhinestones for a little flash.

Ddd


Posted by studio3d@ccgmail.net at 12:01 AM PDT
Monday, 30 September 2013
Harvest Leaves
Topic: Pretty Paper

Even with a very bright yellow as the card base, borders and a sentiment strip this card was comming off pretty bland. Then I pulled out a 'mistake' piece where a diecut did not go all the way through the cardstock and decided to make it the focal piece.

It was not defined well so I used 'black soot' Distress Ink to crate some depth and emphasize the lines.


I used the same bordering technique as yesterday for the lower portion of the leafy piece. This sets it off from the dark blue background and unifies the materials.

Ddd


Posted by studio3d@ccgmail.net at 12:01 AM PDT
Newer | Latest | Older