Topic: Die Cuts
I know it is early to be talking about SNOW but I had an idea for a Christmas card that required the white stuff. This is a multi-step, multi technique project AND an experiment so...
First, I used an oval shaped dry embossing frame in the Cuttlebug to cut some snowflakes on the edge while leaving two legs of each attached to the oval. Then I used a craft knife to cut the rest of the oval away.
The next step was to use the oval shape from the center of the frame to spot-emboss a snowflake folder onto the oval portion of the shaped piece. I then used the whole folder to emboss a background piece.
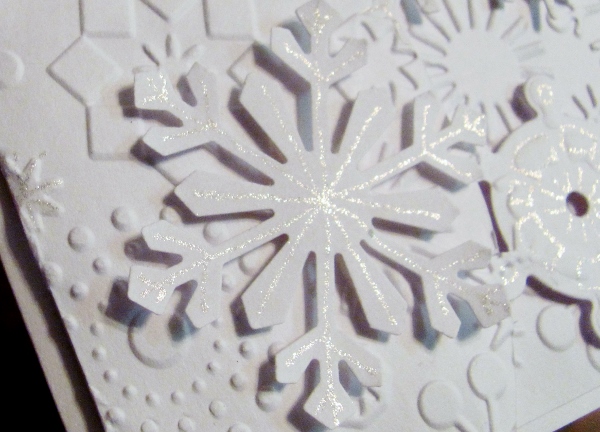
The shaped piece was mounted on the background with foam tape so all the snowflakes stand away from the card face. I used a Martha Stewart punch to make another large snowflake and mounted that on top of the oval with foam tape.
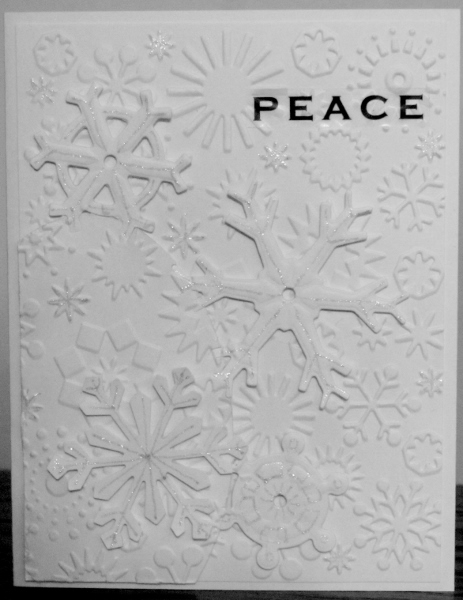
I applied a clear text sticker to the upper right and burnished it to flatten the embossing under it. The whole piece was then mounted to a white base card which creates a frame around the edges. Here you can see the oval line a little better.
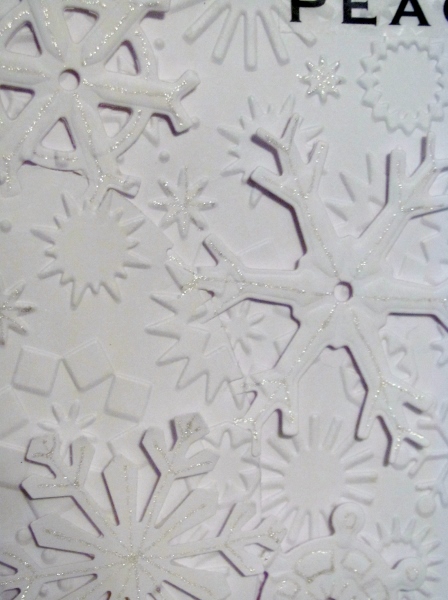
The last step was to use a Sakura Stardust pen in silver to trace lines on all the diecut/punched snowflakes and the smallest embossed ones in the backgrounds.
All in all I think I like it. I was trying to find a style to mass-produce for Christmas this year. This may be more than I want to do over and over... and over... and over.
We'll see as time progresses.
Ddd