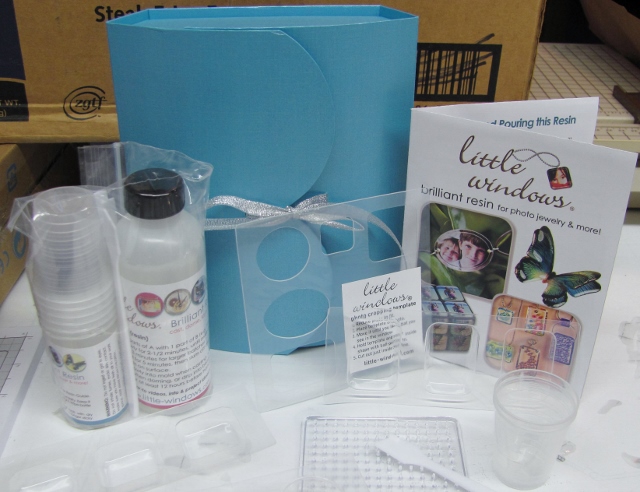
Topic: Sketch Challenge
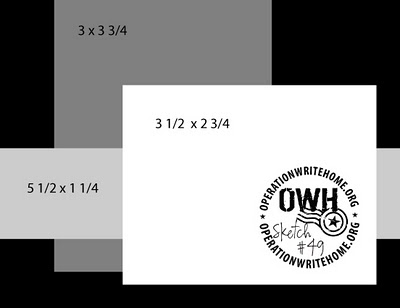
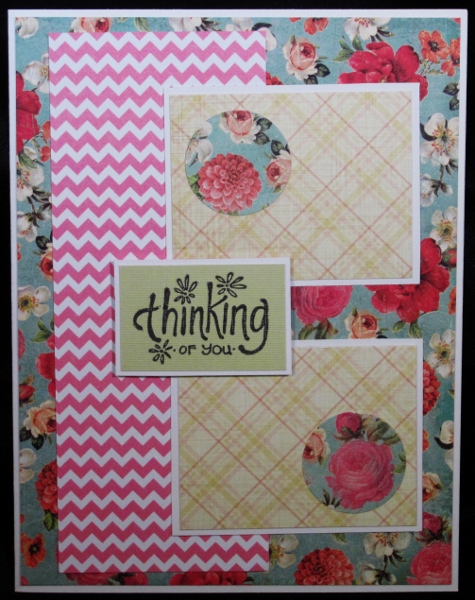
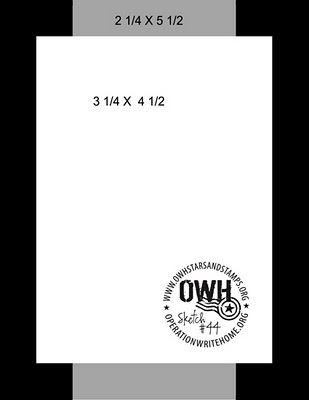
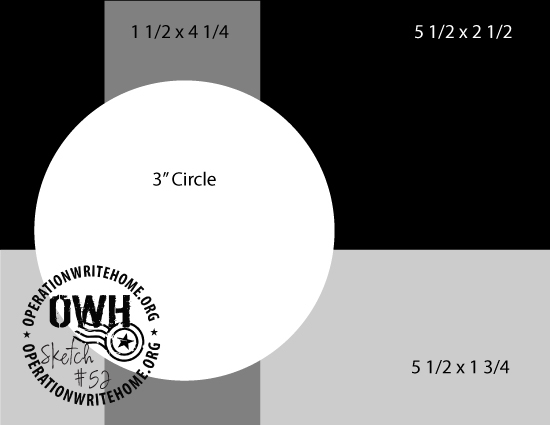
The pendulum swings both ways as you will see in todays use of OWH sketch 52:
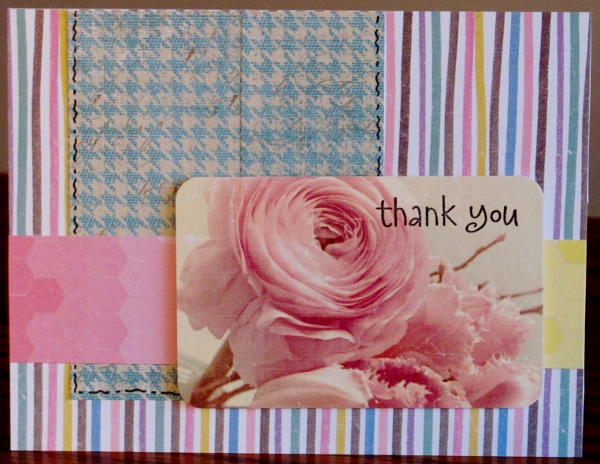
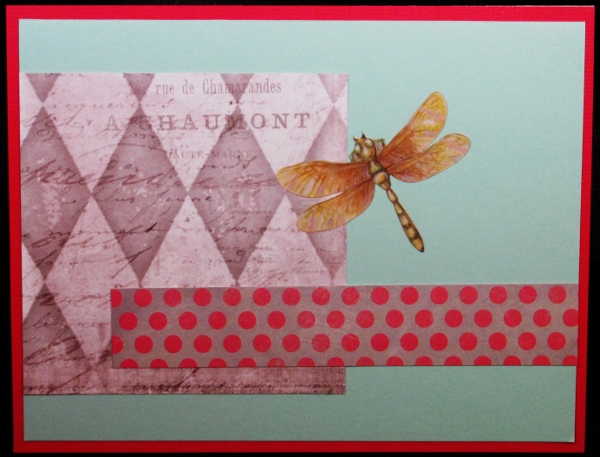
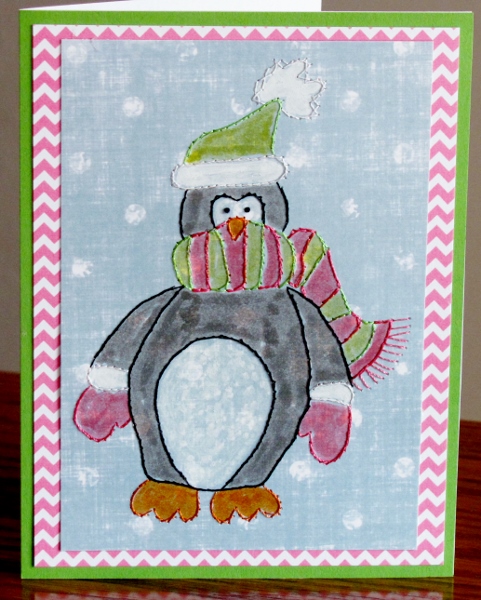
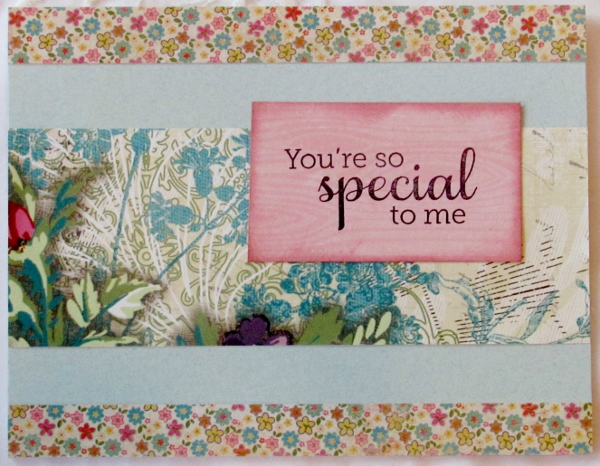
The biggest problem with using scraps is that they are rarely the exact size you want them to be. So when I needed a wider strip of the floral I had to splice on a strip to the bottom. The flowers didn't match up and it was pretty obvious so I added a self-stick satin ribbon across the seam.
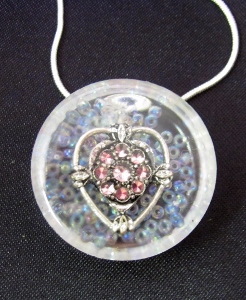
I recently purchased a mixed bag of Dazzles (peel-off) stickers and they included this awesome medallion. I cut a circle to match the background and applied the medallion over it. I added self-stick champagne rhinestones in two sizes to circle areas of the sticker.
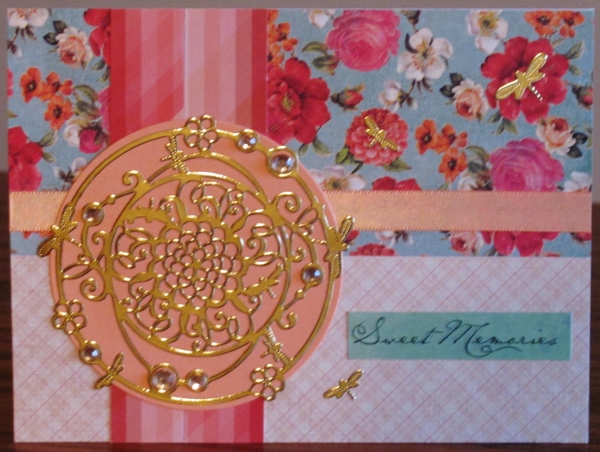
Three additional dragonflies and a text sticker finish this off. Compared to yesterday's card this is definitely at the other end of the pendulum swing.
Ddd