« June 2015 »
S M T W T F S
1 2 3 4 5 6
7 8 9 10 11 12 13
14 15 16 17 18 19 20
21 22 23 24 25 26 27
28 29 30
You are not logged in. Log in
Entries by Topic
All topics  «
3D paperwork
A - Z challenge 5
A - Z challenge 7
A - Z challenge round 4
A to Z challenge round 3
A to Z round 2
A to Z round 6
A-Z round 1
Around the House
Art Challenges
Artist Trading Cards
Backgrounds
Beads
Bible Journaling
Books
Boxes
Collage
Color Challenge
Coloring
cookbook
Die Cuts
Digital Projects
Digital Stamps
Drawing
Dry Embossing
Fabric Stuff
Fantastic Folds
Field Trip
Home Decor
How Does Your Garden Grow?
Hymnal Art
In The Kitchen
In the studio
Jewelry
Lettering
Links
Multi-Technique
Music to Work By
Musings
Nail Art
New Work
Online Class
Other Hobbies
Other Projects
Painting
Paper Embroidery
Paper Piecing
Photo
Pretty Paper
Quilting
Random
reading
Scrap Recovery
scrapbooking
Sewing
Sketch Challenge
Some Backlog
Stamping
Stencils
Stickers
Supplies
Teabag Folding
Techniques
Testing
tips and tricks
Tutorial
Web resources
Welcome to my Blog
Work By My Friends
workflow
Writing
Blog Tools
Edit your Blog
Build a Blog
RSS Feed
View Profile
Group One
In & Out of Studio 3D
Wednesday, 3 June 2015
Floral Story
Topic: Field Trip

I love to take photos of little snippets of nature that I come across in my travels. These usually involve flower of some sort but trees and other elements sometimes sneak in.

The photos shared today are not identified by site at all as they were just part of the overall experience.


No rhyme, no reason, just beauty.

Ddd


Posted by studio3d@ccgmail.net at 12:01 AM PDT
Tuesday, 2 June 2015
Epic Tour Continues
Topic: Field Trip

On the next day the tour actually started with the group. Highlights of the day included visiting Anne Hathaway's cottage, walking the streets of Stratford-Upon-Avon, viewing the birthplace of Shakespeare, wandering the ruins of Coventry Cathedral, taking a walking tour of York including the minster there, and viewing roadside art like the 'Angel of the North'.


Kind of a lot to wrap your head around.

Ddd


Posted by studio3d@ccgmail.net at 12:01 AM PDT
Monday, 1 June 2015
Whirlwind Tour - From the Top
Topic: Field Trip

We recently had an opportunity to take a trip through England, Scotland, Ireland, Northern Ireland and Wales. The entire adventure was 20 days including two 'coming and going' days.

I took over 2000 photos as we traveled by coach, walked and toured while our travel director gave us in-depth history lessons about the countries, their governements, and the invasions, wars and other events that affected them.

I won't go into much detail here, just enough to orient you. If you want details on various sites, you'll have to look them up on line.

Also, the photos won't necesarily correspond to the exact day taken.

So, ready to see some UK and Ireland?

The first day we were entirely on our own in London. We rode the London Eye, took the tube to Parliment Squaare and Westminster Abbey, strolled through St James's Park, went to Buckingham Palace for the changing of the guard (on the day Princess Charlotte was born!), and visited Trafalger Square.


Just the beginning of an awesome experience.

Ddd


Posted by studio3d@ccgmail.net at 12:01 AM PDT
Sunday, 31 May 2015
Eight Years Down!
Topic: Welcome to my Blog

Eight years ago today I posted my first entry 'Welcome To My Blog'. Since that date I have posted every single day (sometimes more than one entry) covering mostly arts and crafts with a few other creative endeavors thrown in.

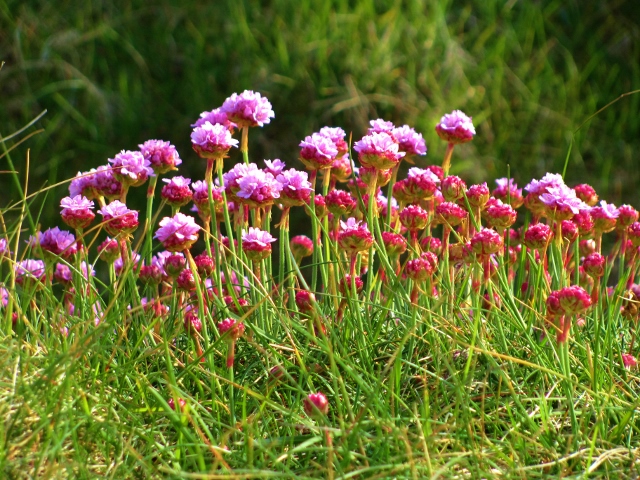
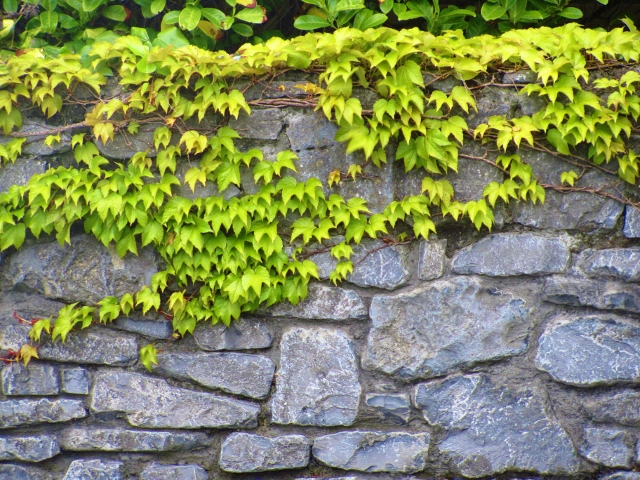
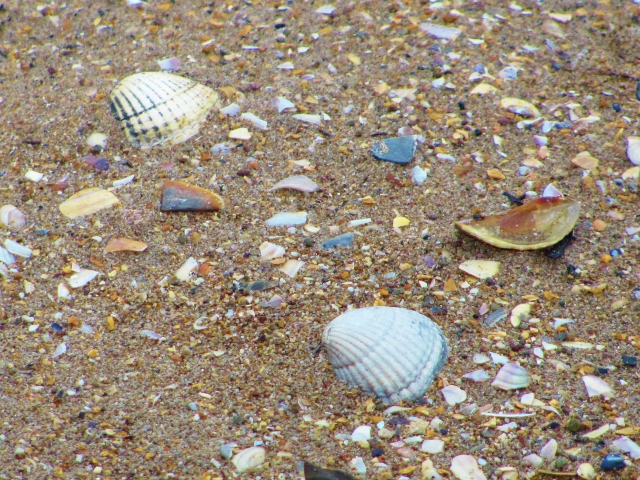
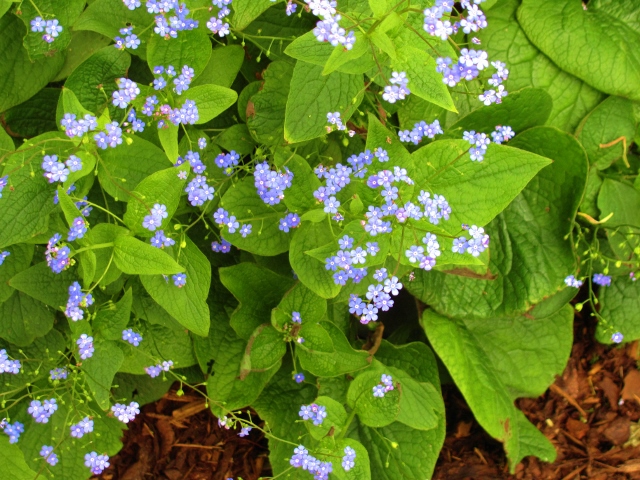
I've done cards of all sorts, remodeling, painting, jewelry, tutorials, gardening, photography, manicures, quilting, sewing, writing, and supplies reviews. I've also taken classes (online and in real life), gone on retreats, shared vacations and experimented in the kitchen.

All of it has been a blast!

Since the inception of this blog I have retired so I have a LOT more time to devote to creative pursuits. The most ambitious new hobby that I have taken on is quilting. It was totally different than anything I had been doing up to that point and I am loving it.

That started 4 1/2 years ago and the quilt I am finishing right now is number 70! That is a LOT of quilting!

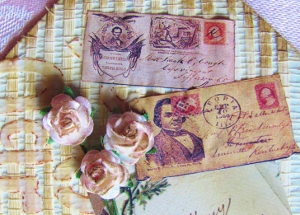
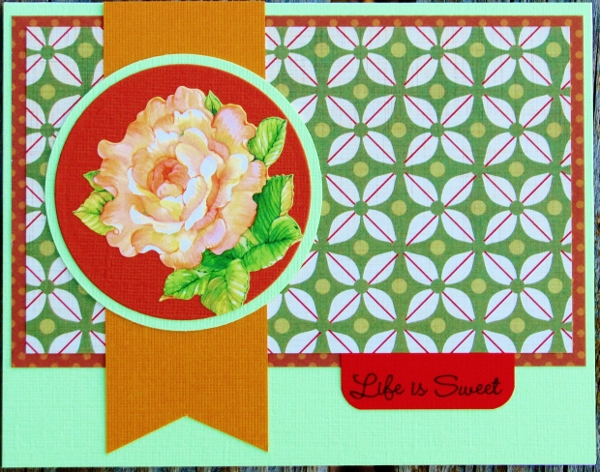
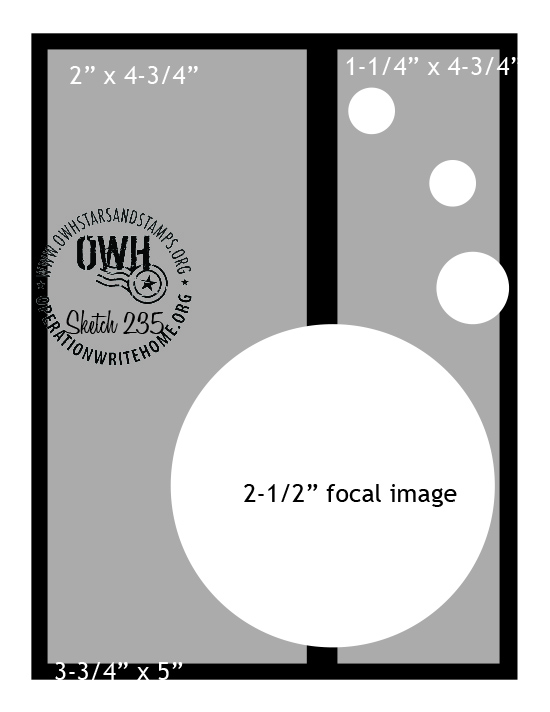
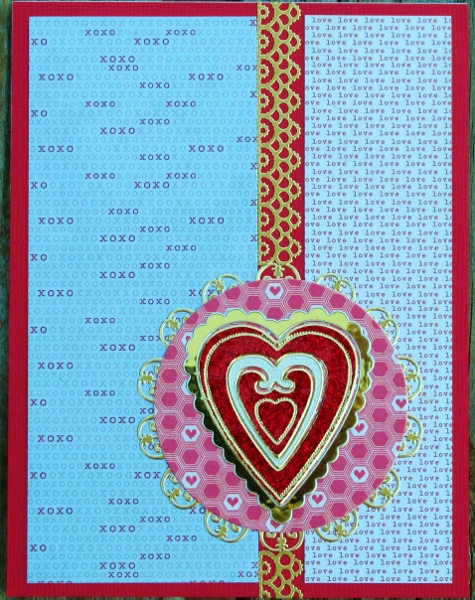
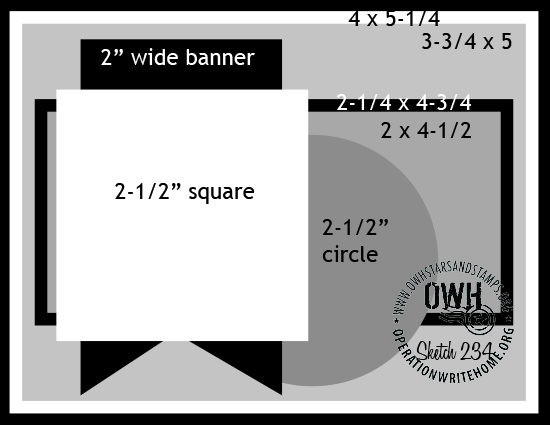
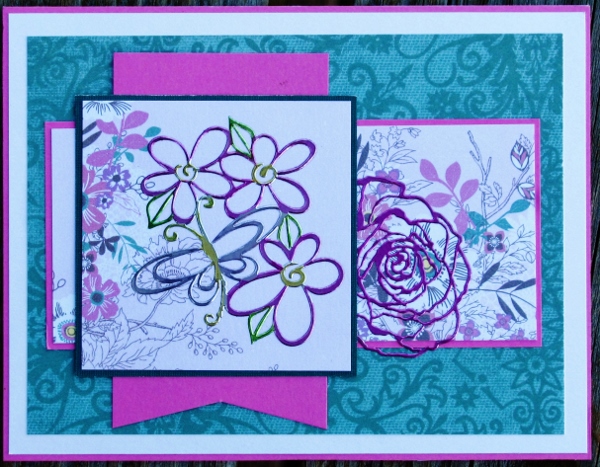
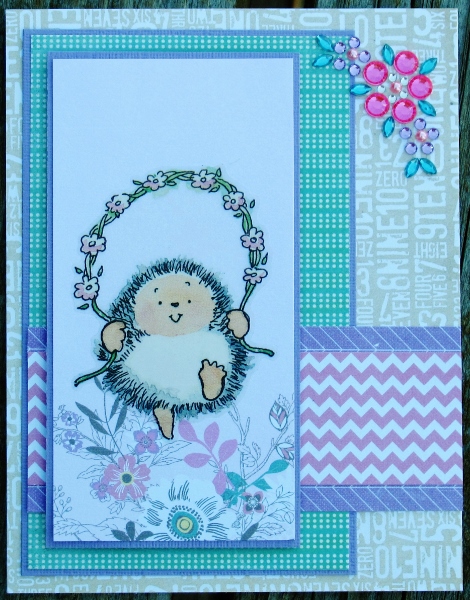
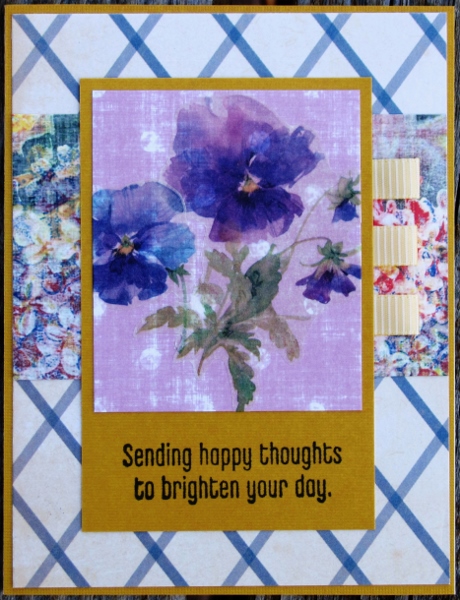
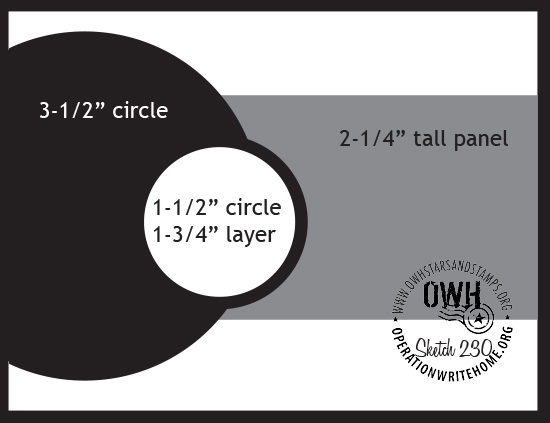
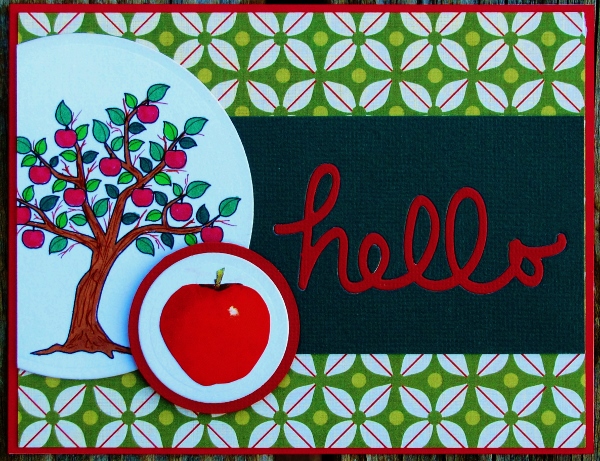
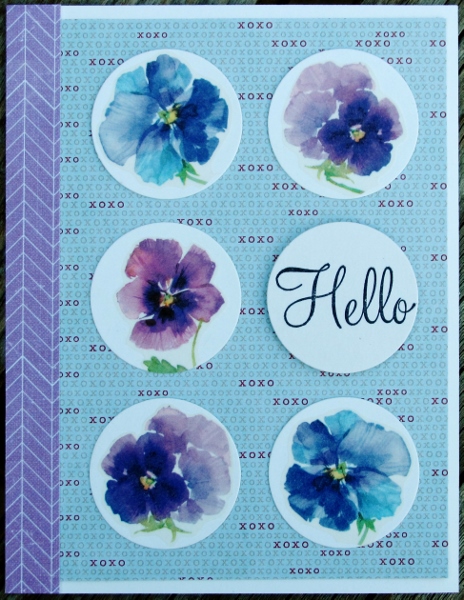
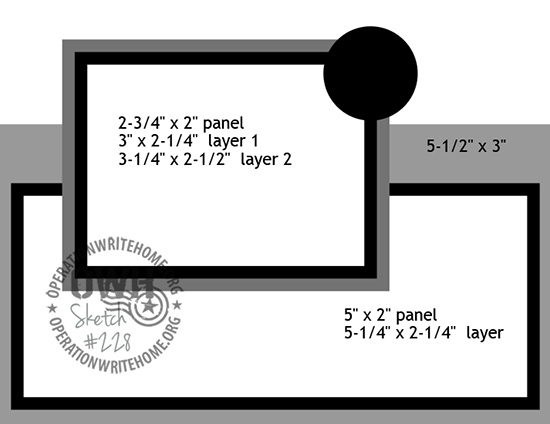
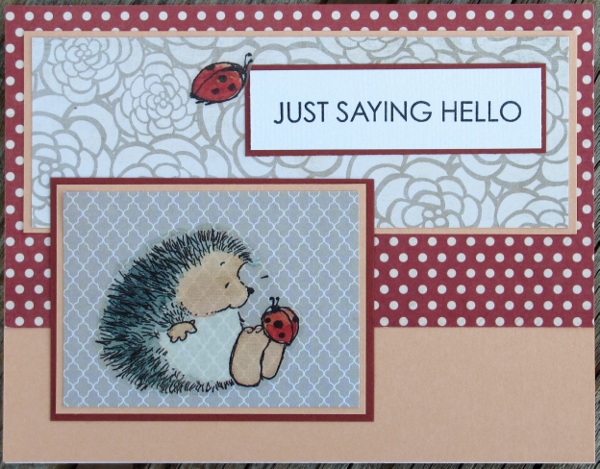
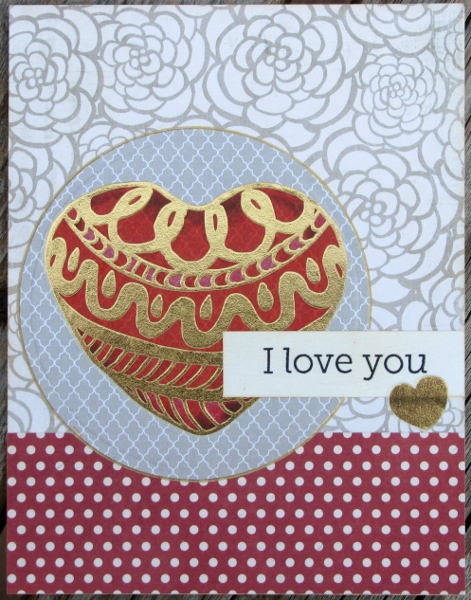
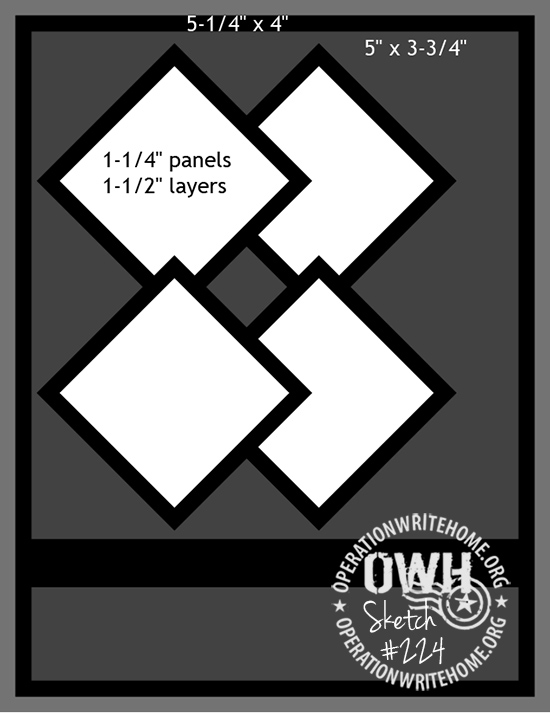
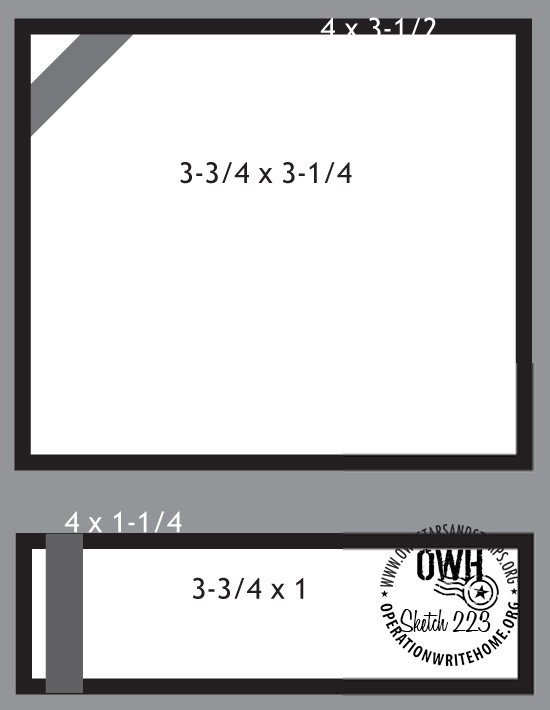
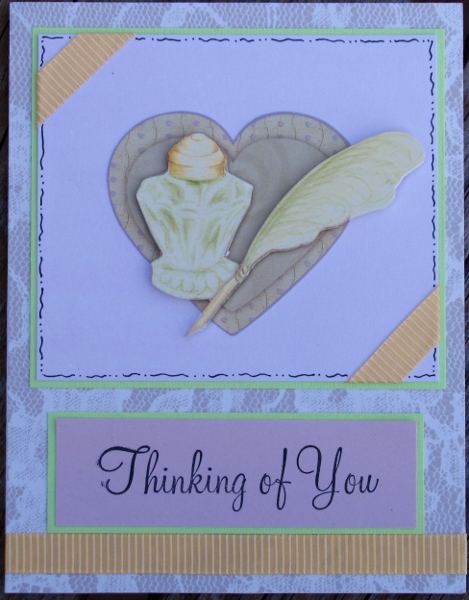
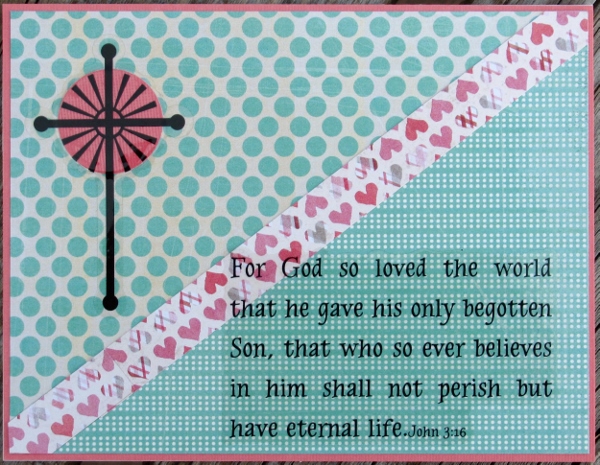
I also started contributing to two charities: Quilts which go to our local hospital for dying patients (the family keeps the quilt) and making cards for Operation Write Home which you have heard a LOT about on this blog.

In the future I'd love to do some video tutorials, get a paper craft book published, overhaul my main website and take some beading classes. This fall I will get to take a quilting cruise and I am quite excited about that!

So, stick around - I plan to be here for a long time.

Can I ask a favor? If you read this blog, will you give a comment on this post. No need to share anything specific or make a big statement. Just a 'hi' to let me know I'm not talking to an audience that consists of three family members. LOL!

Seriously, I get maybe one or two comments a year, so anything is appreciated.

Back to regular postings tomorrow.

Ddd


Posted by studio3d@ccgmail.net at 12:01 AM PDT
Saturday, 30 May 2015
12 Tags of 2015 - May
Topic: Multi-Technique

Just squeaking this challenge tag in under the wire. In two days it will be time for another challenge!

Here is the original tag made by Tim Holtz:


As always, I read the original instructions (with photos) and made notes for myself. Then I went to the studio with just the written step-by-step and pulled supplies from my stash that were 'sorta like' the ones Tim used.

Here's my process:

-Use Xyron to adhere neutral-colored grasscloth wallpaper sample to stiff cardboard

-Cut into tag shape

-Place a letter stencil on upper left and use an old gift card to spread texture paste in a small section. Let this dry

-Select bits of small ephemera that look vintage and set aside

-When texture paste is dry, use foam tool and distress ink to tint the paste.

-Ink edges of tag with brown distress ink

-Select a small black and white photo

-Use distress markers to color the photo and follow up with immediate blending away excess ink with cotton swab

-Use matte medium to attach ephemera and photo

-Apply postal-type rubons to surfaces of ephemera and tinted photo

-Dye crinkle ribbon with distress ink and water. Scrunch and dry with heat tool

-Tie crinkle ribbon around tag

-Select word token and memo pin and attach to ribbon

-Use heavy glue dot to secure bottom of token

-Select small quote and cut into strips. Adhere with matte medium

-Attach tiny paper flowers with heavy glue dot

-Use brown distress ink to tint word strips

And here is the finished tag, very vintage with lots of texture.


Whew! Made it!

Ddd


Posted by studio3d@ccgmail.net at 12:01 AM PDT
Friday, 29 May 2015
Operation Write Home - sketch 236
Topic: Sketch Challenge

Rectangle, circle, banner...Yep, we're all here. Here is OWH sketch 236:

A rose sticker gave over the color palette for this card. I followed the sketch almost exactly and kept the smaller elements very plain so as to not compete with the green patterned paper.

The green backing paper is much lighter than the other greens but draws attention to the highlights on the leaves around the rose.

The bottom was a little vacant so I cut a pre-stamped sentiment into a tab shape and attached it there.

Ddd


Posted by studio3d@ccgmail.net at 12:01 AM PDT
Thursday, 28 May 2015
Operation Write Home - sketch 235
Topic: Sketch Challenge

I decided to take something simple and really elevate it. This is OWH sketch 235:

I knew immediately that I wanted to use a heart sticker set that comes in three finishes and can be nested. The finishes are red glitter, silver hammered and gold glossy. This particular heart has 4 nesting parts. I mounted it on a heart-printed background circle and backed that with ag old peel-off medallion.

Two papers with a love theme form the background but a cutting error left too wide of a gap between them. I filled this in with some gold filigree border and I loved it.


At this point I auditioned some gold hearts in the place of those dots in the sketch but really, the card was better without them.

Ddd


Posted by studio3d@ccgmail.net at 12:01 AM PDT
Wednesday, 27 May 2015
Operation Write Home - sketch 234
Topic: Sketch Challenge

Sometimes you have to use some imagination to make a sketch work. Here is OWH sketch 234:

This looked a little busy to me and that circle element seems not to fit in.

I loved the floral papers I used for yesterday's card so cut up more of them to use today. I used the floral colors to select the other papers and layers.

I For the focal I pulled out a silver peel-off sticker and colored it with alcohol markers to match the papers.


For the circle element I used a 'round-ish' silver peel-off and colored it as well.

Colors in the photo are not as bright and intense as the card.

Ddd


Posted by studio3d@ccgmail.net at 12:01 AM PDT
Tuesday, 26 May 2015
Operation Write Home - sketch 233
Topic: Sketch Challenge

Oh I am SO happy I had one last hedgehog! Here is OWH sketch 233:

I saved this little guy from the sheet for last because I couldn't imagine how I would use it and make it look planned. Well I was so excited to run across this piece from a 6x6 pad that had the soft lavender background and the spray of flowers across the border. I trimmed it down and, when I put on the hedgehog, she looked like she was really jump-roping through the garden. SWEET!

I pulled colors from the sticker and garden to select papers for the backgrounds and borders. The main panel is popped up on foam tape.


The cloors in the photo are NOT right.

Instead of the three dots used on the right in the sketch, I used a rhinestone corner piece.

Ddd


Posted by studio3d@ccgmail.net at 12:01 AM PDT
Monday, 25 May 2015
Operation Write Home - sketch 232
Topic: Sketch Challenge

Can the sketch itself be called elegant? Or is is only elegant in the execution? Here is OWH sketch 232:


I think in this case, the formality of the layout and the classy papers provide the elegance in combination.

The pink main piece is topped with vellum stickers. More garden papers and a latice frame it out.


From just the tiny bit of golden yellow in the flower centers I was inspired to use it for the bordering. A softer yellow ribbon was folded into three tabs for the right side.

Ddd


Posted by studio3d@ccgmail.net at 12:01 AM PDT
Sunday, 24 May 2015
Operation Write Home - sketch 231
Topic: Sketch Challenge

Even after using all these stickers on sketches I still have TONS of them in my files. Granted, some were given to me in swaps or as gifts but, by and large, I bought most of them. I used to find really nice stickers at Dollar Tree but, not so much anymore.

In any case, I'm back to using stickers for the sketch today which is OWH 231.


The vellum sheet of stickers contained btho those used for the background on the rghti and the flowers down the left panel. I used only one piece of patterned paper but with all the stickers it looks more complicated.

All of the solids are keyed off of the plaid.


I like how the plaid shows through the vellum flowers.

Ddd


Posted by studio3d@ccgmail.net at 12:01 AM PDT
Saturday, 23 May 2015
Operation Write Home - sketch 230
Topic: Sketch Challenge

I thought you were going to get a break from these sketches for a bit but I had a block of time and decided to sit down for another creative session. I got 8 more done this time.

Let's start with OWH sketch 230:


I pulled out one of the digital illustrations that I printed up ages ago and colored it up with alcohol markers. I used three greens for the leaves, two reds on the apples and two browns in the tree. I even used the fine line brown marker to draw in some twigs in the branches.

I had a sticker sheet with a tomato on it and trimmed it down to turn it into an apple! I stuck it on white to go with the tree and used Nestabilities to cut both. The outer edge of the smaller Nestability was used as a guide to cut out a backing circle using a craft knife.

On the green band I used a new word diecut then cut the same from red and inlaid it. Love this!


Red bordering ties back to the apples and is picked up in the lines in the background paper.

I popped the apple circle up on foam tape.

Ddd


Posted by studio3d@ccgmail.net at 12:01 AM PDT
Friday, 22 May 2015
Operation Write Home - sketch 229
Topic: Sketch Challenge

This could be a very busy sketch if it got away from you. Here is OWH sketch 229:


I reined it in by going with a muted palette and by getting rid of the circle borders.

I had a number of vellum pansy stickers that I applied to plain white cardstock. These were cut with a die in the Cuttlebug. Then I cut a circle of a pre-stamped sentiment.

I chose the background paper to go with the blue flowers, the lefthand strip to go with the purple flowers and the white card base to go with the circles.


The sentiment circle is popped up on foam tape for a little dimension.

Ddd


Posted by studio3d@ccgmail.net at 12:01 AM PDT
Thursday, 21 May 2015
Operation Write Home - sketch 228
Topic: Sketch Challenge

Twist and turn - that's what I did to OWH sketch 228:


Actually, I didn't so much twist it as I did flip it - from top to bottom. I just needed it to work with the orientation of another of those adorable hedgehog stickers.

Greys, reds and peach were pulled from the image to become the paper colors on this card. You'll recognize the floral, the grey diamond and the red dots from yesterday. How much that peach changes things!

The upper panel was too plain in this orientation so I added a pre-stamped sentiment with a bit of red border.


The final ladybug from this sheet of stickers makes an appearance here, too.

Ddd


Posted by studio3d@ccgmail.net at 12:01 AM PDT
Wednesday, 20 May 2015
Operation Write Home - sketch 227
Topic: Sketch Challenge

Ready for another sketch? Here is OWH sketch 227:

NO, wait! HERE is OWH sketch 227:


Will the REAL sketch 227 please step forward? Actually, we were given our choice of using the rectangle element or the round element. I chose the latter.

I wanted to use this big red and gold vellum heart sticker so that was the jumping off place. I first found the red dot paper and then the floral. The last selected paper was the grey for the circle.

It all came together so perfectly, too!

I used a pre-stamped sentiment and used form distress ink to knock back the stark white of it. The second, smaller, heart is more from the vellum sticker sheet.

I needed a bit of definition around the circle so I used the gold gel pen right along the edge.

Ddd


Posted by studio3d@ccgmail.net at 12:01 AM PDT
Tuesday, 19 May 2015
Operation Write Home - sketch 226
Topic: Sketch Challenge

Yawn. Here is OWH sketch 226:

I wanted to liven this up so I chose a shiny floral with a gold border.

I chose a variety of pink papers and used some green for bordering to echo the stem. 

I stamped the sentiment directly onto two of the strips.

I wanted to reinforce the gold border on the flower so I used a gold gel pen to add some lines around the feature panel.

Ddd


Posted by studio3d@ccgmail.net at 12:01 AM PDT
Monday, 18 May 2015
Operation Write Home - sketch 225
Topic: Sketch Challenge

OWH sketch 225 is a sketch I LOVE:

Knowing I wanted to use gold hearts I chose papers for the panels that featured 'love' and 'xoxox' text as will as some hearts. These are all part of the same 6x6 pad so they naturally coordinate in colors.

I pulled coral from the scrap bin to make the border for the feature panel and used a paper with a light script for its center.

The main heart is a 3D element in that the center sticks but the sides are loose. The smaller gold hearts are part of a vellum sticker sheet.


The narrower panel is extra (not in the sketch) and the text is more from the vellum sticker sheet.

Ddd


Posted by studio3d@ccgmail.net at 12:01 AM PDT
Sunday, 17 May 2015
Operation Write Home - sketch 224
Topic: Sketch Challenge

Little squares say 'repeating elements' to me. And thats what we get with OWH sketch 224:


I used some of the lace paper and some of the green from yesterday for the caard today. They were the perfect foil for the holographic dragonfly stickers in three sizes.

I used the true given measurements from the sketch for the borders so they are 1/8 inch all around instead of 1/16. With all these solids, it was needed.

I stamped the sentiment directly on some of the lace paper and bordered that with green as well.

The result was too plain so I used some border strips from the same sticker sheet along the edges.

Much better.

Ddd


Posted by studio3d@ccgmail.net at 12:01 AM PDT
Saturday, 16 May 2015
Operation Write Home - sketch 223
Topic: Sketch Challenge

OWH sketch 223 is simple and sweet:


I started with a cardstock sticker that I had a duplicate of. This allowed me to apply the second copy to plain paper and cut out the forward elements. When I used some foam tape I turned this into a 3D element.

I uplled soft lavender and soft green from the image for my papers and added a backing paper with lace printed on it.

I needed a bit of yellow so I pulled a striped ribbon and used it on two corners of the image panel and the as a horizontal band instead of the strange vertical one on the sketch.

I needed a little definition for the main panel so I chose to make a black doodle line around it. This also ties into the stamped sentiment.

Ddd


Posted by studio3d@ccgmail.net at 12:01 AM PDT
Friday, 15 May 2015
Operation Write Home - sketch 222
Topic: Sketch Challenge

I'm going to turn OWH sketch 222 on its ear:


The clear scripture sticker dictated the direction just by the size and orientation of the text. The cross sticker is off the same sheet and I added that coral dot that was left over from a project eons ago. I wanted to use it for matching the color in the heart strip and to ech the dots all over the other two papers.

I used the same coral for the card base to pull it all together.

Ddd


Posted by studio3d@ccgmail.net at 12:01 AM PDT

Newer | Latest | Older